Eric Schade said:
Shays are COOL!!!(http://www.largescalecentral.com/externals/tinymce/plugins/emoticons/img/smiley-cool.gif)
A nice 2-1/2 inch scale Shay running on 7-1/2 inch gauge track might run you about 15K-20K now, RTR.
Eric Schade said:
Shays are COOL!!!(http://www.largescalecentral.com/externals/tinymce/plugins/emoticons/img/smiley-cool.gif)
A nice 2-1/2 inch scale Shay running on 7-1/2 inch gauge track might run you about 15K-20K now, RTR.
I’m also see a trash train, once a week!
Sean McGillicuddy said:
I’m also see a trash train, once a week!
Sean,
You caught me! You can see how the ROW at the end of the drive “drifts” a little to the right…that’s where the trash cans go on Friday
The sides are removed from the gondola and becomes a flat car.
Gary Armitstead said: AND they tip the rail 1-1/2 degrees inward (per prototype).
All these decades being a modeler and railfan and reading technical books, and I’d never caught that.
Forrest Scott Wood said:
Gary Armitstead said: AND they tip the rail 1-1/2 degrees inward (per prototype).
All these decades being a modeler and railfan and reading technical books, and I’d never caught that.
Forrest,
In talking with the manufacturer of these ties, I was told that the majority of prototype tie plates had a slight camber, but not all. Most modelers are not that fussy about detail like that, especially track work. But when you get into these larger scales, it’s another world.
I had noticed that the tie plates lean, or camber, the rails inwards a bit. But when I talked to several self proclaimed experts, I was told that I was wrong, the plates do not lean the rails in slightly. Its nice to know that I was not being delusional, they do lean in a bit. Thanks
Here in town we’ve got a length of track, maybe 50 t0 80 yards, in front of the old MKT depot, might just have to go have a look there. One and a half degrees is barely perceptible on short things but rails are more than 6 inches tall, if it is there it may be discernible.
Forrest,
It will be pretty hard to see that 1-1/2 degrees. Say the rail is 8 inches tall, then the rail would be tipped inward to the center of the track by .210 of an inch! On the old track like you are looking at, I think it would be difficult to find a good horizontal base for a benchmark.
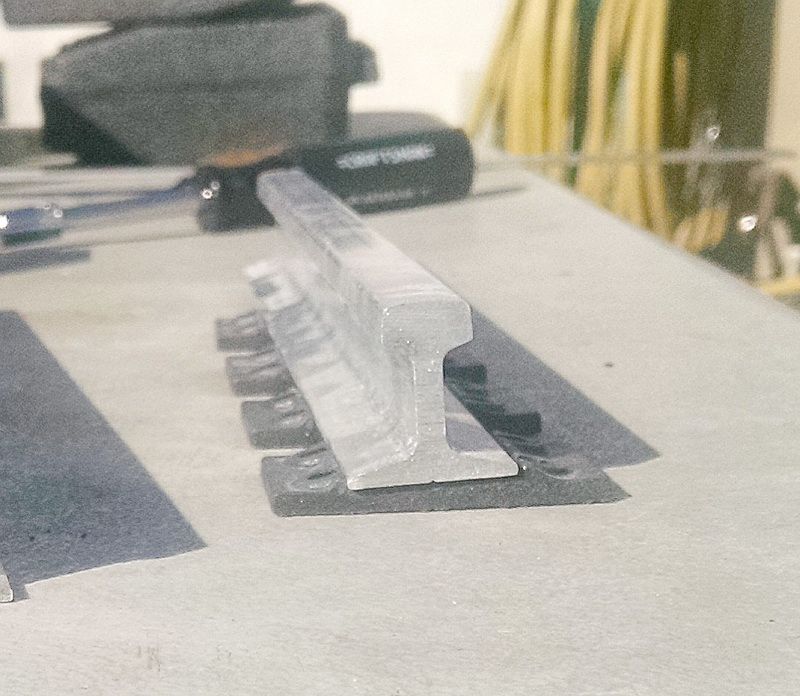
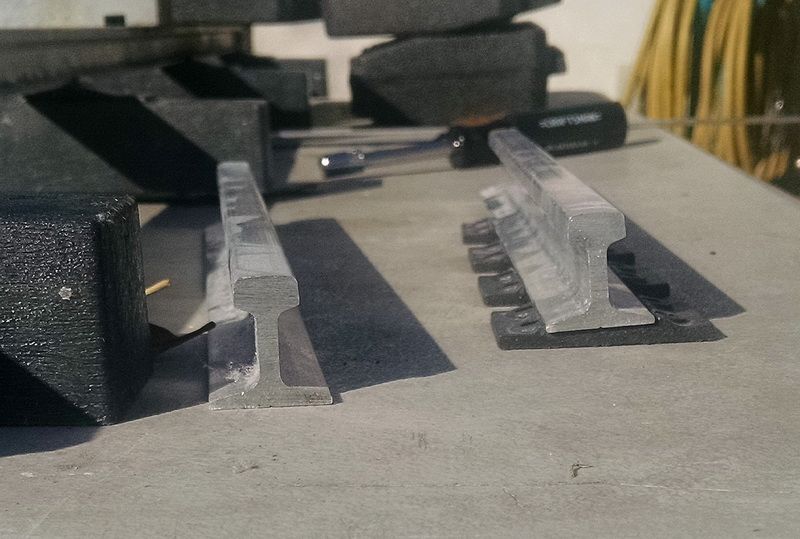
Here’s a photo of the end section of West Coast Code 1000 aluminum rail sitting the the tie plates used on ties that don’t have the ties molded in place. These are used in the building of 1/8th scale turnouts. Same configuration and camber as the ties. You can plainly see the inward camber of 1-1/2 degrees.
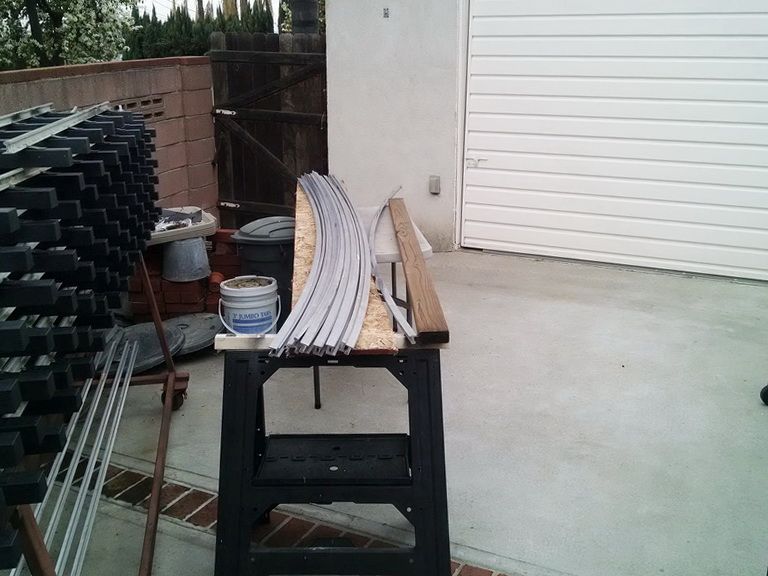
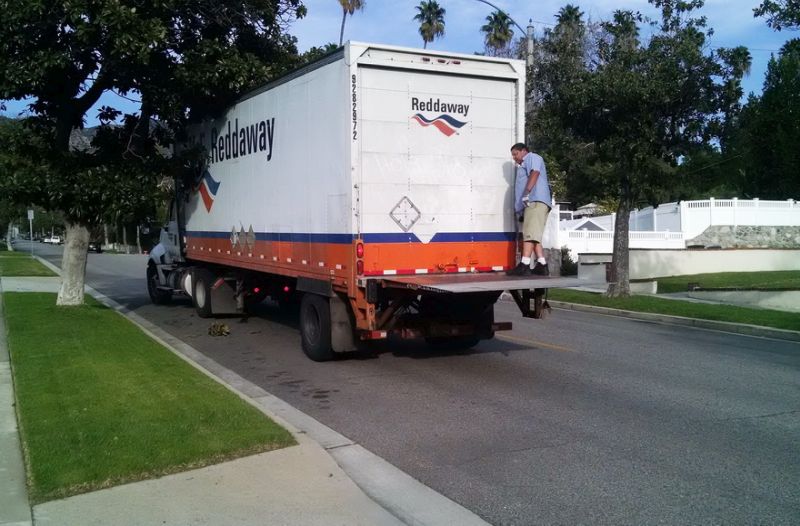
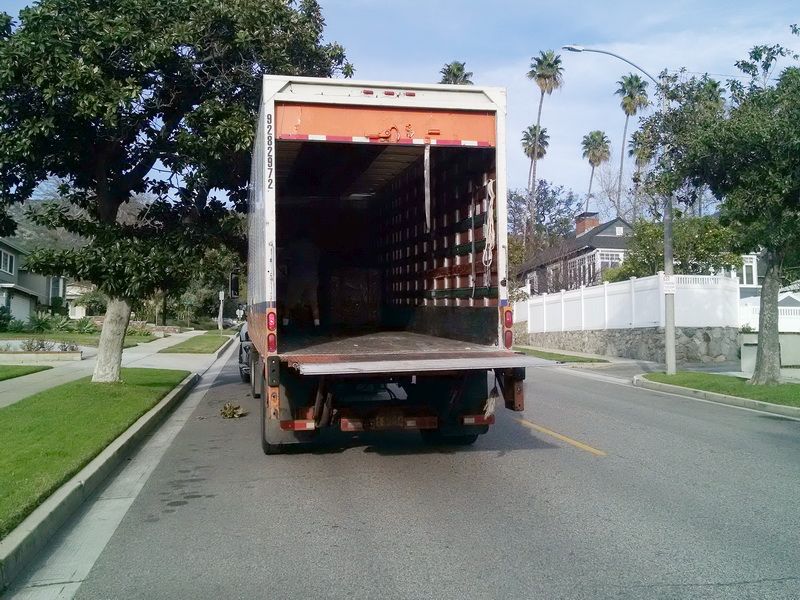
A few more “items” delivered to the house for our “big” short line RR this week. Because of the snow storms and heavy rain in the Pacific Northwest in the past week or so, truck shipping has been a disaster! These items originate in Port Ludlow, WA. Somewhere between there and somewhere in No. California, my two pallets were separated and the PRO numbers were lost. After a few days, the pallets were located and sent back to Tacoma, WA. I received my skid of 220 feet of aluminum rail last Wednesday and my pallet of 8 cases of ties, track screws and rail joiners were delivered yesterday afternoon. Now I can start building the remaining track panels and “lay some track” for the short line!
Photos of rail delivery last Wednesday.
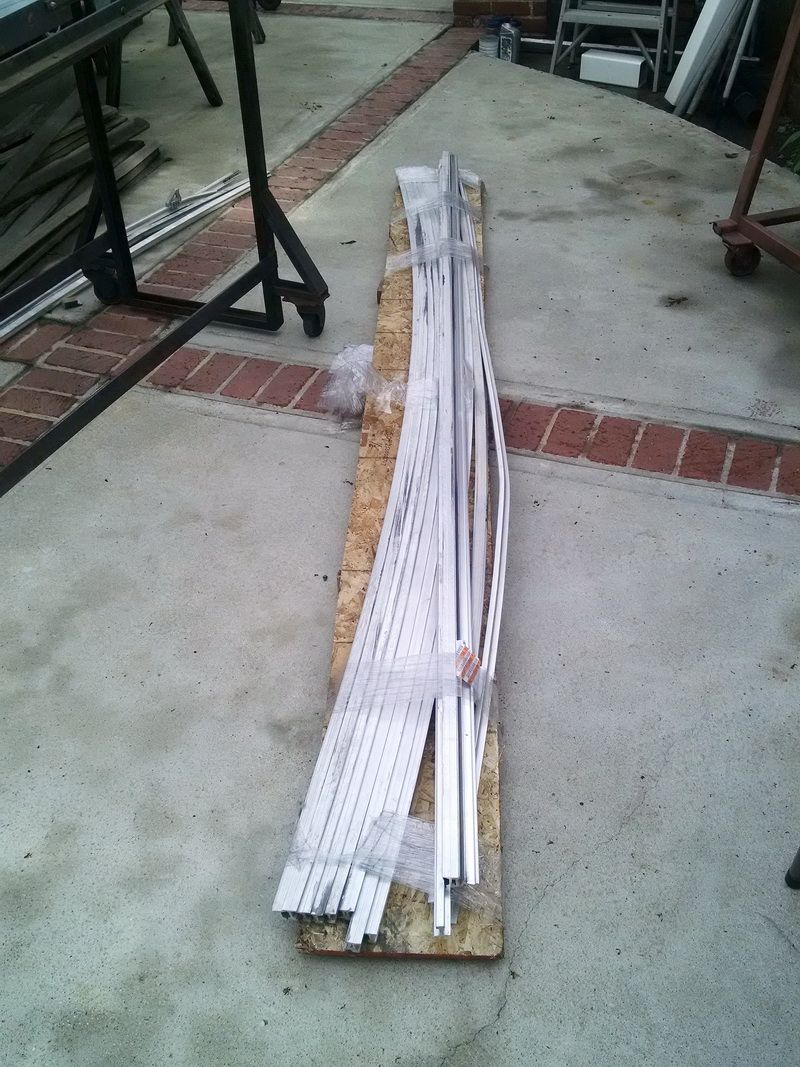
Note the three bent/kinked rail. This will be replaced by the trucking company (as damaged in transit)

I “check” for the proper radius of the rolled rail by using a 8 ft. long 2X4 as the chord and then I use a tape measure to check the “height” or “gap”. I asked for a 25 ft. radius and they rolled it to 25 ft., 1 inch! Close enough for me.
After closer inspection, this rail is “salvageable”…there is no lateral twist. My heavy duty rail bender can fix this easily.
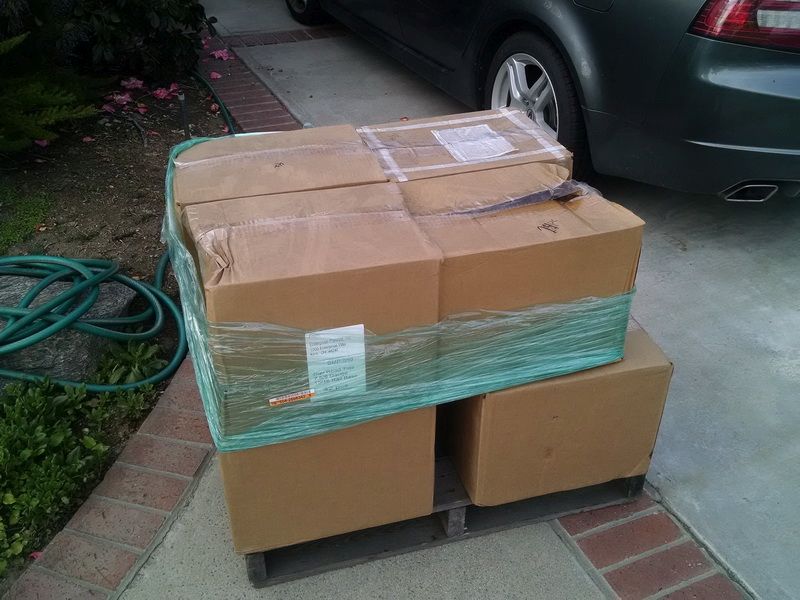
Yesterday afternoon, I finally received the “missing” pallet of ties :).
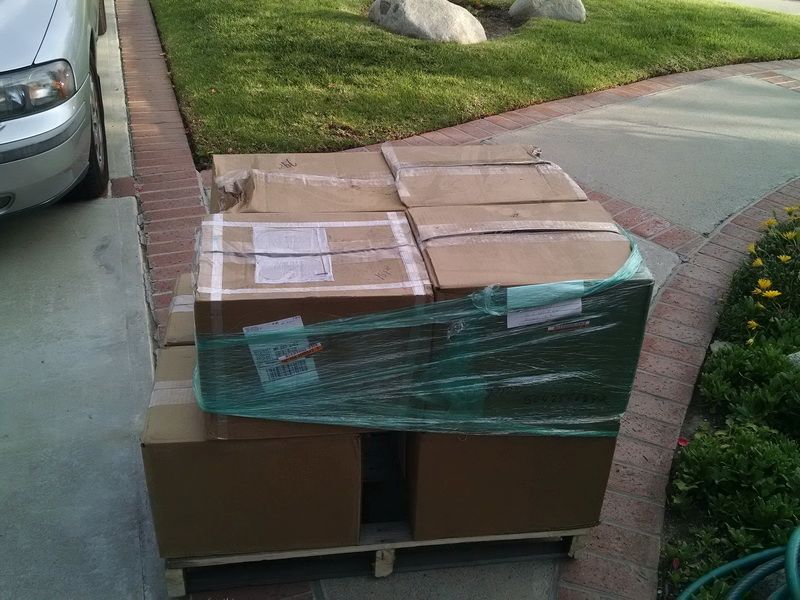

Bent rails, and smashed boxes of ties. That company must have a lot of cargo claims.
David Maynard said:
Bent rails, and smashed boxes of ties. That company must have a lot of cargo claims.
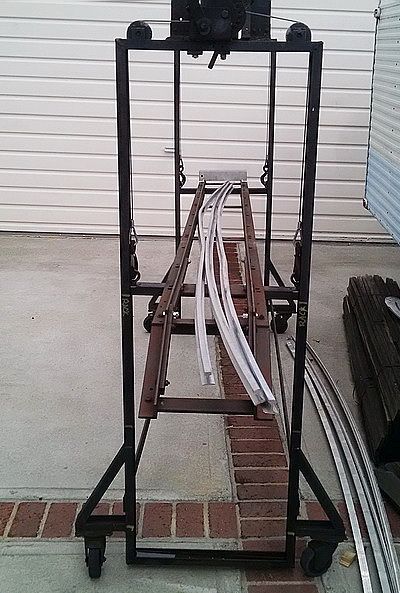
The boxes are not the sturdiest around, that’s for sure. But the ties themselves are darn near indestructible. The one box that is torn open was caused by me…checking that box for the SS track screws (1000 of these) and the Train Mountain rail joiners. All were there. There were a total of eight of those boxes in the shipment. The two that look “crushed” were only partially filled with odds and ends items. There was nothing there to support the cardboard. That rail is large rail…1 inch tall and 15/16 wide at the base. 6063 T6 aluminum. Aircraft stuff. The three that were damaged, came loose from the original skid package. That is only 30 feet out of the entire 220 feet that was delivered. I have a very large rail bender for the code 1000 rail, so fixing this is not a big deal. The other 190 feet of rail arrived in perfect condition including 40 feet of absolutely straight brand new rail! Shipping stuff in this very large riding scale is OFTEN very “iffy” unless you are very familiar with the shipper. I had a brand new 6 foot long steel gondola (along with a 5 foot long steel rack for one of my engines) delivered to my home in December 2014 and it all arrived without a scratch or dent. The shipping costs for large scale railroad deliveries like this would make most garden railroaders cringe. But you get used to it and it is just something you live with in this hobby. It’s not for the “faint of heart” or if you need to watch your wallet :). UPS will ship aluminum rail and guarantee it to arrive in perfect condition. But they won’t do rail over 8 foot long and you don’t want to know what THAT cost is :)! I’m having a #6 LH turnout built right now by this particular company. It will weigh 150 pounds and will be "cocooned " in two crates…one over the other. Just shy of a grand with shipping to my front door. Like I said, not a hobby if your watching your wallet.
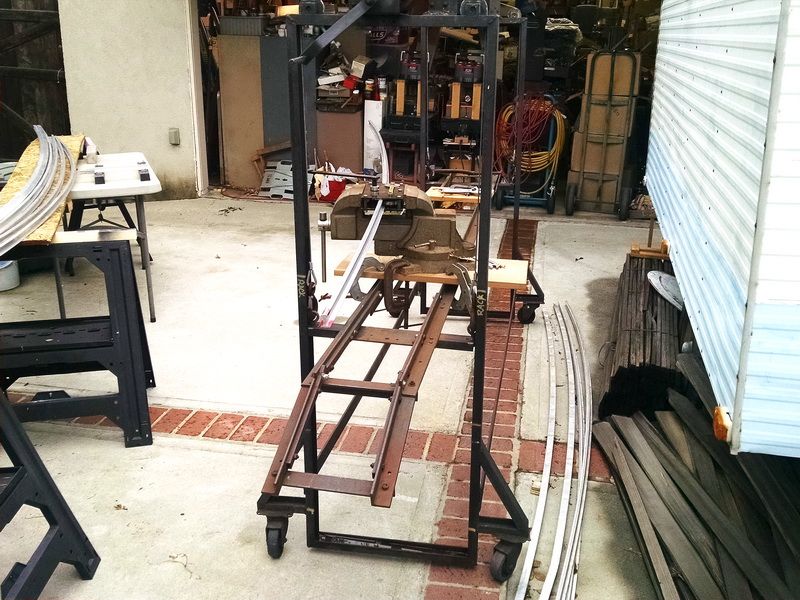
Yesterday UPS showed up with my new rail bender for doing Code 1000 aluminum rail. This morning I decided to try to fix the three bent/kinked rails I received in my rail/tie delivery last week. Set the “thing” up and started working on the rails. After a few experiments and trial and error, I finally “got the hang of it” and it looks like I will be able to salvage the bent pieces :)! A few photos of the “process” today. This huge rail really bends easily. Used my steel “lift rack” as a platform for the bender. Worked good.

This WAS the condition I received the rail…pretty bad!

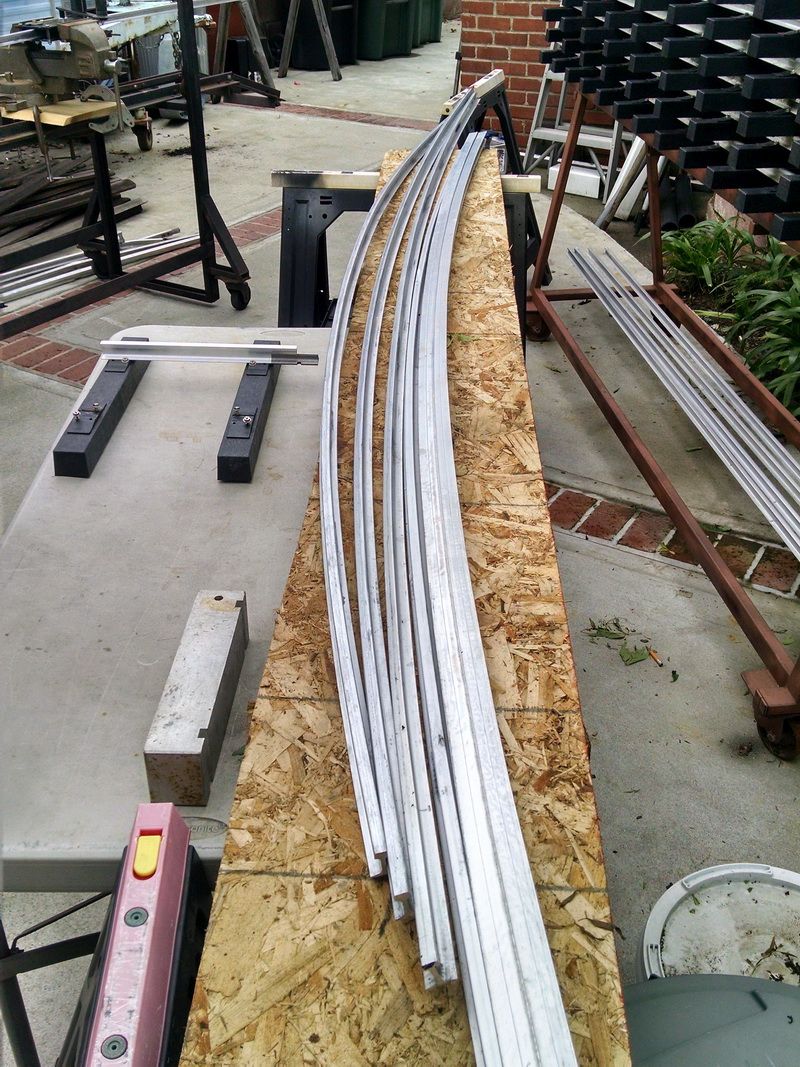
All in all, the rail looks pretty good. I have to do a little tweaking to the radius on these three…they’re a little sharper radius that what I want. Add a few more feet to the radius and they will be good to go.
Nice work . . . . . (http://www.largescalecentral.com/externals/tinymce/plugins/emoticons/img/smiley-smile.gif)
The rails on the inside of the curve should be curved sharper then the rails on the outside.
I did the same thing to iron out a deer kink on my stainless 332 rail. just worked it back and forth till the kink was gone.
David Maynard said:
The rails on the inside of the curve should be curved sharper then the rails on the outside.
I did the same thing to iron out a deer kink on my stainless 332 rail. just worked it back and forth till the kink was gone.
David, in THIS scale you don’t pay any attention to the two different radii (inside vs. outside). They flex THAT much! As much as 1/2 to 3/4 of an inch!
Gary,
Are you going to have any problems with twist in the rail using that single rail bender?
Now that i think about it a little twist in the rail is probably not an issue given the size, weight and wheel flange
of the equipment. Plus the way the rail locks into the tie plates.
Rick
Rick Marty said:
Gary,
Are you going to have any problems with twist in the rail using that single rail bender?
Now that i think about it a little twist in the rail is probably not an issue given the size, weight and wheel flange
of the equipment. Plus the way the rail locks into the tie plates.
Rick
Rick,
Single rail benders is all I’ve ever seen in this scale. The place I buy my rail from uses a computer to set his bender. Quite a complicated set-up from what I have heard about. My purchase from him was a very small order at 220 feet. He deals with track orders in the thousands of feet and thousands of ties. I believe Jim Stapleton’s (Dr. Rivet) wife sent him two full pallets of ties to Cabin Fever once as a birthday present for his new 7-1/2 gauge track at his home. Over $6000 in ties alone!
I had 180 feet of 25 foot radius rail delivered on this load. All of the straight and curved rail arrived flat and true except for the three pieces I “fixed” today. When you work with rail this large and stout, there is no comparison to working with code 332 or code 250. The foot on this rail is 15/16 wide and the rail is 1 inch tall. As you start to do your bend, you make easy adjustments one at a time. As you crank the handle that turns the “drive die”, you can really feel the drag. You are correct though that the ties lock it all together and gauge the track at the same time. I had to buy a Makita driver with the torque setting dial to drive the track screws. #10X 1 inch long, stainless steel. Makes a really strong track panel and each ten foot panel weighs about 25 pounds
Those bent rails look great now. Nice job.
Tommy(http://largescalecentral.com/externals/tinymce/plugins/emoticons/img/smiley-cool.gif)
Rio Gracie
Tommy Mejia said:
Those bent rails look great now. Nice job.
Tommy(http://largescalecentral.com/externals/tinymce/plugins/emoticons/img/smiley-cool.gif)
Rio Gracie
Thanks Tommy. It took me a little while to figure out the setting on the bender to get what I wanted. Once that was done, it didn’t take much to “fix” them.
Rick,
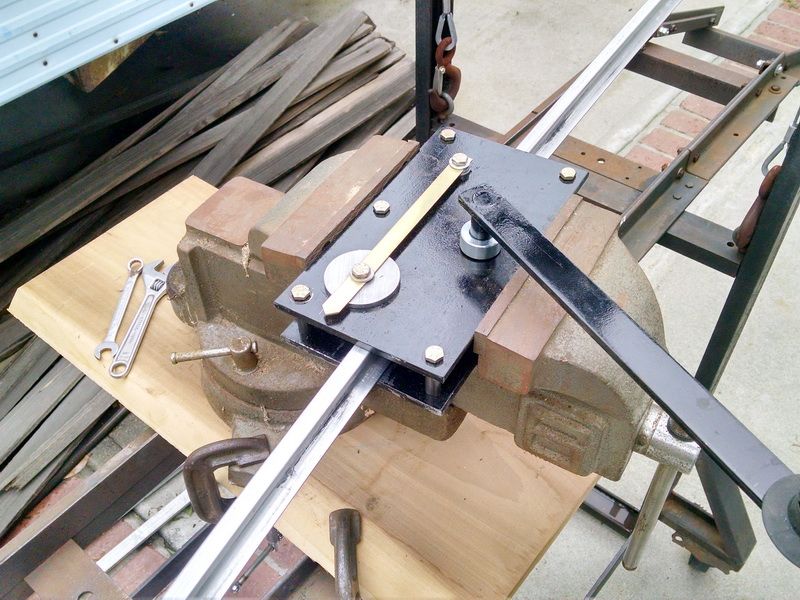
I know you were asking about the chances of producing a twist in this rail using ONLY one rail at a time. These photos should help explain how the construction of this bender avoids that problem.
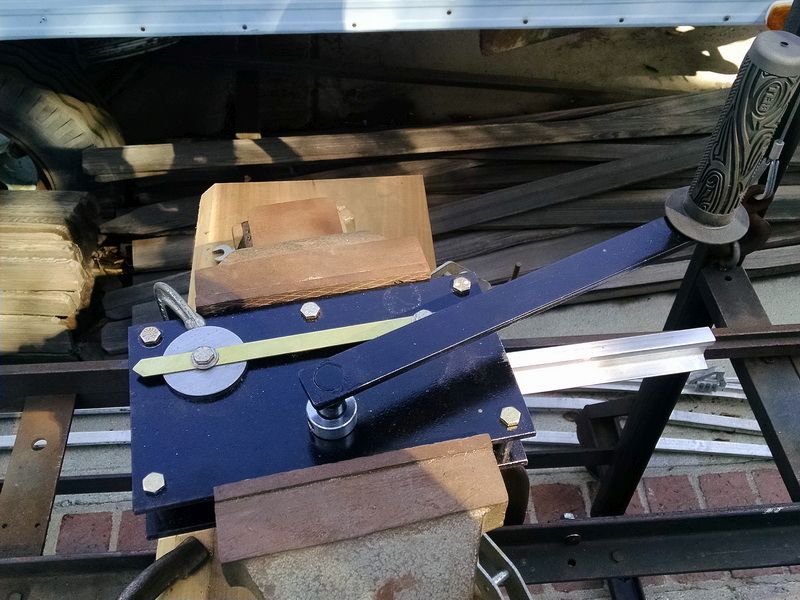
This is a photo showing the "geometry of this bender. The first roll die pivots on a screw on the right side of the bender. It is located (partially hidden under the drive die roller handle). The second wheel or roller is the drive die and is directly connected to the handle. The third roller is on the left.It pivots on a arm from the first roller and adjusts for the radius you want to produce. The brass pointer gives you an idea of where the third roller position sits relative to the other two rollers. The whole bender sits in a large vise.
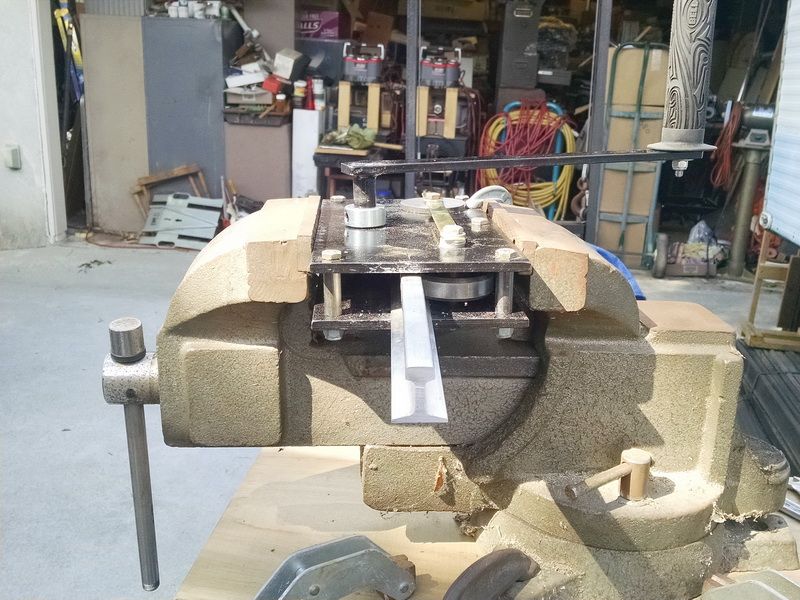
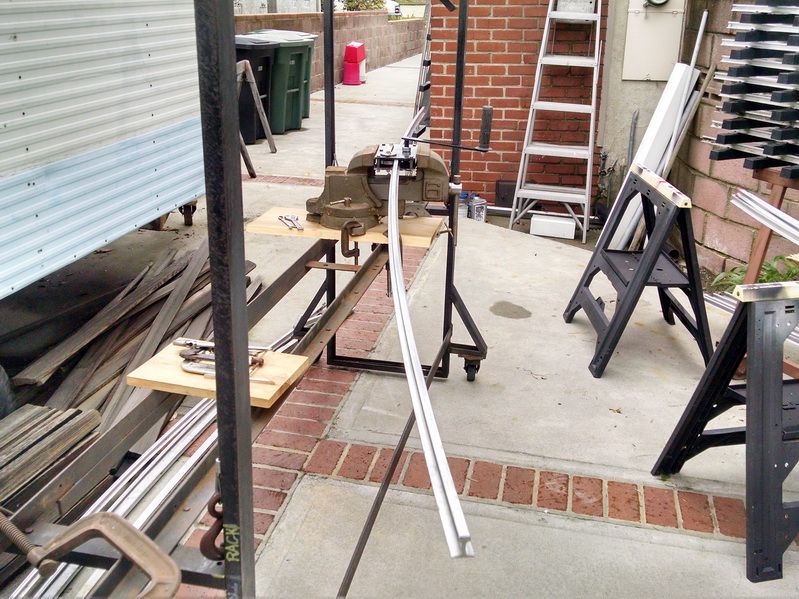
This is the INPUT side of the bender. The opening is only about .020 bigger than the height of the rail. It can’t twist! I use this 12 inch long straight sample rail as my “neutral” setting to start the bend. Everything is snugged up tight and the handle drives the rail through. No bend occurs. Then you keep changing the brass pointer location about 1/32 toward you and try the bend. If this is OK, then you just keep running rail through. If you want more bend, just keep moving the pointer another .020-.030 and you get more bend. Pretty simple device. Like our smaller cousins in Large Scale, just a lot bigger and made to fit the standard Code 1000 “West Coast” rail.
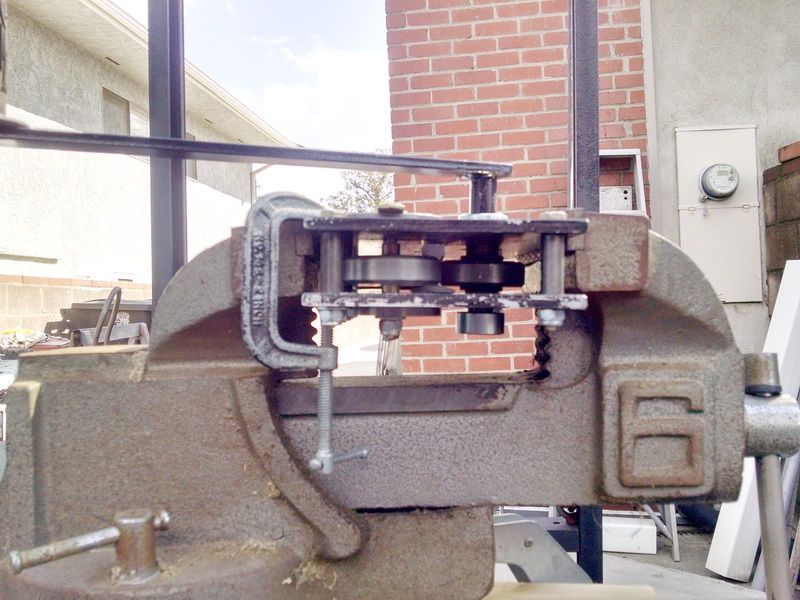
The OUTPUT end. Note the rail in place in the background.

.jpg)