Large Scale Central

Wooden hoppers for the Durango & Jasper

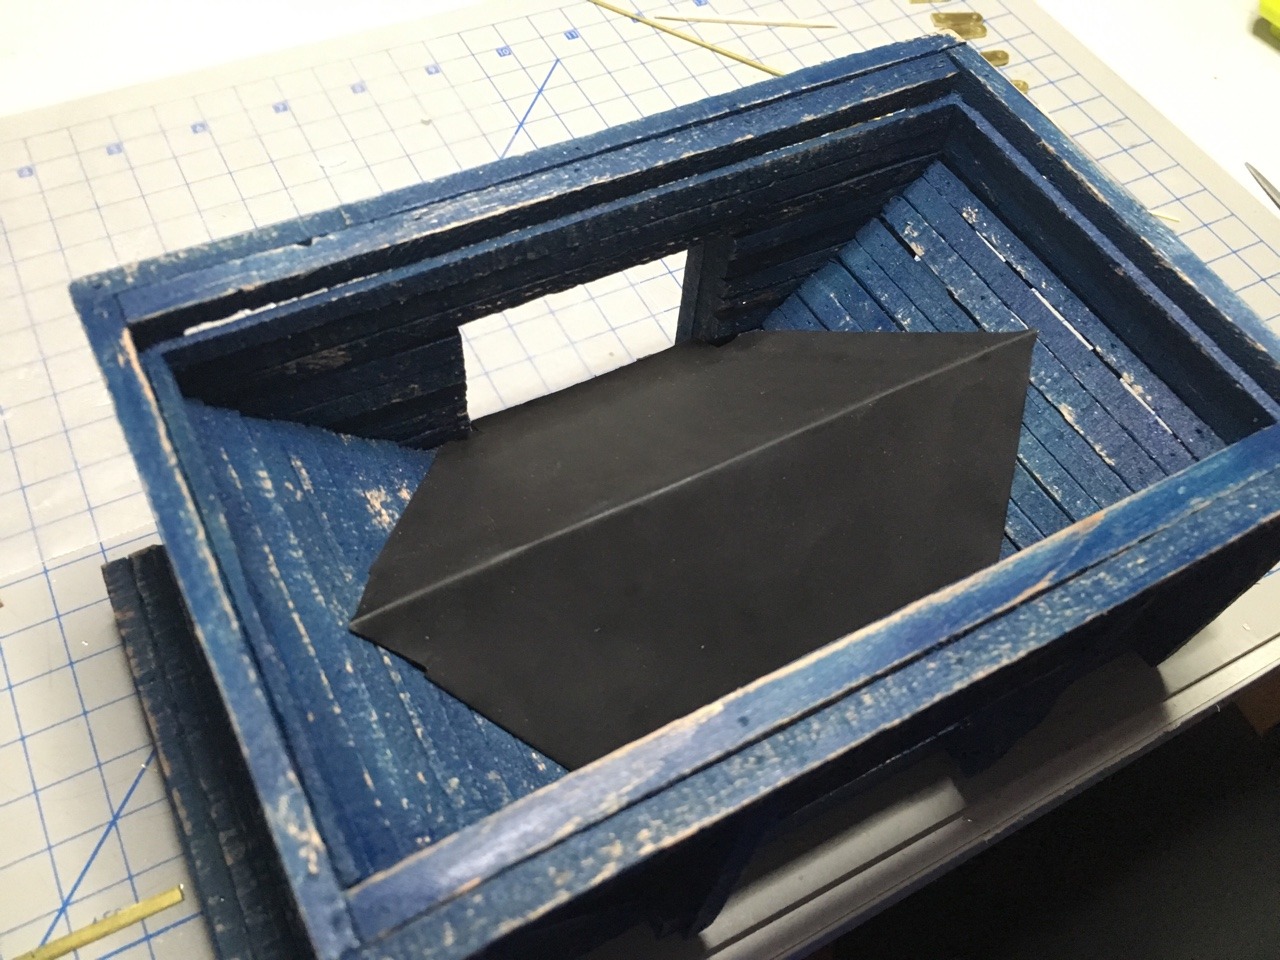
With the Durango & Jasper mine spur mostly done, it is time to build some hoppers to move gold ore to the stamp mill. Keeping with the theme, these hoppers are short. However, I’m kind of a sucker for 4 axle cars, so I’m making these as short as possible given that I want regular trucks. The cars will be 9 inches long and about 5 inches wide (4.5 for the platform and then the door supports extend it out another .25 inches on each side).

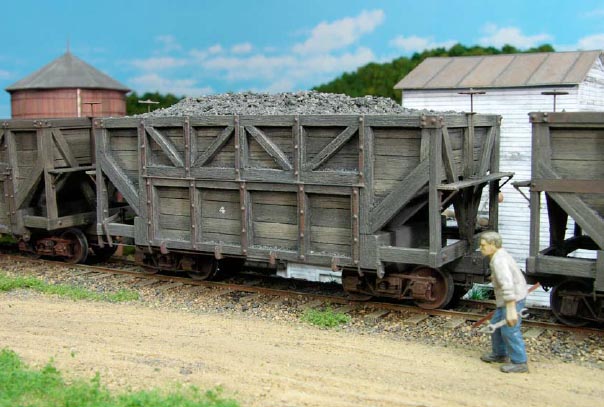
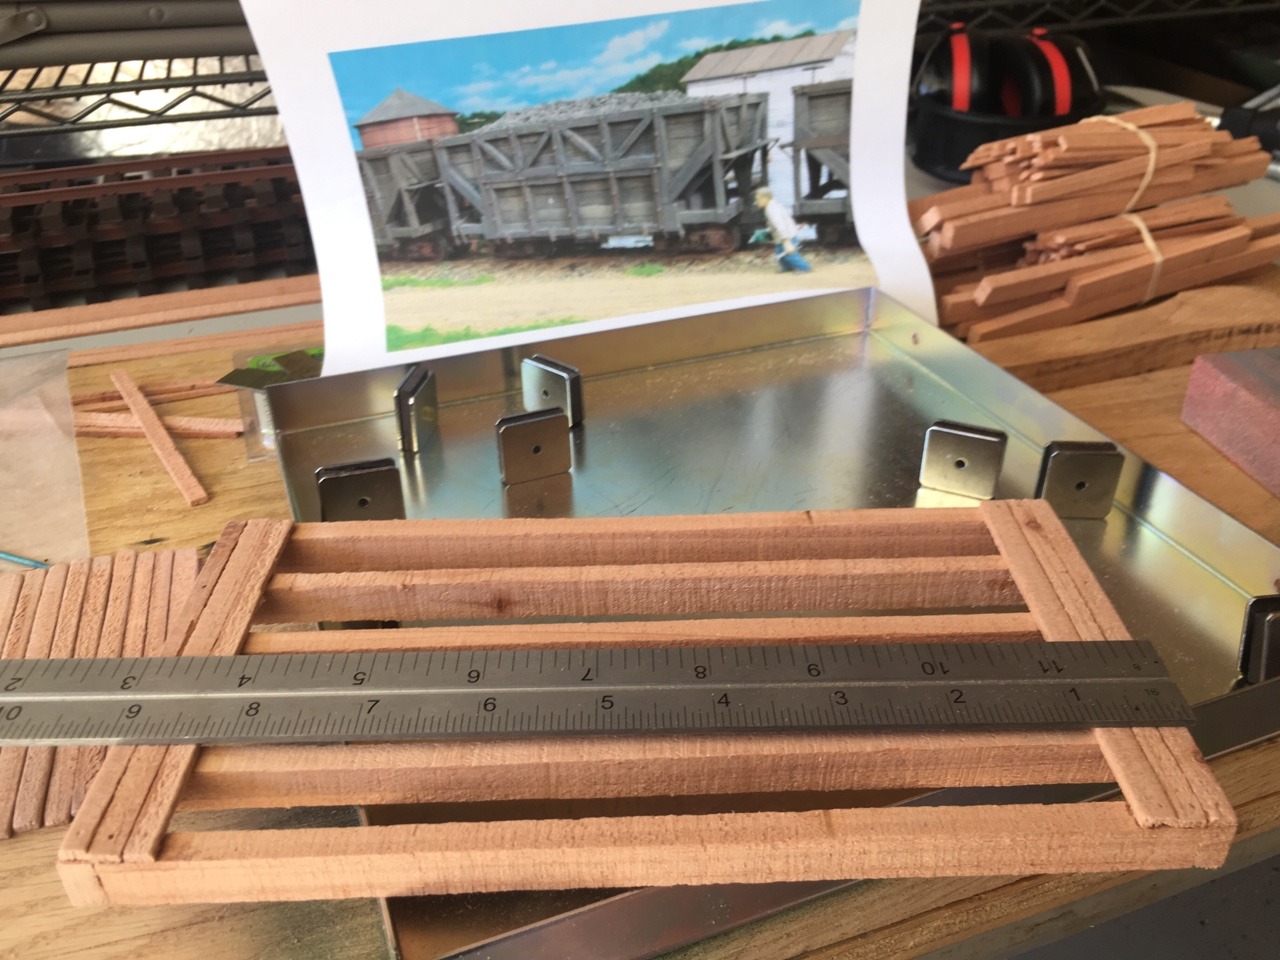
Here’s the inspiration for this build. It is a wooden car with doors on each side for getting the ore out at the stamp mill:

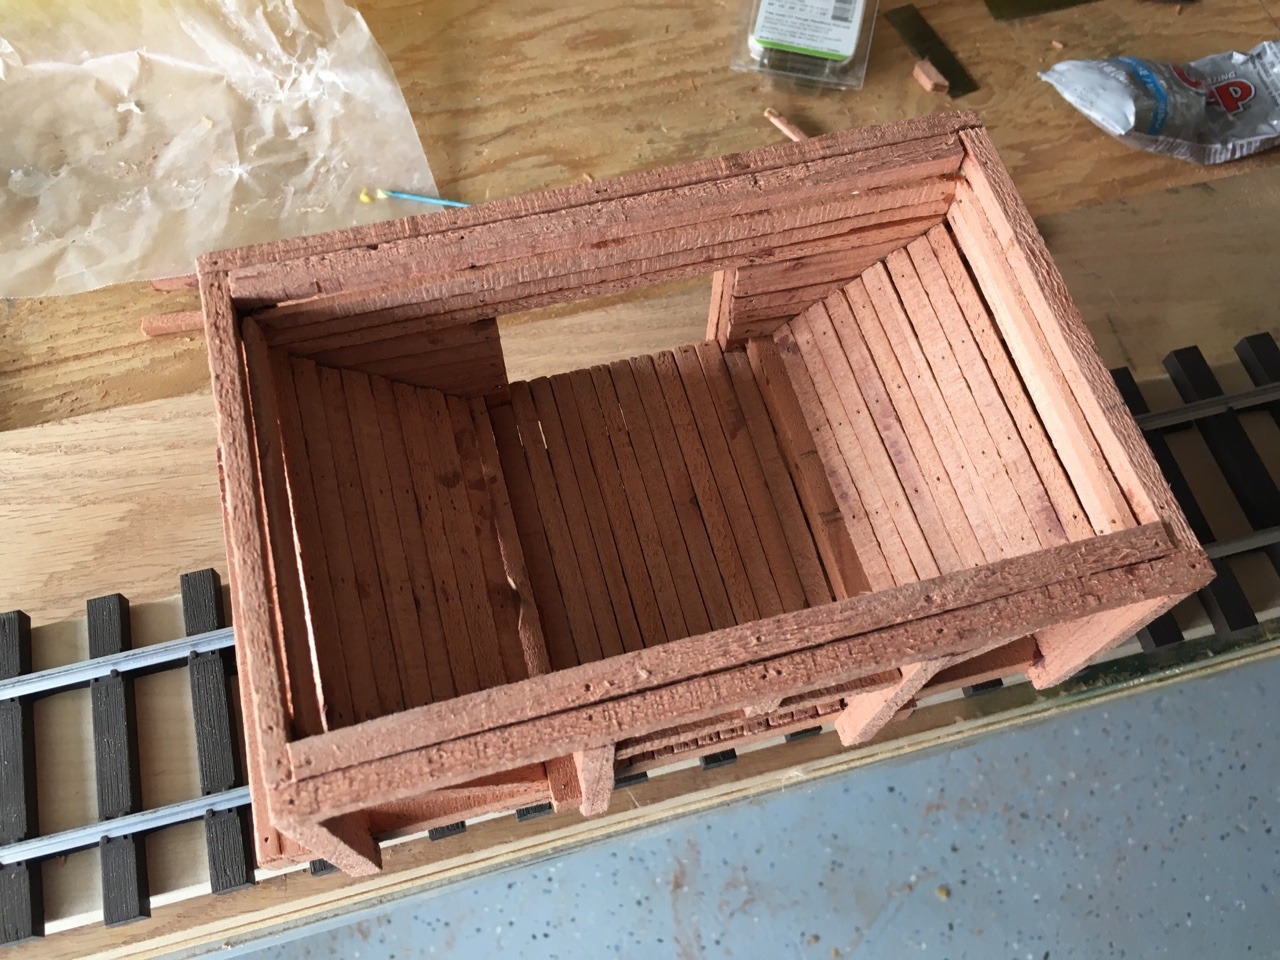
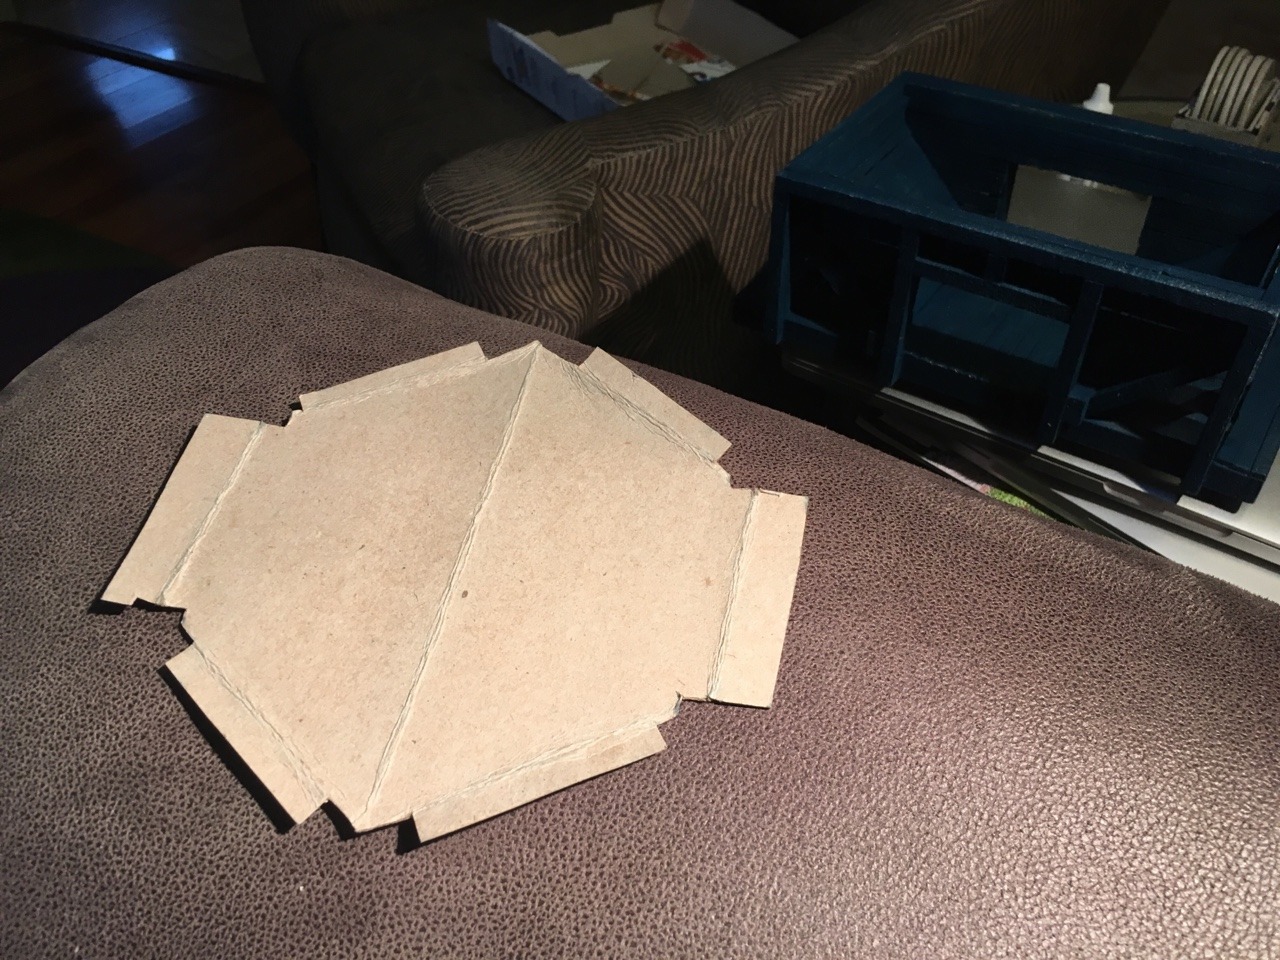
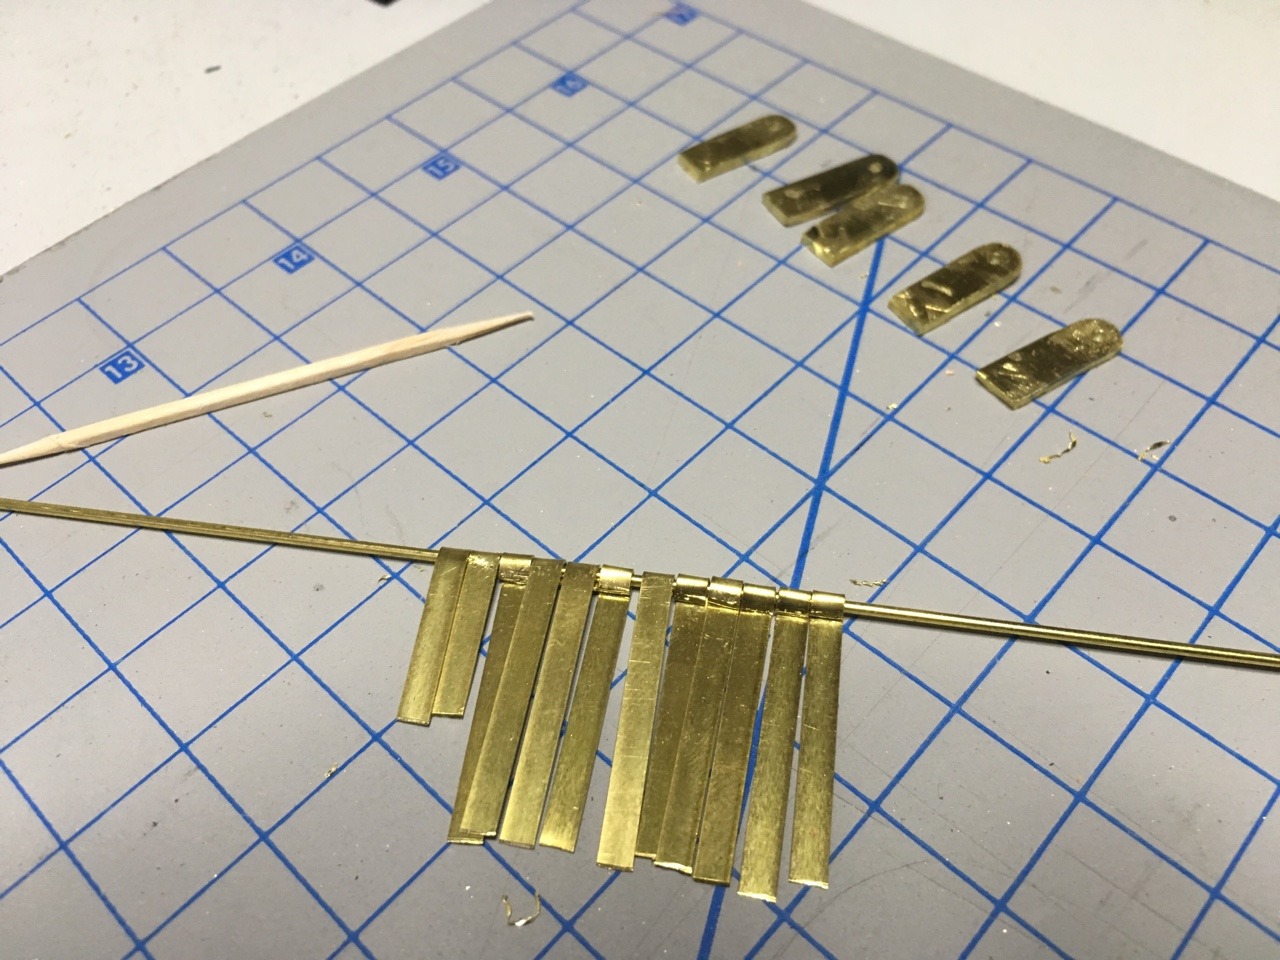
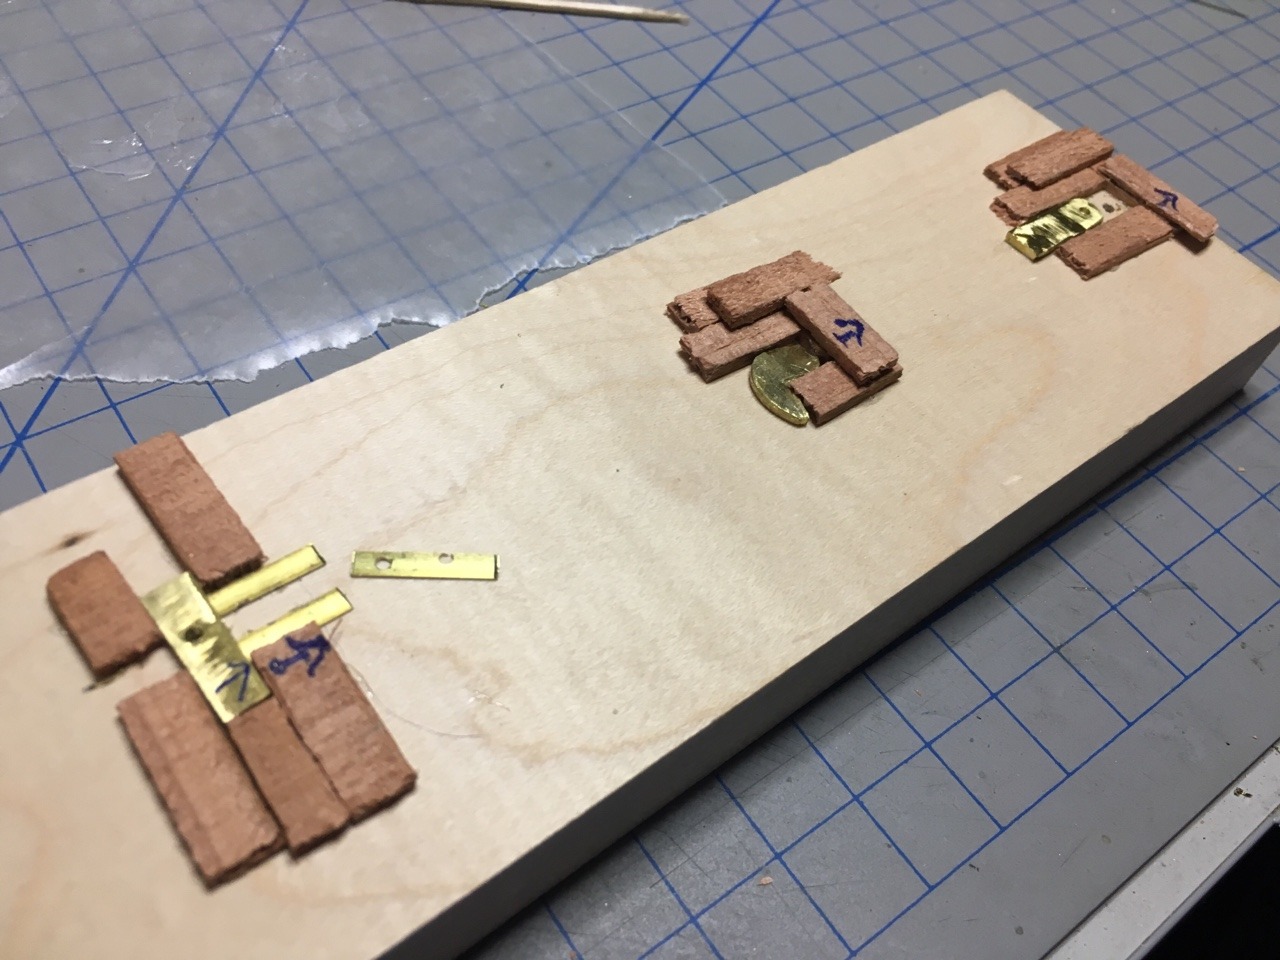
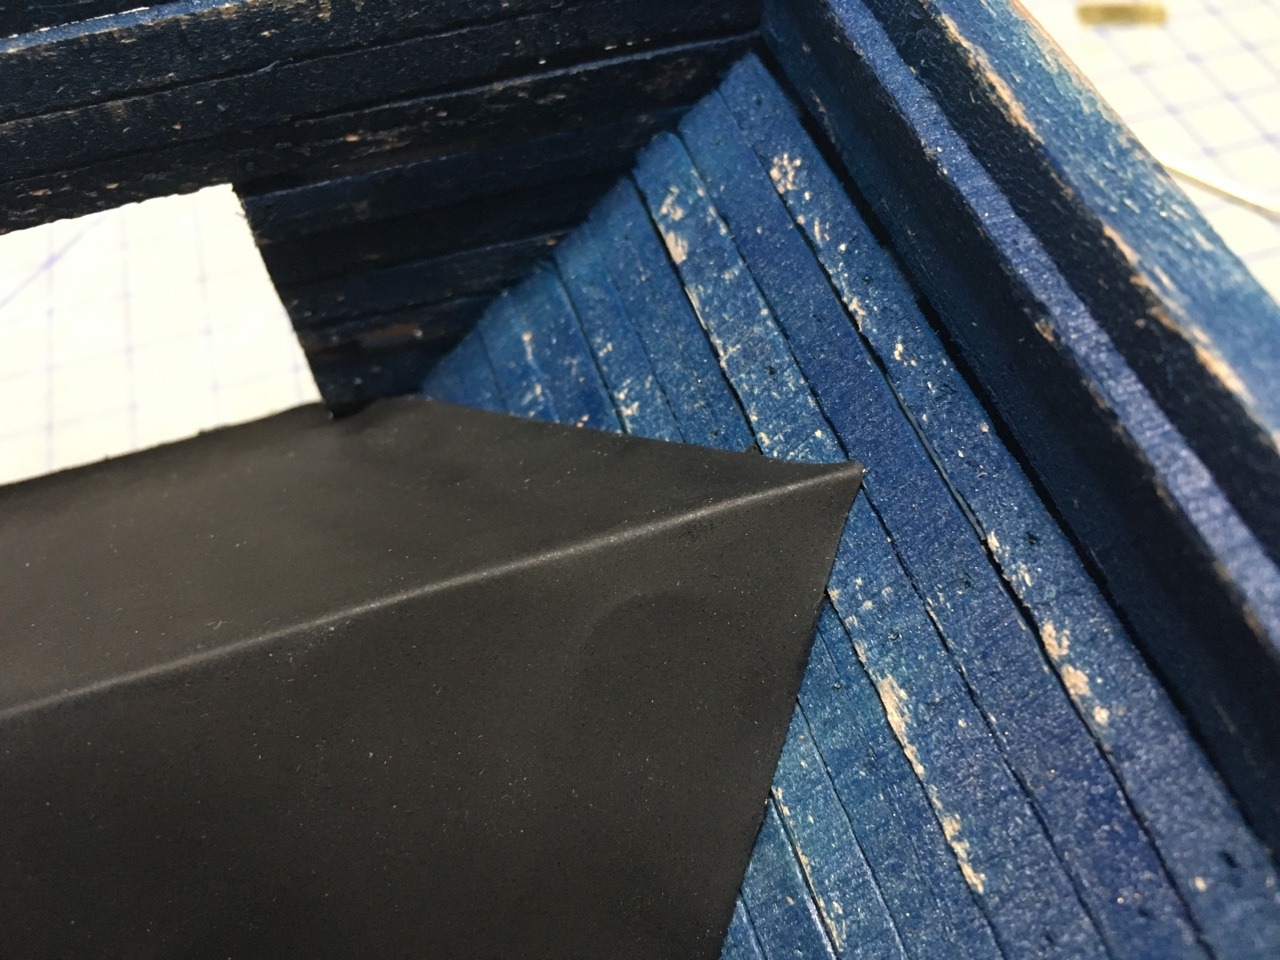
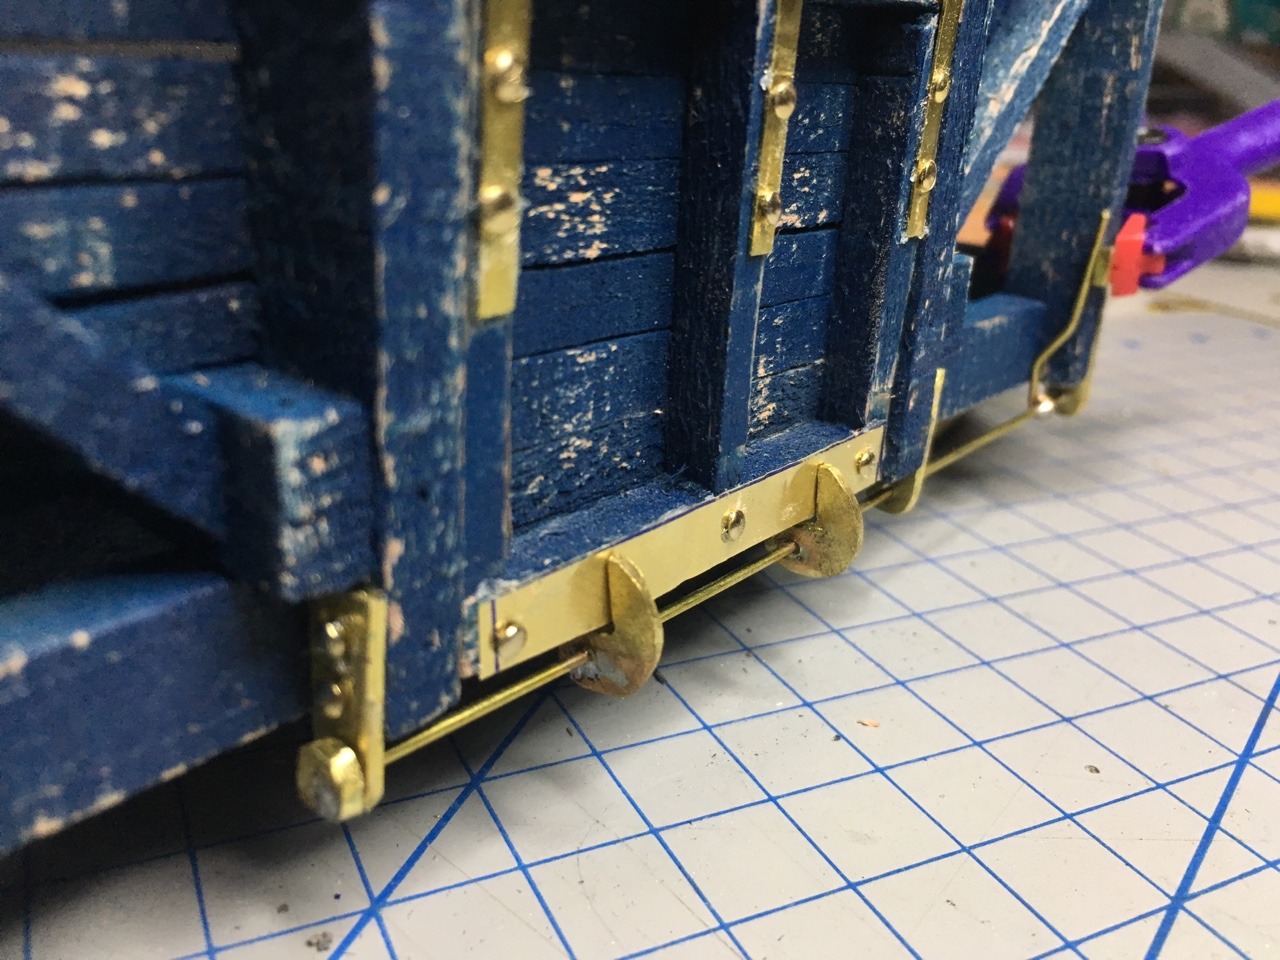
Here’s the platform just being started:

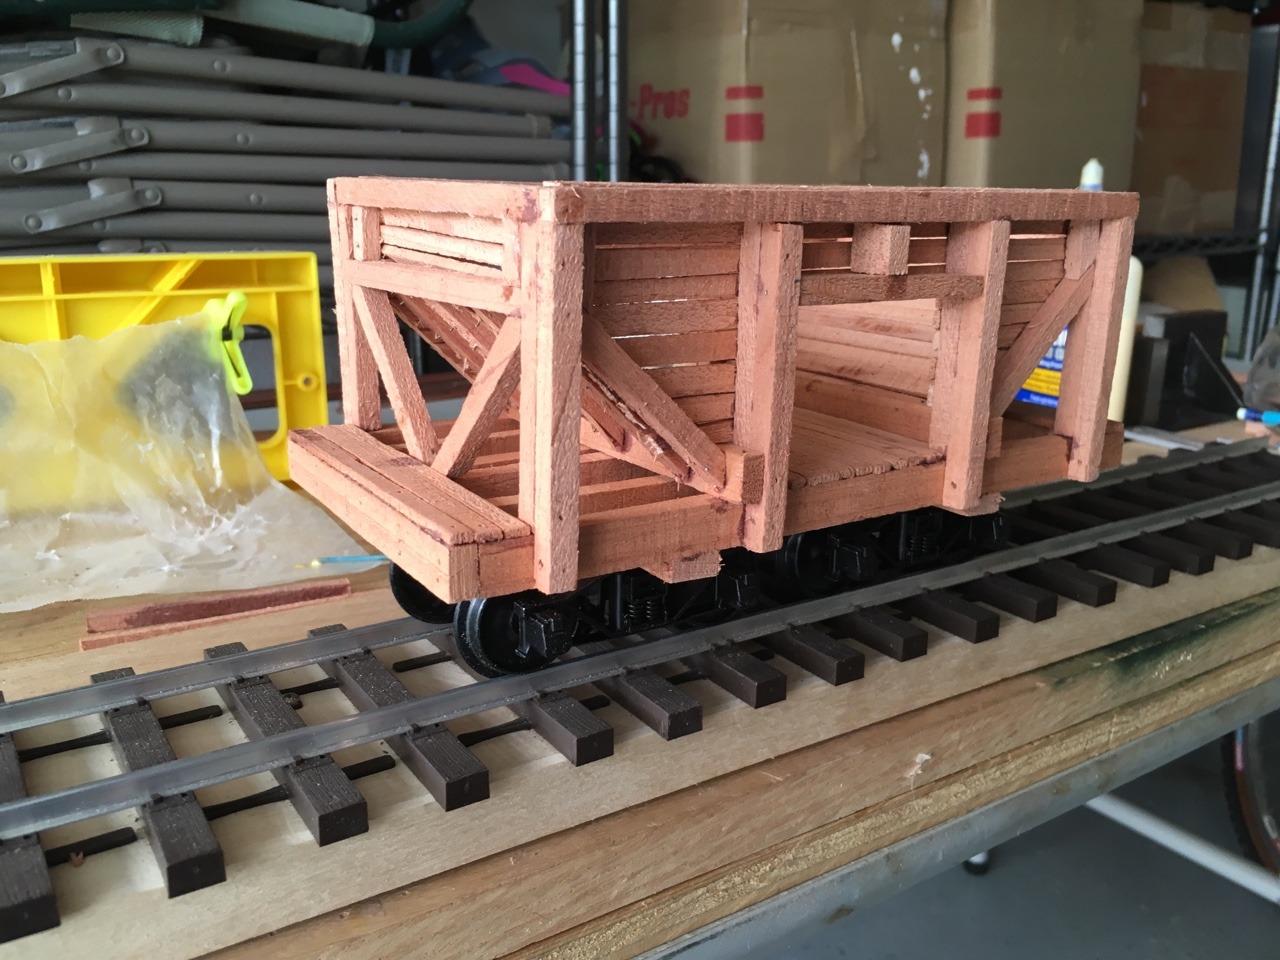
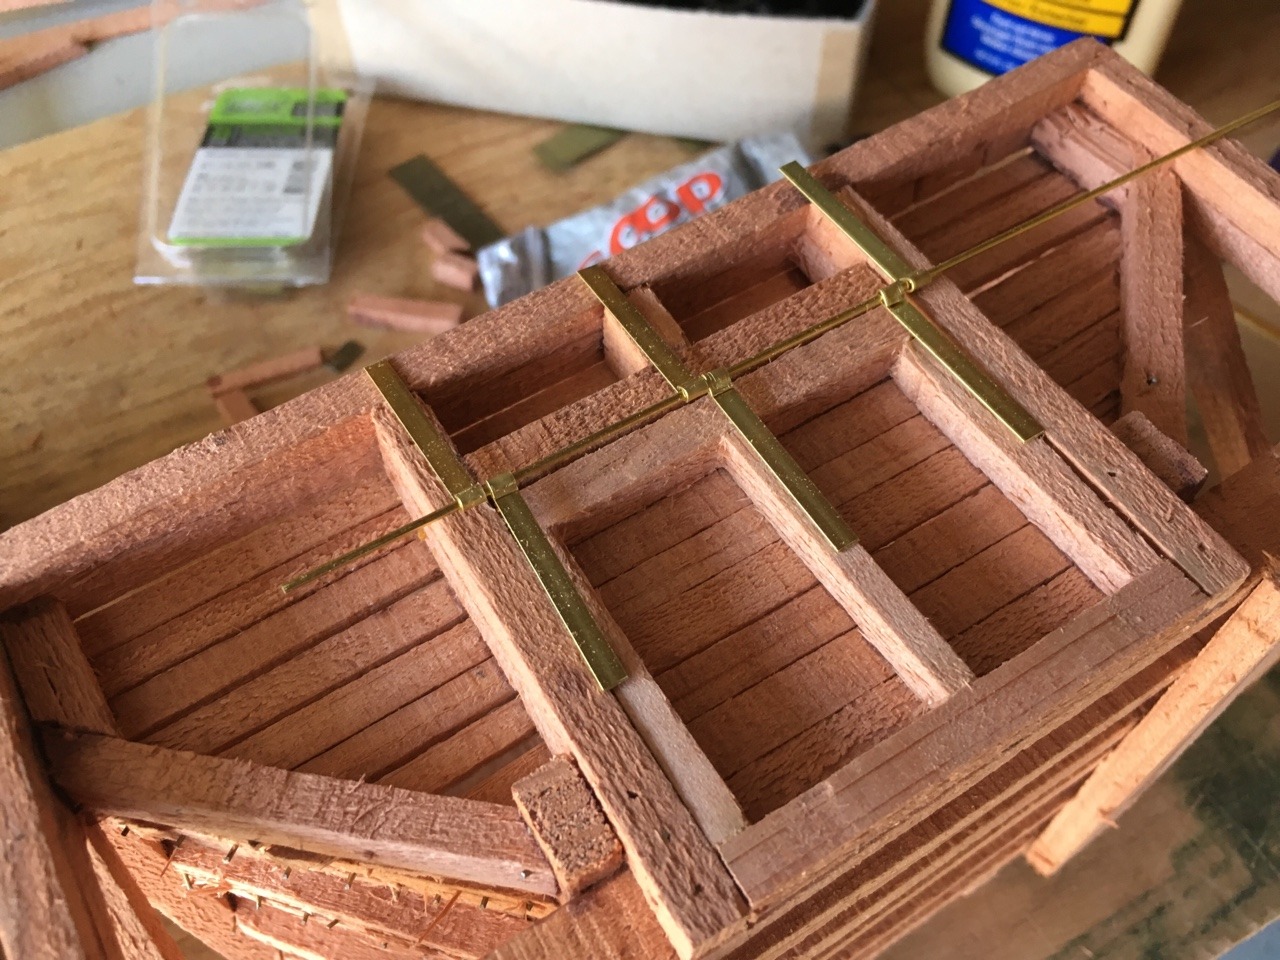
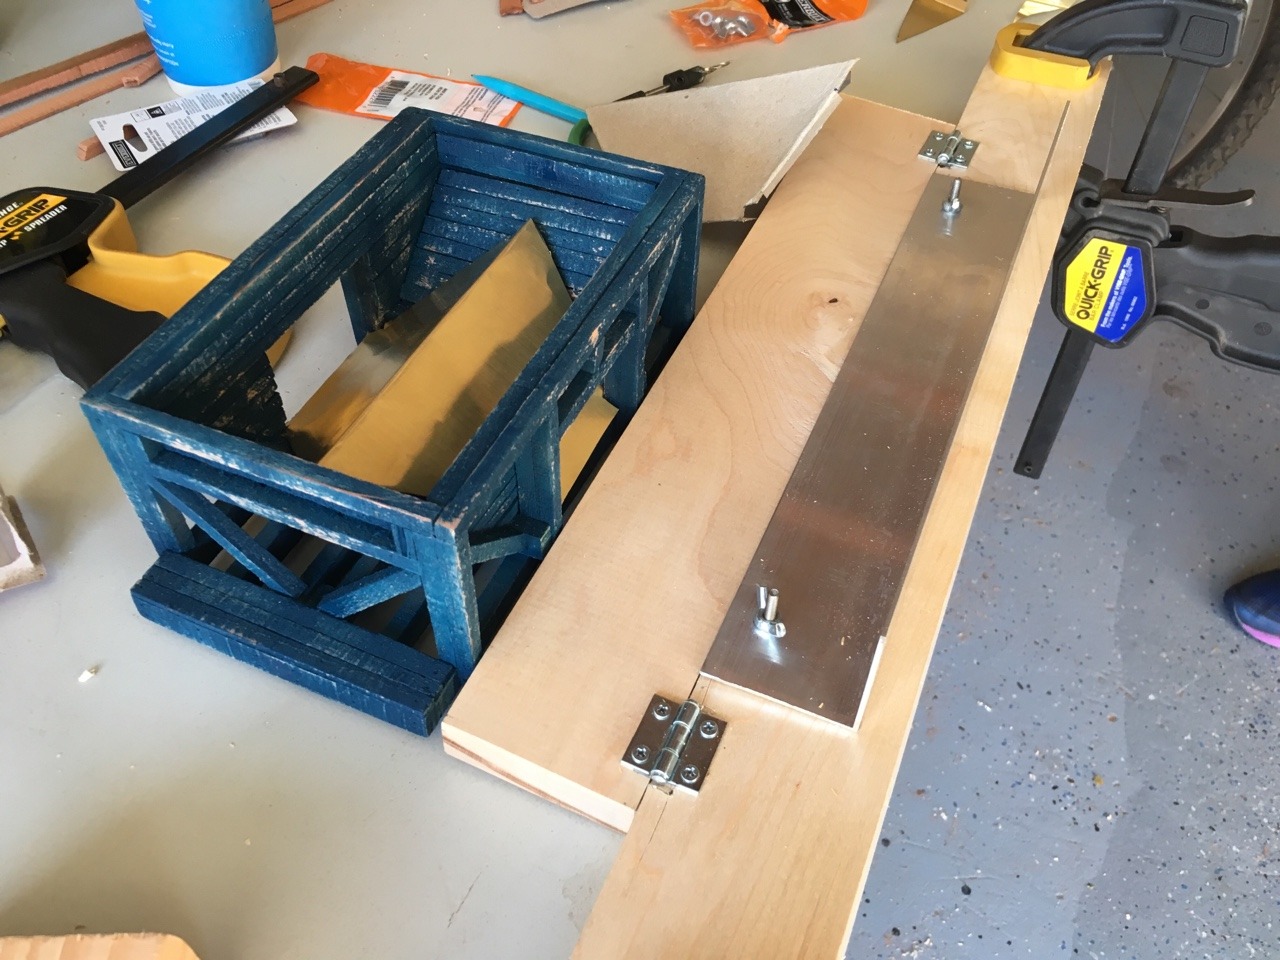
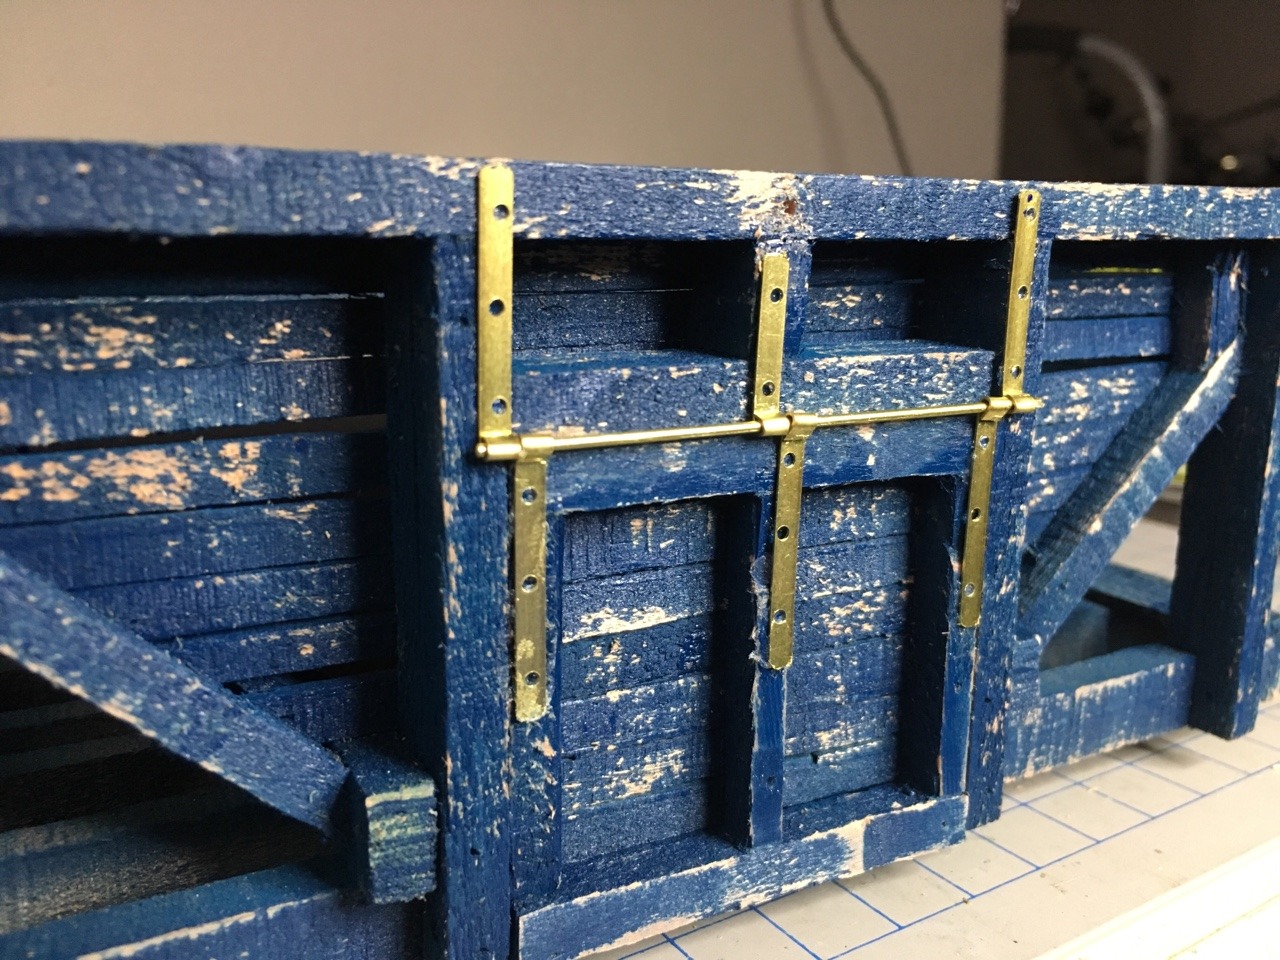
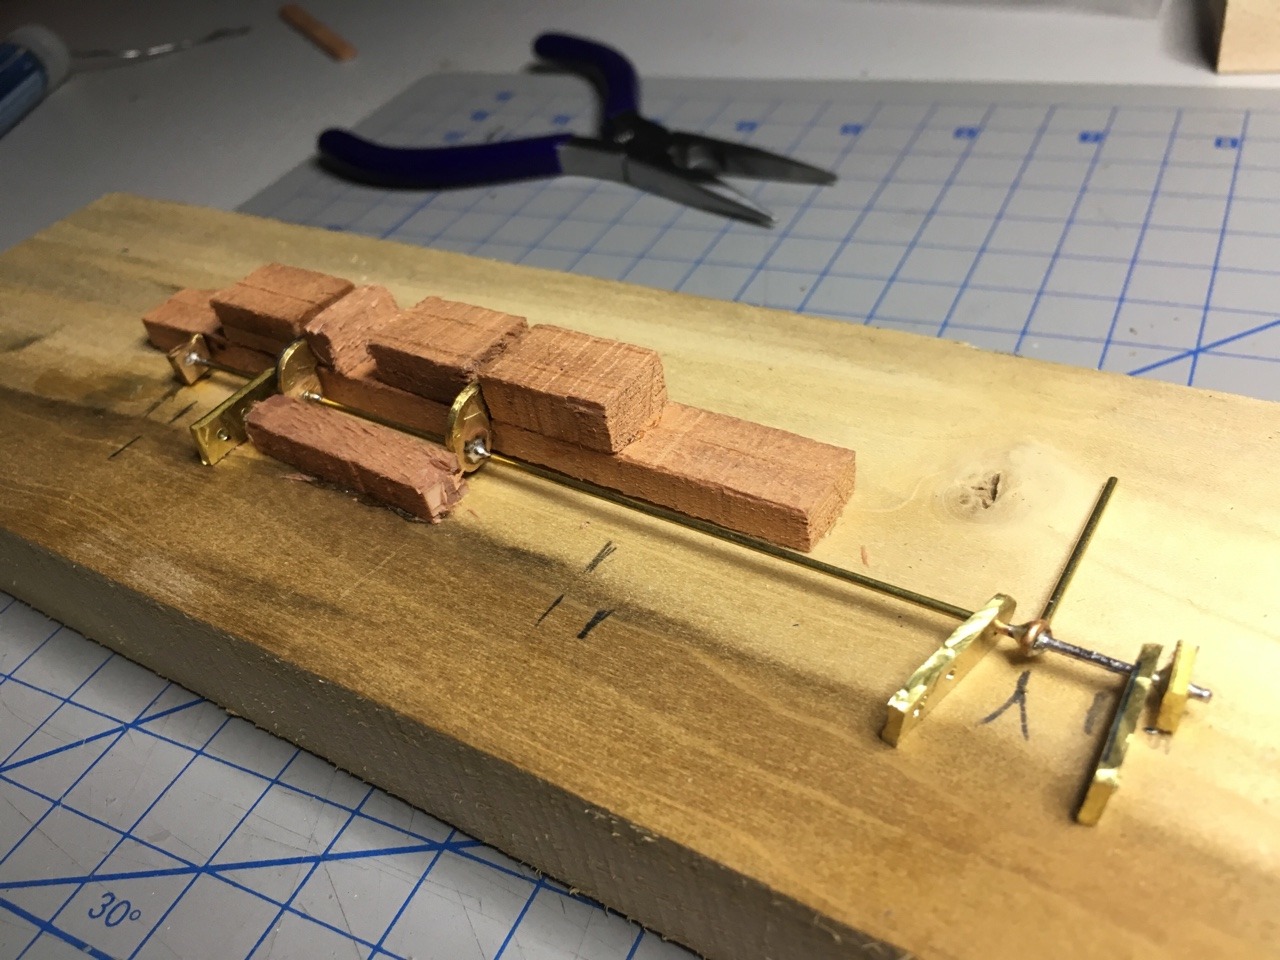
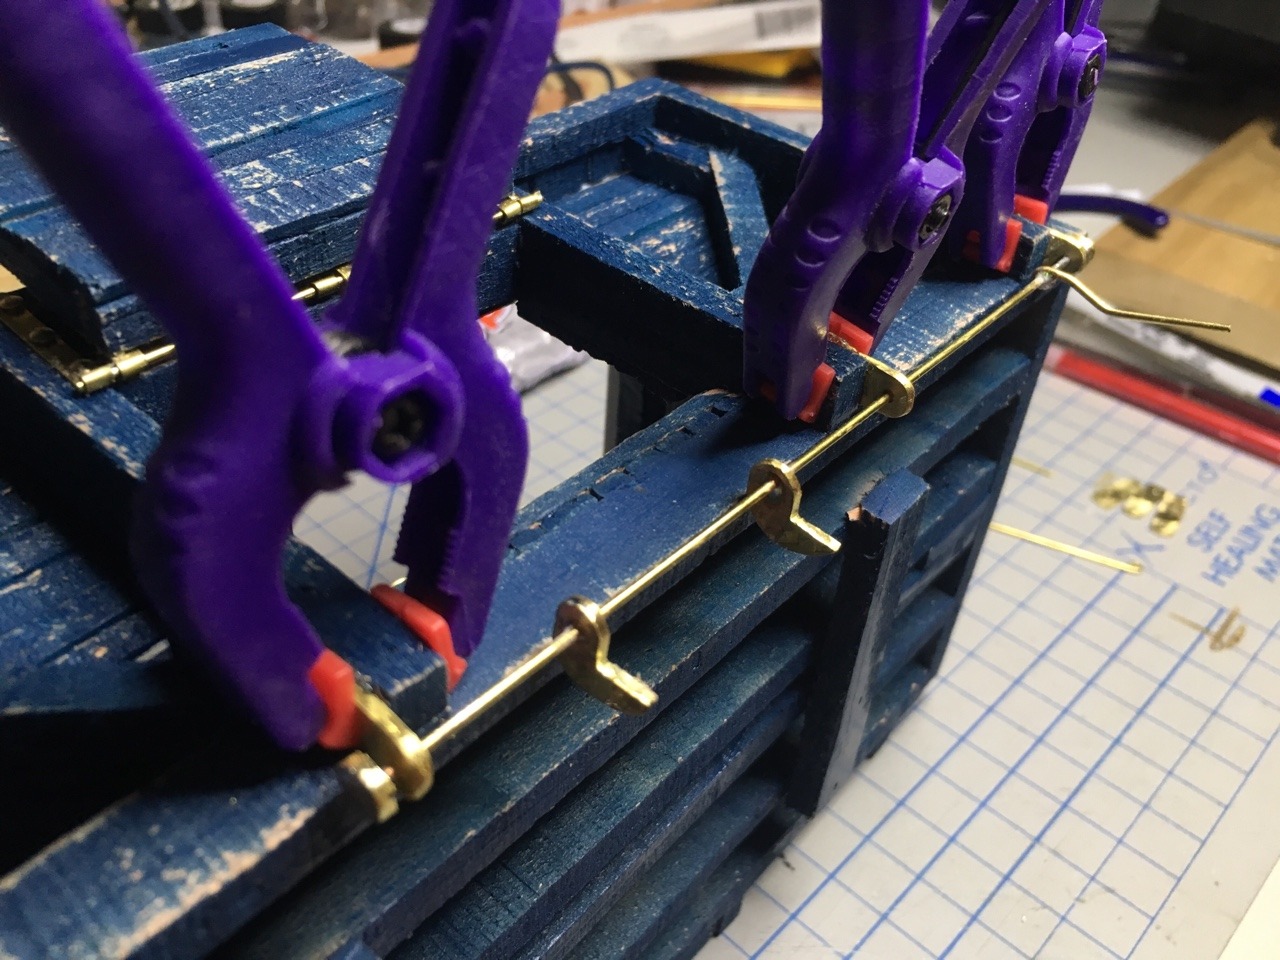
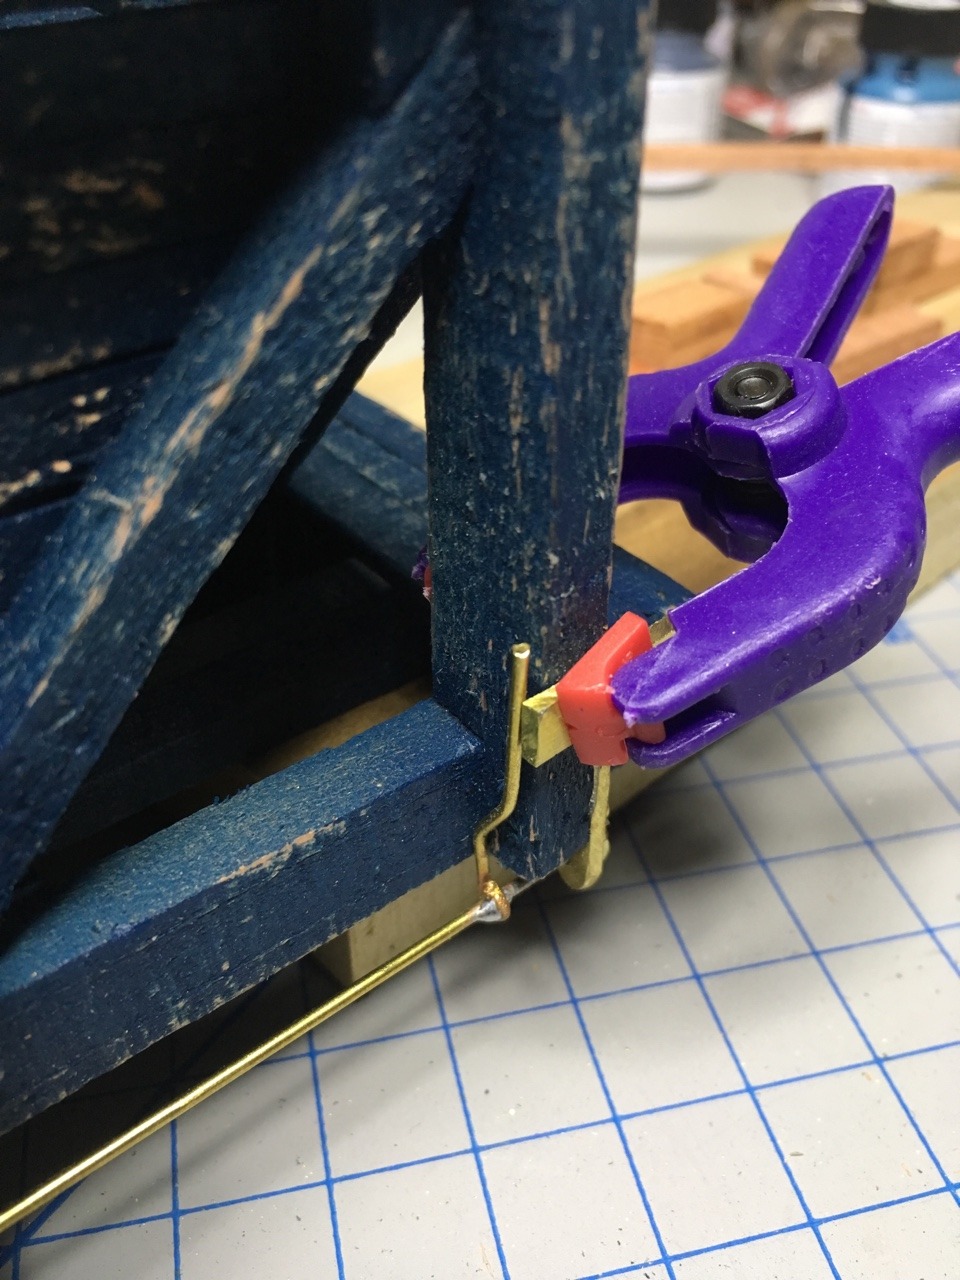
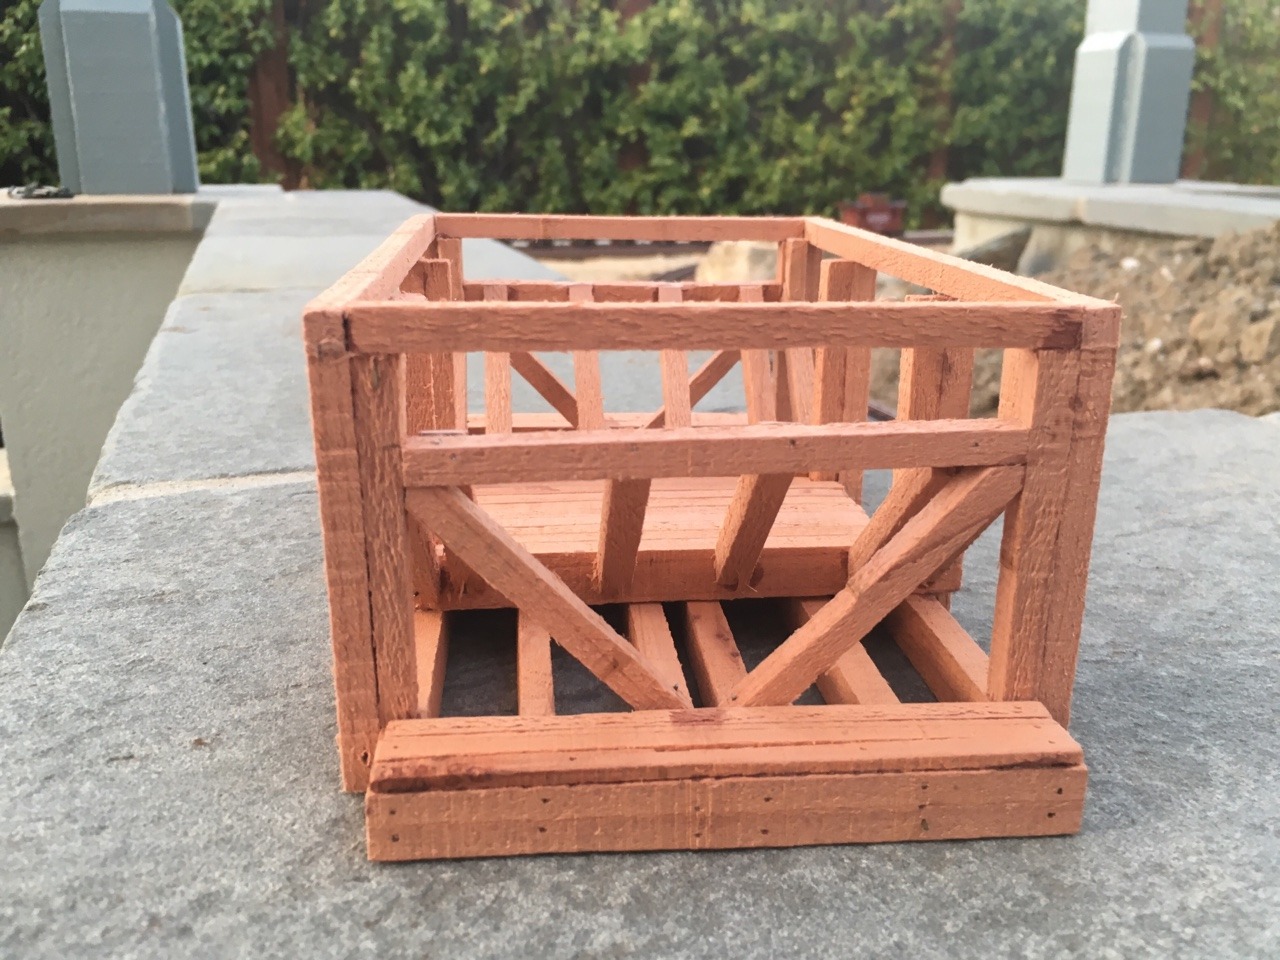
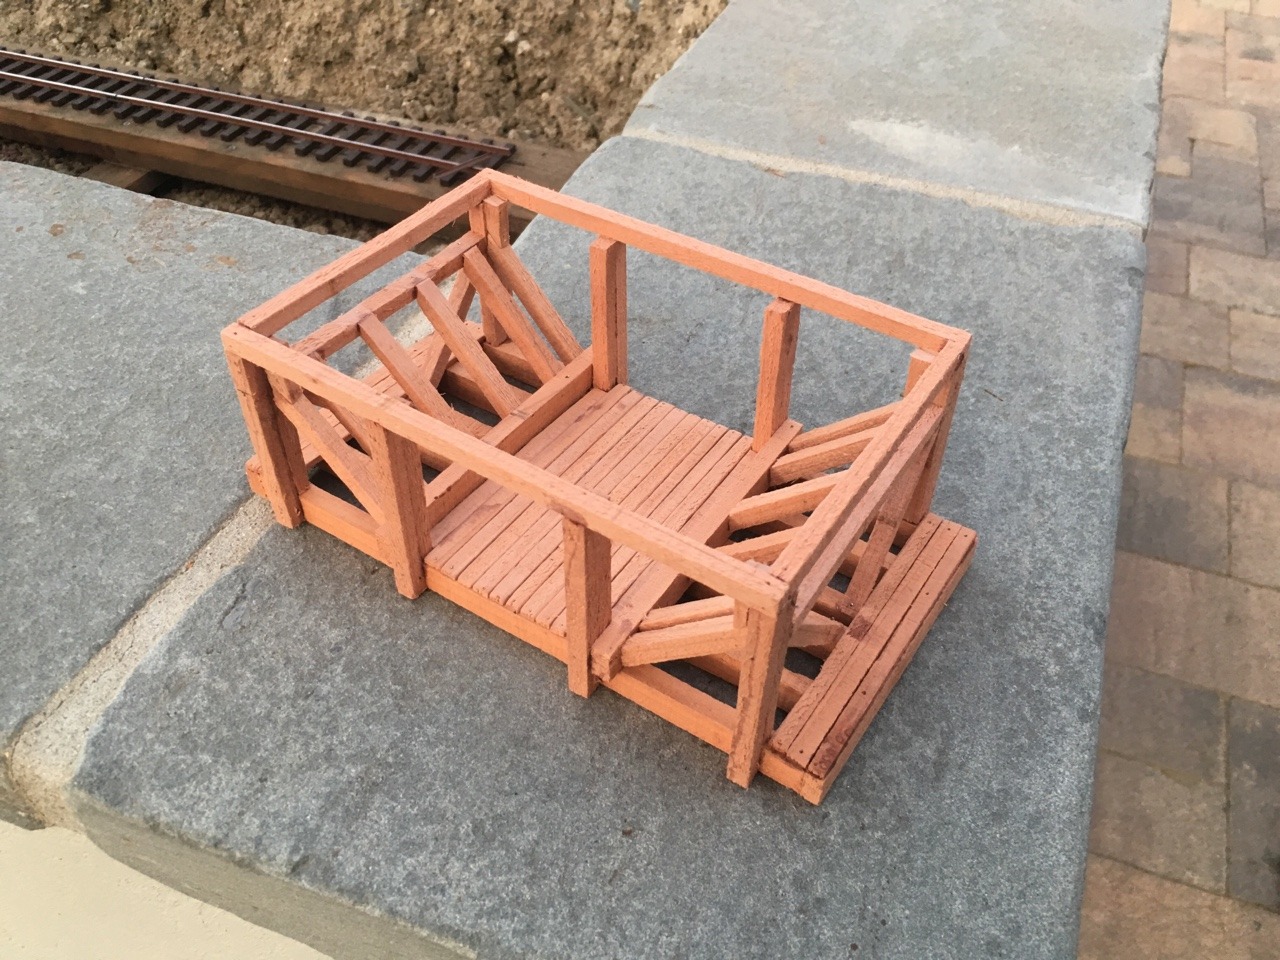
I’ve started framing the hopper as I puzzle out the design. After I get one done, I’ll build another three (for now). Like my wooden water car, this is built from scrap redwood leftover from the track bed.

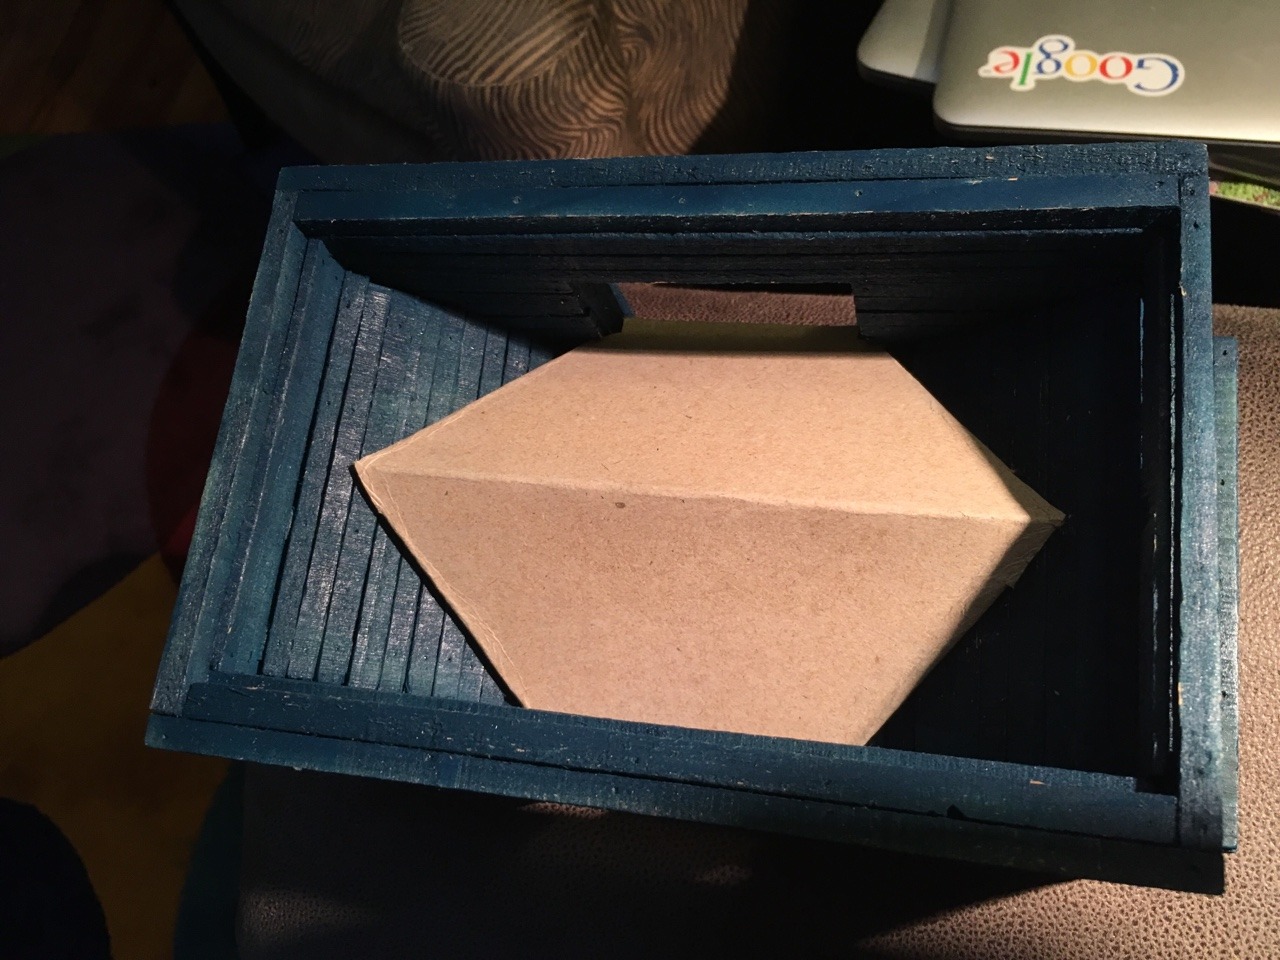
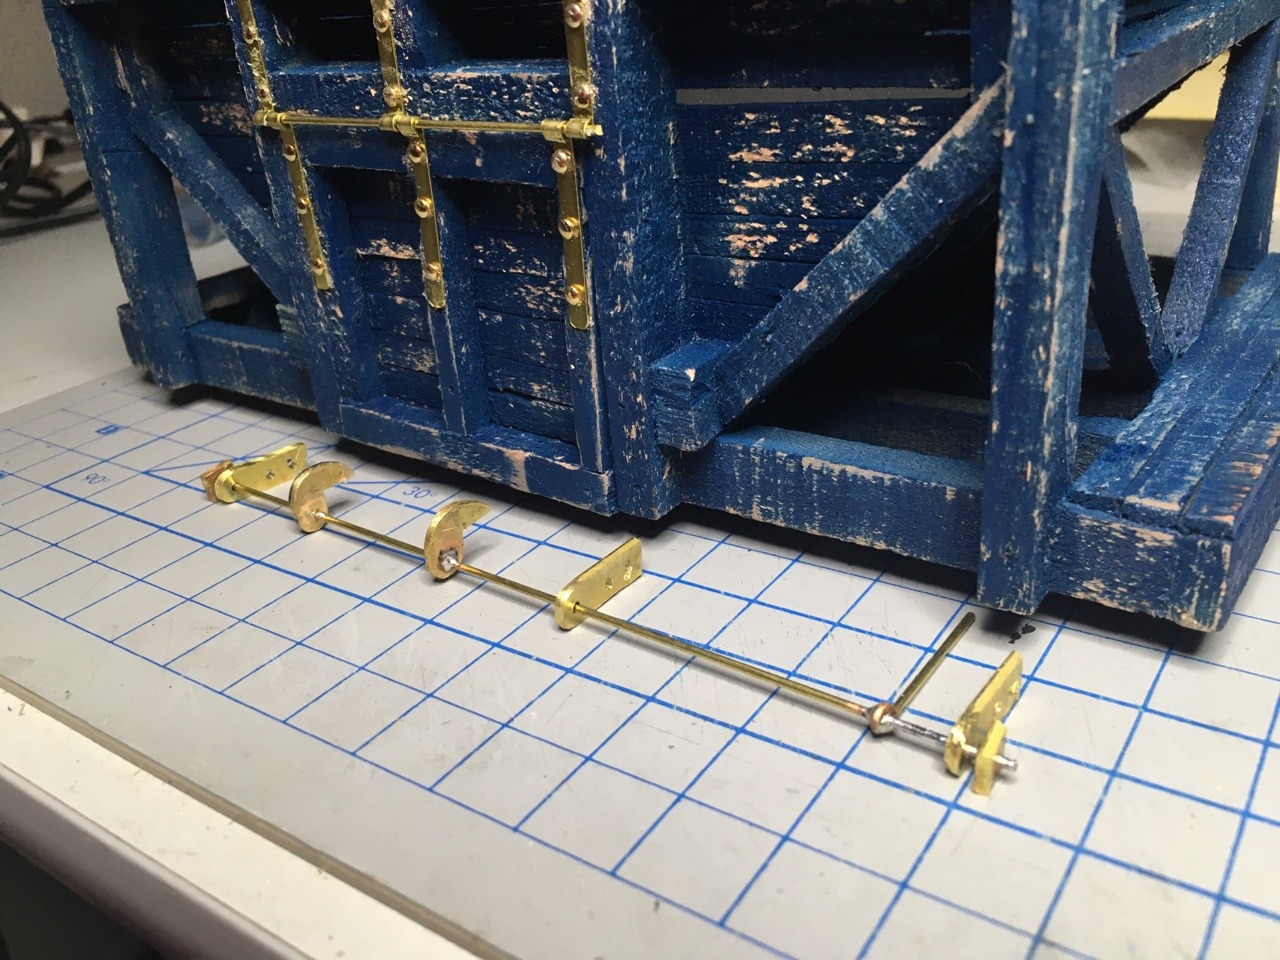
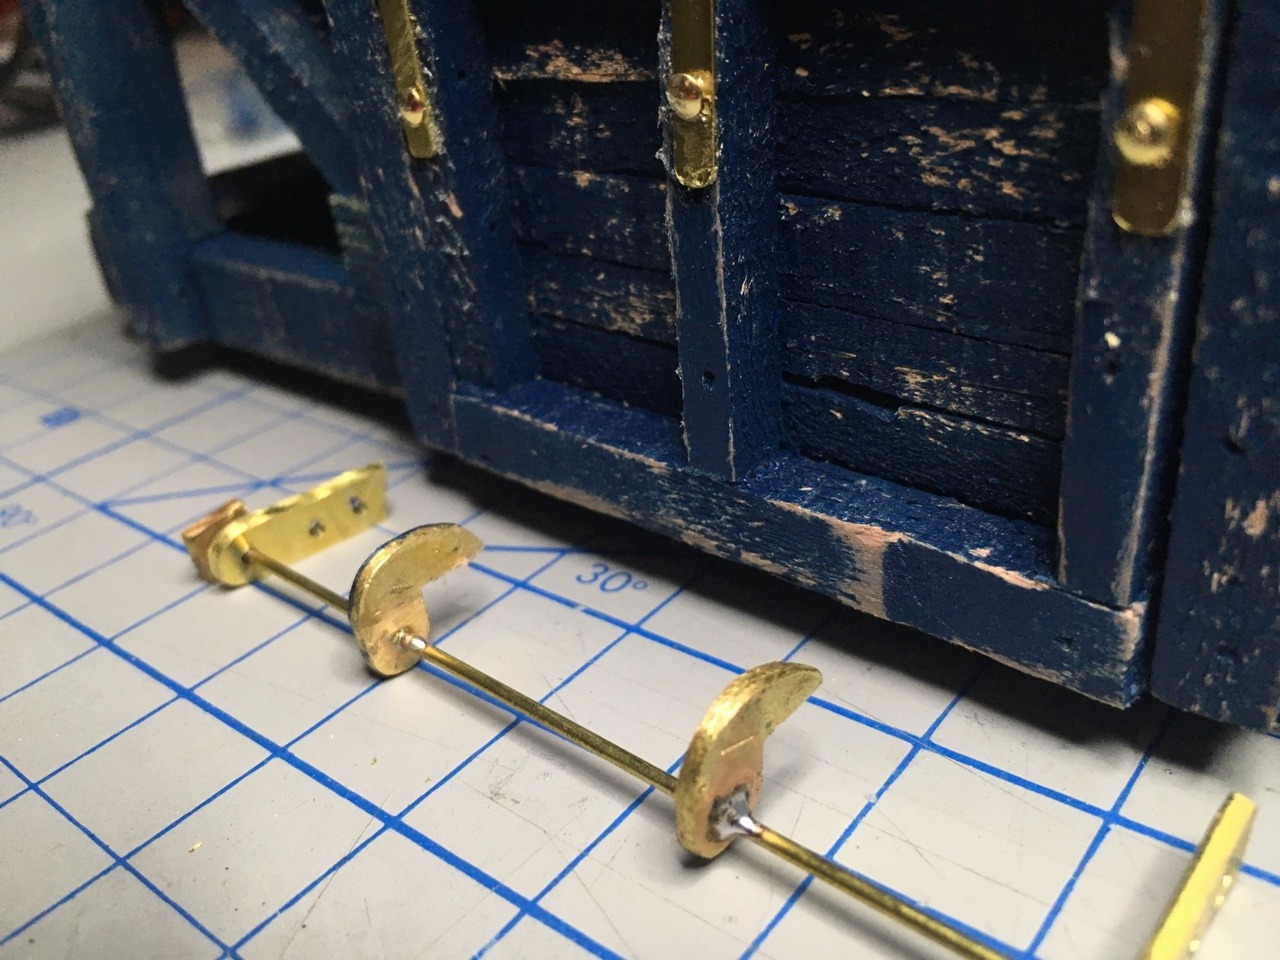
Here is the frame car sitting near the mine:

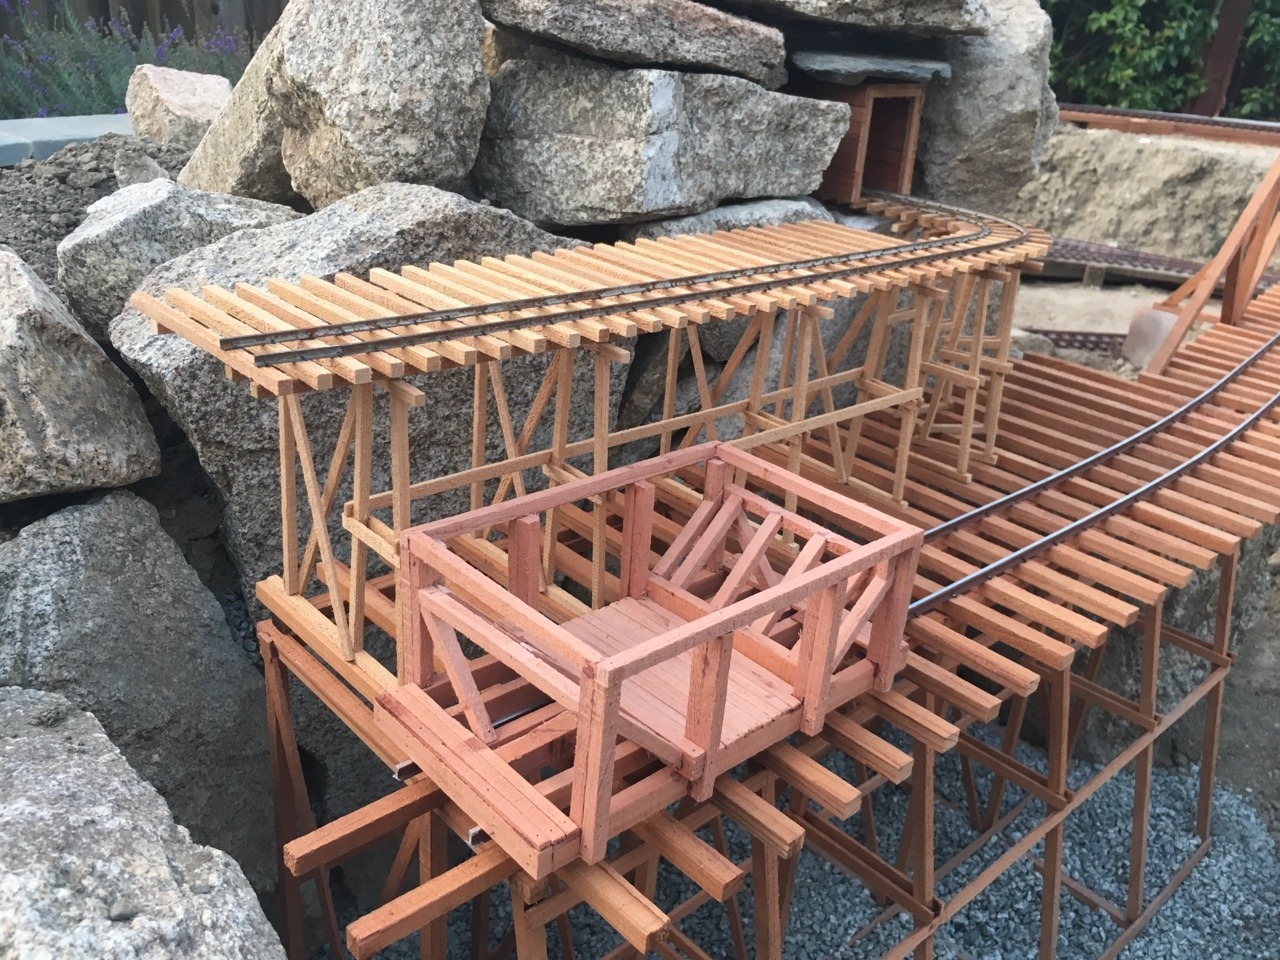
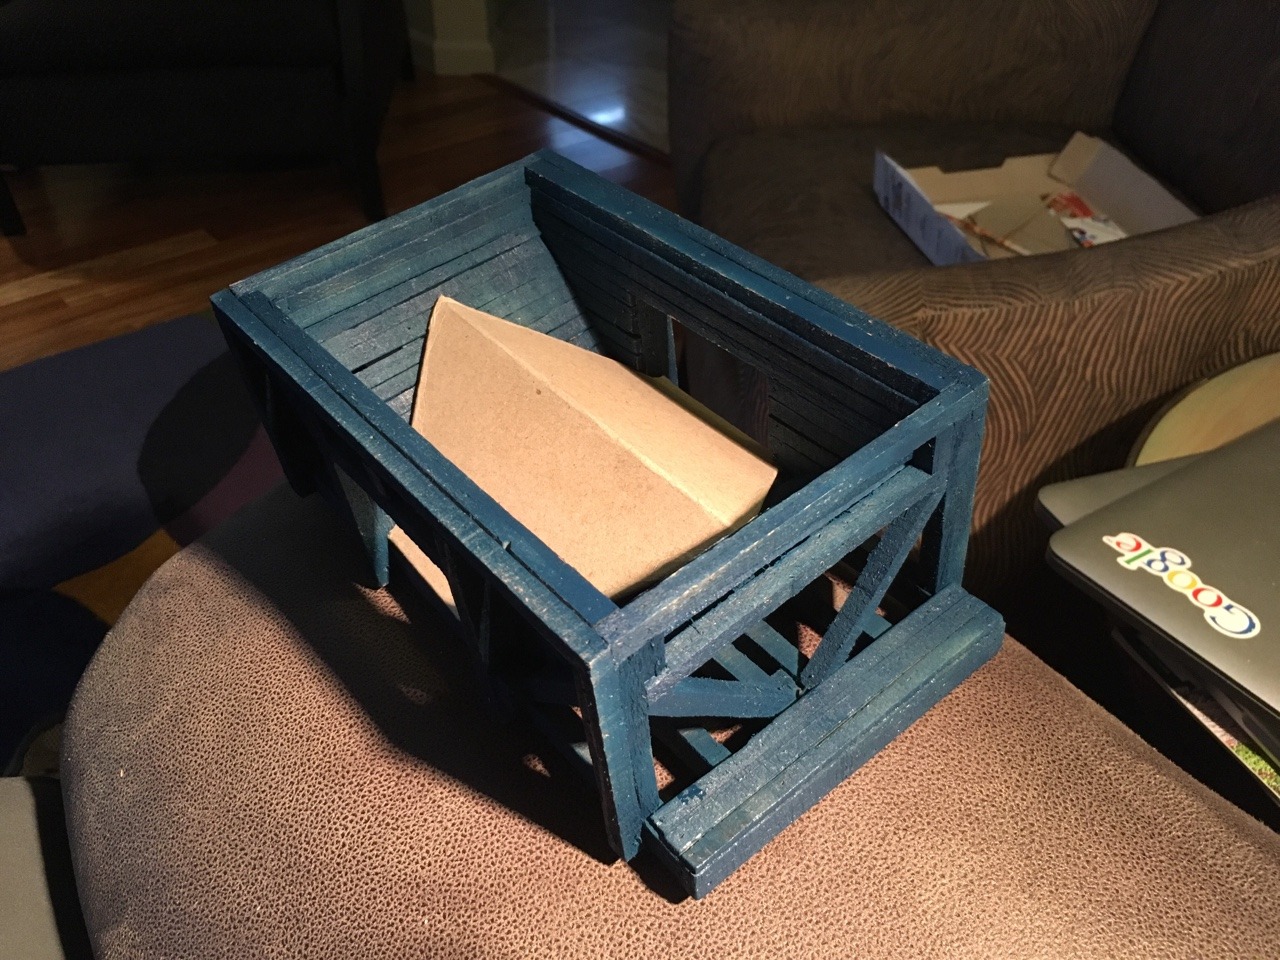
Should be a tight fit, which was the goal.

As always, suggestions are highly appreciated.

Cheers!

The car looks great! The framework is impressive. I don’t envy you building a fleet of those.

The prototype inspiration is a Mann’s Creek Railway hopper car. They had a slope sheet running lengthwise down the center of the car so the ore would slide out the side discharge doors. Here’s a photo I found that shows this slope sheet (barely, but it’s visible.)

I’m not seeing that on yours yet, and the work you’re going to in the planking on the deck of the car makes me think that’s not part of your design. Some sheet brass bent into a ^ shape and cut to match the end slope sheets would be all you would need instead of the planks on the floor.

Later,

K

Kevin: That picture and related description of the car interior is incredibly useful. Thanks!

I found another picture of another model of the Mann’s Creek hopper:

I may take some liberties with my design, but since I already have by shortening the car, why the heck not?

As to building a “fleet”: the plan is only to do 4 (nice to have a small railroad sometimes). That may count as a fleet but it has to be on the minimal end of it :-).

Thanks again for the info!

Jim, very cool, looking foreward to the finished product.

Update: The major framing and wood lining is done. I’ve overdone the interior wood lining because a) I’m not sure exactly where the interior slope sheeting will go, and b) I may not bother with this car and just fill it with ore (how would anybody know?) and wait to do the slope sheeting in a later car. This car turned out a bit rough around the edges but it may be ok for the 10 foot rule.

Next up is to build the doors, then lots of details: hinges, closing mechanism, bolt details, and of course trucks and couplers.

Cheers!

I also found another image of the hopper (or at least a model) that shows the closing/opening mechanism that I was still puzzled about.

It appears that there’s a rod underneath that has hooks that rotate up/down to hold the door closed or allow it to open. Lots of “metal” pieces to fabricate but looks pretty simple. The hinges are pretty simple too.

Cool!

Got the doors made, now figuring out the hinges. The picture below shows one side of hinges laying in place, leading to questions:

  • I just folded the brass strip (1/8" wide by 1/64" thick) around a brass rod using pliers. Any better way to do this? Some are ok, some are a bit oblong. I guess the more of them I do the less oblong they are :-), so maybe the answer is: practice!
  • What’s a good way to create rivets on this brass? Zooming way in on the example picture seems to imply that the fasteners to hold the brass strip onto the wood frame have round tops (more like rivets than bolts). I guess I can do whatever I want, but was wondering if there was some magically simple way to build these things quickly and easily. Watch Ray Dunakin work, it seems like one possibility is to get hex or square styrene, cut off a small bit, glue it on, then file/sand it down to round it as much as I feel like. That seems doable but tedious.
  • The previous photo I posted shows a painted model (it is On3 I believe) and it looks great to my eye. I’m torn between leaving the wood raw or painting it (green? dark gray? black? something else?). Suggestions?

On this first one I think I’m going to go whole-hog and see if I can make the doors work (as well as putting in the metal sheeting in the ore area), even though I’m thinking I’ll have 2 empties and 2 full cars to move around my relatively small layout. I don’t anticipate some magic Lionel “action” spot that opens the doors and spills the ore out :slight_smile:

Cheers!

Look pretty cool Jim

Well, HO track nails come in several head sizes, as do pins (like sequin pins). That method requires drilling holes in the brass strip. Another method would be to emboss rivets into the brass, but without a suitable punch and die, most attempts I have seen fall quite short of the desired effect.

The car is looking good Jim! I have used brass escutcheon pins for rivet heads several times before. As David said, you will have to drill the brass strip but the advantage is the pins will help secure it all together!

Steve

Jim Rowson said:

  • What’s a good way to create rivets on this brass? Zooming way in on the example picture seems to imply that the fasteners to hold the brass strip onto the wood frame have round tops (more like rivets than bolts).

Browse through one of your local big box hardware stores in the “Fasteners” or “Hardware” section. You should be able to find brass escutcheon pins. They have a brass look and round heads. They’re about an inch long so you may have to cut them. Pre drill a hole and add a bit of super glue to hold them in.

Thanks for the tips re: rivets! Much appreciated!

Just don’t get the idea that I actually count those things. Ok?

After painting the car blue (wow, that may have been a mistake, we’ll see how it looks when everything is detailed and a bit weathered), I’m now starting to figure out how to fit the brass sheets inside (so the ore will slide out). I’ve sacrificed a cereal box (big spender!) and took a try at fitting it. I’ll use the cardboard piece as a master to cut out a sheet of brass.

WDYT? This the right way to do it?

I think you may have something there.

Well, not sure about this, but it is cheap :-). I went ahead and got .003" brass shim stock for the metal sheeting inside the hopper. Used scissors to cut it out based on the cardboard pattern. Then I had to build a DYI metal bender to put the creases in it.

It is a of a rough fit right now but probably ok for a 10’ look.

I’ll need to paint this before I install it, and before I try to put the doors on (with hinges and closing mechanism).

Cheers!

Consider using metal foil tape directly on your high class cereal box forms. Since they are semi hidden embossed rivets would likely suffice. I know of several prominent names that use the foil.

Before I can install the various brass hardware pieces, some shown below, some holes must be drilled (either for rods to go through or for rivets).

So, some jigs were built to make it easier to drill 1/16" holes in small pieces:

The first hinge, minus rivets so far, is on:

And it even hinges!

All this brass will need to be painted of course, similar to the brass sheeting inside (which was painted and glued in place). That brass sheeting actually ended up fitting better than I expected.

Next up (besides the door on the other side): rivets, closing mechanism, paint, weathering. I’m also planning to put some angle bracket (styrene) around the inside top of the car (to protect the wooden edges as the ore is dumped in). I’m also planning a rod across the middle top with bolt details (that’s why the middle-top hinge brackets are shorter). Eventually I’ll get to add trucks and couplers and this puppy will be done.

Lots of fiddly little stuff to do on this car. And I get to do this 3 more times! Oh well, “you knew the job was dangerous when you took it, Fred”…

Finished hinges on both doors, with escutcheon pin rivets. Now working on the closing mechanism.

I already had a lot of the brass pieces shaped, with holes drilled. So the next step was to build a jig to hold things as I soldered the hooks onto the rod, etc.

Here’s the final assembly next to the car, and a closer view:

And it is glued onto the car. Everything seems to work as intended. I have some final fitting stuff to get done, some rivets to put on, then maybe I’ll post a video showing how the mechanism works (it is pretty &$^% simple).

Cheers!

Door closure mechanism almost done. Need some advice on it.

Here’s the door working:

Here’s an overall picture of the door mechanism:

The lever at the far end is what is used to open/close. Here’s a closeup of it with the clamped piece of brass being used temporarily to allow me to demonstrate the mechanism:

So, I’m asking for advice on how to keep that lever upright when I want the doors to stay closed (which is most of the time). Anybody know how it is typically done in the prototype?

A few ideas:

  • A piece of brass as shown here that the lever is pushed behind (seems subject to vibration and may jolt open at the wrong time)
  • A piece of chain that goes around the back of that wood support and hooks over something on the other side
  • A brass hook of some kind that can rotate up/down, attached to the front of the wood support. Rotate it up out of the way to open, let it rotate down to hold in place

Thanks in advance for any suggestions!