It’s an honor to be here with so many talented people.
I’m moving a little at a time. Only working on rainy days.
I’m still in the layout stages of the build. I haven’t nailed down the ride height, etc. So be kind, it’s just the rough framing stage!
Looking good Joe.
Shane
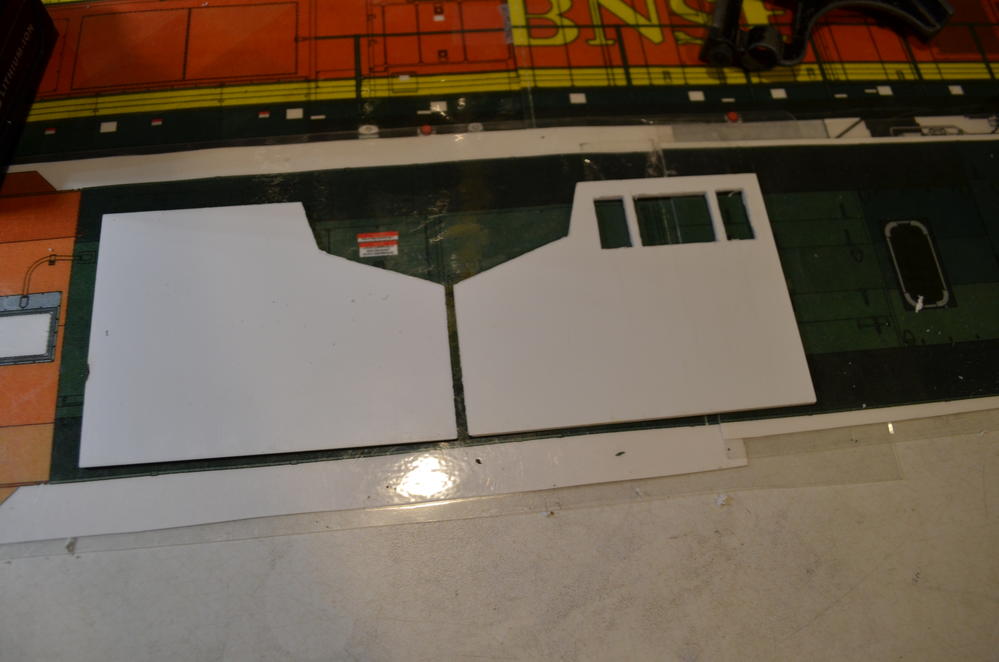
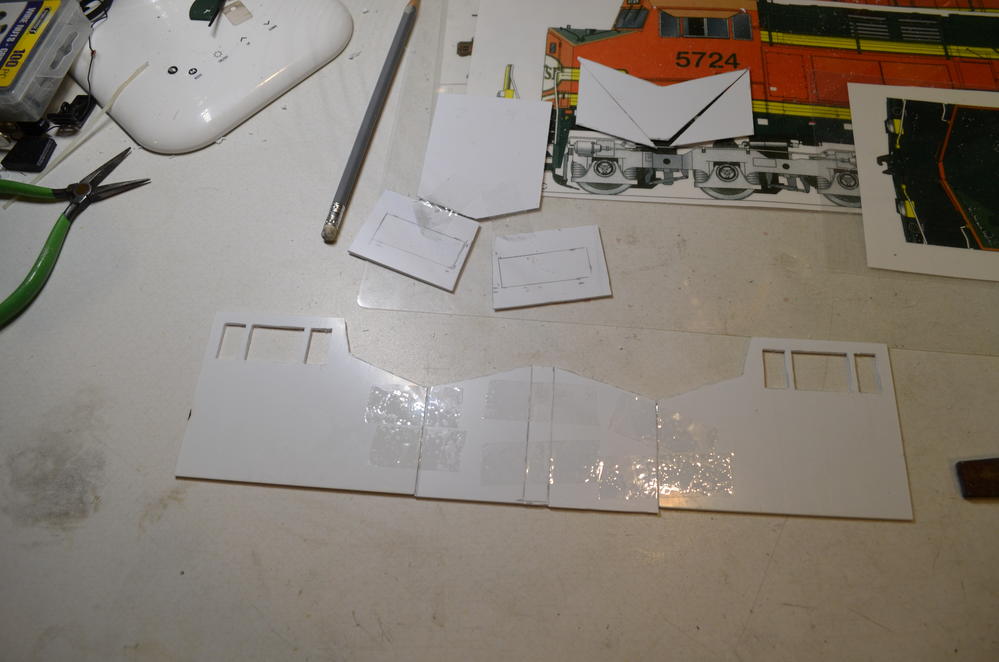
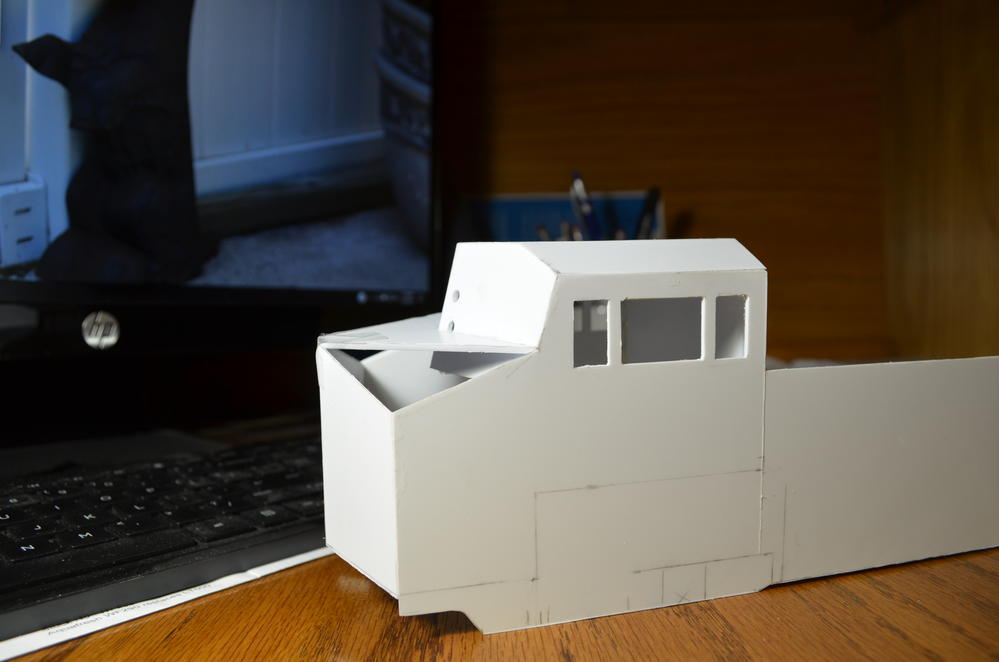
Started cutting the cab parts up today. I still have to cut out the cab’s lower door panels.
I got a notice that Grant liked a post above. I haven’t seen his layout in awhile now. I hope all is well Grant!
I agree detailed step by step would be lovely. ES44 is on my to do list (specifically PRR Heritage unit).
Joe, you getting your photo templates from any place in particular? Guessing you just resize them to 1:29 scale?
Sorry Eric. I posted more when I started the CSX SD70ACe. I got the pictures from an issue of Model RR mag. They had the 2 new releases from the builders with pictures and drawings. The EMD SD70ACe and the GE ES44AC. They are both older now but I never got around to building the GE. So when I talked about building another modern engine like the GE AC6000, someone suggested using the drawings I already had!
I model in 1/32 mainly and also have other sizes of equipment from LGB, USA, and Aristo. I prefer the MTH 1 gauge products for their value. They use metal gears that seem to last forever. They are 1/32 and so is Accucraft products among others. Trouble for me is most are older era models and I prefer modern.
So I built a SD70ACe, a MP15AC, and a kit-bashed F40PH so far for my fleet. I need something more modern to run with my MTH Dash 8s so here I go again.
It would be difficult for anyone to follow along exactly with me. I have some physical handicaps that limit what I can do and for how long. So I jump around when I can. The pictures really tell the story of what I make. I don’t list every angle that I cut. I calculate them as I build and adjust as I go.
You could look over the pictures in my scratchbuild album. I would suggest also looking at many other member’s albums here for better examples.
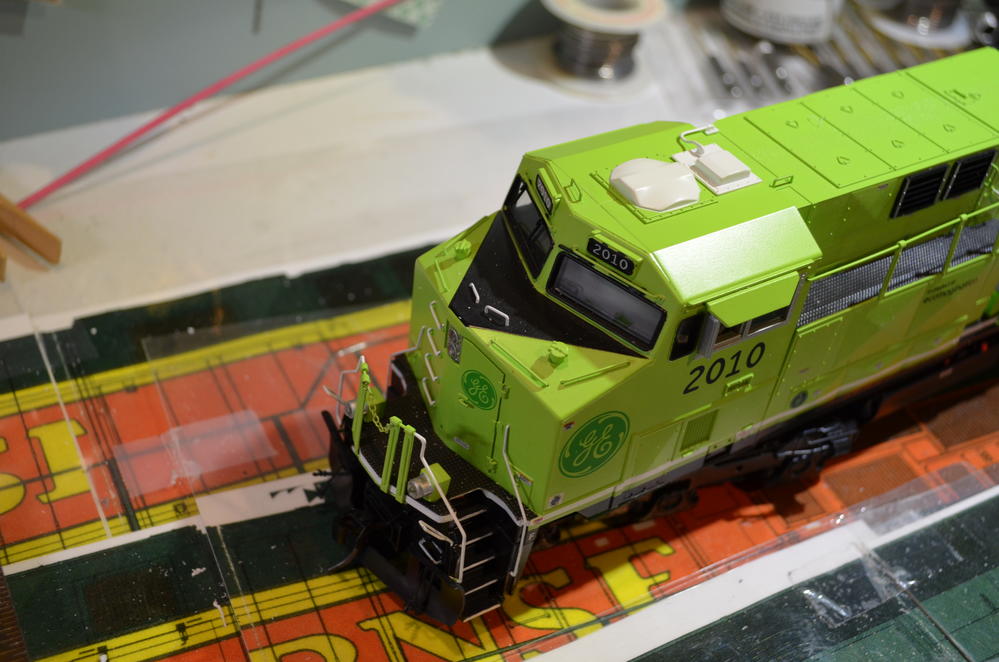
The drawings I’m using from the article in Model RR mag are missing lines near the front of the GE’s cab up top. There’s something that the drawing took liberty and doesn’t appear to be totally accurate. I found out the hard way and now have to re-cut several pieces a little longer. The cab has plates of metal that end short of the front and the drawing seems to have mixed these with the front edges. It’s nice to have an actual model to look at to see what’s really going on.
It’s really important to pick one real example to copy too. There always seems to be changes made to production orders over time and for different customers.

Joe Paonessa said:
It’s nice to have an actual model to look at to see what’s really going on.
It’s really important to pick one real example to copy too.
Just remember that the model you are looking at may not be exact either.
I agree it is “very” important to pick one example to copy.
I don’t care what the steam freaks say these modern locos are just as hard (actually) even harder to model than most steam locos. It’s the little details that really make them stand out but also get your panties in a wad at times.
Digging this thread and nice to see you back at it !
Joe Paonessa said:
.
It’s really important to pick one real example to copy too. There always seems to be changes made to production orders over time and for different customers.
Was expecting to see a 1;1 Loco sitting outside your home after that Quote, Joe!! Love this , keep the pictures coming , Can’t wait to see it pulling freight .
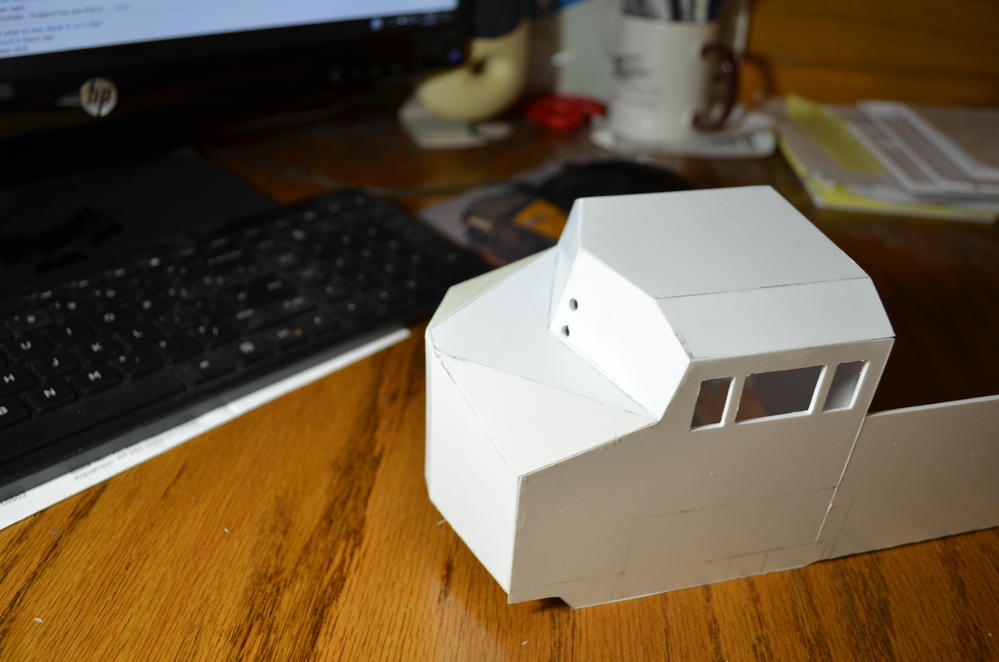
Lots of angles to capture on the modern GE cab.

I’ll get it eventually!
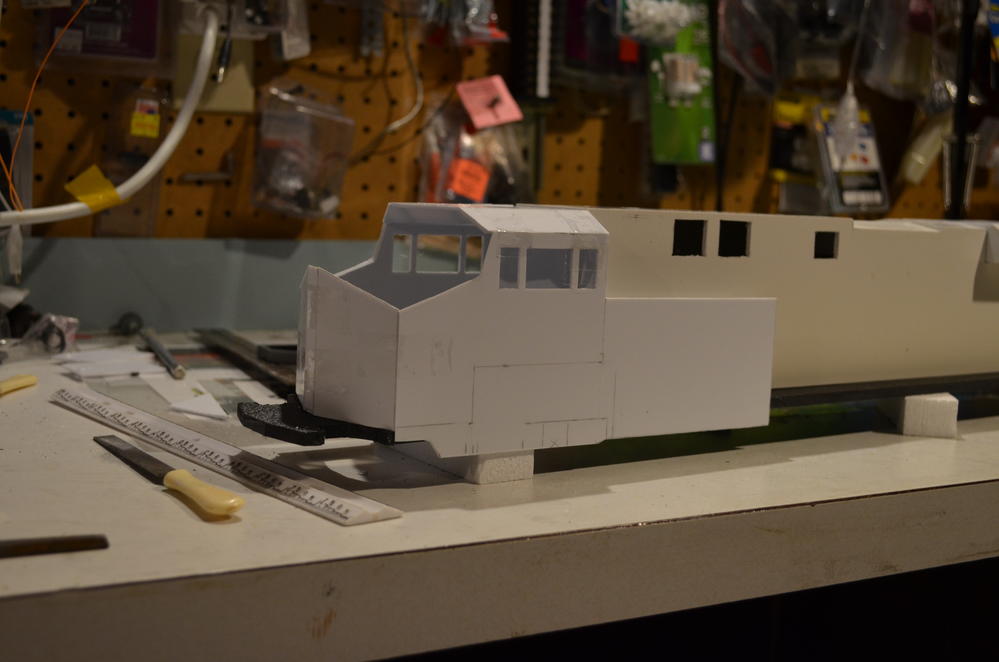
A lot of fine tuning to do yet. I had to see what it will look like!
a little farther along now…
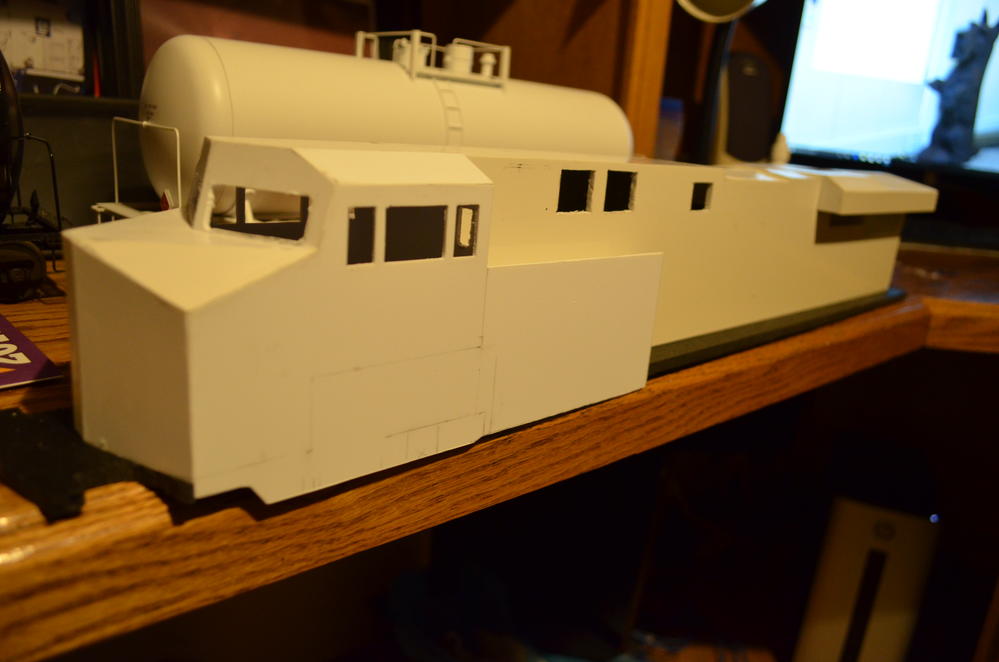

looking like I’m almost there!
I’m about half way there on the fuel tank??


I added the frame rails now

really coming to life!
A quick GE air tank and another yet to come…
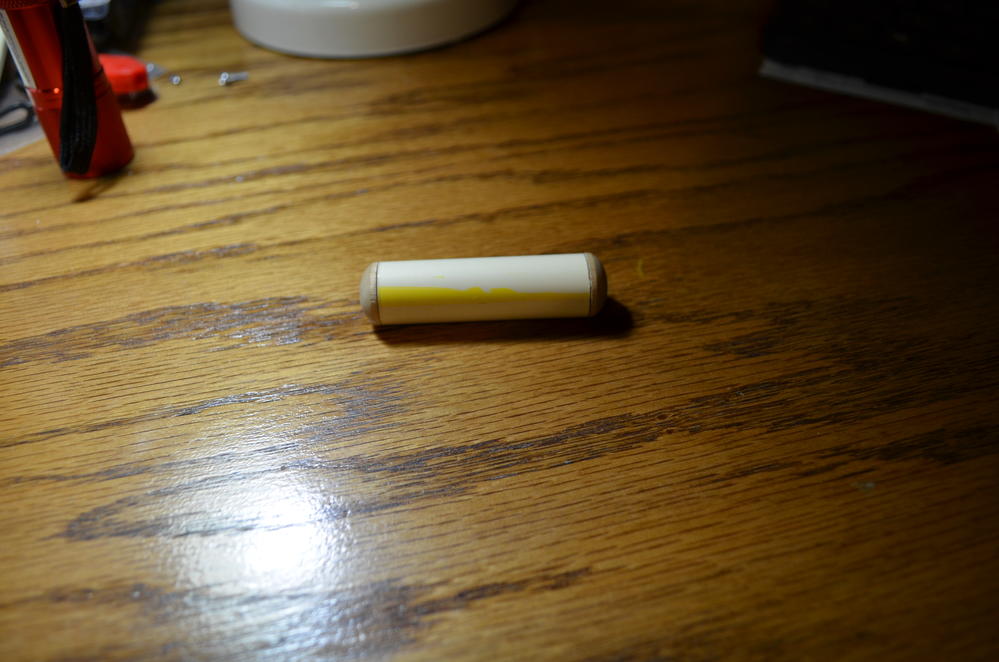
I’m going to call this an air tank shelf. I finally cut the new fuel tank to install it. I don’t know why I was shy about starting this?
It’s just laid in place for a test fit.

Here’s a dry test fit of the air tanks…
added a little detail to the air tanks
Thanks Boss!