What no train pictures Jon. You know thats not nice to talk about running trains and not post pictures. 
Shawn said:Was too busy trying to get my TrainOps switch list completed before dark!
What no train pictures Jon. You know thats not nice to talk about running trains and not post pictures. :)
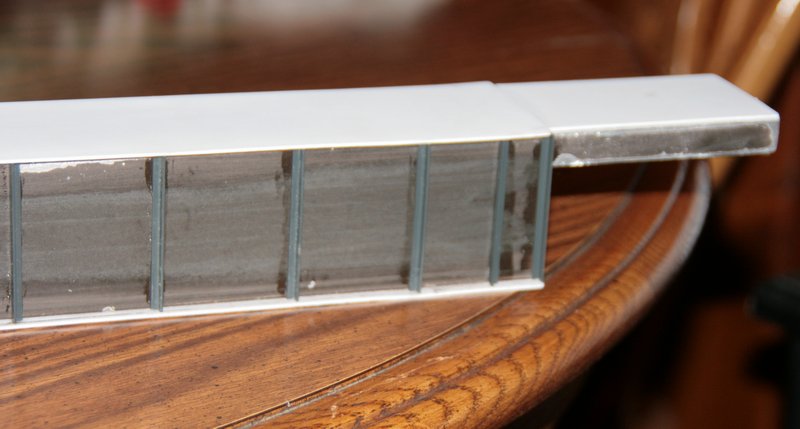
Progress pictures as promised: West End…
East End…
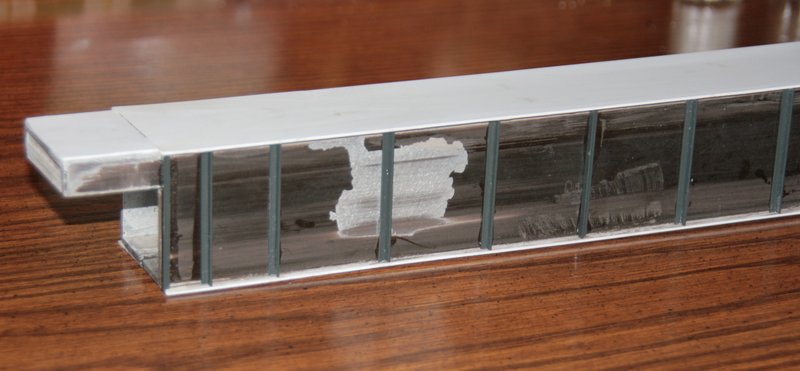
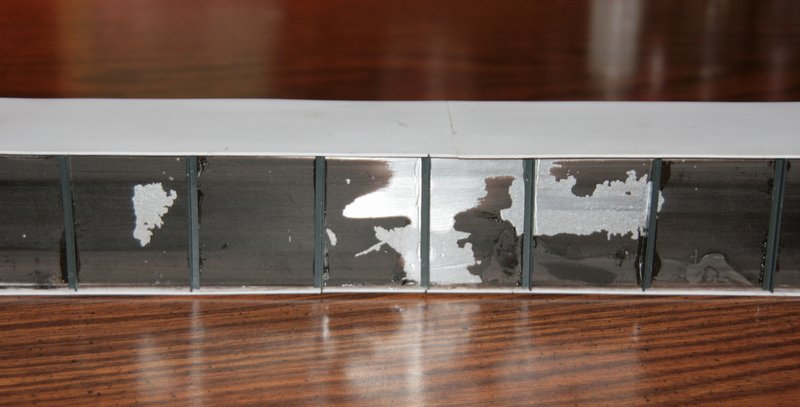
Center…
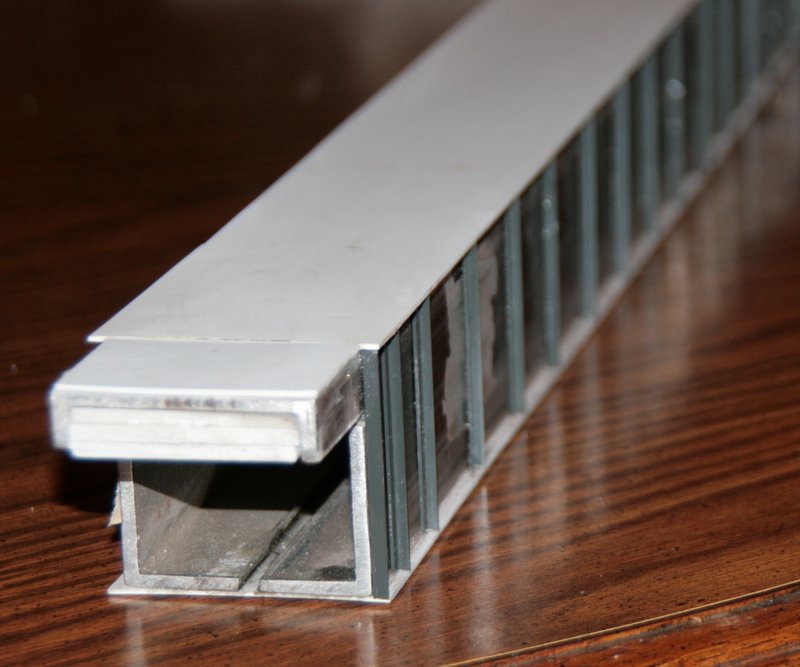
End view…
I don’t know how modeler’s like Bruce and Ray have the patience for all the detail work. Just getting the angles glued on on side just about drove me nuts  I’m now stuck until I can get some more 1/8" angle. BTW - The prototype photo above came from Historic Bridges .org where there is a huge archive of bridge photos, most high res.
Looks good. You don’t have to have a riveted steel bridge. A welded bridge looks a little more modern, but for a couple feet away I don’t think you could see the rivet heads. Isn’t it amazing how fast a project like this goes through small styrene shapes.
Craig
Jon
It’s really looking nice.
I see you have the same problem with paint sticking to alum.
Rodney
Thanks Rodney. Not my paint, but yes. I used masking tape to hold some spacers in-place while coating the top and bottom with styrene. When I pulled off the tape, the original paint came up with it.
If you glass bead the aluminum first the paint will adhere better.
Know anyone with a glass beading cabinet?
David Russell said:Nope. I'm not to worried about it. The only places the paint has come off is where I was using a very high-tack masking tape. I don't plan on doing that again.
If you glass bead the aluminum first the paint will adhere better. Know anyone with a glass beading cabinet?
Very nice looking bridge Jon.
I have had decent luck with just roughing the aluminium up with some medium grit sand paper before priming. it seems all metals can hold even the oil from a fingerprint just long enough to screw up a paint job!
Bruce Chandler said:LHS never re-ordered the angles and they are moving so won't place a new order for at least 20 days. As much as I hate buying small items on-line, I went to HobbyLinc and ordered them. Since the shipping was more than the parts I needed to find at least one more item - They had the 1/8" brass bar I need to finish the log skeletons. Stuff should be here by the 5th :)
BTW, Hobbylinc carries the 1/8" angle.
In the mean time I’m experimenting with the deck…

2020/2024 EDIT: Fixed bad link to an old post: See Calling all bridge inspectors for full details`
Deck work continues. The first section was glued up and painted with a black base coat…

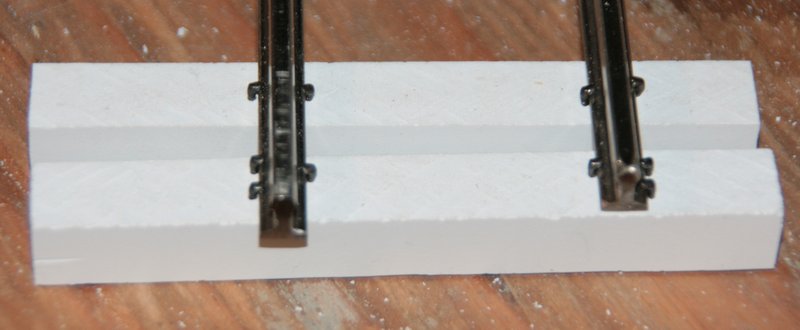
Also did a spiking test on the PVC. No pre-drilling, holds spikes very tight with no splitting…
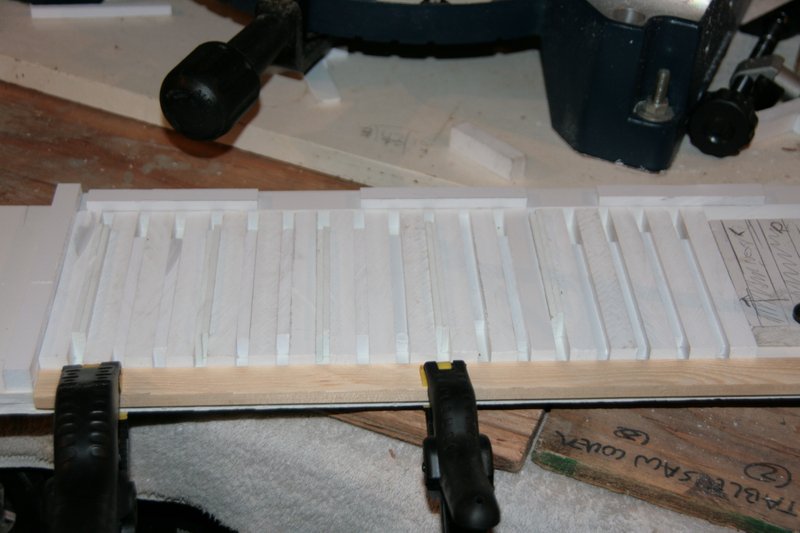
Setting up the next section of ties in the glue-up jig…
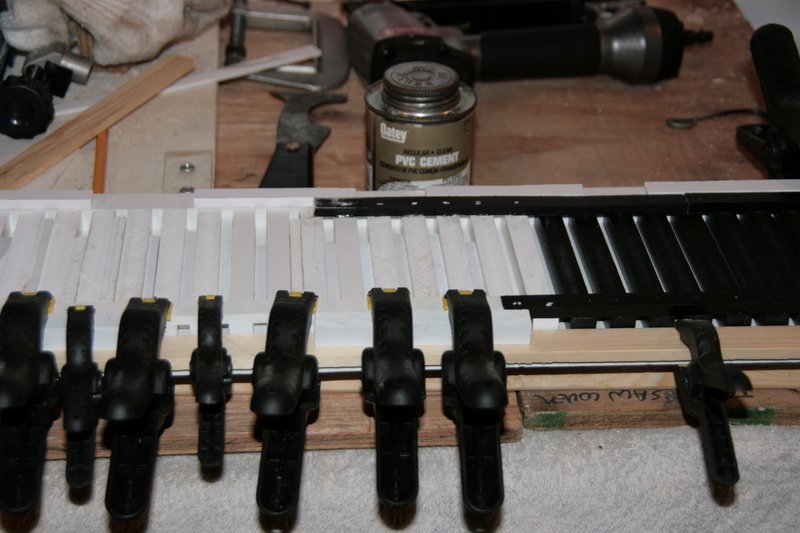
First and second sections joined in the jig and one new guard timber glued on…
I completely under estimated how many ties I would need. I figured about 50 total but ran out of ties after this section was complete making 30 inches done. Before I can continue I’ll need to rip up a bunch more PVC. I also started having trouble driving brads into the guard timbers. Yesterday they went in with no trouble. Today they kept splitting the timbers, so I didn’t put them in yet. I don’t know if it’s an air pressure issue, nailer depth setting or what. I’ll experiment on some scrap before nailing the new section.
So your using a brad nailer? Would a small starter hole work? Definately check the depth the nailer is driving the nails. It will change from day to day based on temp of the outside air.
Pretty fancy work, Jon. Thanks for sharing.
Jake Smith said:Good advice. It was significantly colder last evening than it was Sunday afternoon. And yes, I am using a brad nailer. I have a pin nailer as well, but the brads offer a better mechanical joint.
So your using a brad nailer? Would a small starter hole work? Definately check the depth the nailer is driving the nails. It will change from day to day based on temp of the outside air.
We made a last minute decision to end the camping season in Copake, NY with a 4-day weekend. Camping trips are a great chance to get caught up on modeling projects. Friday morning before we left I milled up enough PVC to finish the bridge deck and USPS showed up with my HobbyLinc order. Working a few hours each Saturday and Sunday on the picnic table I managed to finish assembling the deck and detailing the girder. All that’s left to do is paint and spike rail.
As soon as it warms up a bit I’ll take a few progress photos and post them when we get home tonight.
We watched Finding Nemo last night wit my niece. According to the closed captioning on the DVD, the correct spelling is ES-CAP-E with no accent marks. Now I need to go back and correct all of the documentation 
Progress Pictures taken this morning… Finished attaching the angle…
Finished assembling the deck…

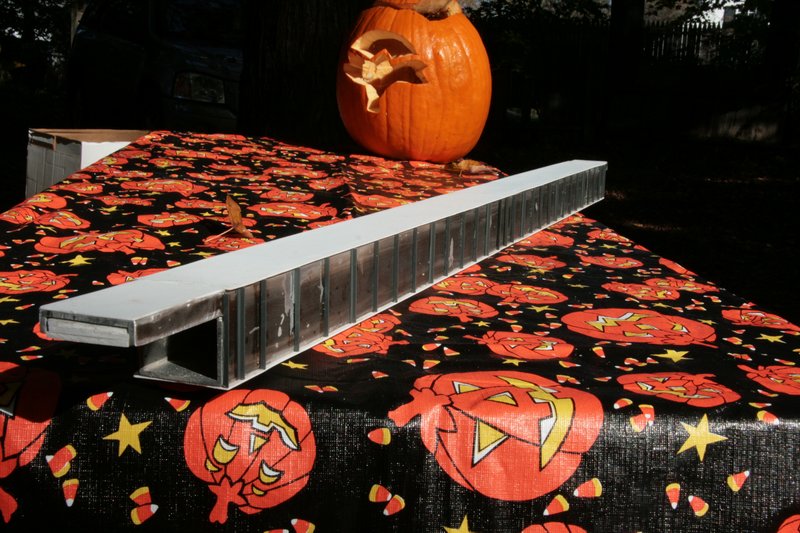
Deck set in place - partially painted…
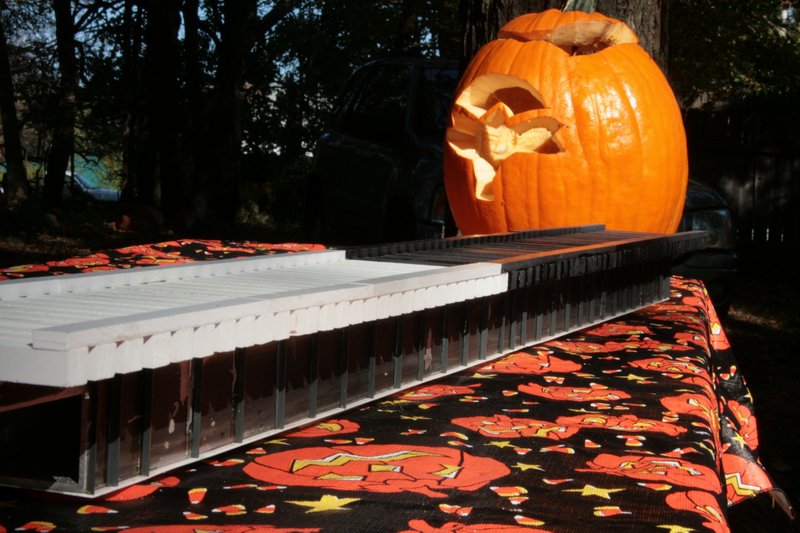
From the painted end you get an idea of the finished look…
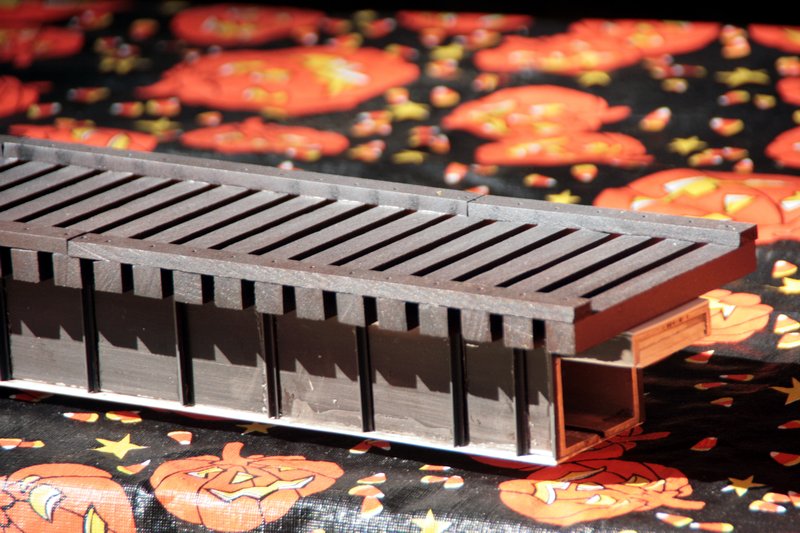
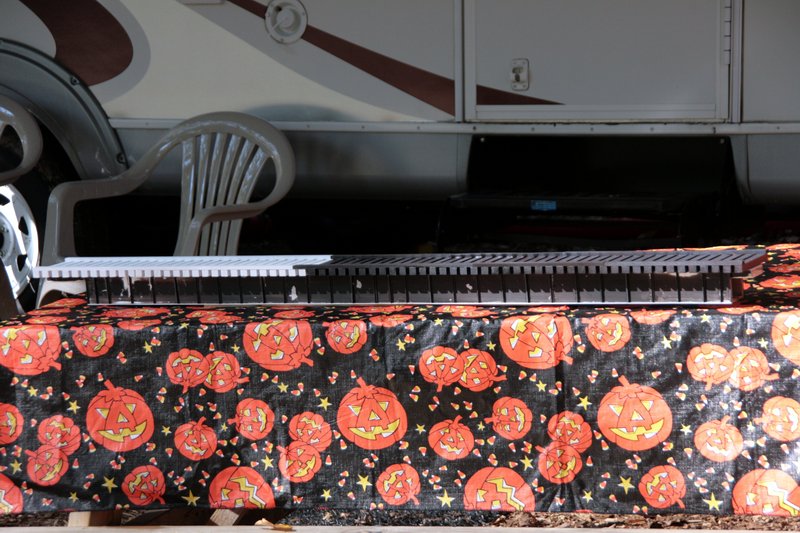
In the above picture the deck has received a rattle can weathering job. First a cover coat of satin black followed by a mist spray of brown followed by a mist spray of gray primer. I think it needs just a little more gray. The weekend workbench…
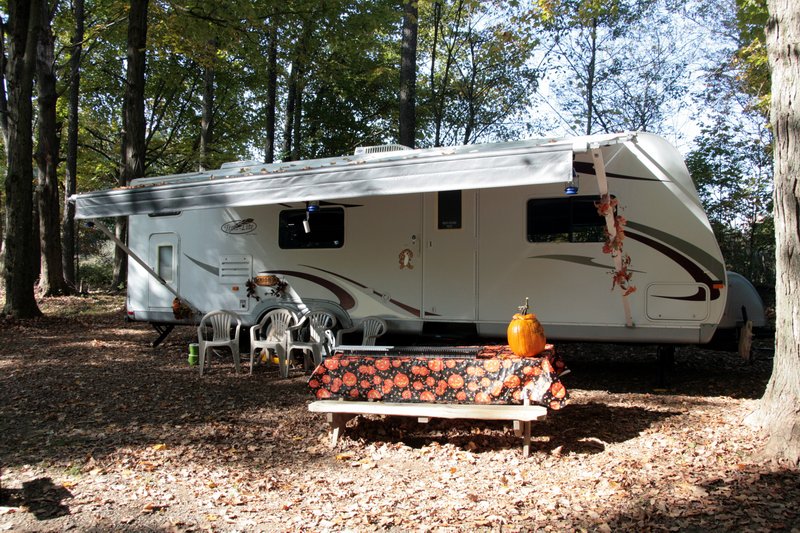
We had a great time camping. Unfortunately, it’s back to work in the morning.
Great photos showing your work and the atmosphere you had to struggle to work in. Kind of gives you inspiring thoughts, doesn’t it?
That is turning out super. I like the weathering on it.
That looks great Jon. Its tough going back to work after a relaxing vacation.