Large Scale Central

Mik 2018 - Outside the Box - Jon Radder

By nightfall the carpentry crew had erected the framing for the tunnel extension and planked fully around…

With a little better light…

Next I need to figure out the portal face and begin cutting that lumber. Originally I was going to have a symmetrical face similar to the model pictured in a previous post above, but it would require framing yet another wall and I’m running short of wood. So, I will build the face extending over left wall a few inches, then on the right, step the wall back and cover the exposed 2x4. Maybe some buttresses on the right would make it more believable.

Nice work, Jon. Now it looks like the train is actually coming from somewhere.

EXTRA WOOD DECLARATION

Due to poor planning on my part I was about a half inch short on several scale 10x10’s. My uncut ‘2x4’ block is too short to get the pieces from it so I dipped into uncut reserves that are in excess of 53". So far about 1/2" x 1/2" x 23" of extra wood has been used. I hope that I can squeak my needs out of what I have left for my allotment.

Jon Radder said:

EXTRA WOOD DECLARATION

Due to poor planning on my part I was about a half inch short on several scale 10x10’s. My uncut ‘2x4’ block is too short to get the pieces from it so I dipped into uncut reserves that are in excess of 53". So far about 1/2" x 1/2" x 23" of extra wood has been used. I hope that I can squeak my needs out of what I have left for my allotment.

I have a feeling this might become a common theme. When I looked at my 42"s of 2X4 I thought man this is awesome. Now I am almost out of wood.

Part of the challenge was you only have so much wood too play with so I’m hoping you guys can finish with a solid erection!

" Rooster " said:

Part of the challenge was you only have so much wood too play with so I’m hoping you guys can finish with a solid erection!

I appreciate your concern, I’m pretty sure our skilled craftsmen will be able stretch their lumber and rise to the occasion! I know I still can.(https://www.largescalecentral.com/externals/tinymce/plugins/emoticons/img/smiley-sealed.gif)

So, do you call it a head frame when talking about a tunnel? In any case, the finished outside part is the next step. I decided to make it symmetrical from dead center a ways down track, but actually the two sides will be offset by the depth of the section just finished. Repeating yesterday’s picture for context.

At the right, the face panel will be tight to the exposed wall framing. Between that point and the front, if I have enough wood, will be some angled timbers to the ground. The left side of the front will be tight to the black PVC that I glued to the wall. That whole outside finished section will extend above what exists now by about 3 scale feet.

I got the section at right cut and assembled tonight as well as some of the components for the rest pre-cut, but no pictures At this rate I’ll be able to spend fair amount of time experimenting with stains and coloring. (https://www.largescalecentral.com/externals/tinymce/plugins/emoticons/img/smiley-tongue-out.gif)

I remembered to take the camera down to the shop tonight. This build has been approached as a series of sub-assemblies. Today I completed the sub-assemblies for both sides of the face. They were delivered to the job site on flat 18…

The left side was attached to the tunnel. The right side is just leaning in position for these pictures…

I also realized that I haven’t been taking many pictures of actual construction, so here is the right side being glued on. The large clamp is holding the assembly square while the glue dries…

Tomorrow I’ll get the last vertical timber in place and finish the face framing. Then it’s just a few courses of plank to finish the basic structure.

This is coming out right nice.

Slow down dammit, this is too good too fast.

OK. My excuse is that I have been cold as heck the last few weeks and I have a nice propane fireplace in the train shop. I can get it up over 72 in there and get warmed up (we keep the oil furnace at 68). I quit early tonight, by 9 local. Only did a little, but it’s starting to come together.

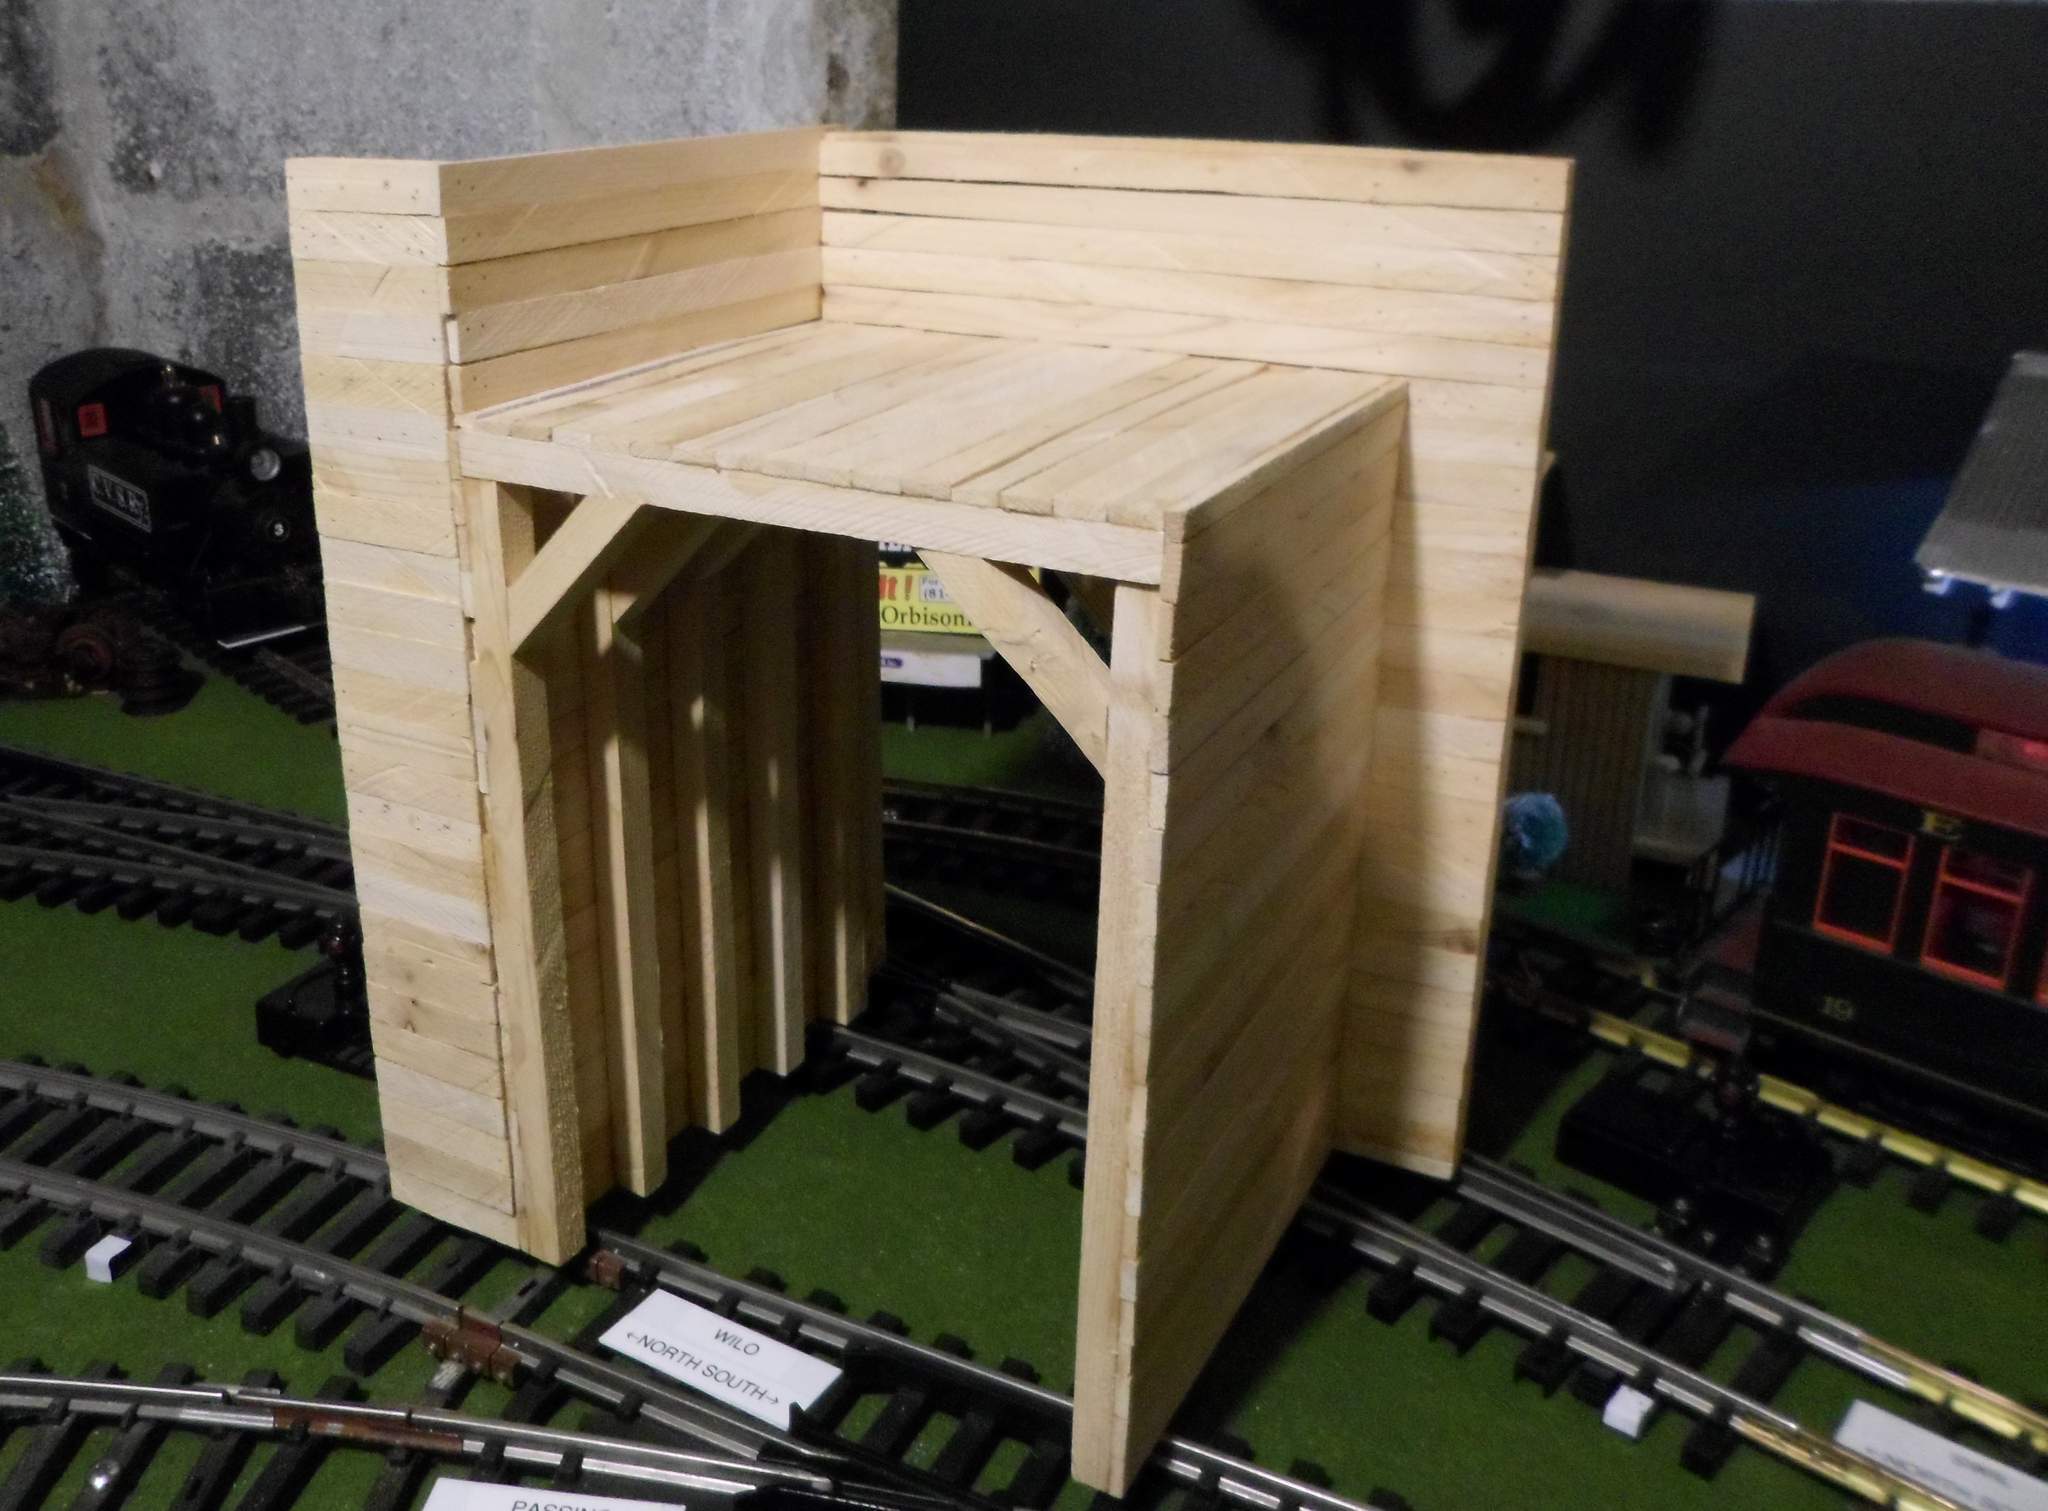
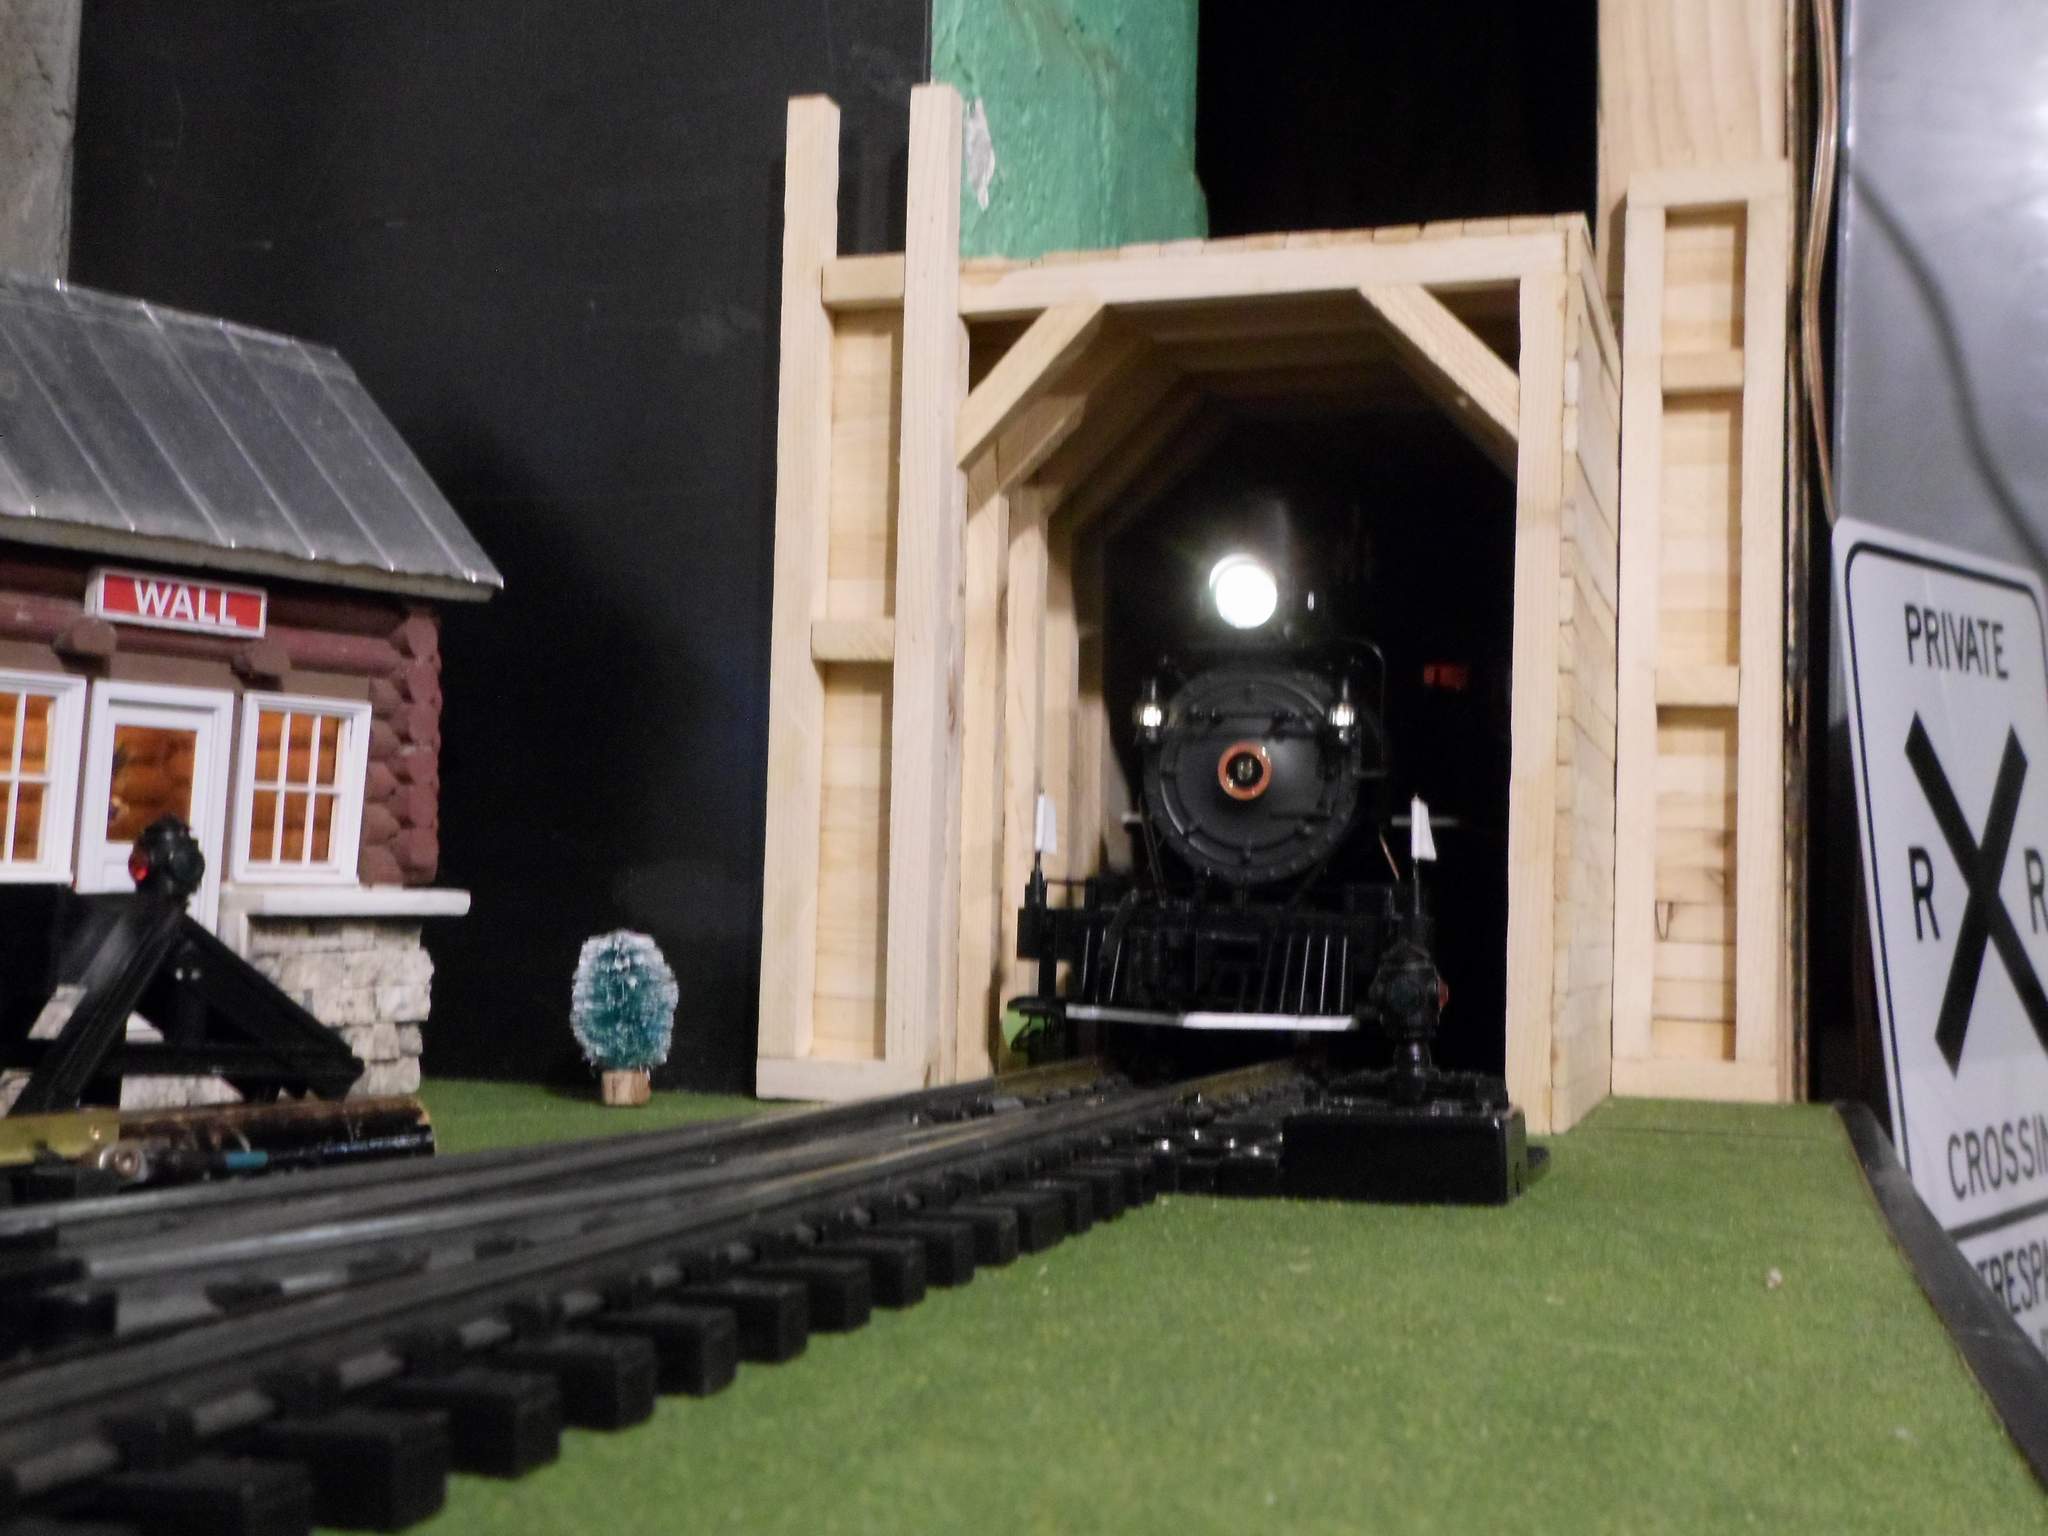
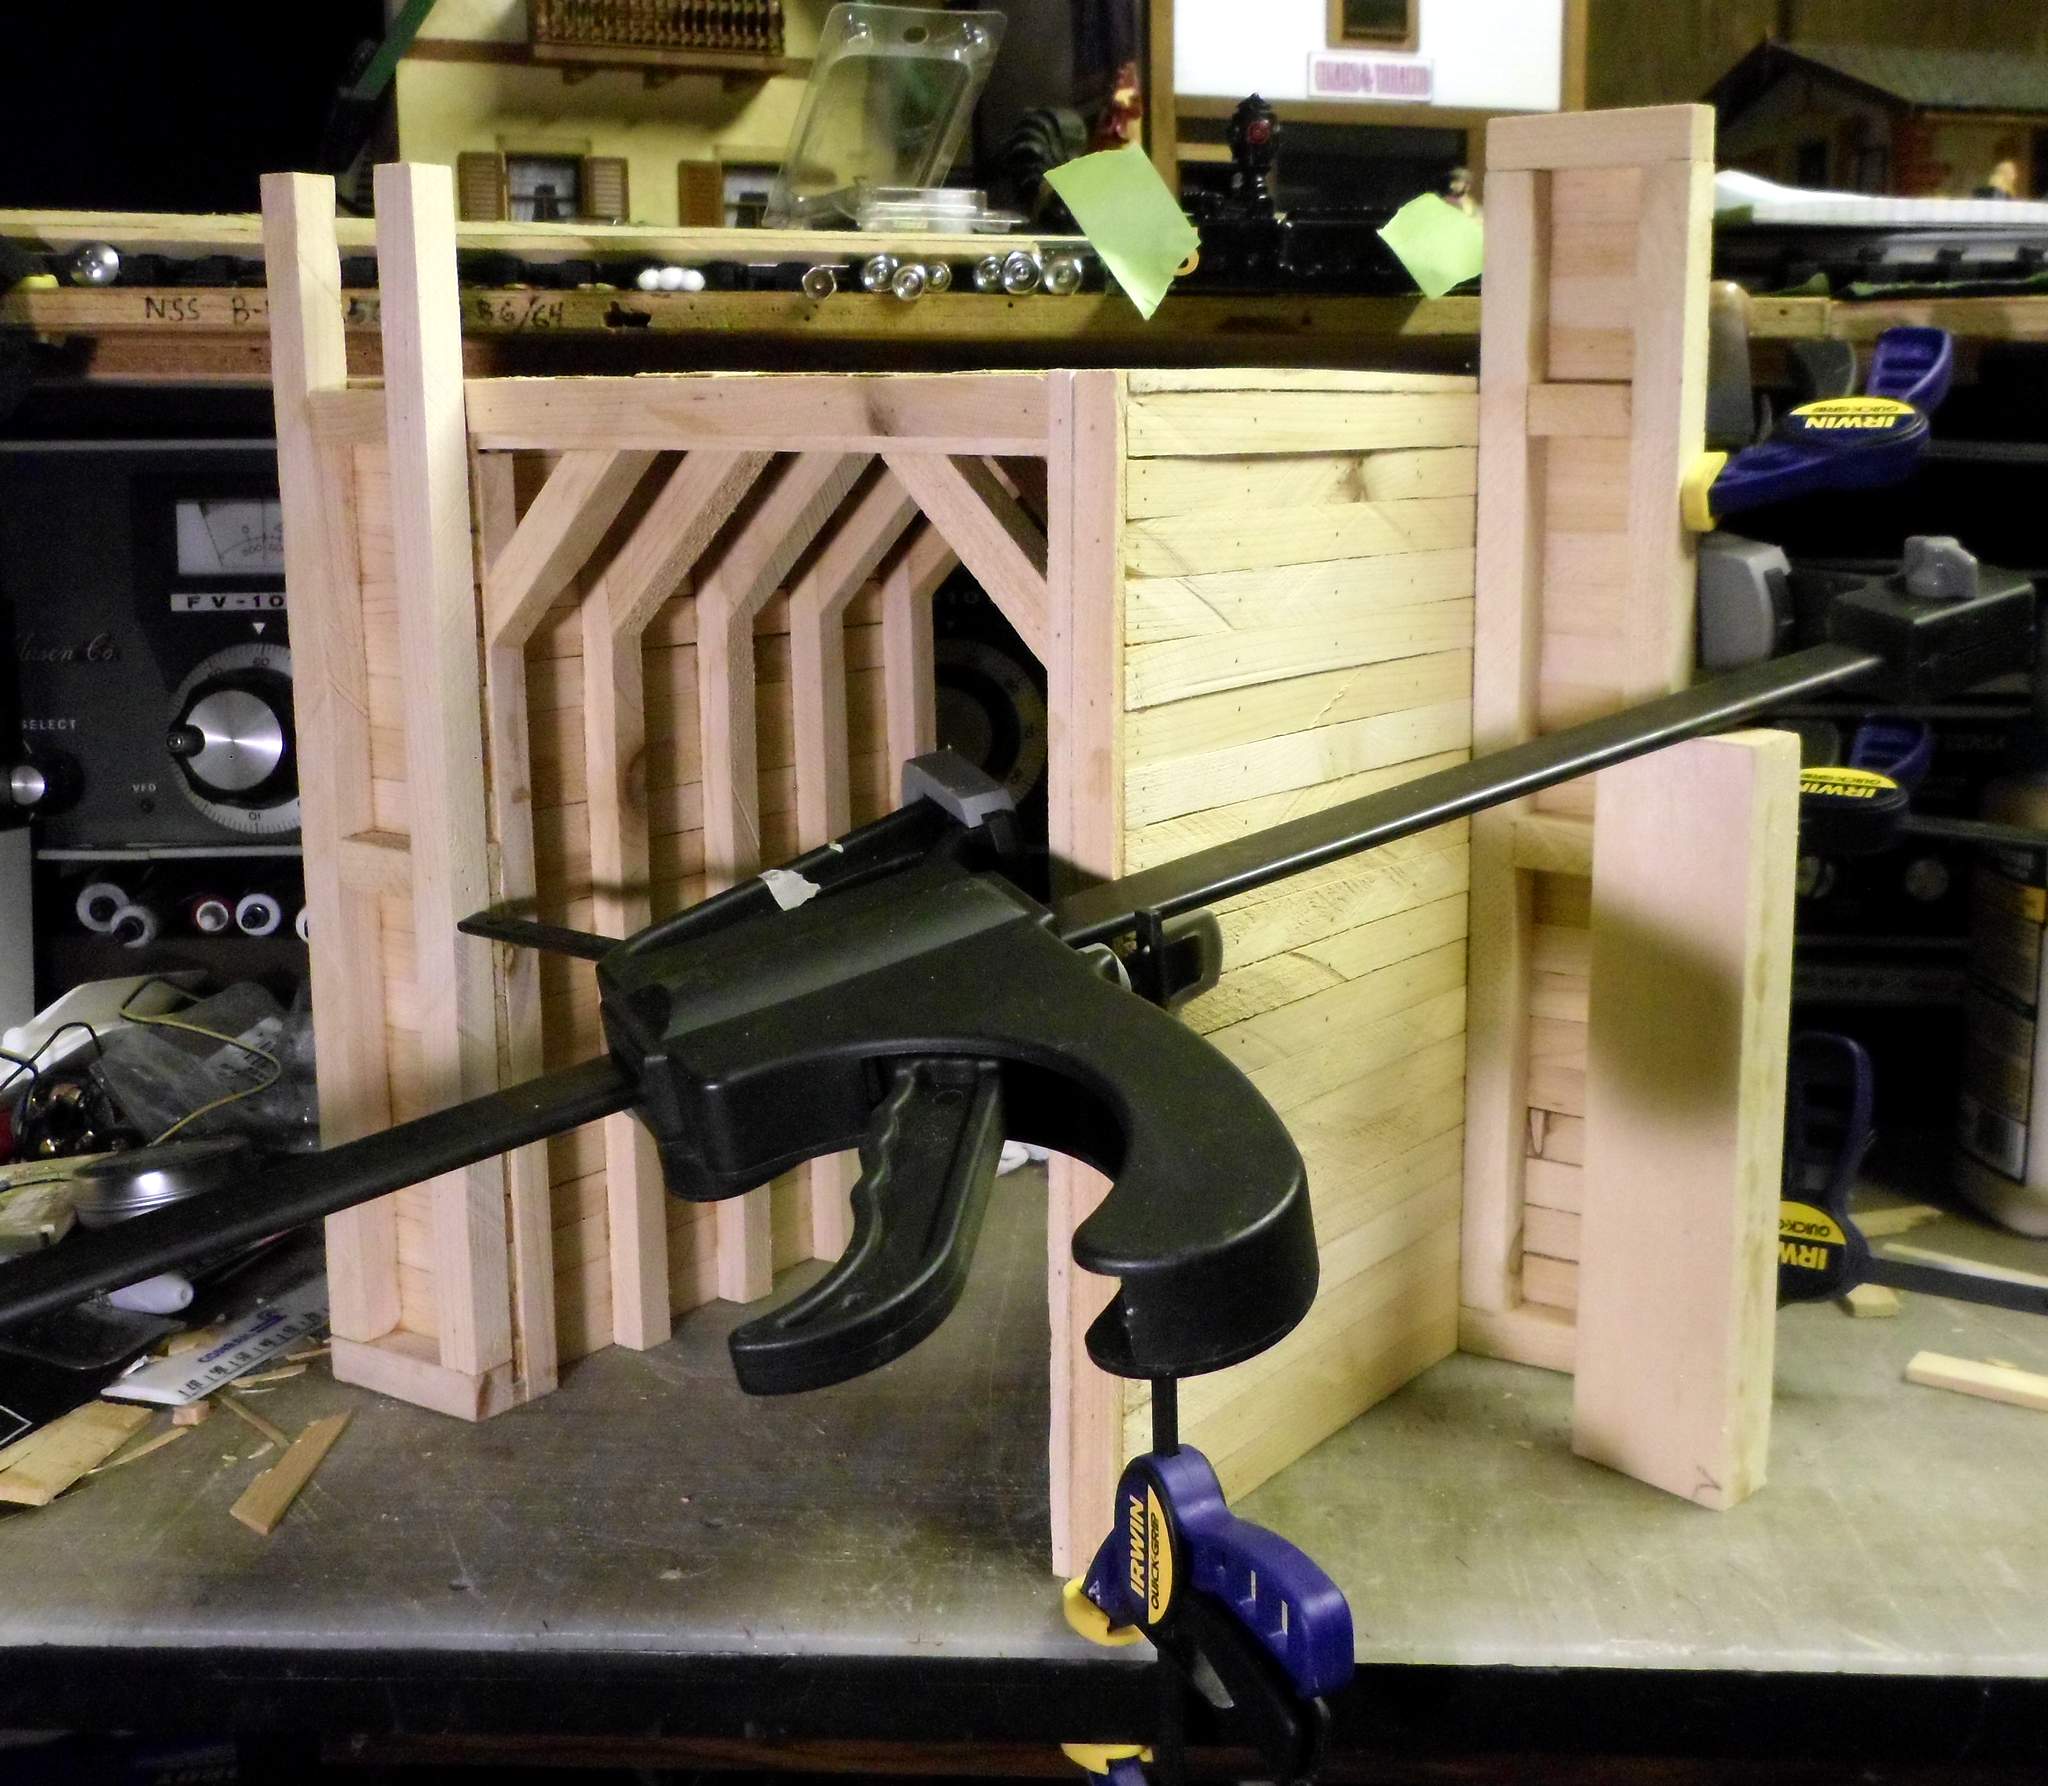
All of the basic parts are now together. If I have learned one thing in my sign fabrication job, it’s how to make things fit together. The fully assembled portal fits perfectly against the existing plywood box, the bench and the wall. Here’s where it’s at as of this evening…

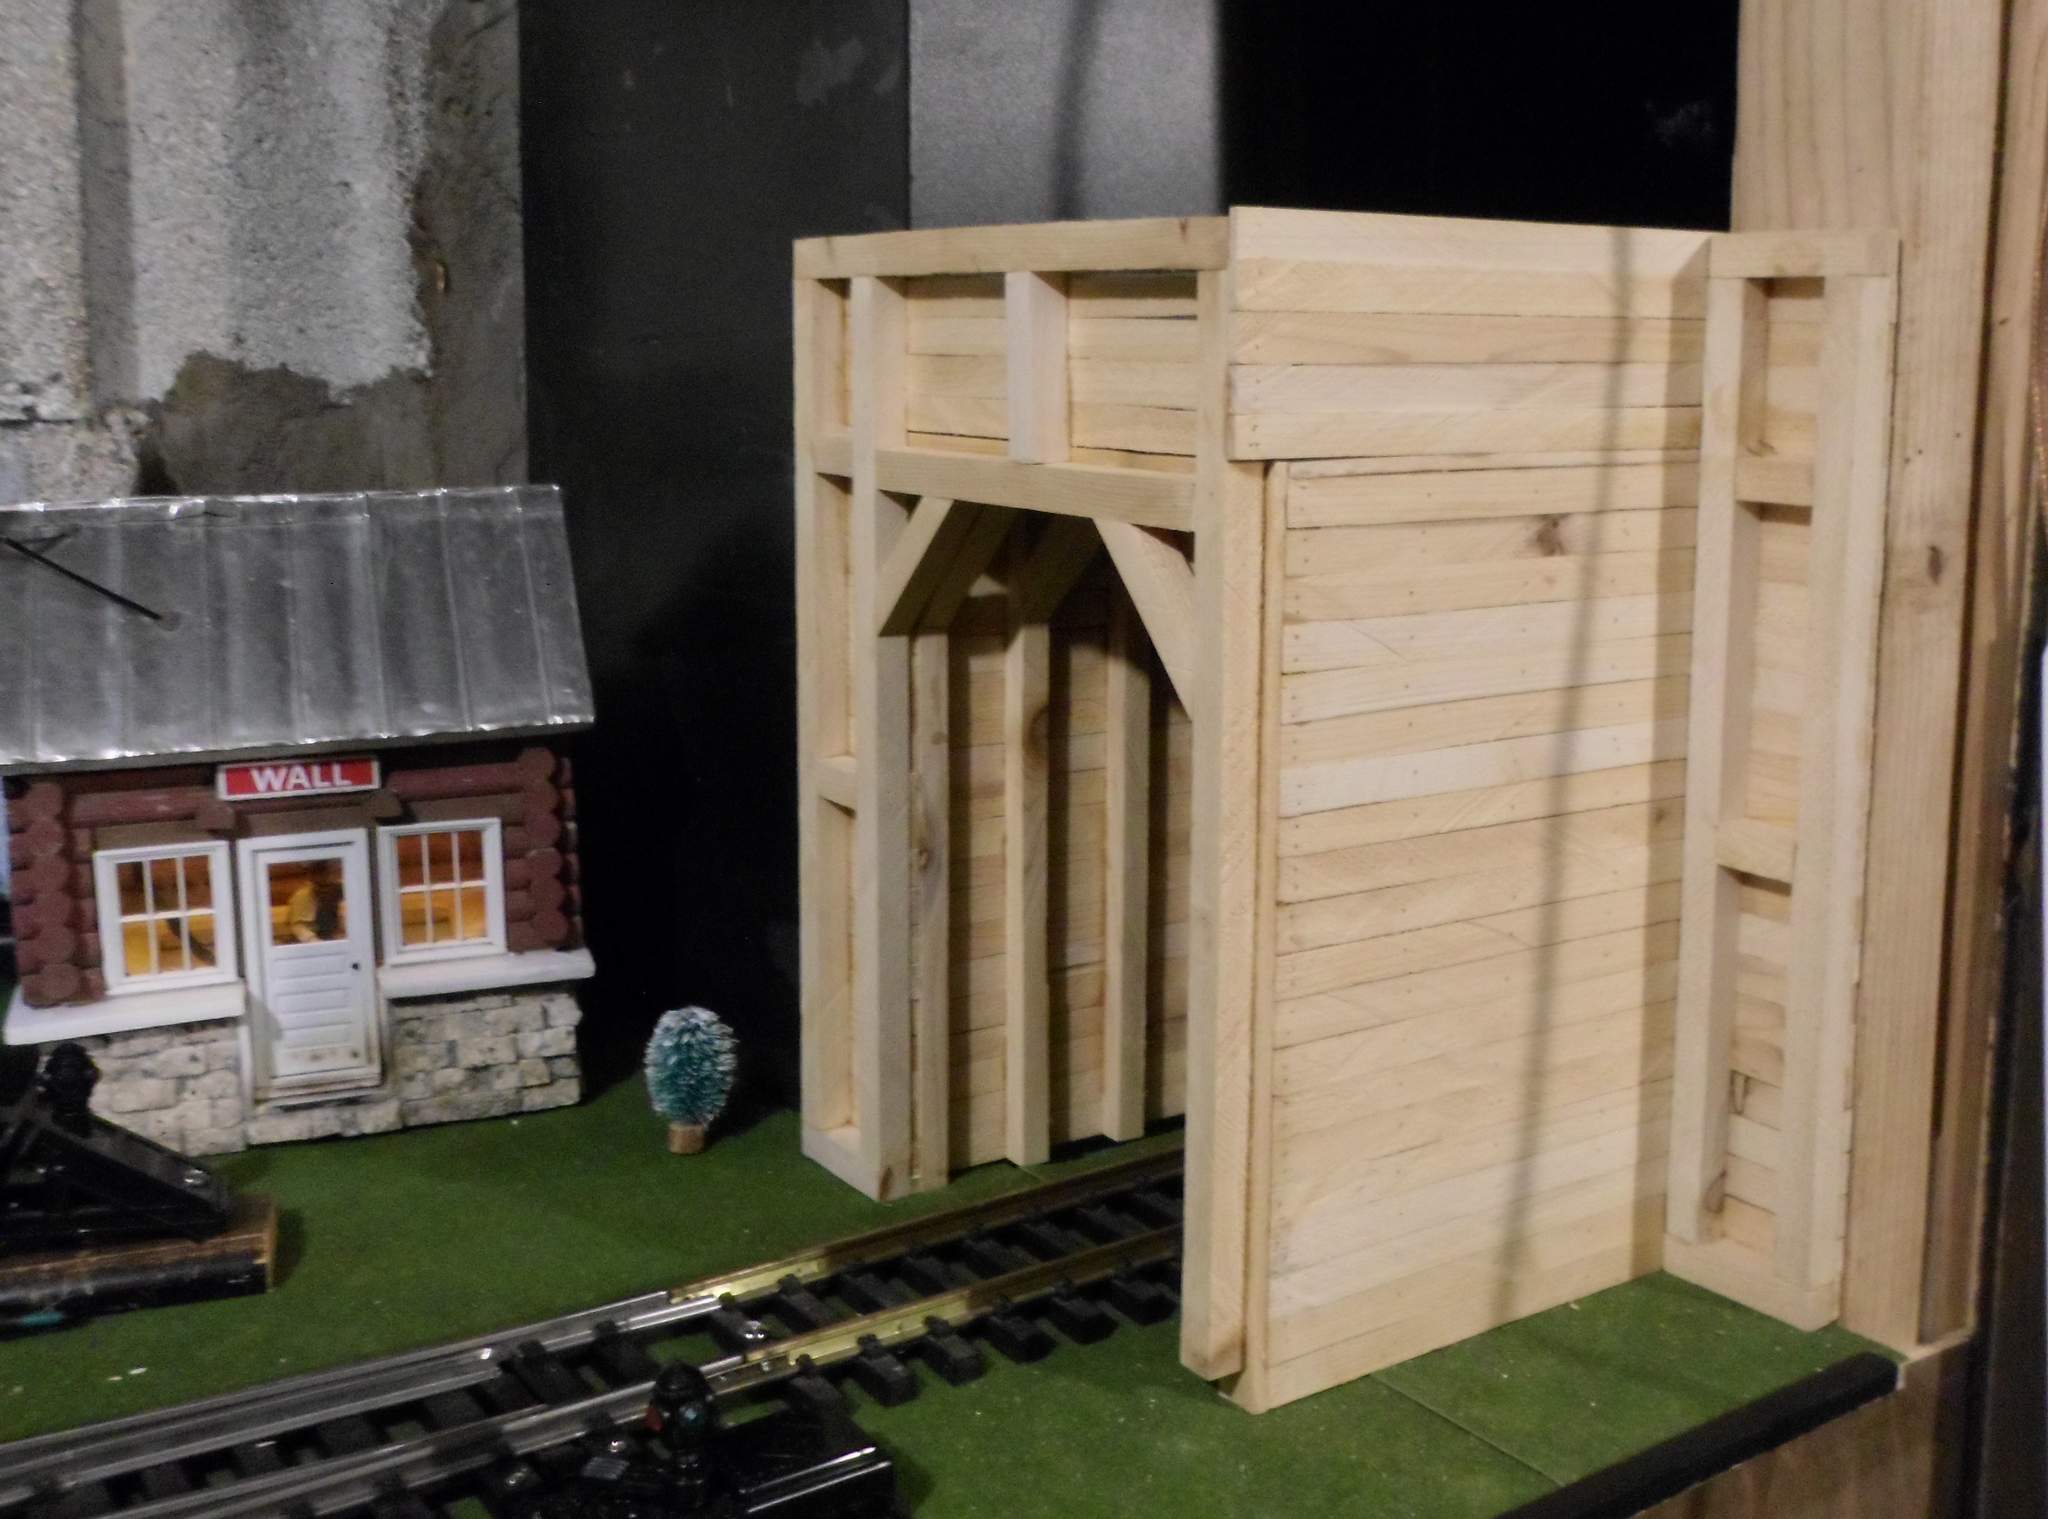
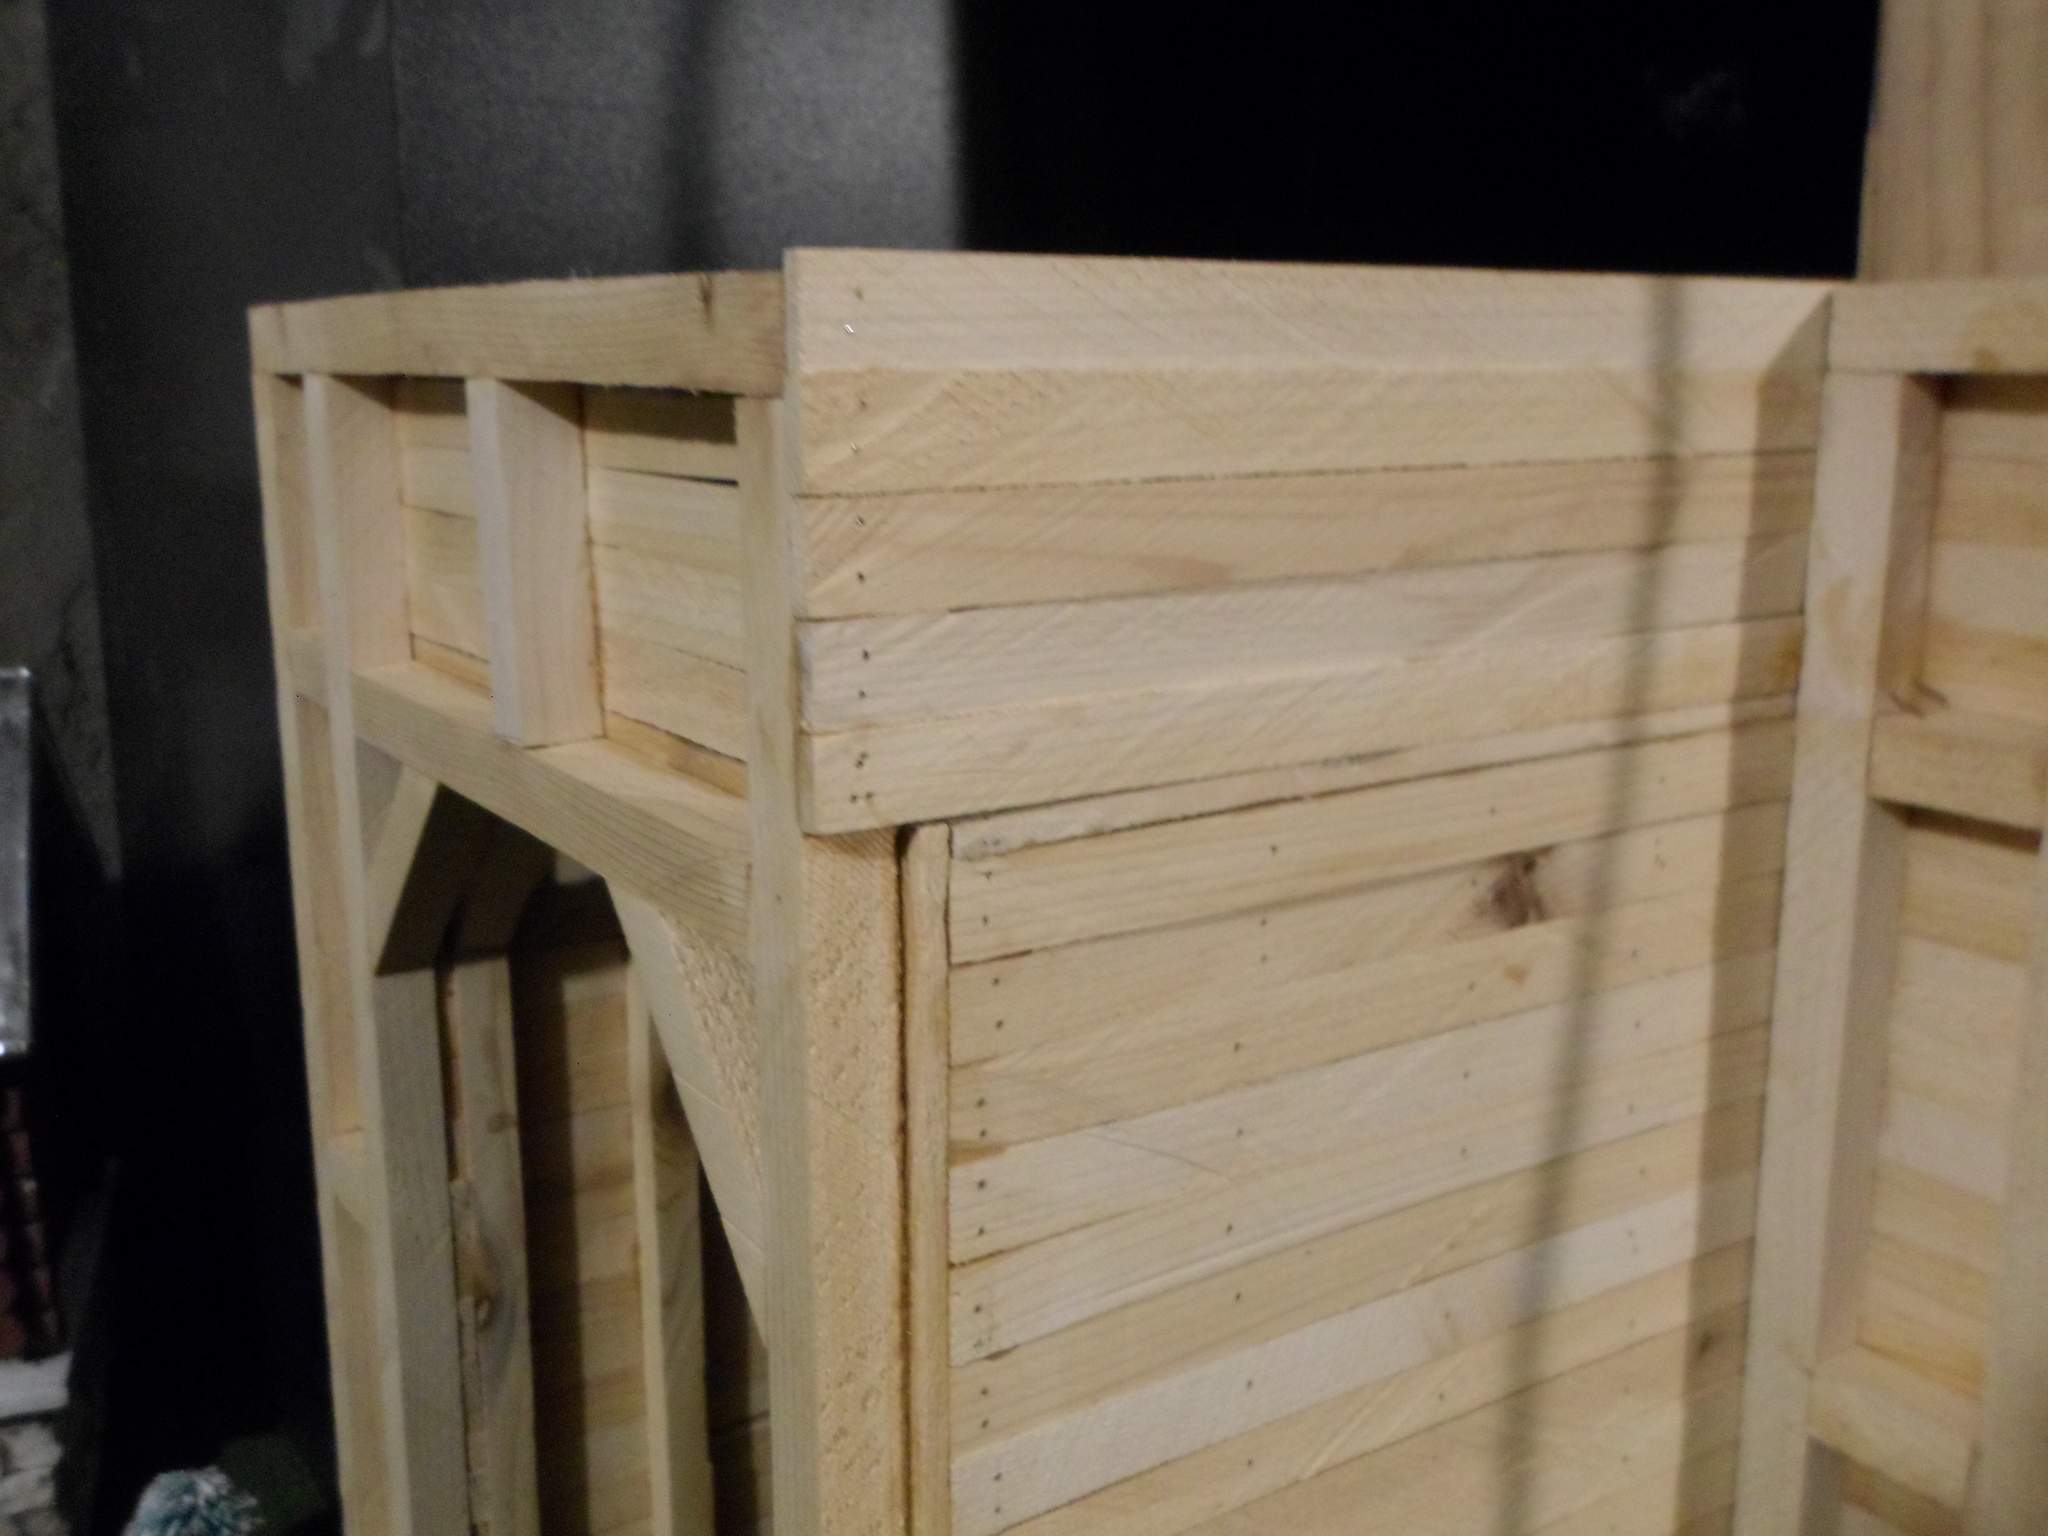
Because I built from a few hand sketched elevations, not a complete plan, I ended up with a part the looks a bit odd at the moment - the upper retaining wall on the right side. I’m probably going to sister another 10x10 on the front right corner. There is also some timber planned for the outside of the right wall. Still playing around in my head how I want it to look. If I had given it a little more thought before committing to glue and pins I would have done this corner differently…

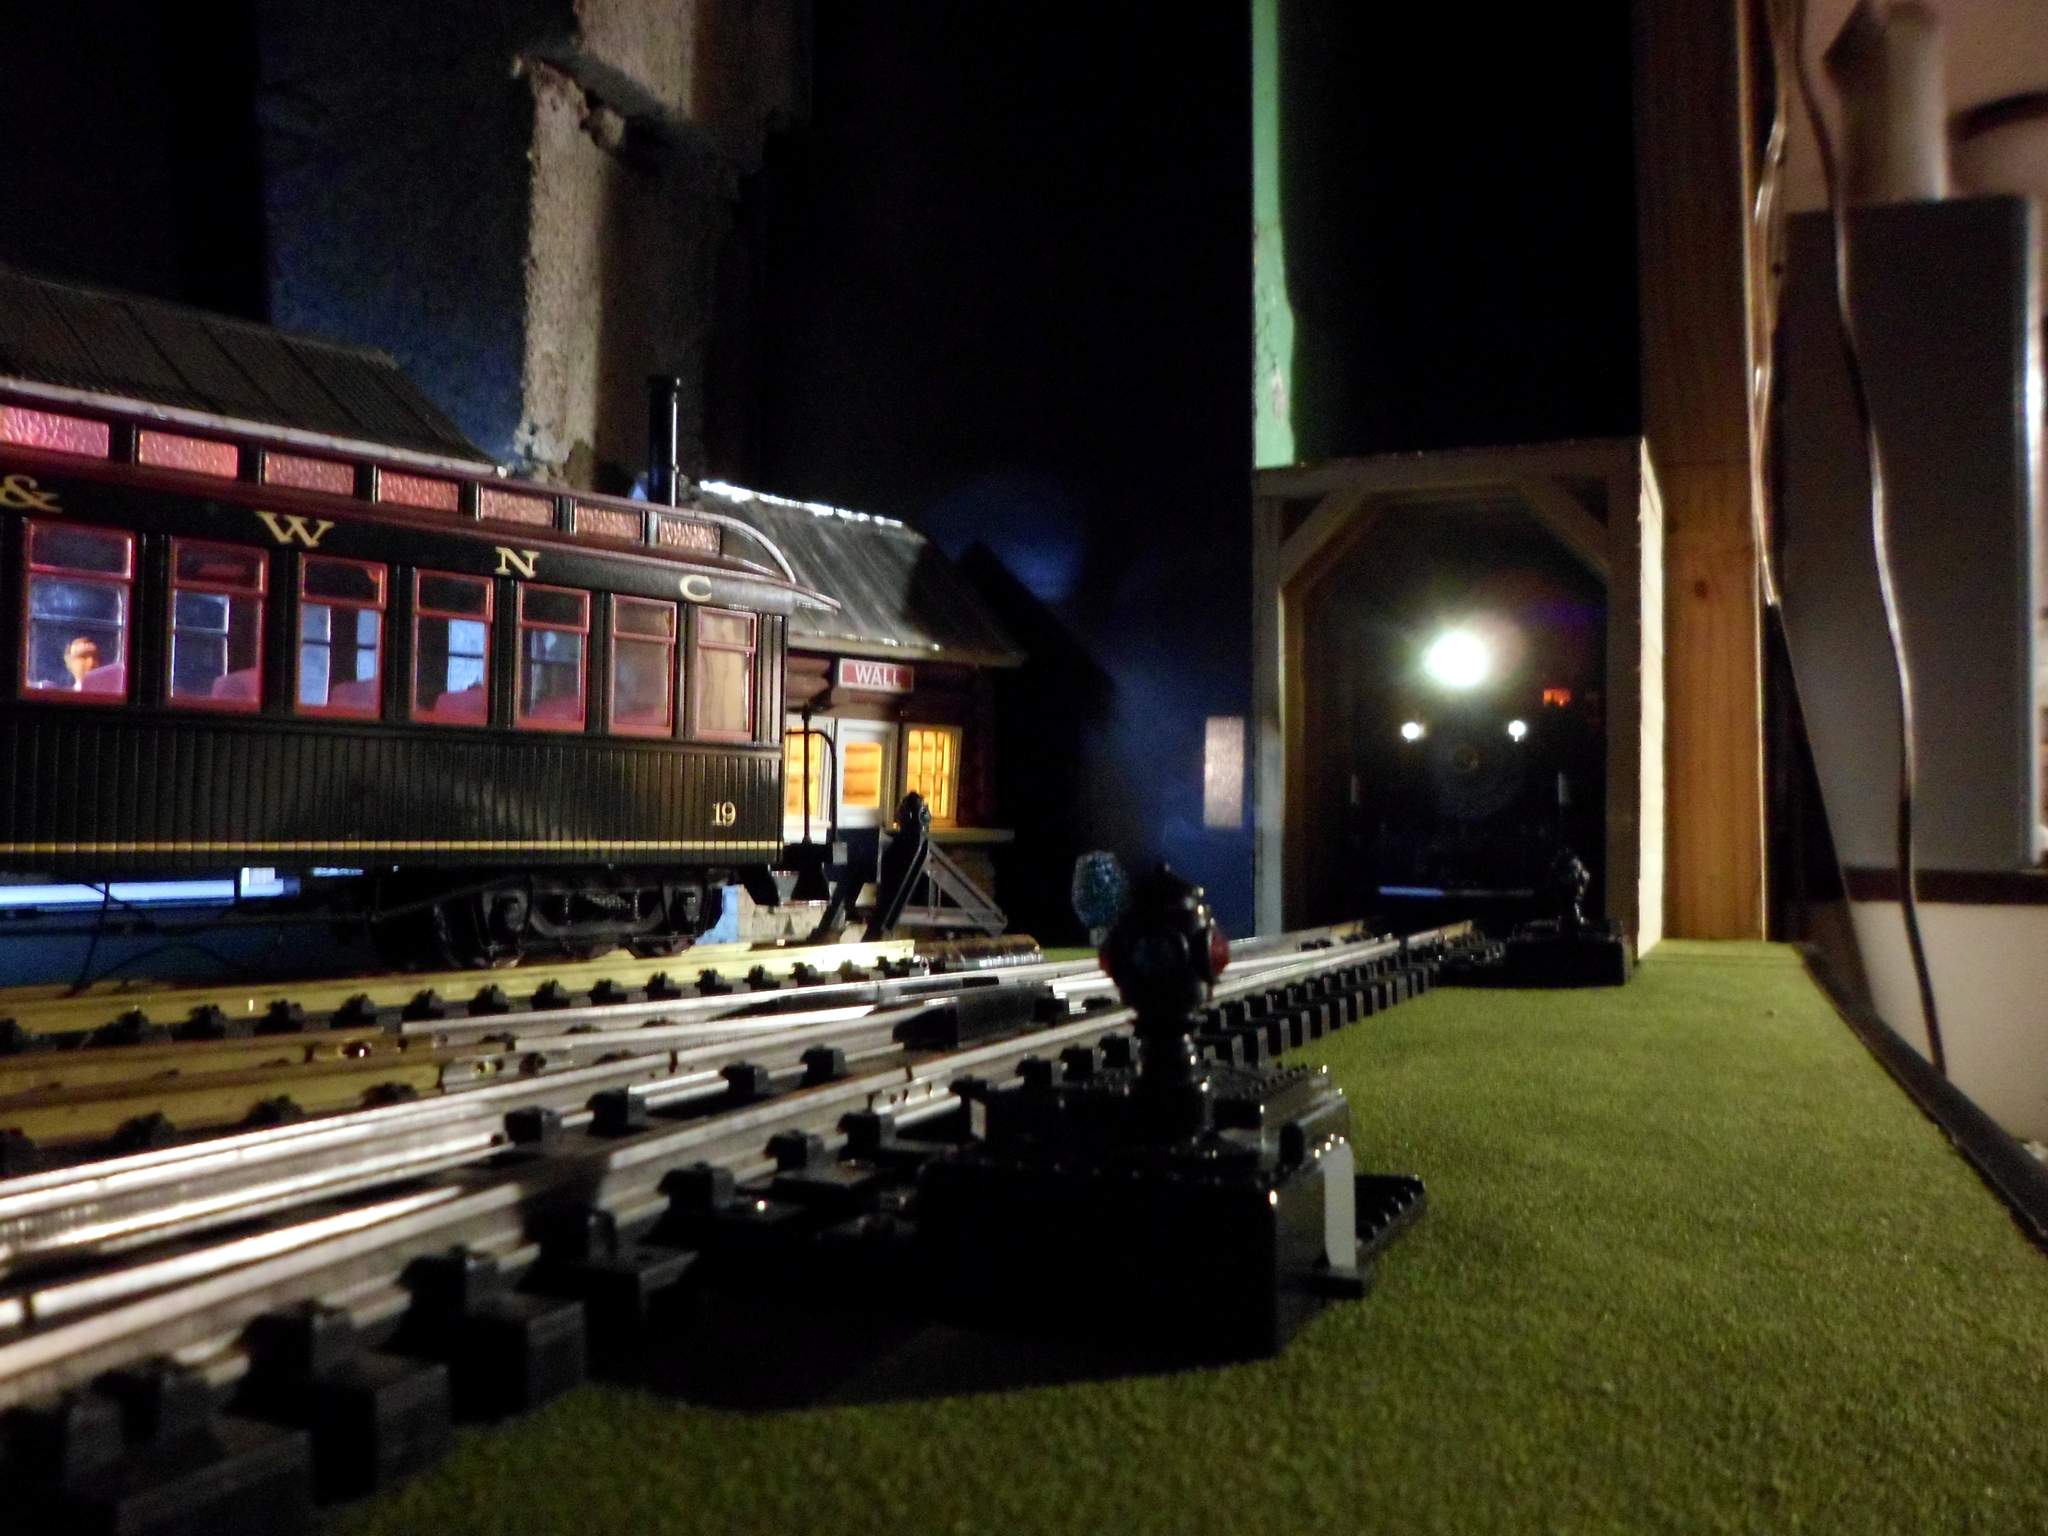
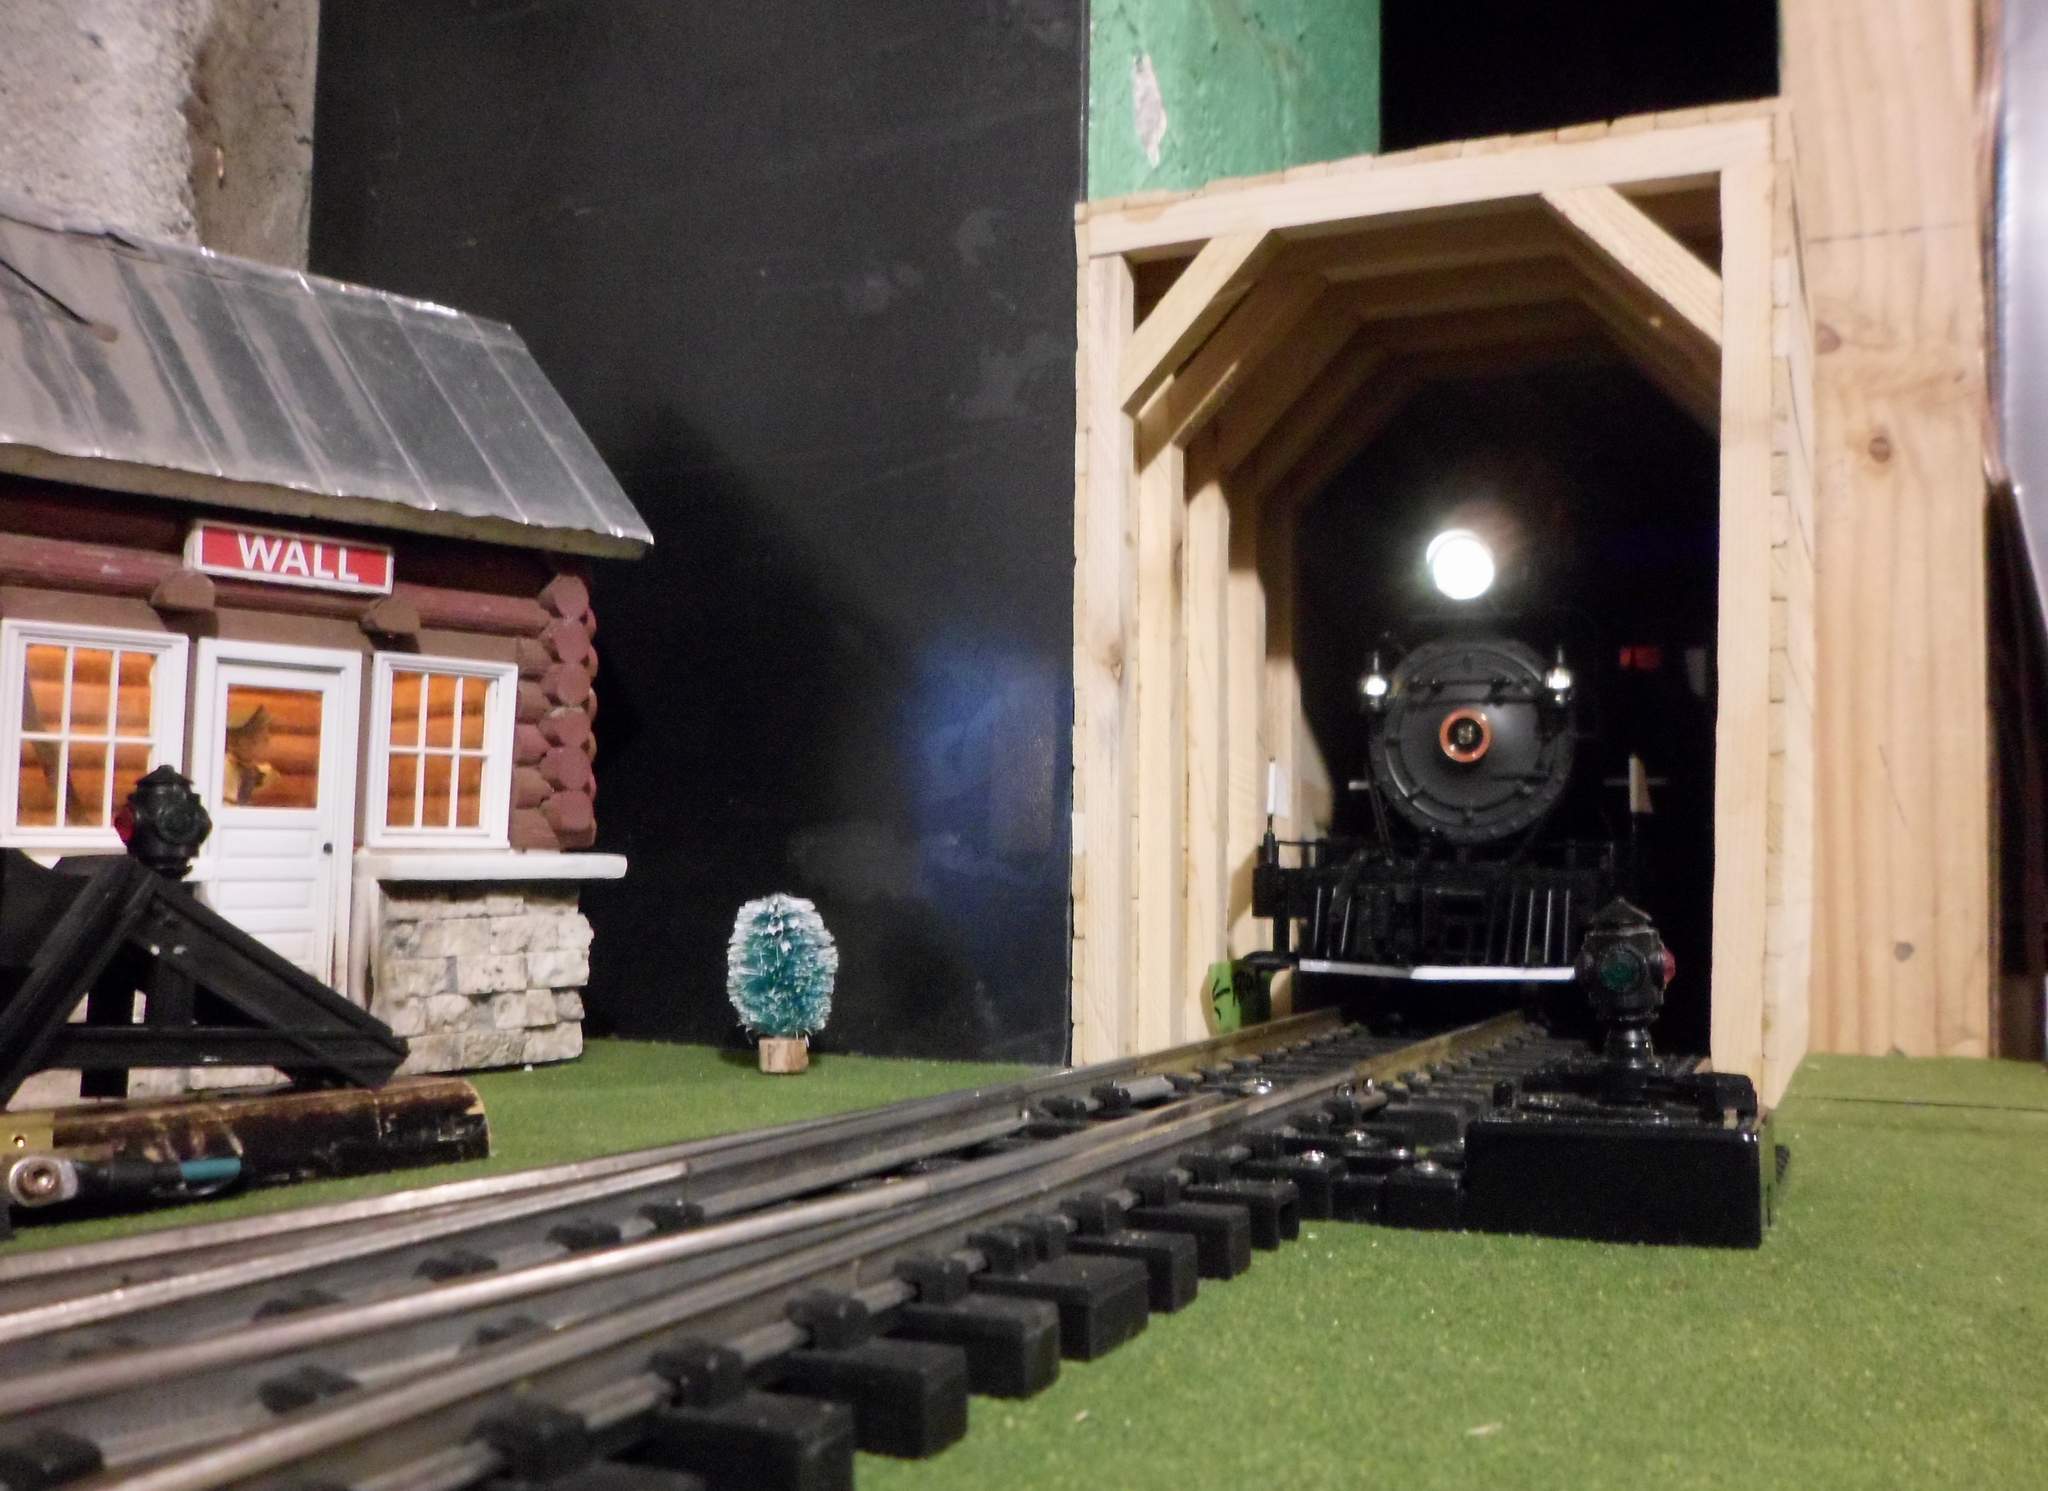
The obligatory ‘action’ shot…

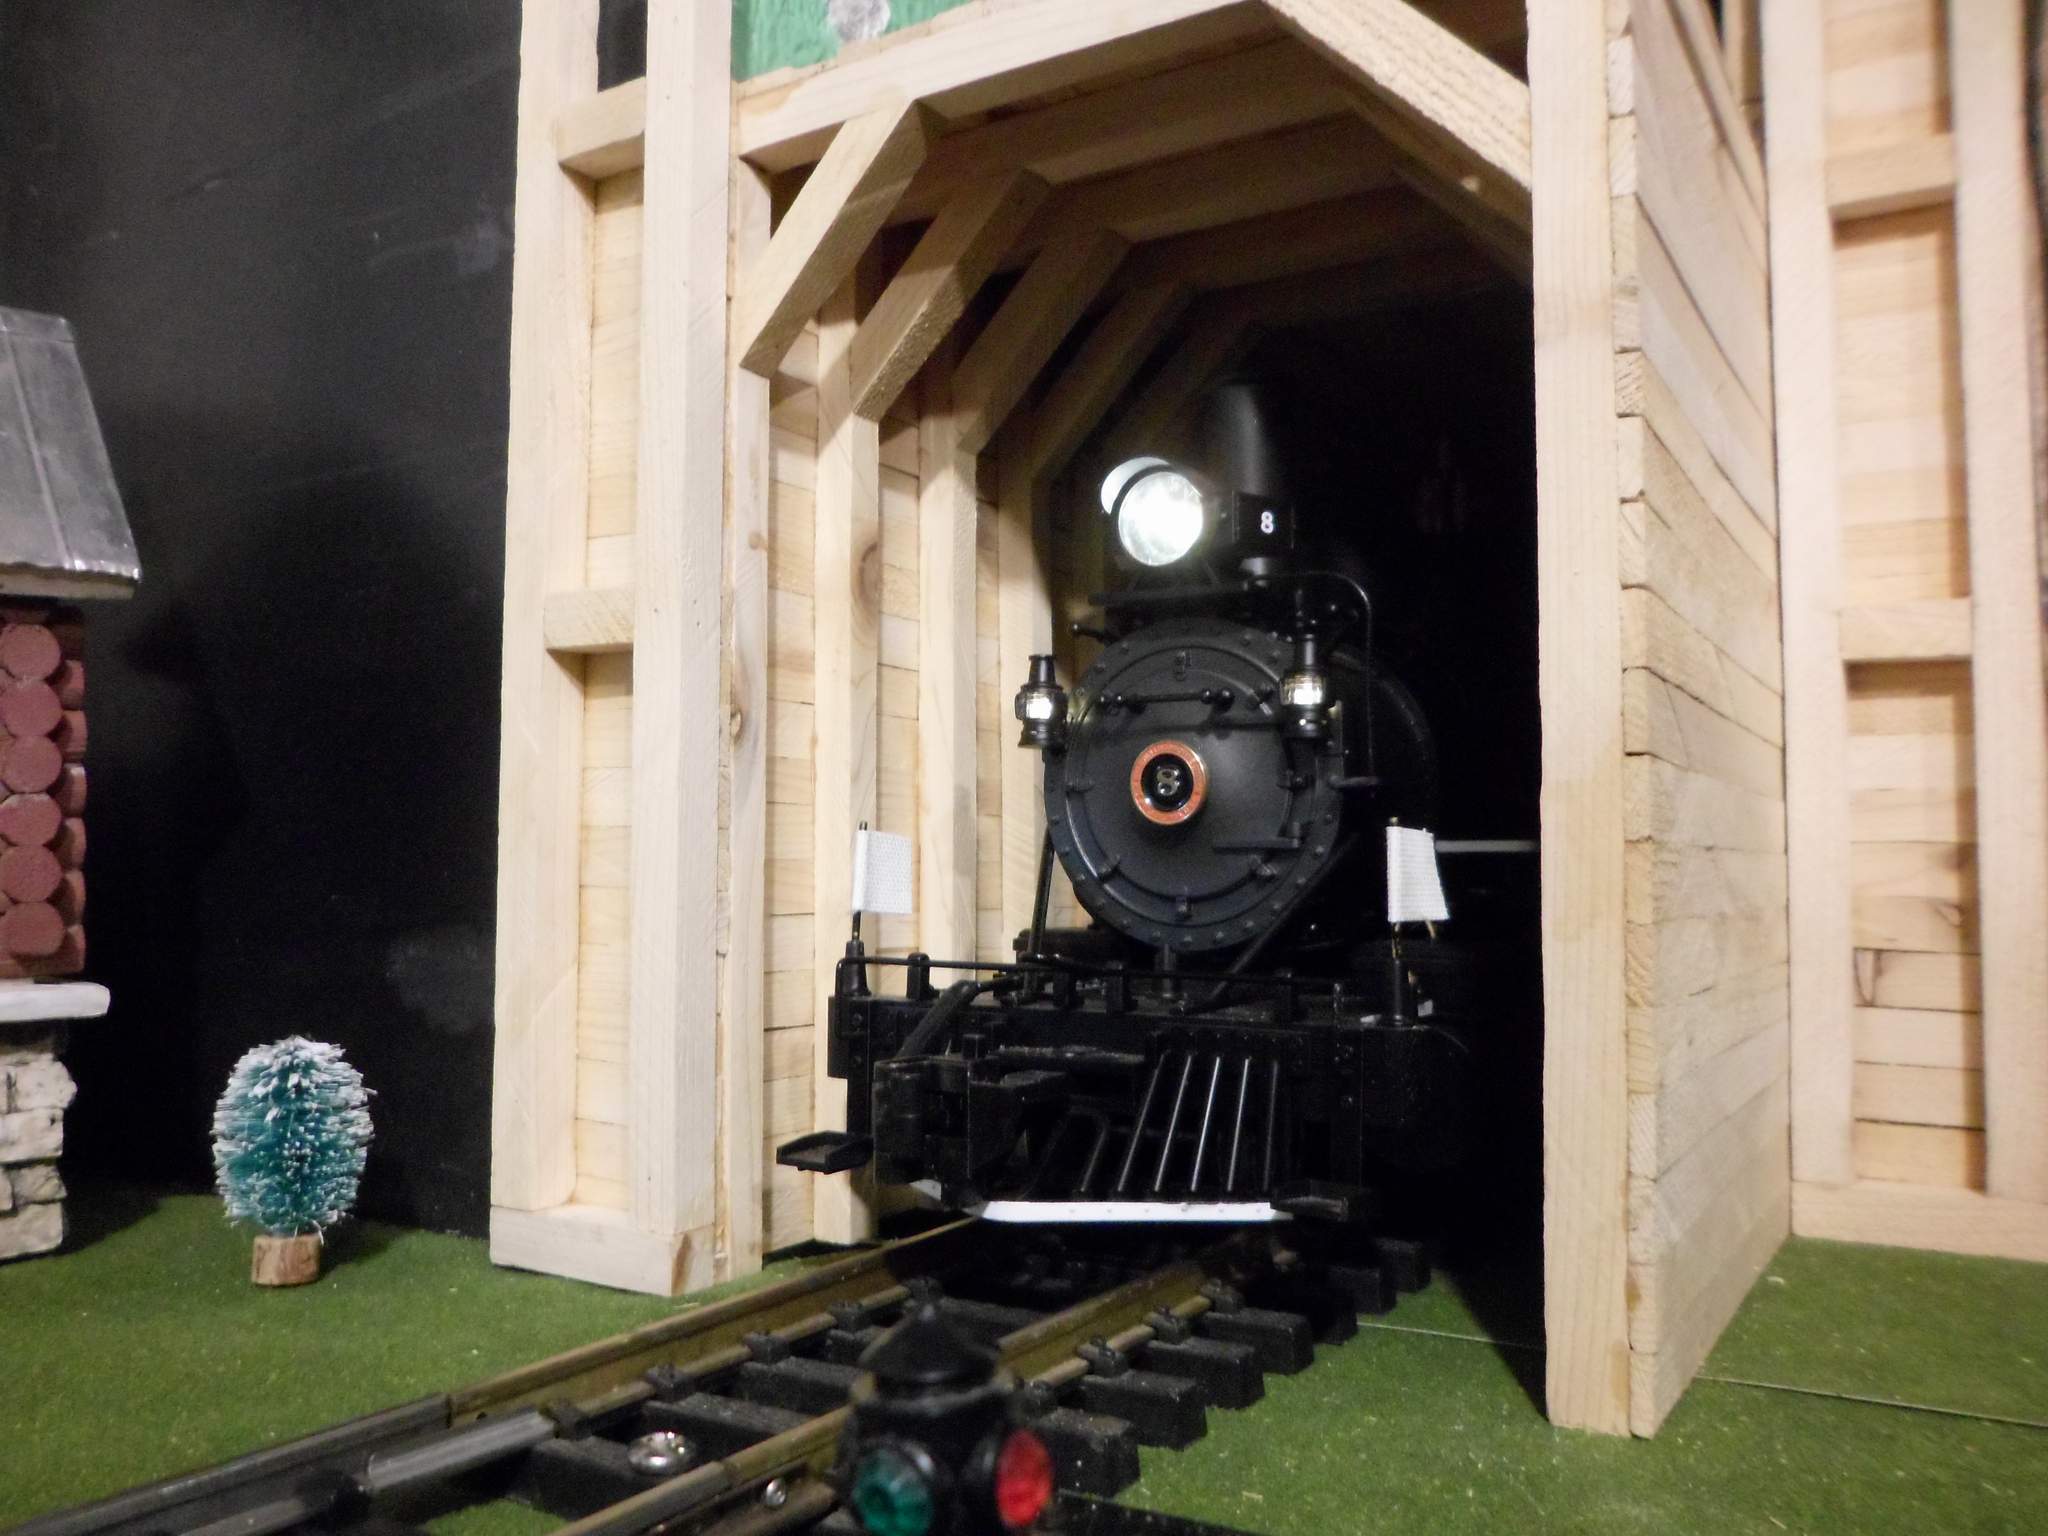
A rare look behind the scenes…

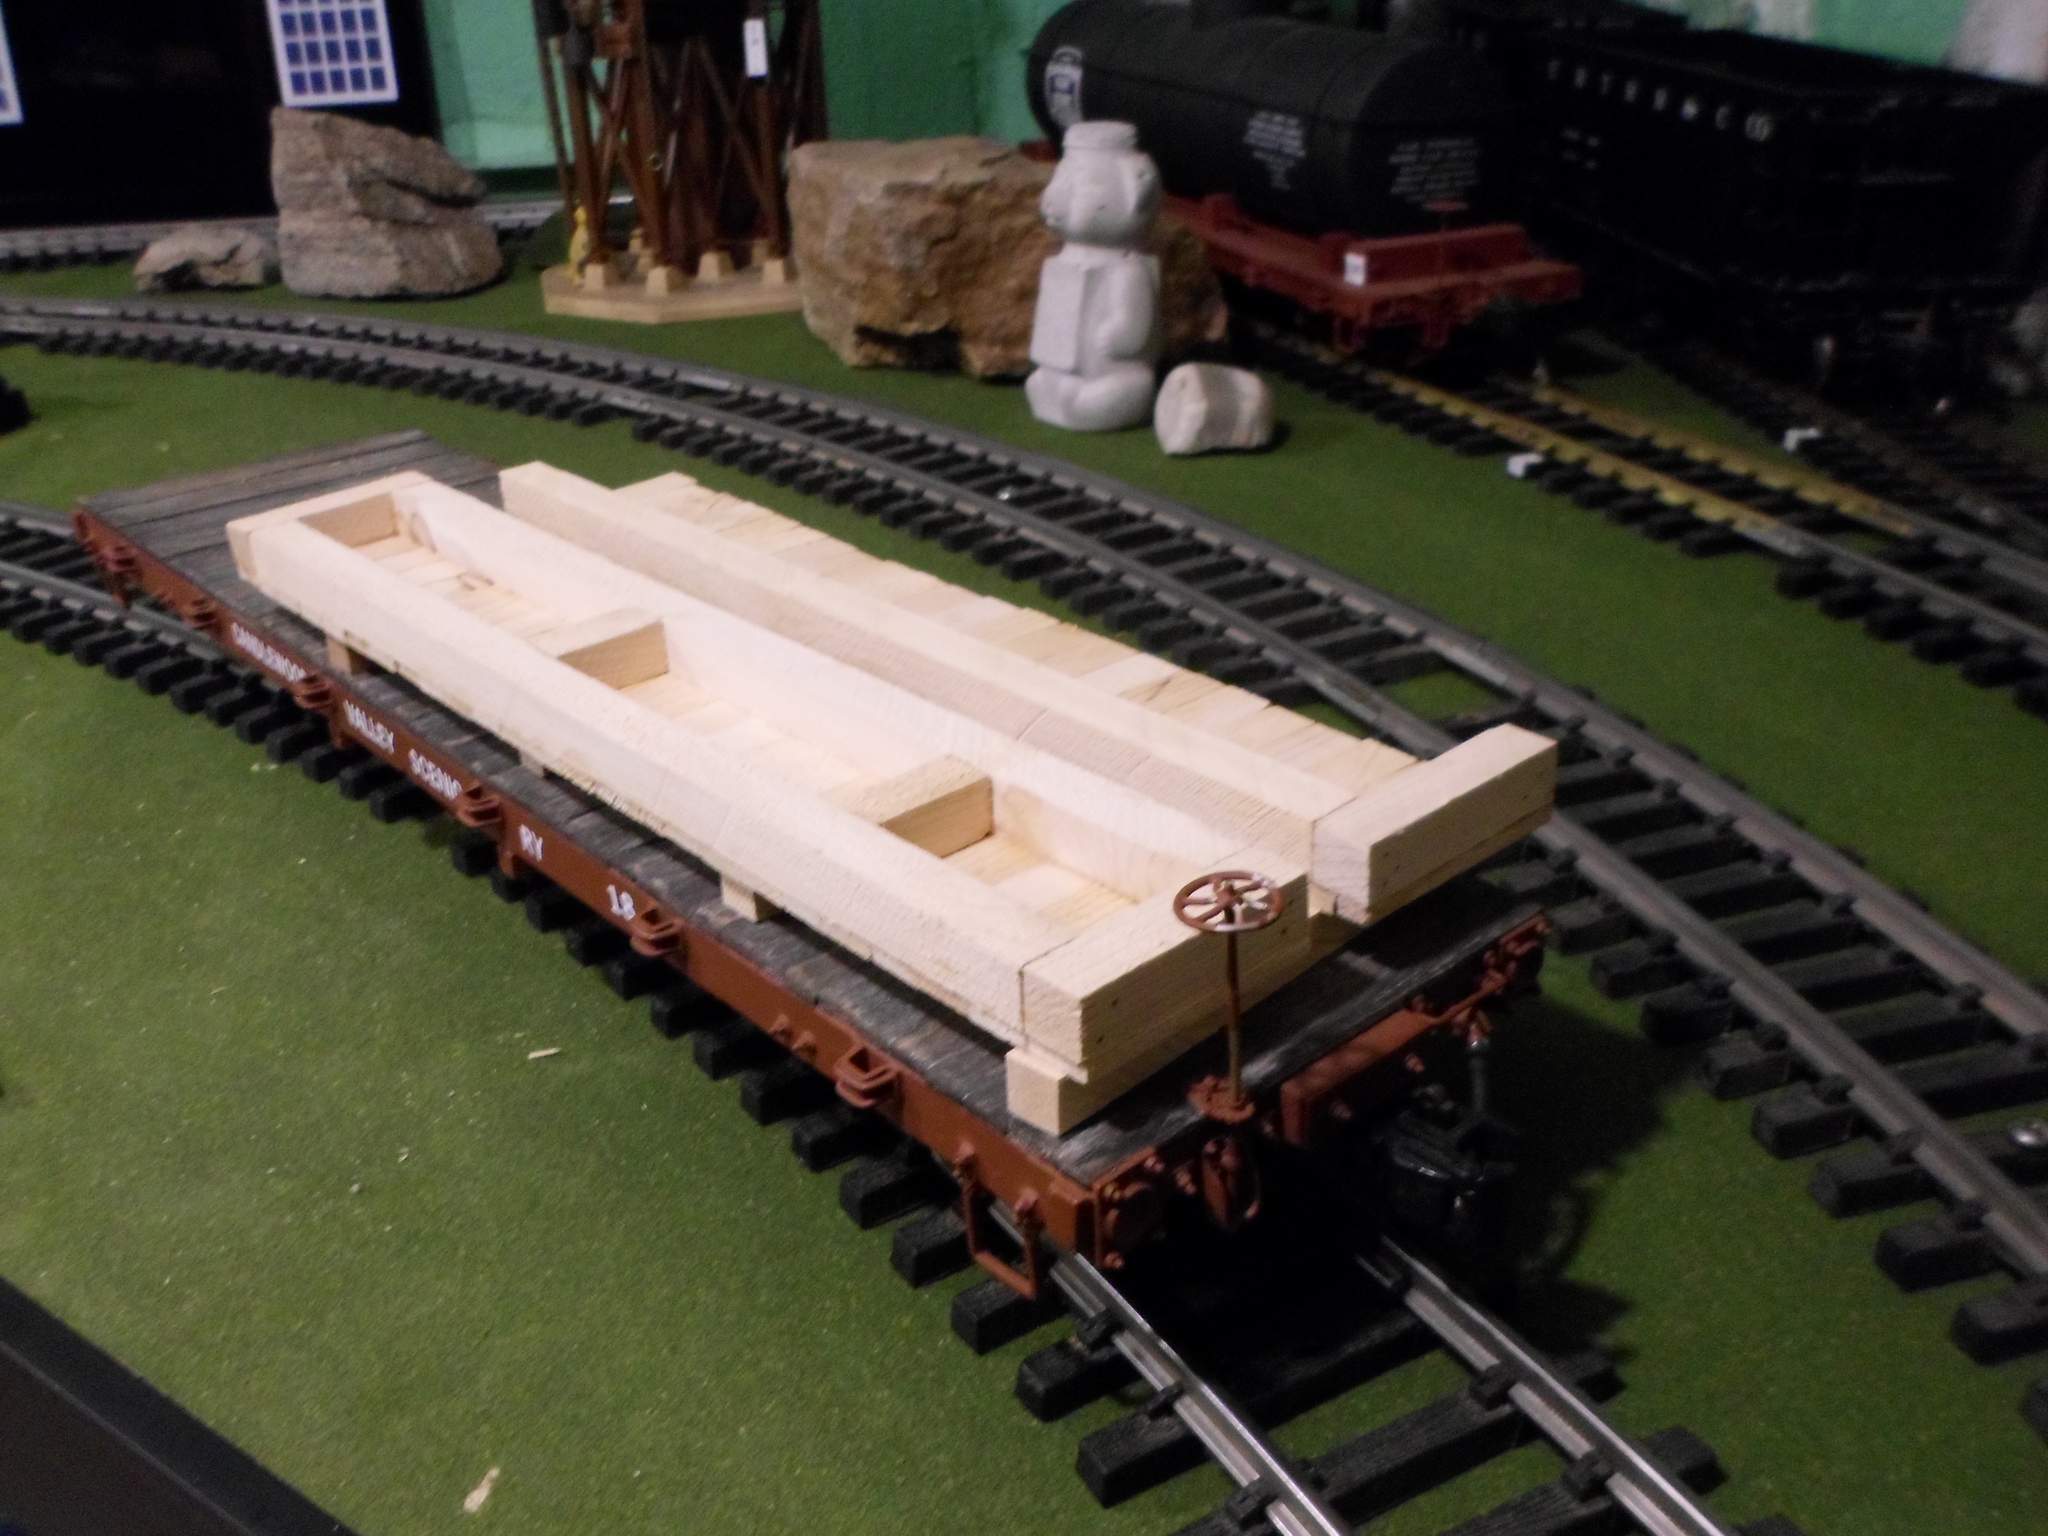
At this point I am almost out of usable wood from what I milled up. I did use a lot of the 2x10 ‘fails’ on the upper front where the thickness can’t be seen. I still have an un-milled 7" chunk of my 53" 2x4 that has not been touched. It’s too short for most of what I need. I have already cut some 10x10 from a chunk that was in excess of my allotment. Maybe I should mock up some of the drops from my original mill run - they have the 10 in one dimension. The other is probably about 4 - They might look good on the outside wall.

That really looks good, Jon. Dresses that spot up right nicely.

Very nice! It will look great on the layout.

I may have to declare more extra wood. I ran clearance tests tonight. I have been testing all along with the C-19 but only tested the GE 45 Ton diesels early on before the 45 degree braces were added. They still barely fit width wise, but the corner of the cab will hit a brace timber. I temporarily tried raising the whole assembly up by the height of one 10x10 timber and that gives me just enough - but it is tight. No pix yet.

Nice picture; it looks like an actual railroad! And you’re dead right, the pieces all seem to fit together neatly…do you plan on staining the wood? With ink? Stain? Diluted paint?

Thanks John! Yes I am going to stain it. Haven’t decided yet between a brown or a black. I have lots of a custom India ink / Alcohol mix left over from a project a long time ago, and some black stain as well. When I was building a bridge a few years ago the black stain mixed with linseed oil to thin it out won my color test. Need to I dug out that data from an old post. The one I used was 4th from right…

The only reason for going with a brown is so I could add a smoke stain an the center, but I doubt that in the real world this stuff was painted, probably just weathered naturally to a shade of grey.

Jon, I notice the far right sample is used motor oil. I like that color, not necessarily for what you are doing, but just in generaL. Did you just brush the oil on or did you soak them in the oil. If soaking, how long did you soak those samples and how long did it take for the wood to dry out once the oil had been applied? Sorry for all the questions.

to my eye and for a build, that would not be painted, i like the india (3rd from left) best.

An old fashioned method for the black soot, use a candle. Pass it back and forth in the portal to build up color.(https://www.largescalecentral.com/externals/tinymce/plugins/emoticons/img/smiley-wink.gif)

My railroads tend to be the down and outers, so I’d favor the India gray too.