Speaking of getting kicked out for higher rent, the new Caboose Hobbies hasn’t opened yet and this Christmas, for the first time since I started my hobby I couldn’t take my children down to Caboose and help them buy me a railroad present. So no present for me this year; maybe next year.
Any good ideas on how to cut the stone Dave sent out? I tried scissors and a utility knife with no luck.
And thanks Dave, contribution on the way!
Razor saw or grind them down to shape …
I haven’t tried yet but I would think using a heavy duty X-acto knife to score the backside then snap it with two pliers,
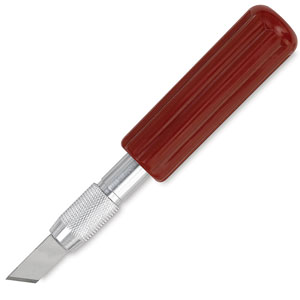
an Exacto razor saw I would think or I have one of these (well similar anyway) and have come to love it more than my Exacto one. This is what I intend to use.

Thanks guys. Well, I did a little test, and, for me, if you score the back with a utility knife and use two pliers with the noses right on the edge of the score, the pieces snap clean in two. Nice.
Devon’s saw looks a little scary, like something doctors used during the Civil War to amputate fingers and legs and all.
Now that I know how to cut these, maybe I should think about making a plan for what my engine house is really going to look like (beyond a lot of fantasy pictures and ideas!). Of course all my other builds were basically just winging it based on an idea in my head, so why should this be any different…especially since it’s basically the same approach I use at work.
John, mee too. The best of plans do not survive first contract.
I’m lazy, I’ll probably use my band saw so I can set angles for the bridge arch…
Arthur Itis’s sharp tongue has been screeching through me connective tissues (ha Todd!) this winter, I can’t see scoring and snapping as fun.
Intricate cuts get the jewelers saw, but I didn’t want to suggest things you wouldn’t have.
Been too busy painting ties and staining rail to be prematurely challenged, as it were.
John
Well, everything has to start somewhere, right? A journey of a hundred miles, or something like that…
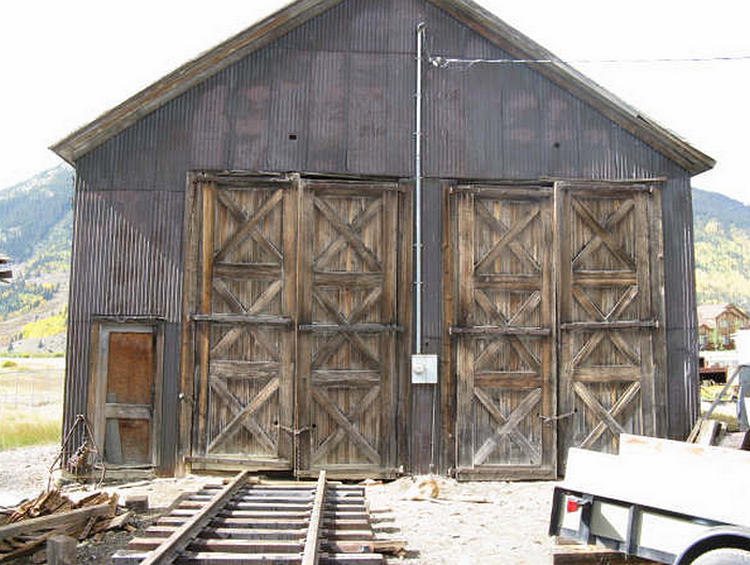
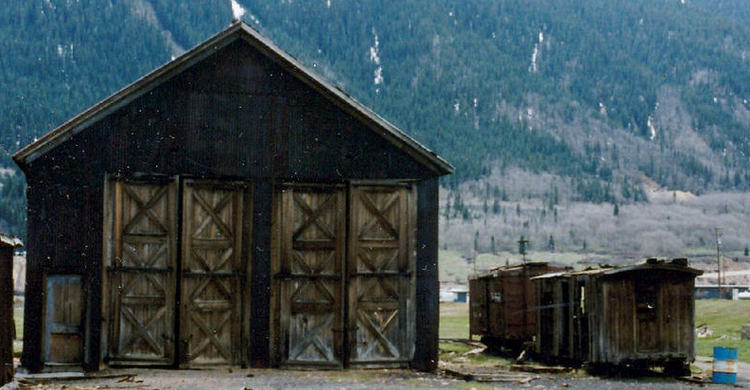
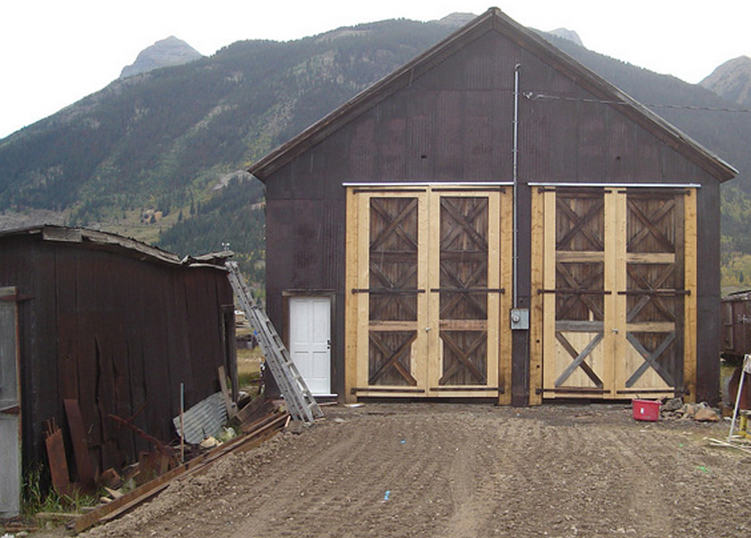
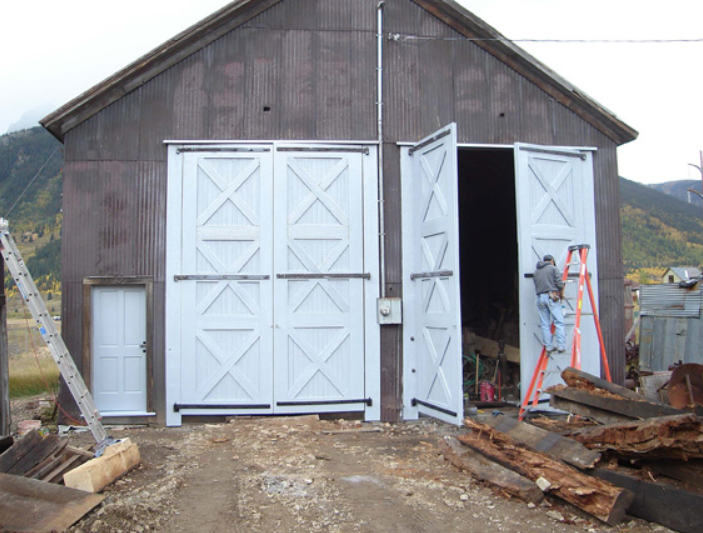
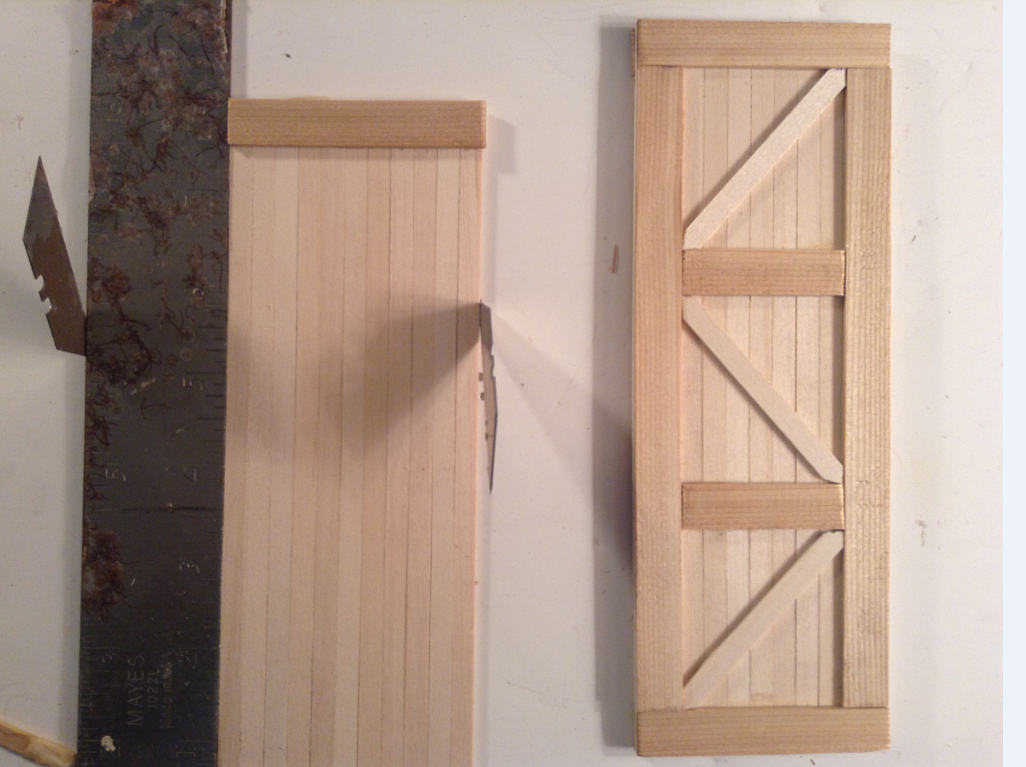
So I decided to start with doors. I’m using Dave’s doors and thanks to him for the suggestion. Turns out, these doors have a history. Take a look at the pictures here. The first two are the old dilapidated doors (note the blue and white barrel in the one, which is definitely going on my build somewhere, and note the make-shift “lock” system of drilled-holes-and-chains in the other picture). Then you have the doors under reconstruction, then painted white and all fine (I’m going with green).
So I took the fancy white set there and did some measuring assuming a six-foot man and a ten-foot ladder. I had to make a compromise since the doors have to allow a three-truck Shay in and I model in 1:24, so instead of 7 1/2" height I had to make it an 8" height. It threw the proportions off a little, but what the heck you gotta do what you gotta do. I made it easier on myself by printing out the doors at exactly 4" so that I could simply double all the measurements.
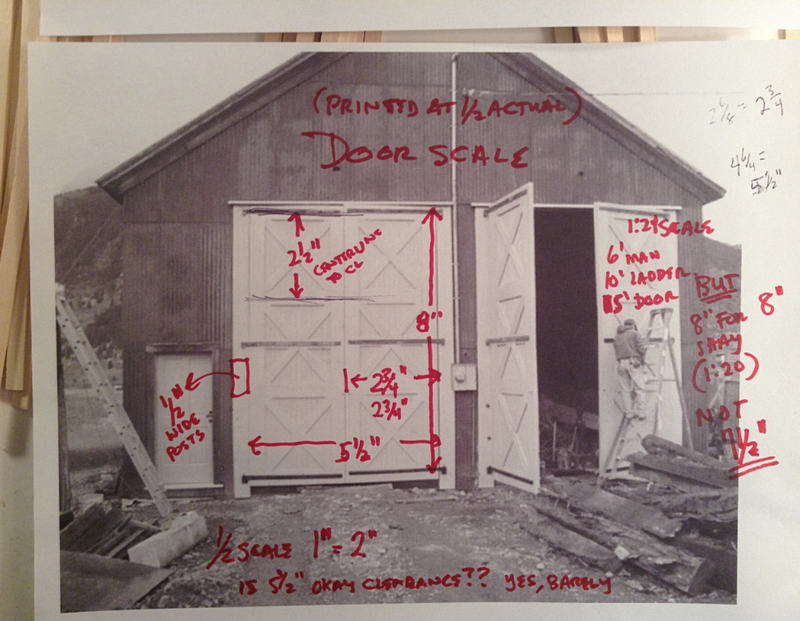
So here we go! Like I said everything has to start somewhere and here’s where I dived in (and, by the way, I counted the vertical boards on the real doors and there are eleven on each door, one center and five on each side):
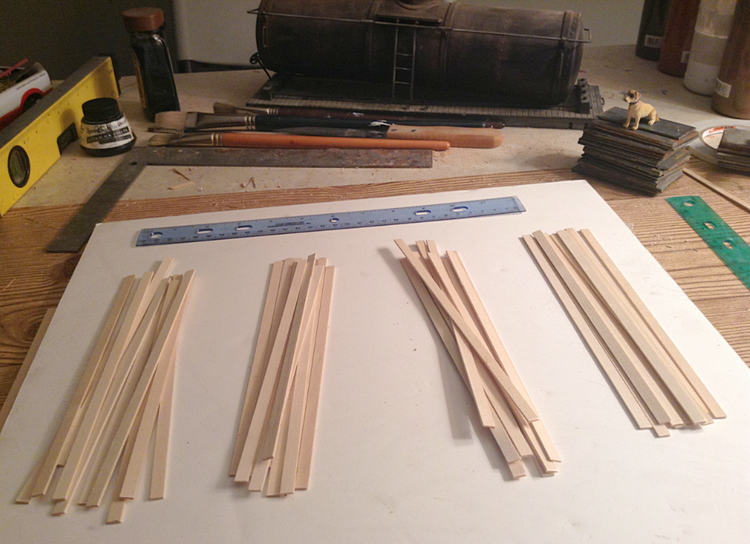
Cut these and then I finally got my chance to pull out TRAVIS DAGUE’s lumber pack prize from last year’s Challenge. Thank you thank you thank you, Travis. Excellent scale lumber, cut to perfection. Gotta love it:
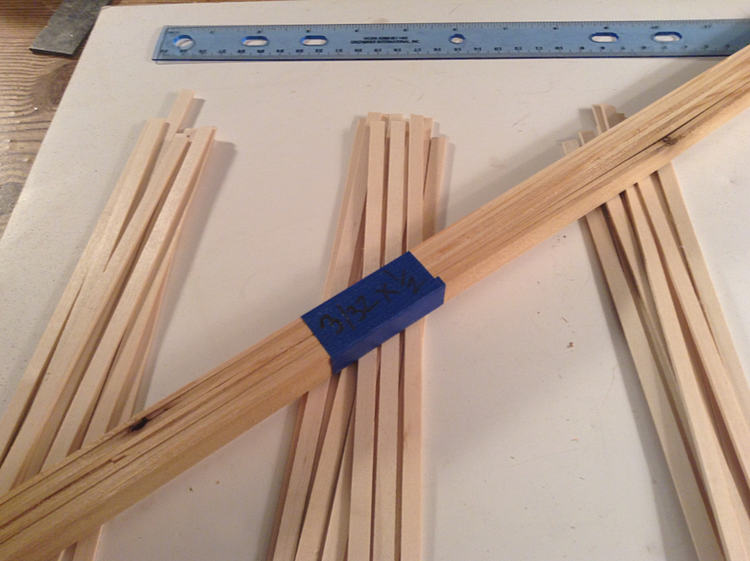
The I started gluing the door parts together. I tell you one thing right now, being able to cut this wood with a pair of scissors really really makes life so much easier and the job go so much more accurately and quickly. Seriously.
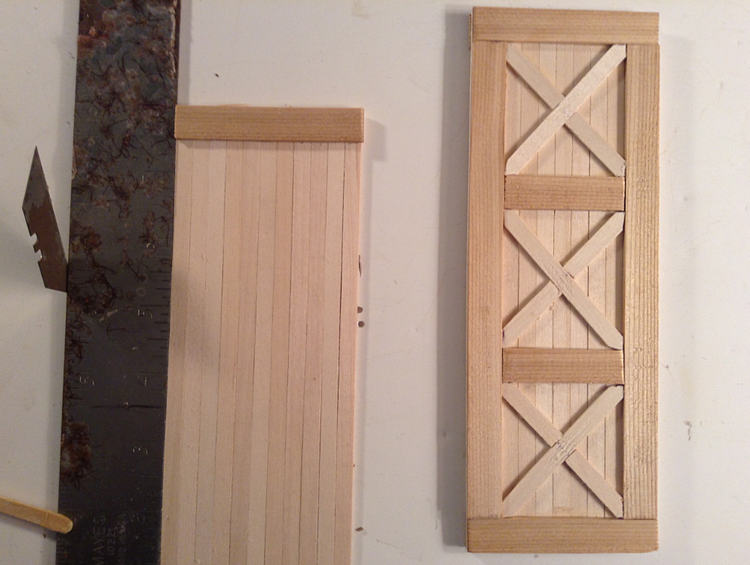
I noticed in the real doors that the single diagonal cross brace alternates in direction, so I did the same, and the last picture is the finish on one side of one door. Geez. Now all I have to do is the other three sides. But not today…I’m taking my son to Roller City and my daughter to her volleyball tournament, so that’s it for me today!
I really hope I’m not boring you all with too much detail and too many pictures. If it’s too much just let me know and I’ll scale it back.
Darn good looking doors John and I for one greatly appreciate the detail and photos. Keep’em coming.
Great Pics of the Silverton Northern Engine House. A couple of facts to add… The building before the restoration began was leaning to the right ( as viewed in the pics) really bad and was in eminent danger of going over. You can see the offset in the door bottoms from the racking. The whole structure was pushed back to a vertical position, New cross ties were added internally, and a couple of non-original posts to help hold it all up were added. Cables were stretched across to hold it together, and a couple of stay cables were run from the top of the building diagonally to the ground, much like you see for power poles. At this time they are what are holding the building vertical. The main problem is the lack of foundation. It was originally made up of piled field stones, and bad mortar, that has failed extensively. We are awaiting $ grant from the state of CO. historical funds to start a 3 phase $200K save and rescue for this historical building. The Durango Railroad Historical Society replaced the track that had been removed, and re-dug and rebuilt the engine pit inside the left door, For servicing and storing D&RGW 315.
BTW: the rebuilt doors were painted a very light gray.
Oh that is a sexy little engine house. A Taylor tin project waiting to happen. Those doors are looking good.
And to back up a bit using a knife and set of pliers works great the score and snap method is a winner.
Ref cutting the stone. Is there not a “clipper” (similar to the old pincers used for removing nails from wood )… available for this particular material???
I am sure I have seen something about elsewhere…
Late edit. Found this…
https://romanmosaicist.wordpress.com/2012/05/02/using-tile-nippers-to-cut-stone-tesserae/
Ross, our ‘stones’ are a thin resin casting, don’t over think it. An old style paper cutter, reach up and grab the handle and pull the blade down on your finger tips! (http://www.largescalecentral.com/externals/tinymce/plugins/emoticons/img/smiley-sealed.gif)Oh wait, that’s optional! Is all that’s needed. Big scissors or shears too.
I have a flat lap with 100 grit diamond grit and water drip to keep the dust down… for my ellipse arches
John
Ah…I see. I was led astray by the fact that stones were mentioned as opposed to ‘stones’. (http://www.largescalecentral.com/externals/tinymce/plugins/emoticons/img/smiley-tongue-out.gif)
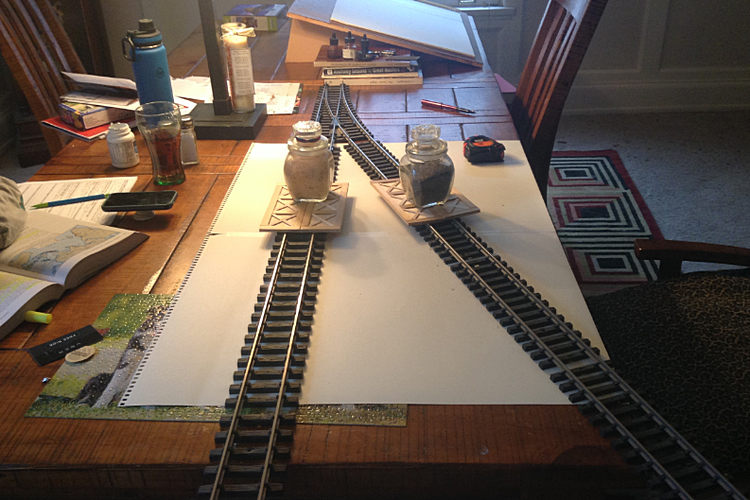
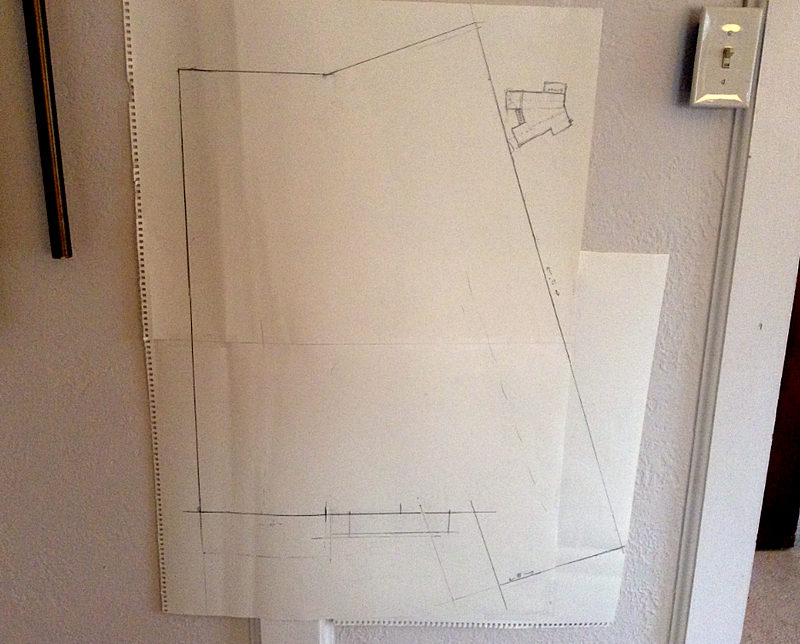
Time for a REALITY check. Oh yeah. There is no way in hell I would have gotten my original concept finished. I was working on the dining room table while my daughter worked her way through world history homework and I laid out some paper to make a drawing of how my engine house would lay out in actual space and lines. The first two pictures below don’t even show the final version where I had to ADD an extra sheet in the bottom right to accommodate the right track line. Had I continued on, the final product would have been so large, it wouldn’t have fit through my workroom door down in the basement, and I would have had to store my drawing station and work on the dining room table for the next four weekends and nights.
I mention my daughter because this is the girl who at the age of nine, after watching twenty minutes of the Broncos with me, turns and says, “How can Tim Tebow play quarterback if he can’t even throw the ball where it’s supposed to go?” So now she’s looking at me like, “How are you finishing that in a month?”
Well, I’m not. So now, after no fewer than three false starts, I have a one-track engine house, shorter than the original, fitting a two-truck Shay, and I might, just maybe, be able to finish.
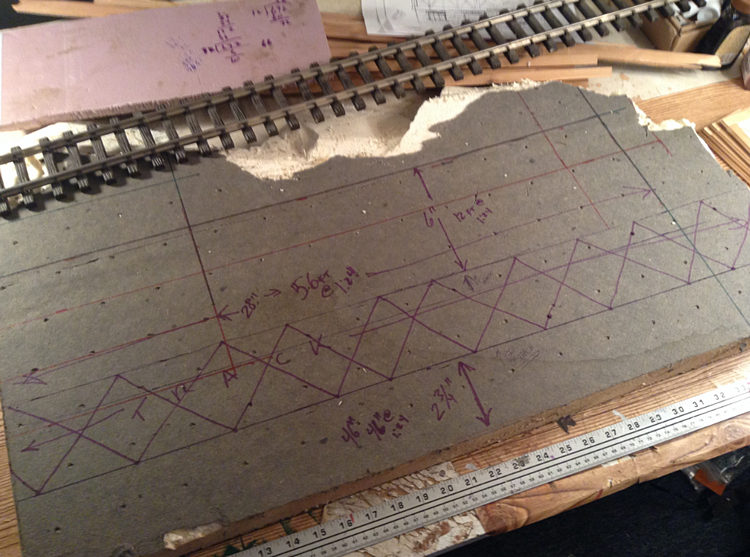
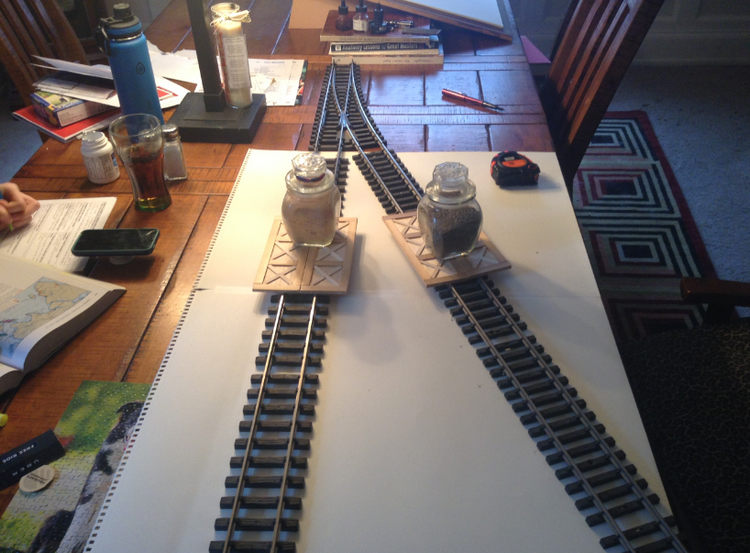
And you see where it was questionable as to whether it would fit even on the dining room table:
So now this morning before I went to work it’s down to one track and a more manageable plan.
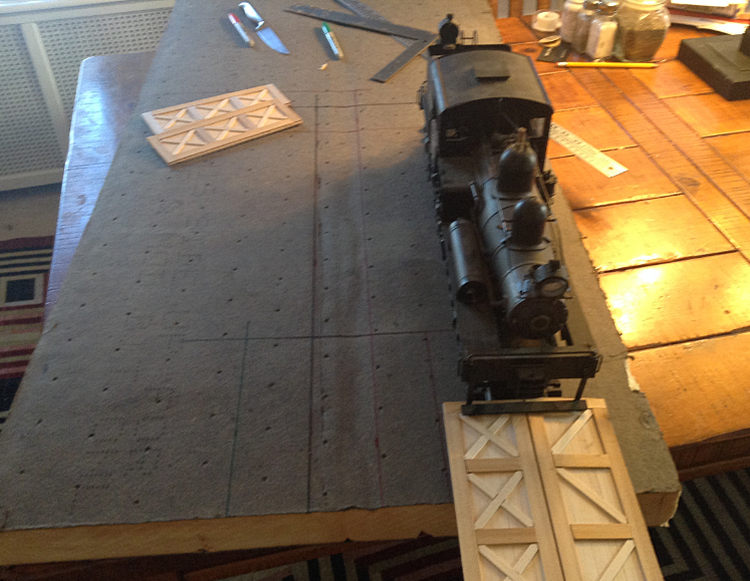
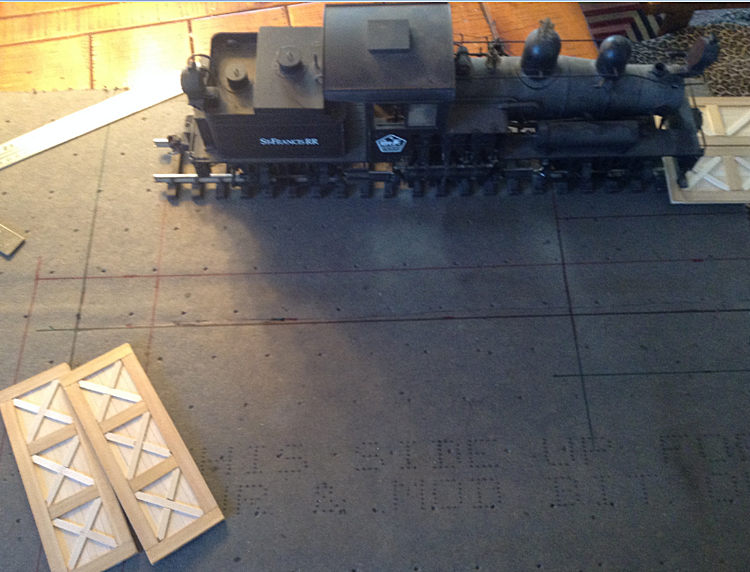
Of course I have two sets of doors and I need only one, but that’s the way the cookie crumbles.
So I cut away the rock surfaces because, as I mentioned earlier, this engine house is built on a rock.
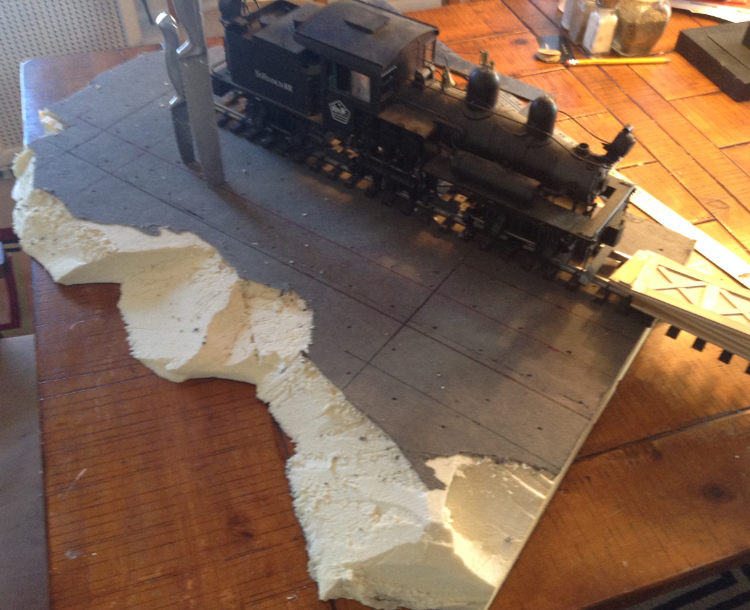
Well I don’t like backtracking, but I guess I can always add another track to the structure later, some day, and I’m liking my chances better with this plan.
John, I understand your dilemma. I built an a engine house for last years challenge and did not realize the required size to house a 3 truck shay until I started laying it out. The thing is almost 40" long and 12" wide. I did not get finished during the challenge time frame. Matter of fact it is still not finished.
Use your spare door on the other end and make it a drive through.
Pull it out back to clean out the smoke box.
John
I second what John said. Of course that would require a longer base. But a drive through shed is not at all unreasonable and would look cool.
John Caughey said:
Use your spare door on the other end and make it a drive through.
Pull it out back to clean out the smoke box.
John
J.C., I think that’s just brilliant! Never would have thought of that.
Devon, I think it’s worth extending the track, for sure.
When I say I never would have thought of that, I’m not kidding: sheepishly admitting my pathetic locomotive ignorance, I didn’t know what a smokebox is, didn’t know why it would have ash, and didn’t know it had to be emptied. But…now…thanks to internet, now that I know what it is, I can see where it gives me excellent visual story-telling possibilities.