Large Scale Central

D&RGW 44 ton switcher bash

Hi guys,

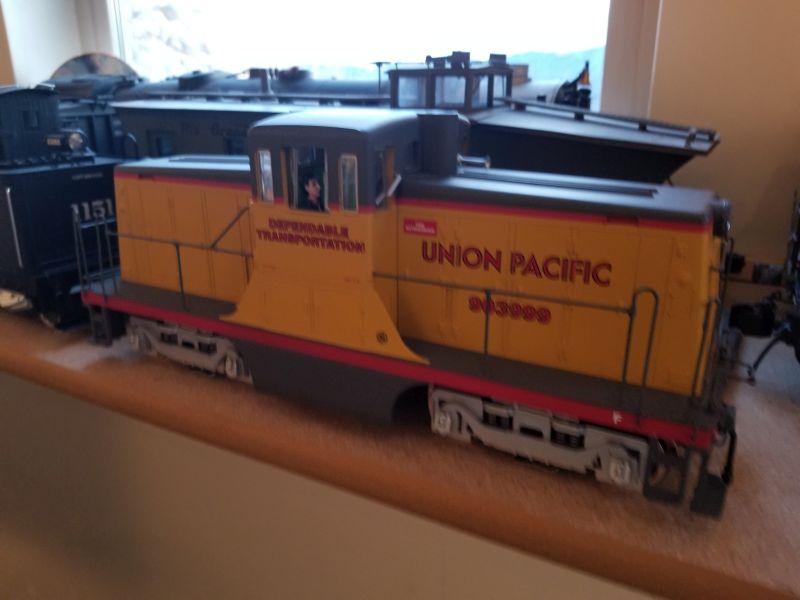
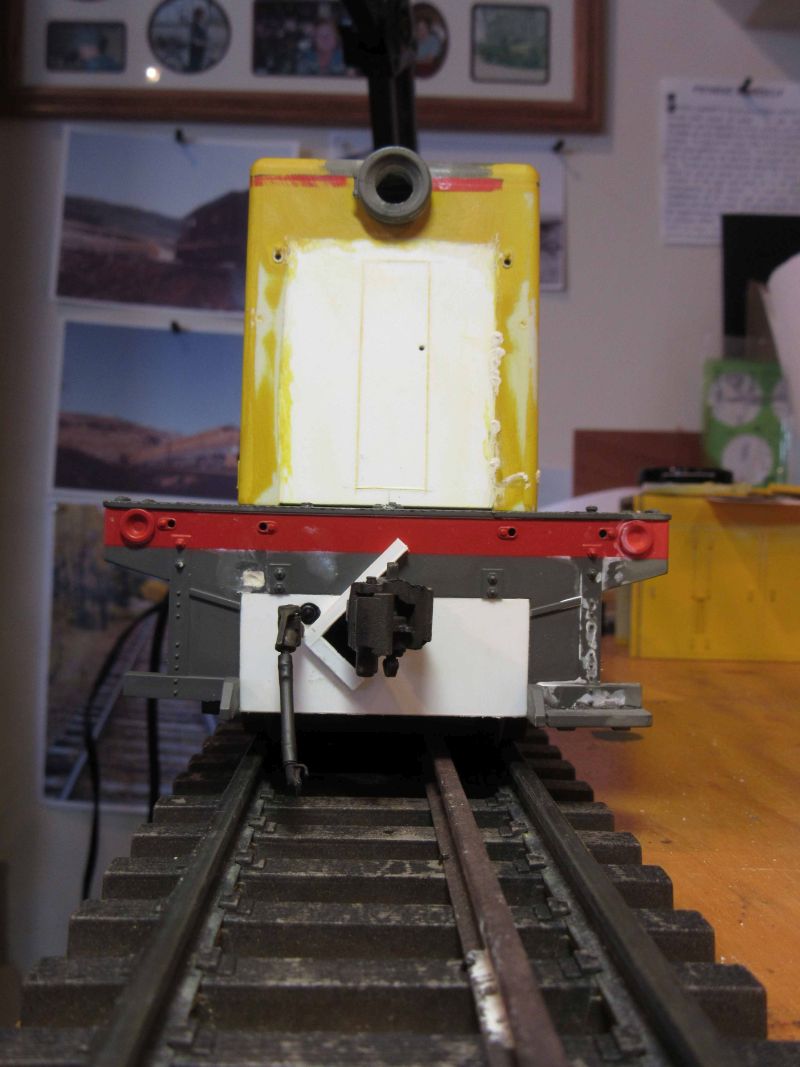
Over the past few weeks I have been turning one of these:
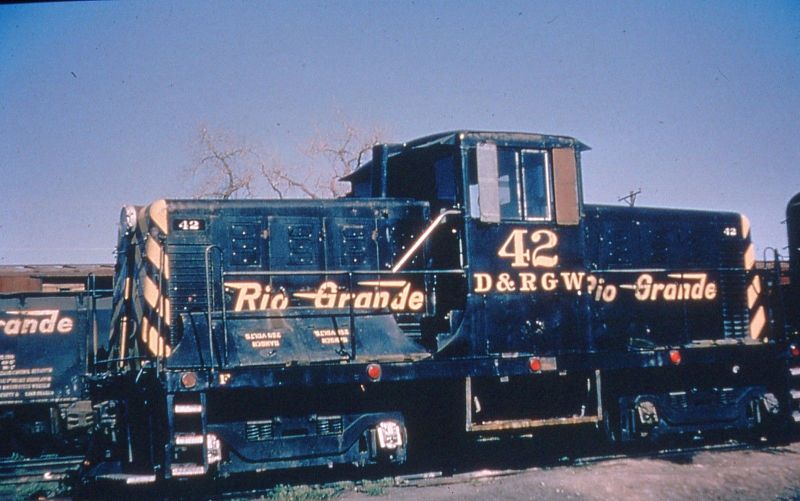
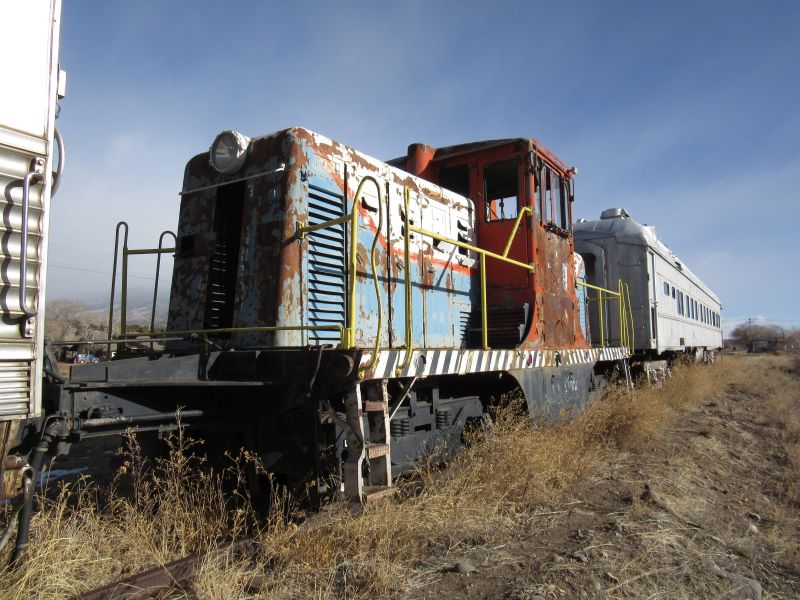
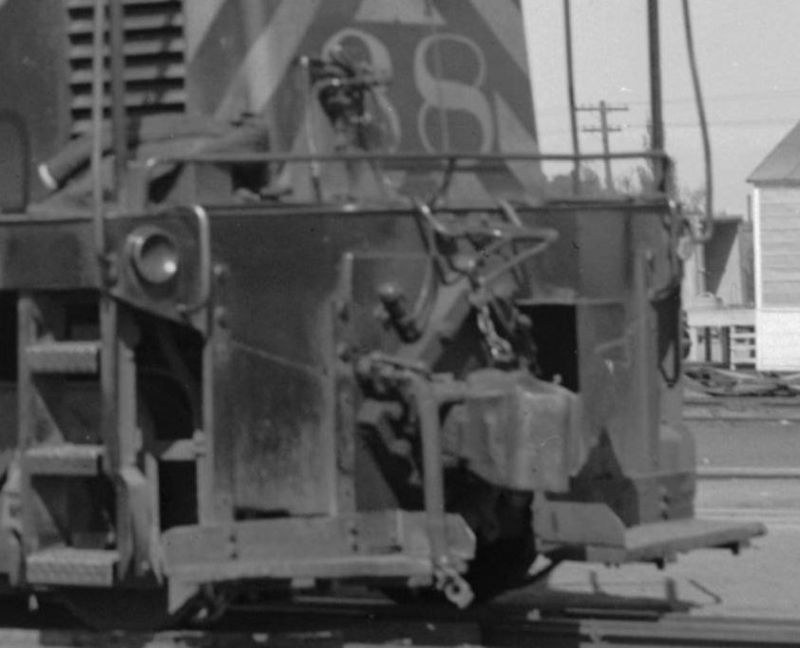
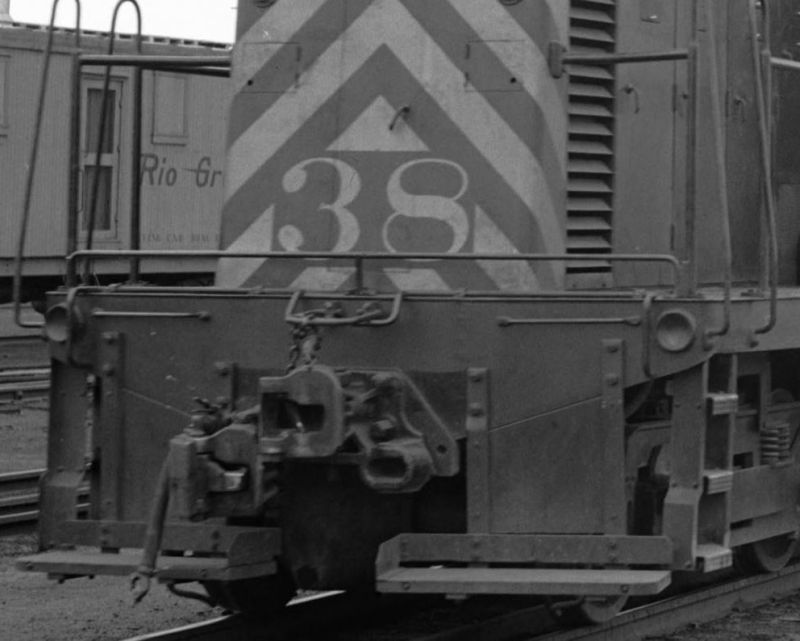
into one of these:

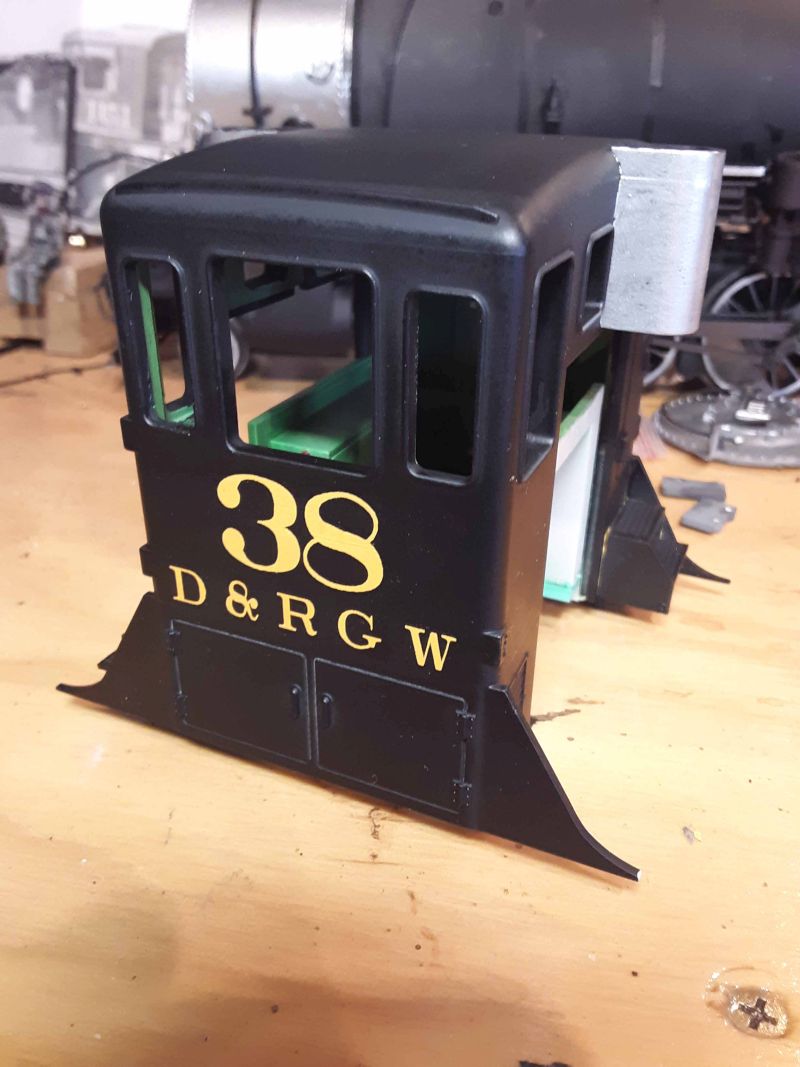
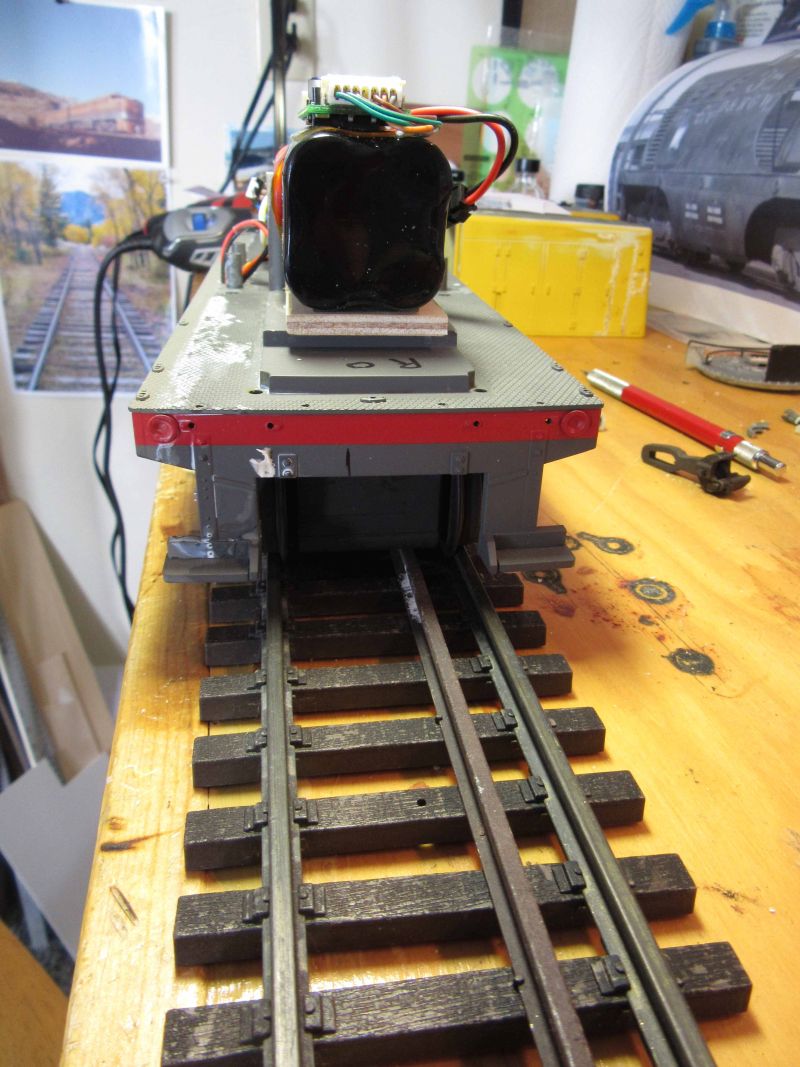
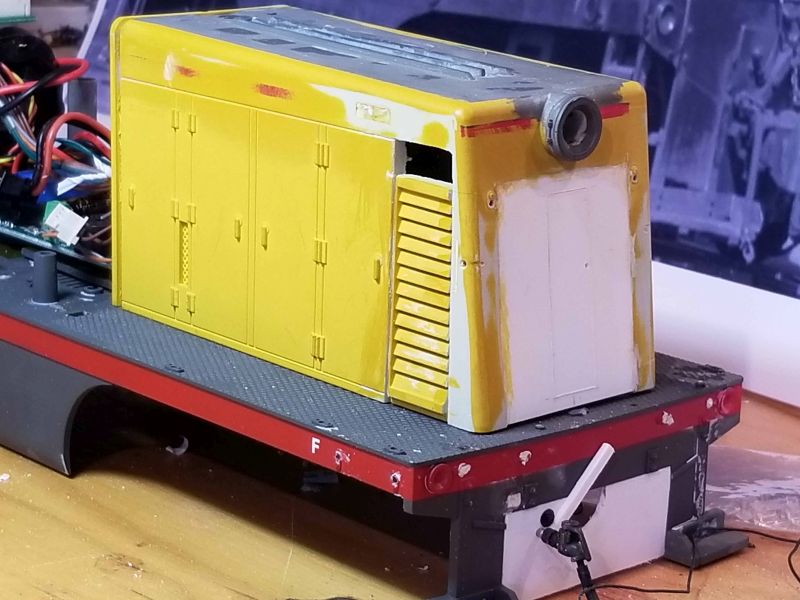
So far I have dismantled everything and stripped the paint:

I got the donor model off of eBay pretty cheap - even came with a radio and Phoenix sound! Ultimately this will have dual gauge couplers as it appeared in Alamosa in the 1940’s and 50’s.

More on that later.

Cheers,

Matt

You have pics of the stripped paint?

Hi Rooster,

Not exactly. Mostly I wanted to remove the stripes and lettering - I wasn’t too worried about the yellow. Later pics will show the extent of paint removal.

Cheers,

Matt

By incredibly good dumb luck, the last surviving Grande example of one of this class of switchers is rusting away on a siding about an hour and a half away. I made a visit for pics and measurements.

More to follow.

Cheers,

Matt

Matt, is that South Fork?

Later,

K

Hi Kevin,

Yes it is.

Cheers,

Matt

The easy part was the cab. Once I had it stripped, I removed the windows and wipers. I then primed it, painted the inside light green and the outside black, and lettered it. The lettering is custom dry transfers from All-Out Graphics in Vancouver:

And there the project sat for several weeks while I procrastinated on the hard parts. :wink:

Cheers,

Matt

Is the prototype a 3’ or 4’ 8.5" gauge?

Interesting that a center cab in “standard gauge” (1\29) could be used to model a center cab in “narrow gauge” (1/20.3) without too many modifications.

Hi Craig,

The prototype is standard gauge. My model, like the prototype, will be equipped with dual gauge couplers which enable it to switch standard gauge and narrow gauge equipment.

Cheers,

Matt

Matt,

So are you making it run on 45mm track or larger 1:20.3 standard gauge track?

Hi Craig,

It is made for 45 mm track. It’s a 1:29 scale model. My next step was to re-attach the trucks and spike a third rail to a piece of track to figure out centerline for the narrow gauge coupler:

Cheers,

Matt

Hi Matt,

Great progress. I’m following with keen interest as I am also considering doing 1:29 dual gauge.

Did you spike the second rail at O-gauge/32mm ?

Please keep updating your progress.

John R.

Matt, I don’t know if this will help at all, but here’s a couple of pictures I took in the yard when I was over there at Cumbres-Toltec.

Hope it’s useful maybe.

edit: how come I see the typos after I hit the post box? Geez!

mods seem to be moving right along. Nice work Matt.

Interesting:

Odd coupler mounting. Anyone know the reasoning behind it? (https://www.largescalecentral.com/externals/tinymce/plugins/emoticons/img/smiley-cool.gif)

Hi guys,

Thanks for the comments. The third rail was spiked down at a scale 3’. The prototype dual gauge coupler I am modeling looks like this:

Cheers,

Matt

Very interesting. I assume this is the other end.

https://largescalecentral.com/FileSharing/user_2332/General/Dual_Gauge_Coupler.JPG

Hi Matt,

The reason I mentioned o-gauge standards is that at 1.25" gauge, the gauge scales to 36-1/4" inches in 1:29, which is pretty close.

It also allows the use of existing dual gauge track:

(Sunset Valley dual gauge)

And the use of O-gauge mechanisms for any narrow gauge locomotives you may build.

Just a thought

John R.

Thanks Dan, I had not seen that pic of #38 before. I am guessing the pics I’m basing my model on were taken early in its career, with a different dual gauge coupler arrangement.

This is how the model looked after the dual gauge coupler was created:

All was made from various styrene. Couplers and air brake hoses from Burl Rice.

You can also see the start of the modifications to the hood. I cut out the end radiators and replaced them with styrene, cutting in the outline of the access door.

Cheers,

Matt

Matt,

Nice job! According to this site, each end was a different config

http://utahrails.net/drgw/rg-diesel-notes.php#couplers

More fun for ya!

Hi guys,

After cutting the radiators out of each end, I glued a flat piece of styrene to their backs. That allowed me to cut each radiator in half without trashing the louvers. I then cut a notch in each side of the nose to allow the radiator halves:

Cheers,

Matt