Jon,
do not forget that the bearing blocks need to be thinned down on one side to meet the track gauge requirements. at least it did on mine. I am having thinner width bearing blocks made up for future models.
AL P.
Jon,
do not forget that the bearing blocks need to be thinned down on one side to meet the track gauge requirements. at least it did on mine. I am having thinner width bearing blocks made up for future models.
AL P.
I did read that about the bearing blocks. No big deal; I just painted them while I had the paint out - they can always be adjusted and re-painted by brush they are so small. When I reviewed the pictures I noticed that one of the lengthwise frame members was tipped.
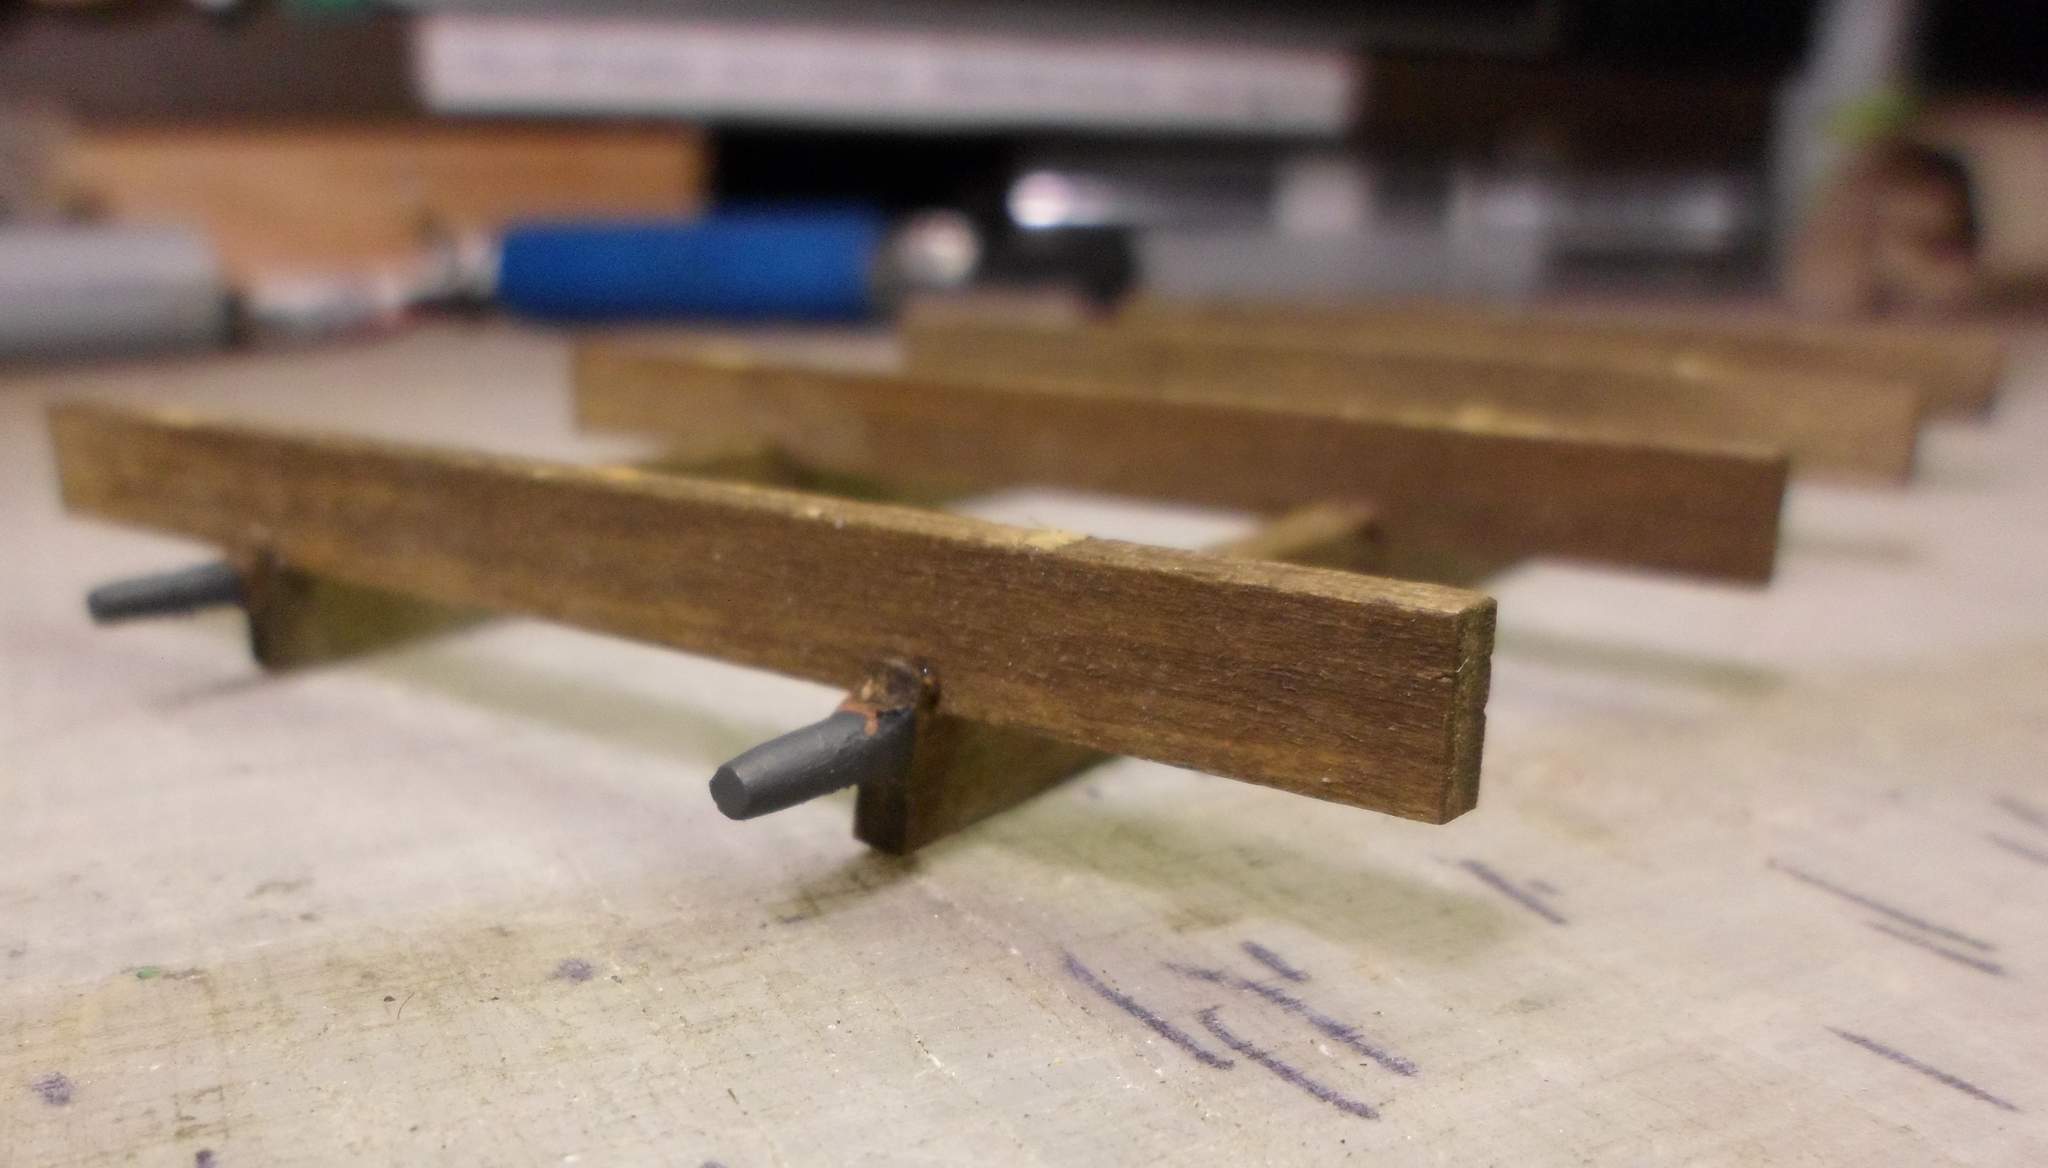
That will need to be fixed for the axle to fit.
Have you gotten to installing the rivets on the cross straps yet? Might I suggest waiting until you’re feeling particularly mellow? Thankfully Al includes extra rivets “just in case.” I used every last extra one.
Later,
K
Not yet Kevin (https://www.largescalecentral.com/externals/tinymce/plugins/emoticons/img/smiley-sealed.gif)I have the correct bit, but my pin vise won’t hold it. New one arriving tomorrow. I don’t have the suggested “liquid styrene cement”. I’m assuming MEK will work. My plan is a cold beer or three; Optivisors and tweezers. They are TINY.
Jon,
One way to keep the rivets from flying so much is to stick the rivet about to be cut from the sprue to masking tape. then if you are carful you can guide it into the hole and glue. I didn’t have much luck with tweezers either. micro mark has some that are spoon shaped buit I have yet to fork over the $$$.
Al P.
Go to the hardware store and buy a mid price pair of small side cutters. Use a grinder to flatten the side of the cutters until you have flush cutters. Use these to cleanly cut off your rivets under your finger. No tape needed, drop into your rivet cup.
Get some bees wax, it’s sticky. Put a little on your “pick’em up stick” to manage them into place. (I get sticky wax from jewelry supply houses).
Thanks for the tips guys.
@John - Not sure I can quite picture how you are suggesting to grind the cutters. I have a wheel and a Harbor freight near by.

Am I grinding down the outside of both jaws?
yes grind down the faces shown to remove the bevel, you get a cheaper flush cut plier.
A word of caution; these are now lighter duty. I cut snippets of solder and light wires.
I like them when cutting parts off sprues, they minimize the filing clean up.

Ahh, that’s an idea worth remembering.
I shall blame Amazon Prime for the delay in my progress. The new pin vise I ordered with guaranteed Saturday delivery is lost somewhere in NJ. Amazon says don’t worry, it will probably show up within a week.
I did drill the beams for the bearing blocks - When Al says “carefully drill” he means it. There is about 1/32" of wiggle room on either side of the hole. I thinned down the blocks as best as I could. They are so small it’s tough to hold them square against a Dremel grinding wheel. I think they will be OK. Waiting until the frame is glued to the deck before mounting the blocks. Rivets next; oh joy.
Daktah Jon,
.
Nice documentation and build log. Great ideas, here! Thanks for sharing.
Double post, double thanks.(http://largescalecentral.com/externals/tinymce/plugins/emoticons/img/smiley-cool.gif)
Amazon finally got around to delivering a replacement for the pin vise that got destroyed in shipping and never delivered. It arrived on Friday after T-Day, but I was too busy with outdoor projects to play with it. I finally got some modeling time last night. I must have been in the zone because I plowed through drilling all the holes and gluing in all the rivets. I only had a few screw ups messing up 3 or 4 of the tiny rivets. I ended up with 4 extras. I didn’t count, so I don’t know how many extras Al included.
I tried holding with tape as Al suggested. Then I tried some sticky wax on the end of a pencil. Both ideas worked to some degree, but I was more comfortable just using my smooth jaw needle nose pliers. I did use some blue painter’s tape to hold them 5 or 6 at a time while I wiggled them off the sprue. My production set up was a piece of painter’s tape sticky side up taped down to the table to hold a supply, a bottle cap to hold a small supply of MEK and my pliers…

I did my best to remove the plastic liner from the bottle cap so the MEK would not be fouled, but the pieces left behind did not dissolve in the MEK, so it might have been OK to leave it alone. While holding a rivet with my pliers I dipped it in the MEK, then inserted it in the hole…

I did screw up a few rivets by dipping too deep and/or too long softening them to the point I couldn’t put them in to the hole. That quickly taught me to be careful while dipping. After a few hours grooving to live Allman Brothers and Stevie Ray Vaughn, I had completed the task…
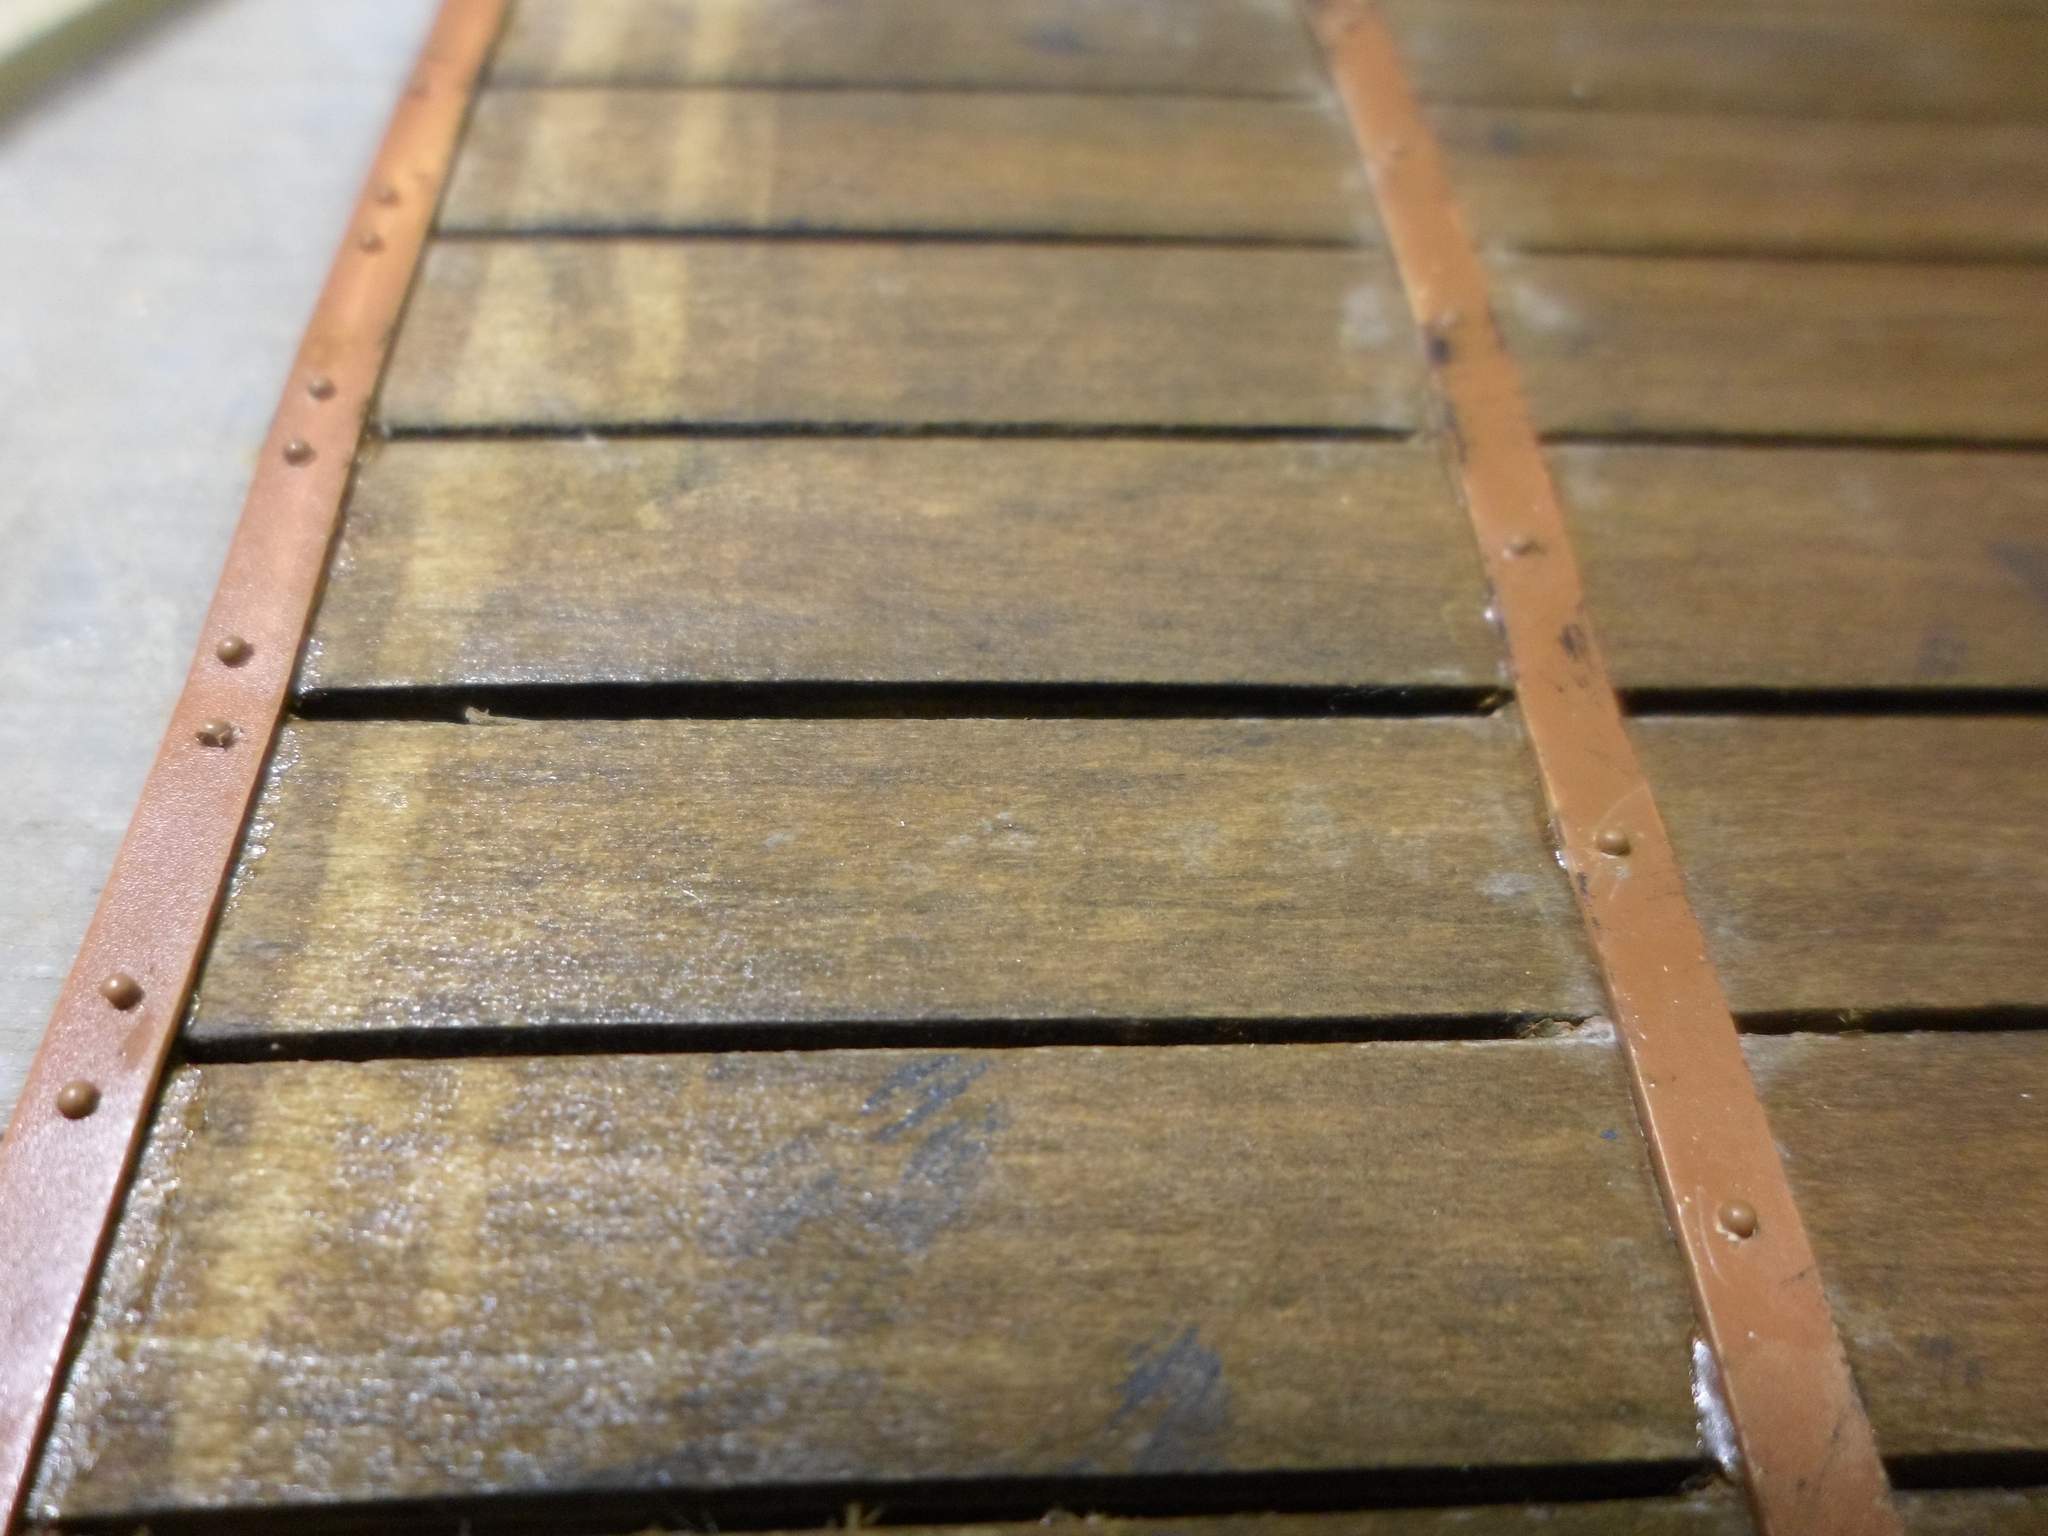
This allowed me to glue the pre-assembled frame to the deck. It immediately went under weight to hold it while the glue set overnight. I hope to get down to the shop tonight and see how it came out and maybe glue on the bearing blocks and the tow bar.
Jon, do you have further pictures, especially now since Mark H. is building his?
Greg
Greg Elmassian said:
Jon, do you have further pictures, especially now since Mark H. is building his?
Greg
I never finished, but there has been some progress since that last post. I’ll grab some cell phone pics tonight.
It’s a nice build log and instructions for anyone building this.
Thanks, Greg