Large Scale Central

Big changes at Staver Locomotive for Spring Steamup

Hi Everyone:

This is my second post and first to the live steam forum. My name is Karl, and together with my wife Jenn, we have been building all the trackwork at Staver Locomotive since taking over for Tim Miller about 5 years ago.

For those who don’t know, Staver Locomotive is a very large and getting larger live steam railroad in a 16000 sqft restored industrial machine shop in NW Portland, Oregon. We have started on a large scale reworking of the railroad,

and Larry (owner) has given permission to post some details and pictures of the work we have undertaken.

At Staver’s, we try hard to build as much of the railroad in house as possible, including machining of all turnout frogs and points, and laser cutting of all kinds of support tooling, fixtures, and helpful aids of construction. Larry

has a complete machine shop, including CNC mill, laser cutter, and 3D printing. My duties involve working with Larry to invent, design, and construct everything we need to build the railroad. My wife Jenn welds and fabricates

the turnouts and associated parts. Then we both spend many hours like a well oiled machine installing our handiwork.

One new process, is that we design all our trackwork and turnouts using real railroad principles and design techniques. Using Templot 2 software, Larry and I are redesigning the railroad and printing out templates on

a plotter from which to shape curve easements(transition curves), and switch work including diamond crossovers and tandem curve turnouts.

The railroad as of early December at the Holiday steam up had about 700 ft running length indoors, and a couple hundred feet outdoor. The steam ups have become large enough that traffic on the original single track railroad had become

difficult to accommodate. So we have torn out completely, approx. 350ft of the mainline track, and associated yards, bridges, and sidings. Also, a significant amount of work is being done on the outdoor infrastructure in preparation for doubling the size of the railroad

over the next year. This all started with a desire to add a diamond crossover before the entrance to what we call the narrow gauge yards. Somehow this quickly turned into double tracking a previously single track section of mainline. which then led to…350ft of torn up railroad.

Progress has been steady, and this post is started with pictures of work completed in December, we are much farther along now, and over the next week or so I should be able to =bring you all up to date as I prep and post pictures.

Looking forward to seeing old friends and meeting new ones at the Spring Steam Up.

Here is a few pics of how we got started on this project. Starting with the our first diamond crossover.

Jenn installs the ties. The must be custom cut on and interesting gadget that allows us to route 1/8" slots through the ties at any angle.

And finally, the location it will be installed

I will post more updates as I have time. We are getting ready right now to fight the snow storm and head down to Stavers

to finish some more mainline.

Thanks

Karl

Welcome,

Karl, when you joined the forum,you were given space in The Freight Shed for picture storage. Load your pics there, then open them and copy the location to insert into your posts.

I was able to open your pic, but it was a small thumbnail size.

Normal size 800 pixels wide.

Hi John:

Still learning this forum. I chose attach picture and it went to my hard drive. That is not how I post. I have a server to store my photos on, so I needed to link to the photos instead. After I attached the photo, it posted to the board instead of returning to post editing.

I linked the pictures from my server during edit, and you should see them now…

Thanks

Karl

Had a few more minutes so here is a couple more pictures.

My wife Jenn in about six layers of clothes, it gets very cold at Stavers. Here she is setting up the alignment to the existing track for Tig welding into place

Crossover installed in its new location

New alignment for the mainline, which will now be double track for a few hundred more feet.

Now we must go to Stavers and finish a critical part of the road from outside into the main building.

Thanks

Karl

That is a very impressive layout, too bad it is so far away from Portland Maine!

Are you using steel strips for rails? It sounds like you are slotting them into ties. Can you share some of those details? Jigs for making the ties?

My guess is TIG welding for aluminum rails. Looks like no track power (judging from the metal connecting the points), is it all steam power or do you allow battery too?

Can you explain more of the general philosophy, is it a club, do people join? Are there dues? Newsletter?

Thanks, looks great.

Greg

http://staverlocomotive.com/

Nice, but it still doesn’t answer;

Can you explain more of the general philosophy, is it a club, do people join? Are there dues? Newsletter?

I just sat down to edit a few more pictures to post. However, I will answer some questions for you first.

Staver Locomotive is a private railroad owned by Larry Staver. Larry is fortunate enough to have the resources to build whatever railroad he would like, fortunately for those of us into G scale live steam, he likes them too.
Larry’s family has a long history with live steam, including mostly ride on and some larger than G scale models, I think #3 ga but don’t remember exactly. Larry, however, prefers 1/32nd scale.

The railroad was originally built as a 1/32nd scale railroad, and although hes not real excited about it, Larry has decided to build the indoor railroad to accommodate up to 7/8 scale on the mainline, and one yard with enough
track spacing for storage and steamup of larger models of smaller prototypes. Indoor mainline tack separation is 8" (21ft), adjacent mainline tracks are also 8". He has nothing against the other scales,
he loves all trains… but1/32nd is his chosen modelling scale. Where the mainline is not currently 8", it will be by next fall. The outdoor railroad will have more prototypical track spacing.

We are building the railroad much like a real railroad where there are restrictions based on the needs of the terrain and railroad use. There are plans for a separate narrow gauge railroad outside.

The railroad is private and does not have any specific affiliation with clubs.

It is primarily, and was designed as, a live steam railroad with no electric power provided to the track or insulation between rails.

Battery power is allowed on occasion but not during steamups.

There are three steamups each year. The Fall steamup in September, The “Holiday Train Event” before Christmas, and the Spring Steamup.

Lately, a group approached Larry about using the railroad for operations. So now we have a first Tuesday operations every month. Primarily battery powered but a couple steamers show up. One of the group
mapped the railroad and created names and signs, and they run an actual operations session each month. With the railroad torn up, operations have been point to point. We have used the group as work
trains to deliver loads of ties while Jenn and I build track. Pretty fun really.

The Holiday Train Event is for a fund raising effort for a local school, The Seattle steamers typically show up and help Larry, Jenn, and I run steamers for the crowd.

The Fall and Spring steamups are open to anyone with a steamer or interest. Sign up fees are inexpensive, and Larry treats you to free steamup supplies, catered meals, free beer and drinks, and three days
of awesome steaming. Also, Jenn and I are kept on hand for emergency track or locomotive repair. And I always seem to be on the run during steamups making custom fittings, adapters, and repair parts.

In August of 2019, the garden railway convention comes to Portland, and some of the event will be at Stavers. He wants the railroad to be in top form for this event, so we are stepping up railroad building.

The Track:

The track is 3/8" x 1/8" steel strip. We install expansion joints in the trackwork about every hundred feet or so, sometimes just where I think the stresses will accumulate. The ties press onto the rail so tight that
we need special tools to install them. Once installed, they lock the track and it will not change shape. Much of the original railroad was built without pre bending the rail. We now pre bend all rail in a custom
made rail bender. We roll 12 foot lengths of rail until it matches the transition and radius curves we need, then install it on the railroad.

Turnouts:

Larry has a well equipped machine shop, and we use either manual or CNC machines to make the points and frogs. I am constantly refining our process to reduce the time it takes to make switches. For standard,
#7 turnouts I have designed and built jigs using our in house laser, and Jenn can whip them out now if I can keep up with frog production. In the fall, I taught Jenn how to run the CNC mill, and she made enough points
for about 40 turnouts. I set up a fixture I built on the manual mill and made 40 sets of closure rails. We’re running out of some frog angles and will soon have to set up for production of frogs again. We use Templot to
generate curviform turnouts and are preparing to produce a series of curved tandem turnouts for a curved ladder yard. Templot can create proper geometry for turnouts using our non scale 1/8" rail. The math is daunting
trying to make up for the extra 1/32" rail width on our own. Although it’s doable because I did it before Templot…Templot has made scratchbuilding turnouts much less work.

Ties:

We rip fir stock into strips, then load the strips into a custom machine a talented guy made for Larry 15 years ago. This machine has three blades, and cuts the slots and separates
the ties in one stroke approximately ten per stroke of the table. The table is designed such that there is a minor variation in length for each tie cut. There are approx. 83 ties per foot, so we must make lots of ties.
Once cut, we dip hundreds in a tank of stain and then place them on a screen to dry for a couple days.

Jenn makes ties for the turnouts by hand… well, using another custom machine that allows us to slide a router across a tie at any angle. This is the most time consuming part of production, and now that the switches can
be made to a known standard instead of custom in place, we can use Templot generated DXF files to cut ties for switches…maybe. Larry and I are discussing the use of a cnc router to speed the process up.

Trackwork:

Jenn welds all the rail and turnouts together using a TIG welder. We use a micro chop saw with a cutoff wheel to clean the edges of the track joints before welding. The joints are so tight, Jenn can weld them together without filler rod,
creating a very smooth and strong joint. Also, with TIG welders there is a method of use that allows us to use it as a sort of spot welder to tack things together before final welding. We rarely have to cut anything apart and rework,
although it does happen on occasion.

I would be happy to answer any other questions.

Will post some pictures at some point of the tools we use like the railbender and tie machine.

Thanks

Happy Steaming.

Got to go work on the railroad

Karl

Couple more pictures of progress:

Jenn interrupted, I stopped Jenn for a quick picture of her work. I’m very lucky to be able to happily work with my wife.

Picture of the far inside loop with all track removed.

There are numerous removable bridges. This one will need rebuilding to accommodate 3 tracks. Some others will be converted to draw bridges for easy access.
You can see the bridge on the table in the upper left.

Opposite view of basically the same shot. My good camera went south on me, so I apologize for the phone pictures and the lens flair.

Jenns says we must leave for work now!

More to come…

Karl

A few more pictures…

Here is a picture of what I’ve always called the middle yard loop, for lack of a better name. The operations guys have named everything on the railroad, but the names haven’t sunk into my brain yet.

Here you can see that we have removed pretty much the entire yard and mainline loop. I left one curve because the super elevation was already in place, and it set the alignment to the bridge and a curved crossover.
In hind sight, I should have removed it as well. The curve is not as smooth as the trackwork we are building now, and we will probably tear it out after the spring steam up and replace it. Also, Larry wants to
replace the curved crossover on the other side of the bridge with two matching crossovers. On the short term, I was able to salvage the existing crossover temporarily to save time.

Here is the salvaged curved crossover. For some reason, this section of track was built to 9" center line spacing. So I had to cut it apart and work through the tedious process of
splicing the track together. I say tedious, because usually, if the opportunity and space are available, we use an expansion joint when splicing track, but when installing turnouts
into existing track, or in this case, realigning two turnouts, I have to use a Dremel and cut off wheel to trim a few thou of an inch at a time until perfect alignment for welding. You
can also see the curve I left in the upper left with the ballast still in place.

After I fixed the crossover spacing, it was time to connect the loop. Here I was able to use expansion joints and track building became much easier that evening.

Last picture shows the road from outside as Larry calls it. Here we were using turnouts and track we had torn out to come up with ideas for the interchange
between the outside railroad and the indoor loop interconnect. We have since removed the road from outside and just finished rebuilding it yesterday. Pictures
of that work will follow the timeline of this build story. But the main point of the change was because there was a turnout as you enter the building from outside
that was derailing larger locomotives. We just built a gorgeous #14 high speed turnout to replace it and then rebuilt the curves up to the point under the yellow
flood light.

That’s all for now. Much more has been finished already and as of last night we are approaching the start of rebuilding the yards in the middle loop. If all goes well,
There will be much more steam up area, some more storage tracks, and some cool tandem curved turnouts to create the curved ladder yard.

Jenn and I usually work a swing shift at the railroad because we live 18 miles away on the other side of the city near the Columbia River Gorge. Traffic in Portland
can leave much to be desired if we work normal hours. Also, we stay very focused when there is nobody else around the shop.

We usually catch up with Larry mid afternoon and plan for future work or design track and turnouts in Templot, then spend the evening building track.

Off to another shift.

Karl

Hi Karl

Those of us who run large Aster engine hope that the “small” numbered switches are at least #8. More storage tracks are what is really needed, as you know. See you this Spring.

Yours in the Hobby

Dan

Hi Dan:

Getting ready to head out from Stavers and get some dinner. Just so you know, 90% of the mainline turnouts on the indoor railroad are already #7. Larry chose that size because the minimum radius through a #7 is 10 feet or close to it…

The real estate lost from having #8 or larger can be a problem even in a facility as large as Stavers. At least for crossovers and ladders. That being said, the outdoor mainline will have #7 as a bare minimum and we are shooting for #8 and larger
for everything we can, if not all of what will be the true 1/32nd division of the railroad.

There are #5 turnouts in the narrow gauge yards and in some of the tighter steamup areas for smaller loco’s. Storage space is a big problem indoors as you well know from your many visits. I can’t be sure we’ll get it all done for spring, but plans
are in place to provide steam up areas off of the turn table with removable steam up tables. Also, we are trying to put a removable table in the new middle yards, although it will be restricted to smaller 1/32nd locomotives do to the required tight radius’ in the loop.

Other areas of the railroad are in play to add at least some additional storage for rolling stock. Fact is, space is tight even in Larry’s awesome warehouse of trains. For the fall steamup, we will be rebuilding the main 1/32nd ladder yards. So far,
the preliminary planning suggests we can get another storage track by manipulating the track spacing and changing the approach into the yards. Also, we plan on having a ladder in the middle of the yards to split them, providing more ability
to retrieve shorter trains but still store long ones if needed. We will be building a lot of turnouts this year!

More pictures sometime tomorrow, but I have a busy day working on a hot rod Pontiac.

Karl

So:

  1. steel rails (rust outside?)

  2. no track power

  3. battery power allowed during 1st tuesday operations

  4. one guy owns it, and 3 steamups per year, nominal admission fee.

  5. it’s not a club

  6. people do not join (except perhaps people who work on the railroad.

  7. no dues

  8. no newsletter

Did I get it all right?

Greg

Greg Elmassian said:

My guess is TIG welding for aluminum rails. Looks like no track power (judging from the metal connecting the points), is it all steam power or do you allow battery too?

Can you explain more of the general philosophy, is it a club, do people join? Are there dues? Newsletter?

Thanks, looks great.

Greg

Karl I always enjoyed seeing the photos from there in Steam In the Garden and videos. Very impressive set up especially having the best of both worlds, indoor and outdoor. Wish it wasn’t so far away for me. Maybe some day.

Pretty much Greg, the steel rail outside has never been a problem. A section that’s as large as most people’s layout has been outside for 10 years and is just fine. You forgot to add it’s a lot of fun and the food’s great.

Yours in the Hobby

Dan

Greg Elmassian said:

So:

  1. steel rails (rust outside?)

  2. no track power

  3. battery power allowed during 1st tuesday operations

  4. one guy owns it, and 3 steamups per year, nominal admission fee.

  5. it’s not a club

  6. people do not join (except perhaps people who work on the railroad.

  7. no dues

  8. no newsletter

Did I get it all right?

Greg

Greg Elmassian said:

My guess is TIG welding for aluminum rails. Looks like no track power (judging from the metal connecting the points), is it all steam power or do you allow battery too?

Can you explain more of the general philosophy, is it a club, do people join? Are there dues? Newsletter?

Thanks, looks great.

Greg

XX

Hi Karl

10ft radius is tight for Aster Daylights and other large engines. Larry has a Daylight, if it will go through then anything else will but you have to test it under steam, not push it through. See you in April, get Larry to put up the registration page, people are looking for it.

Yours in the Hobby

Dan

Hi Greg:

As Dan wrote, you are mostly correct.

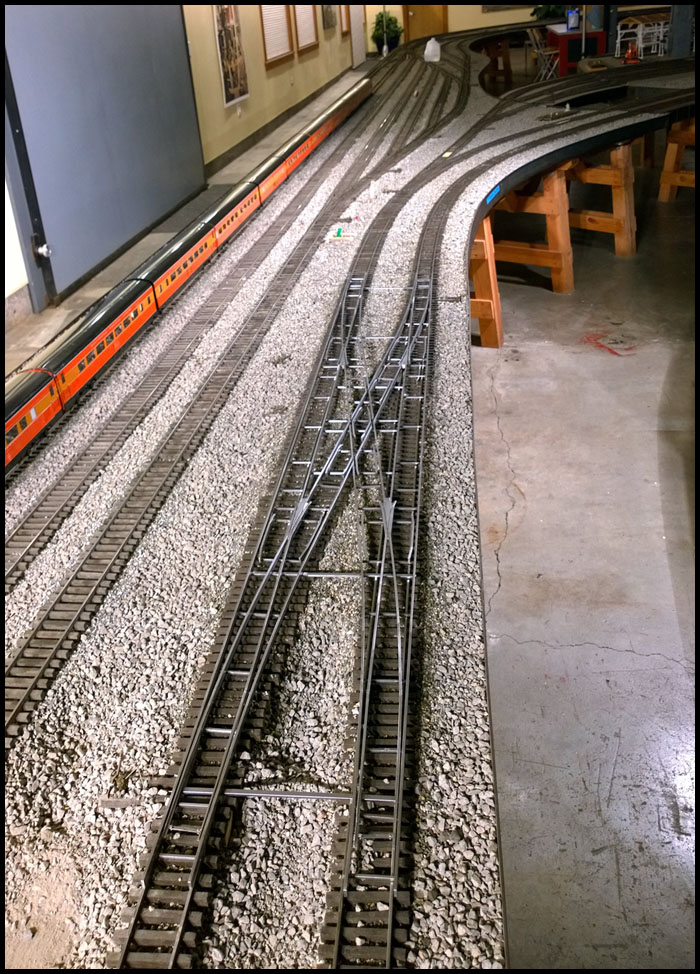
The rails do rust,and there is some added friction for long trains. As of now we usually do a light sanding of the rails before each event and the friction is decreased significantly.

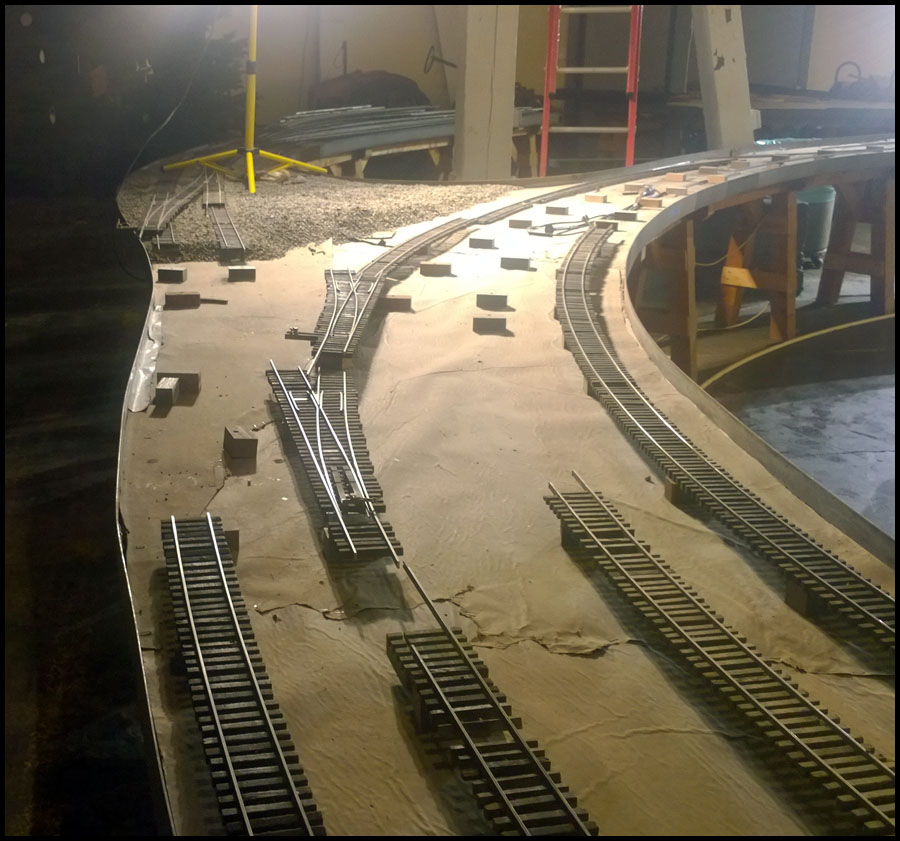
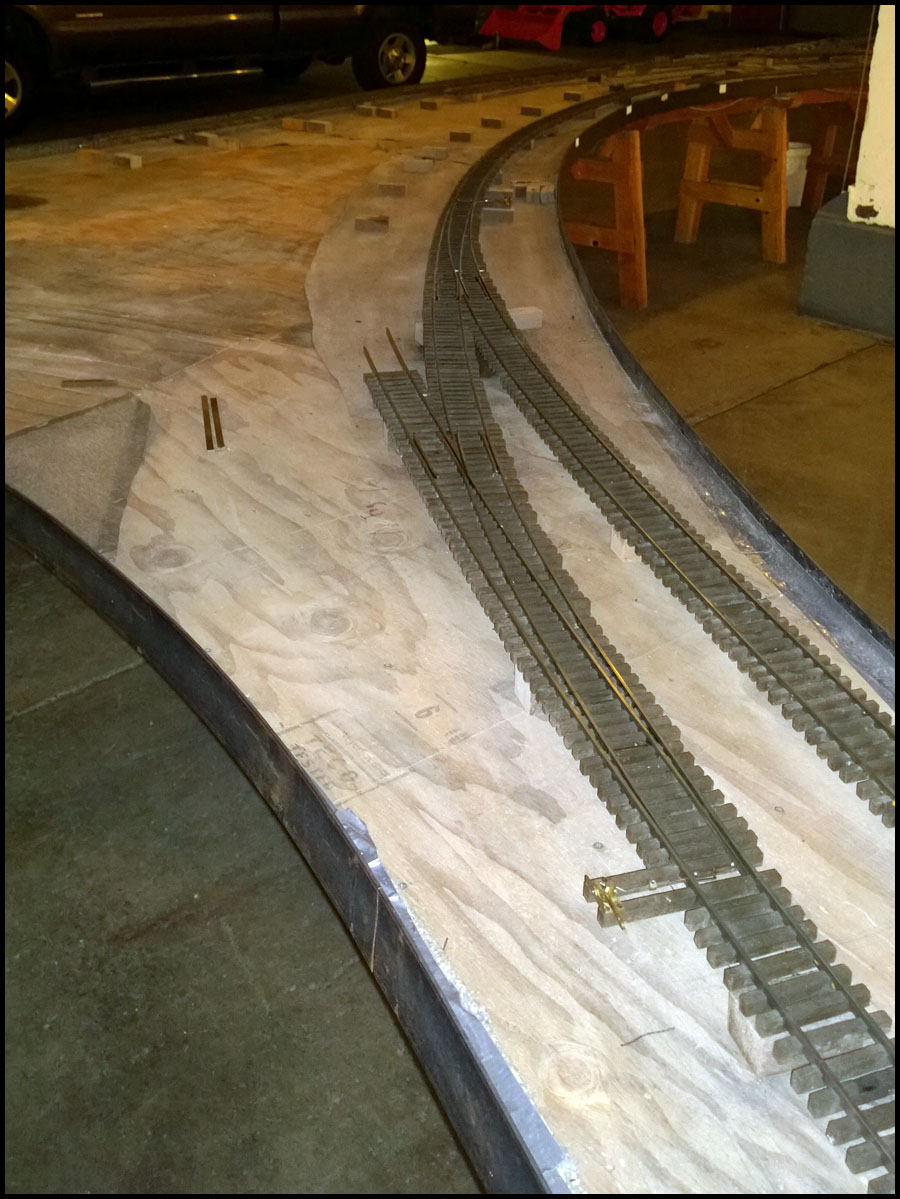
When we build the extended outdoor division, it will be impractical to sand the entire track footage, and of course turnouts could be a problem with corrosion. We are experimenting
with a biodegradable product called “Fluid Film”, this product is used extensively in the marine industry to protect chains, cables, and hardware. So far I have sprayed some on a
turnout located on a short run we built outdoors and the results have been excellent. One treatment 2 months ago and the weather has only created a little surface rust. So our thought
would be to run a sprayer equipped train once a month or so outdoors.

We thought about using stainless, or a different alloy of steel more resistant to rusting. But we can’t over do it because Larry likes the rusty track look…so far the Fluid Film is working
and we will continue our experiments.

Battery power is not really banned, but it is a live steam railroad. However, live deisels, gas engine trains and such are allowed during steam ups. Larry has a few battery powered locos for kids to run.
He also runs them to pull cameras around the track(more on the camera additions later). Other than first Tuesday, there are no specific electric train events.

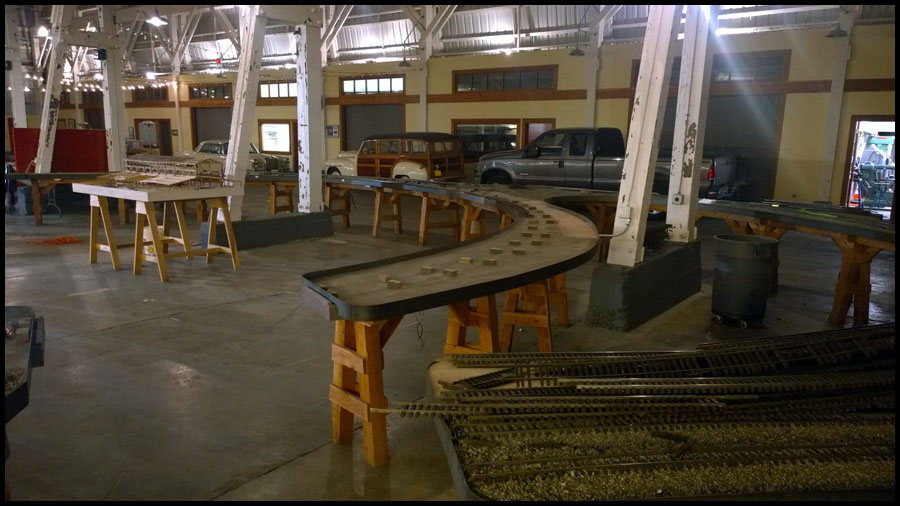
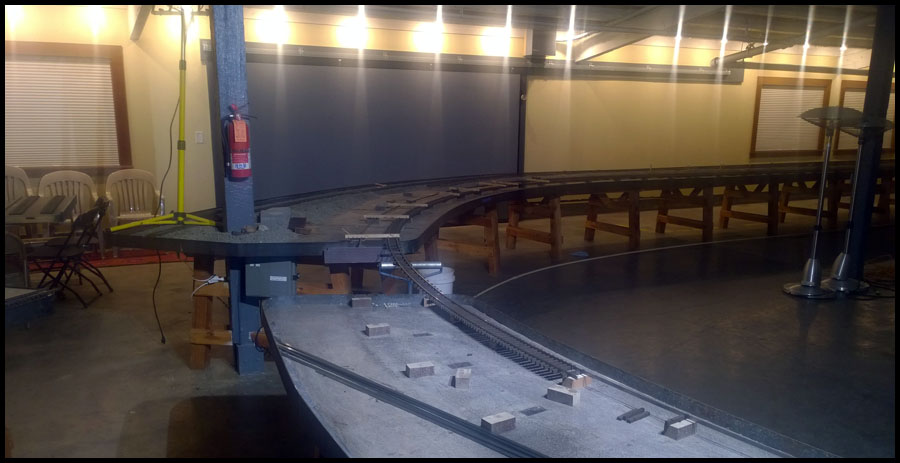
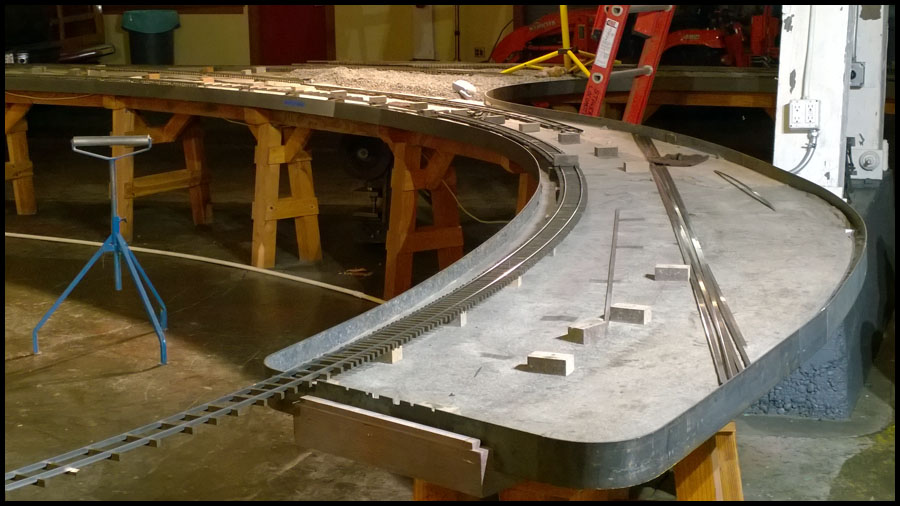
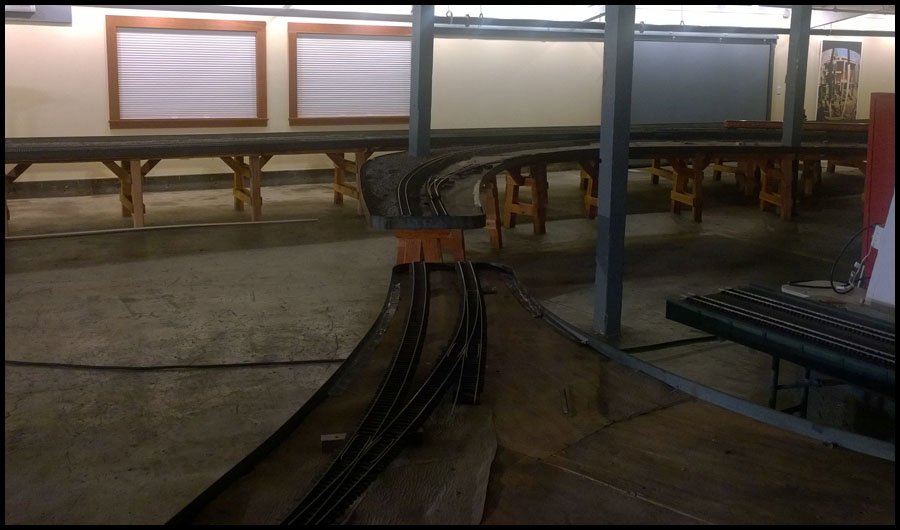
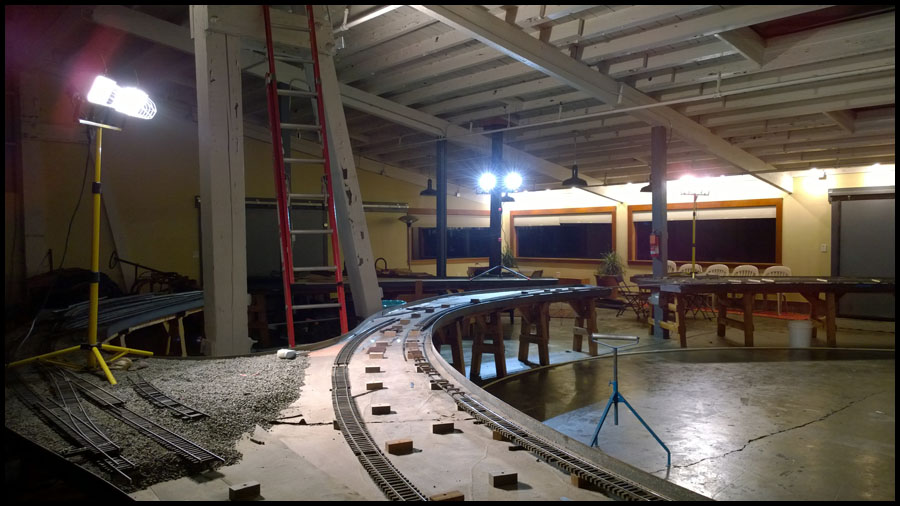
The railroad tables in the indoor facility are built the way they are so that the railroad can be cleared of all obstacles, including bridges and such. The facility is rented out for various events
during the year. There have been weddings, concerts, festivals, winery gatherings, art classes, music recitals, sales by manufacturers reducing inventory, charity events, and many others…that said,
the events only offset the cost of building the railroad. The track always remains in place, but fabric is used to cover the railroad if the event doesn’t call for trains to be run.

The facility also includes a commercial kitchen for catering events and music and art studio/gallery area. There are some planned modifications to the building to better facilitate seating for gatherings
in a climate controlled area. The wood shop will be moved into a new building that will provide storage for tractors and equipment, food handling and concessions area, and an upstairs deck for viewing
trains running through the outdoor railroad. The current wood shop will be converted into a storage and workshop area for the trains. This work is still in planning and drawing stages, so it won’t be finished
for a year or more.

At this time, other than first Tuesday operations, there are only three planned steam ups per year. However, we do sometimes have other events not regularly scheduled. If someone is in town they are usually
welcome to run if the railroad is in shape. Sometimes we just run trains because that is what model railroaders do from time to time. But also, Larry has been experimenting with some Raspberry Pi’s and
micro HD cameras. The plan is to have cameras around the railroad, and you can go live and watch them from the web site. Also trains will have live cameras in them. It is mostly working now after
some time getting fast and good enough Wifi to handle all the streaming. We had a steam up this summer open to the public to test the system and judge interest.

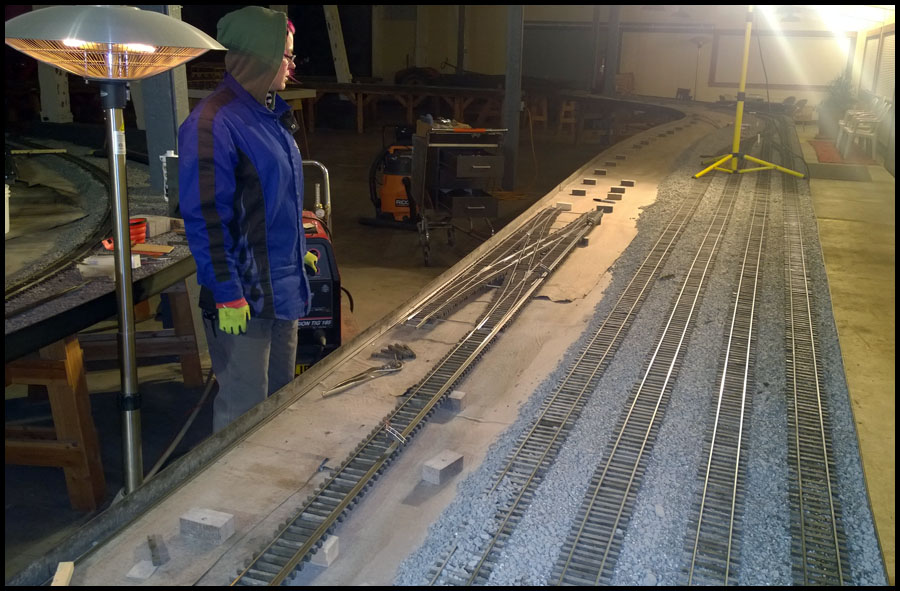
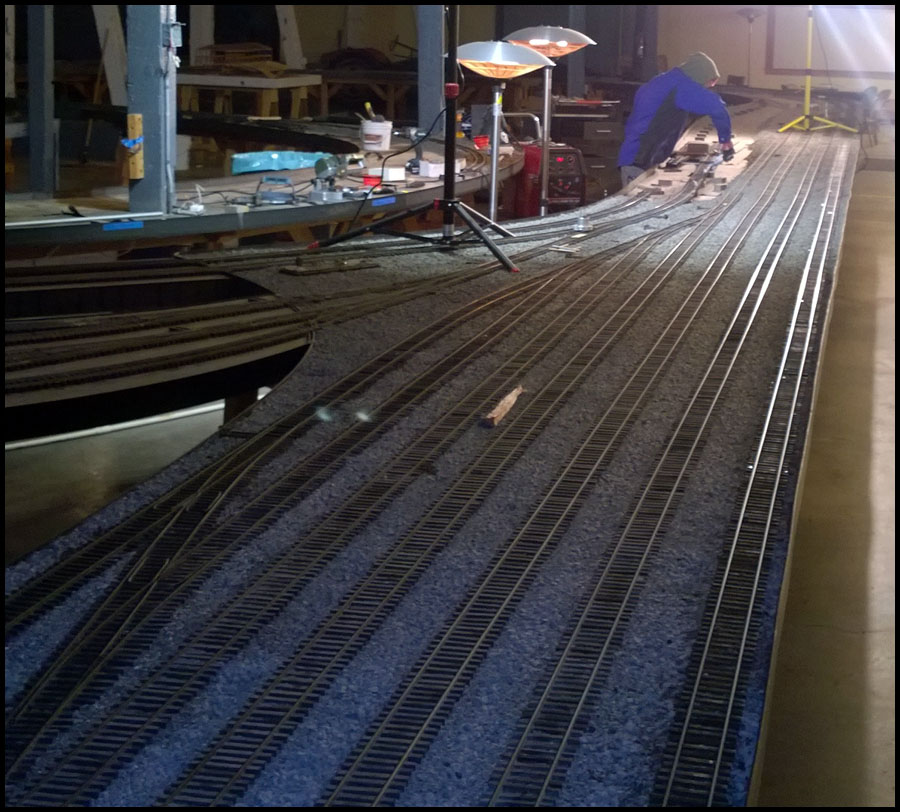
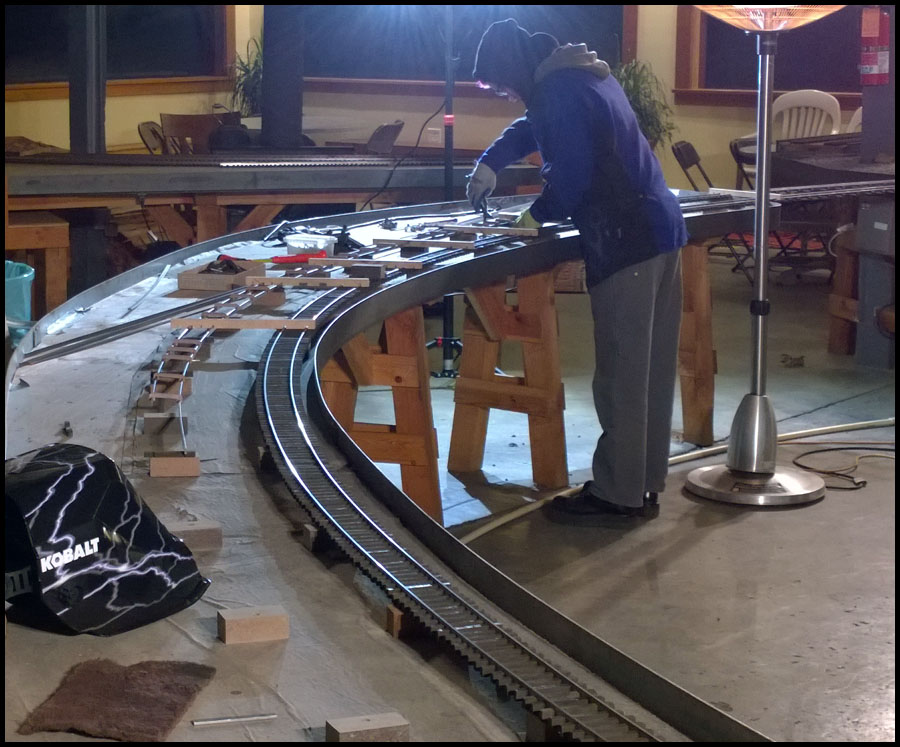
We have a small but dedicated crew that keeps Larry’s facility running. Only three of us typically work on the railroad. Joe pretty much handles infrastructure outside, and spends most of his time preparing
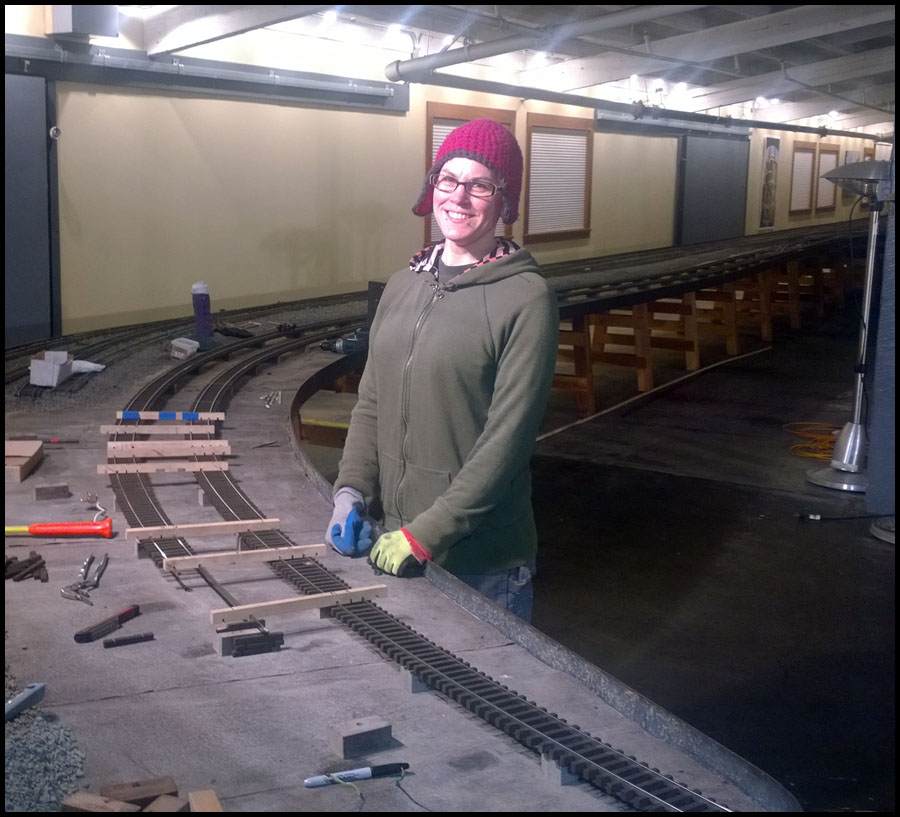
the property for the outdoor railroad. He is a very hard worker and quite good. Jenn and I are the builders of the railroad. Although we love model railroading, real railroading, and especially live steam, we are
not independently wealthy, and Larry has to actually give us money from time to time.

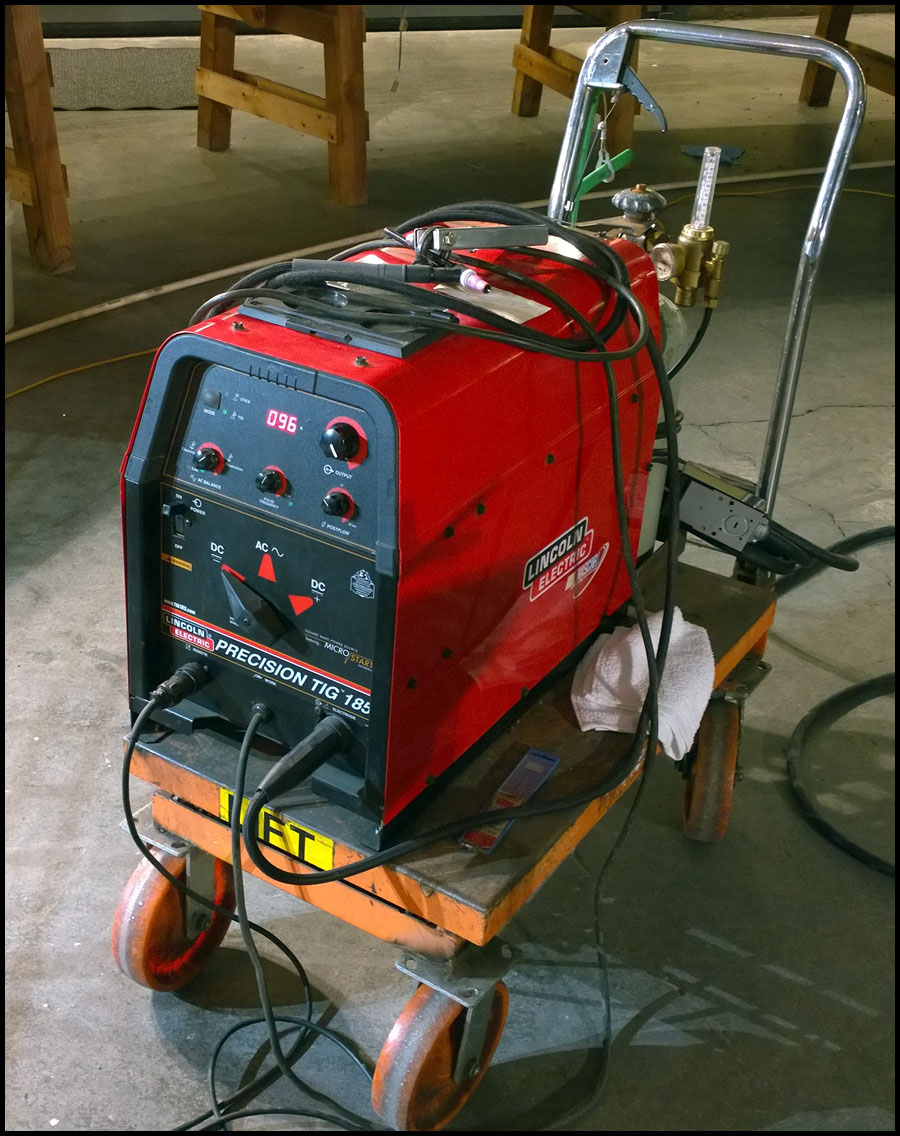
My skill set is almost uniquely perfect for Staver Locomotive. Jenn and I own a machine shop/live steam manufacturing facility and many of you are probably running my products without realizing I invented and manufactured
them, such as Accucraft replacement steam regulators and fine adjust gas needles among many others. Although I spent most of my life self employed, almost everything I have done provided skills I use at Stavers.

35 years experience working on, racing, and tuning old cars, especially muscle cars. Carburetors and ignition my specialty. After meeting Larry over ten years ago, one of the first things I did for him was fix
and tune his Plymouth Woody and ancient farm tractor.

From 1990-2000 I owned one of the largest slot car raceways in the US. During this time I designed and manufactured laser cut chassis’ for 1/24th slot cars and became very skilled at the use of lasers in manufacturing. Also
began purchasing automatic machines for manufacturing slot car parts. For a few years, I also designed, manufactured, and sold RC pylon racing sailplanes for slope soaring.

Worked as a millwright in the paper and steel mills throughout Oregon and Washington, so facilities maintenance, rigging, machine maintenance and installation, allow me to handle any facilities problems that arise.

Supervisor and manager of a large industrial machine shop in a factory in NC making air tanks for Freightliner. 900 tanks a day. My crew produced up to a half million parts a year for these tanks. Gained experience
in large scale manufacturing using and repairing everything from giant 1930’s multi spindle screw machines, to modern cnc lathes with live tooling.

Supervisor of CNC maintenance at a large military contractor and steel company in Portland. Here my crew and I did all sorts of stuff, but primarily I installed and repaired cnc machines, high powered plasma cutting
machines, and up to 6000 watt lasers used to cut armor plating for military vehicles. So keeping lasers and machines running at full efficiency is right up my alley.

30 years experience in micro controllers and embedded electronic controls, I can program almost any kind of computer, from assembly language to modern versions of C used for Arduino’s and such. In fact, we have some
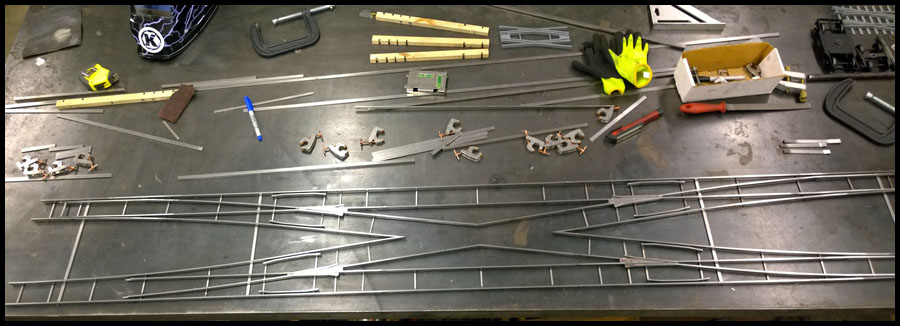
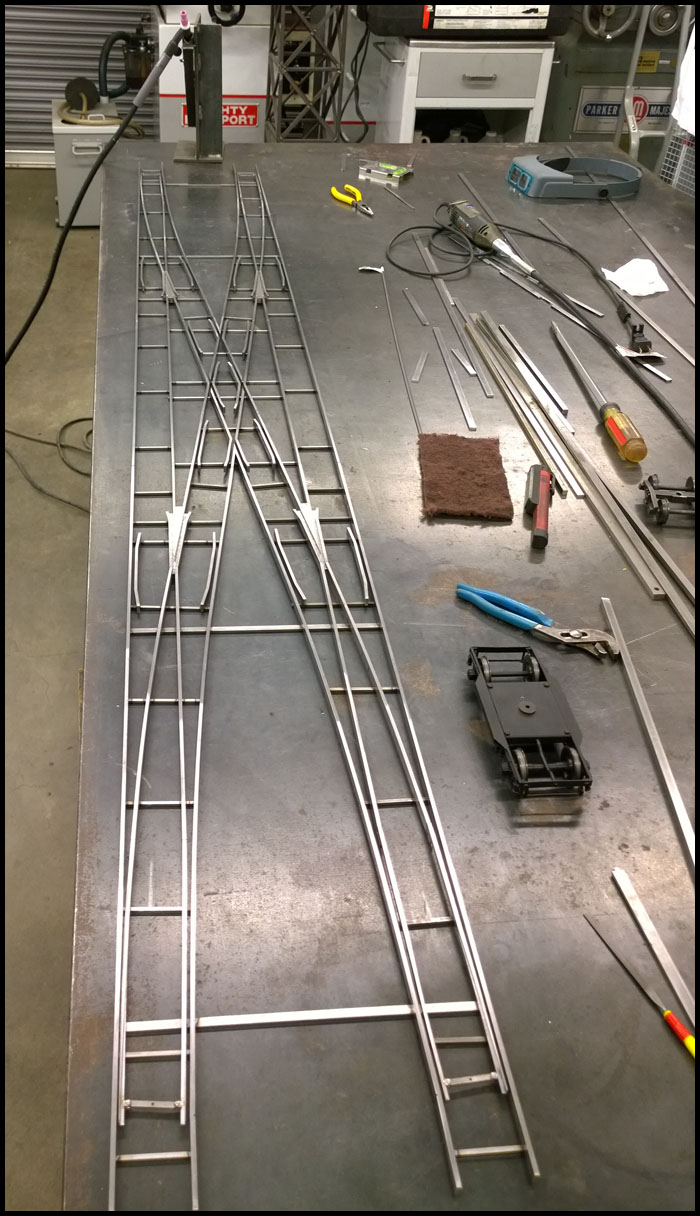
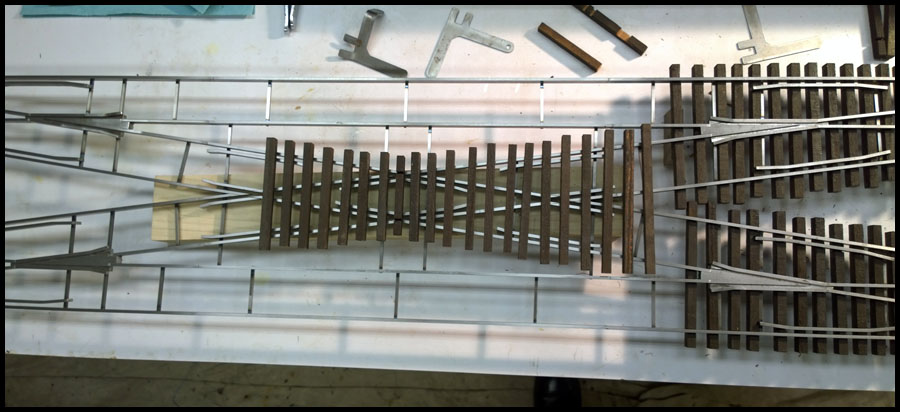
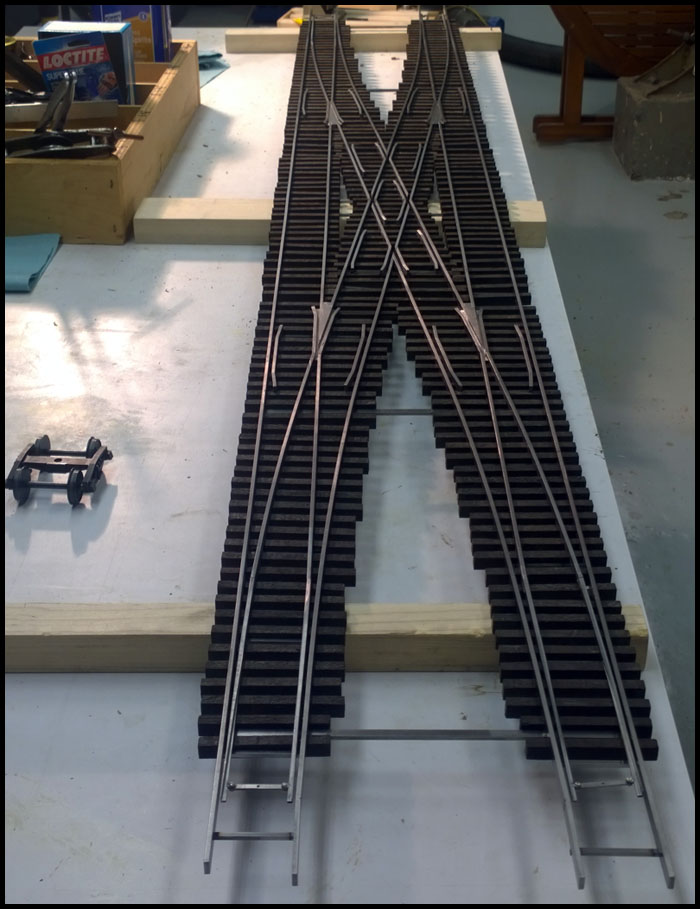
turnouts on the railroad controlled by an Arduino that I built because you cannot reach the manual switch levers.

And of course, it helps that I have been a model railroader as long as I can remember. Grew up within hearing range of the whistles at the Roaring Camp Railroad in the Santa Cruz area of CA. So steam kinda got boiled
into my blood at an early age. My model railroading includes scratch building turnouts and hand laying track for many years in my youth. (Side note)-Jenn and I were fortunate enough to ride in the cab of the shay at Roaring Camp over
Thanksgiving weekend while we were visiting family in Felton a couple months ago.

I started building my first live steam engine when I was in middle school, still have the parts I made. Almost everything I’ve done in life was to get to where I could have my own machines to build steam engines, I never
imagined I would be lucky enough to grow up and have a Staver Locomotive in my backyard, and be fortunate enough to meet and become friends with Larry, and have the skills necessary for Larry to be willing to pay me
to work on his railroad.

Jenn is a very smart woman, with three degrees and experience in many different areas, including working in a steel shop previously. She has lived off the grid in Alaska, and I will depend on her to shoot and kill our food when
the apocalypse comes if ever… She can run the machines in our shop, or the ones at Stavers, at least as an operator if not the setup and programming. And she has very steady hand for welding intricate assemblies. I am also
very fortunate to have a young, beautiful, and talented wife capable of working with me in all our endeavors.

Larry also likes to have the people who work for him have other sources of work and income. He doesn’t always want to work on the railroad full time, and it is nice for him to know that we won’t be in a soup line if he decides to
take a break for awhile.

All in all, working for Larry is a choice gig, and I can’t thank him enough for the opportunity to help him build his railroad any way he chooses.

Hope that answers most questions. If I left anything out, I would be more than happy to answer any others.

Thanks

Karl

Dan:

All of the turnouts we have been running on all these years in the ladder yards, the double slips, all are #7. A #7 crossover is 78" long at 8" spacing. If we use #8’s, the yards will shrink dramatically.

Outside, where the track spacing will be closer, and space has much fewer limitations, #8’s will be the standard, with larger sizes used when appropriate. #7’s will be for sidings and such, at least that is
the plan as of now.

Look forward to seeing you in April.

Karl

Here is a couple more pictures before we go to work…

First is a better view of the salvaged curved crossover. This is just before I modified it to 8" spacing instead of 9". This will be replaced before fall with two matching #14 curved crossovers.
Might get rebuilt before the spring steam up, but not unless everything else is finished first.

The mainline is finished on this loop, the curved turnout has been modified, now Jenn is building the double track so we can connect it with the curved turnout
when she makes it another twenty five feet.

Here are some of the tools we use. First, the welder, a Lincoln 185 that works quite nice. We have a much older and larger TIG welder for big stuff, and of course,
couple MIG welders for table building and general welding, and gas torches.

Micro Mark chop saw modified with a fiber cut off for truing up the edges of rail to be welded.

And the rail bender. This was built by a retired machinist that helped Larry start building the railroad years ago. It is very well made and does the job well.
With experience, I have been able to fine tune using it to create transition curves or variable radius.

All I have time for today, heading back down to the railroad. Another snow storm coming in a couple days, gotta get as much done as possible.

Thanks

Karl