Forrest Scott Wood said:
Shall have to save Graeme’s traveling crane for inspiration.
I have more pictures if you want them.
Bit of how I did it.
Sides are 2mm styrene with a 0.5mm styrene strip glued at 90 degrees around the edge, simple to do just clamp the styrene onto a board (raised to half strip width) then use pins to hold the strip against the styrene once in place apply liquid model glue to joint so it wicks in.
The gears are from a kids toy and old power drill gearbox.
The counterweight is a piece of balsa
The braces are bamboo skewers
The drum is from a couple of correction tape dispensers
The base on the wagon is from a disc drive
The hook is from a toy crane with a fishing swivel above it
The cable is nylon cord
The lifting beam is made from a piece of rail and bits of brass with fishing trace wire for the hawsers
The boon is a piece of evergreen “truss” styrene trimmed so it tapers
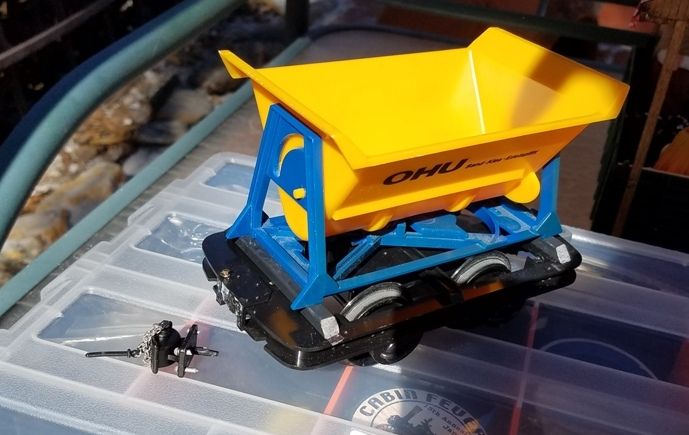
The wagon is a Pasidump kit with metal wheels instead of the standard plastic wheels.
I use the plastic wheels on my cane train wagons and to add weight low down I glued metal washers to the back of them (have pictures of their build somewhere)
Found objects art and modeling, pretty cool. (https://largescalecentral.com/externals/tinymce/plugins/emoticons/img/smiley-cool.gif)Hartland Locomotive Works, HLW, mini flat kit would likely be my starting point.
Pete, with glue and a screw, the coupler should hold just fine.
I just glued all the rivets in and let dry. Then snip off them off on the back side and sand everything smooth by
rubbing the entire coupler on a piece of sand paper.
Then screw and glue to the end beam.
No holes needed except the one pilot for the screw.
I just glued all the rivets in and let dry
John, a great solution except that you have to wait! I was trying to get them all done and off my workbench.
Pete Thornton said:
I just glued all the rivets in and let dry
John, a great solution except that you have to wait! I was trying to get them all done and off my workbench.
Use construction adhesive (liquid nails) maybe lets face it if the stuff holds houses together its strong enough for couplers and dries in a short time.
Use the rivets as a cosmetic feature.
And here’s what happened to the coupler pocket that was glued.
To be fair, the coach behind jammed on the roof of Jack’s tunnel! Not sure the coupler coming off was a bad thing.
Pete Thornton said:
I just glued all the rivets in and let dry
John, a great solution except that you have to wait! I was trying to get them all done and off my workbench.
If you mashed the rivet ends that poke through, with a warm soldering iron, not too hot, not too cold, you should have a good mechanical bond.
Following this post, I was able to find the link to order these pieces that I wanted for a long time.Commanded January 8 and received today.
I will be able to finish cars that I had suspended
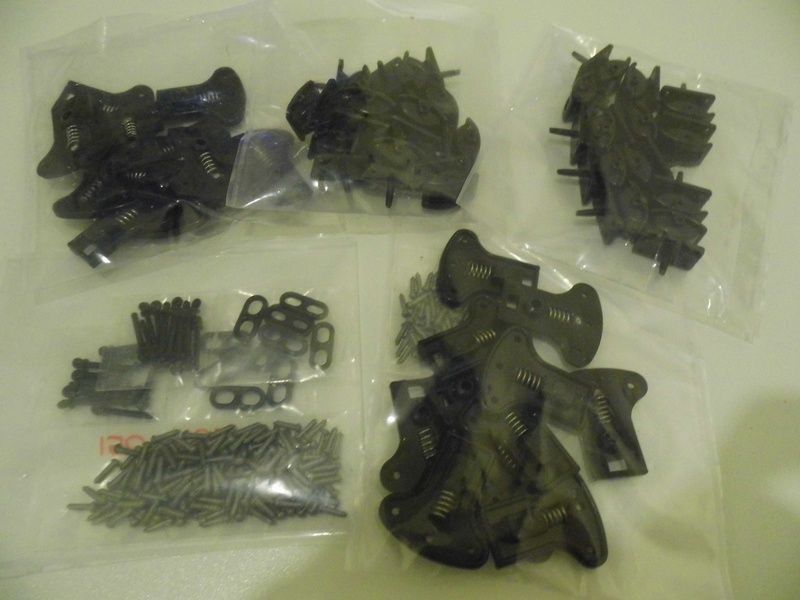
These were built with all those parts.


Very nice, John.
John,
Those look fabulous! (https://largescalecentral.com/externals/tinymce/plugins/emoticons/img/smiley-laughing.gif)