Thanks for the info, John. One more question and I promise I’ll let you get back to your project (I hope). Do you mix the inks to get a specific color, or do you just layer the different colors until you get the effect your looking for?
Devon Sinsley said:
you get yourself something like this and fill it from your compressor then use it to run the nailer. pin nailers don’t require a ton of air. So it should last awhile, tire would do the same thing. Or you can do what I plan to do and run a hose or a hard line from your compressor to your work space if feasible. That way when the compressor runs then it is in another location out of ear shot. Iam going that route because I like to air brush which is air intensive and tanks don’t last. This way I will have all the air I need and it is quiet. I also want to play with small scale vacuum clamping. why you might ask . . . because I can.

Devon I did that when my workshop was were my laundry room is now. I drilled a hole through the ceiling, and ran an air hose from the garage to the laundry room through the attic. I could airbrush to my hearts content, and the only way I knew the compressor kicked on was the sudden flicker of the lights. Its an old house. I want to do the same with my new workshop, and the plans are on the “someday” list. I would also like to wire in a remote switch, so I can power up the compressor without going out int the garage. Flip the switch, when the gauge on the secondary regulator at my paint booth comes up, paint, then flip the switch off when I am done.
David,
Never thought about the secondary switch. That’s a great idea it could be done on a 3 way just like a light fixture. I have a detached garage so it won’t be easy but it wont be that hard either. On my list of things to do very soon is hook my air compressor up to hard lines in my shop. I want to punch a whole in the wall and run a buried line to my egress window with a disconnect right out side. Then when want or need air I can open the window and plug in. Not the most convenient but not sure the wife will let me punch holes in the house A three way in an external box next tot he disconnect would be a grand idea.
As a word of advice to anyone heading this route any low spot in a hard line (or hose) should have a blow off to bleed accumulated water. In my case I will install a Tee with the disconnect coming of the side and the bottom leg have a ball valve. You will thank yourself later especially if your going to be painting.
Dan Hilyer said:
Thanks for the info, John. One more question and I promise I’ll let you get back to your project (I hope). Do you mix the inks to get a specific color, or do you just layer the different colors until you get the effect your looking for?
The answer is: everything! I mix them together and then stain, I layer them one over the other, I incompletely mix them on the brush so that the application varies, I vary the transparency of the paint (by adding more or less water), I apply in several thin layers dry over dry, I apply in fairly opaque layers, I work ink into applied layers that haven’t quite dried…you name it, I’ll do it.
My best suggestion is that you play with the inks, experiment, and watch what happens! Judging your modelling ability from the quality of your build, I suspect you’ll find your own style quickly.
I wish I could say you’re taking away from my build time, but actually you’re helping me procrastinate! Thanks!
Devon, I am talking a remote switch, not a 3 way. Easy to do. Right now I just plug in an extension cord that goes under the door. But I want a more…a better way.
John, yea, someday I will join Procrastinator’s Anonymous.
What do you mean by remote switch then? I am intrigued
Edit: looked on amazon. I know what your talking about. That’s an even better idea.
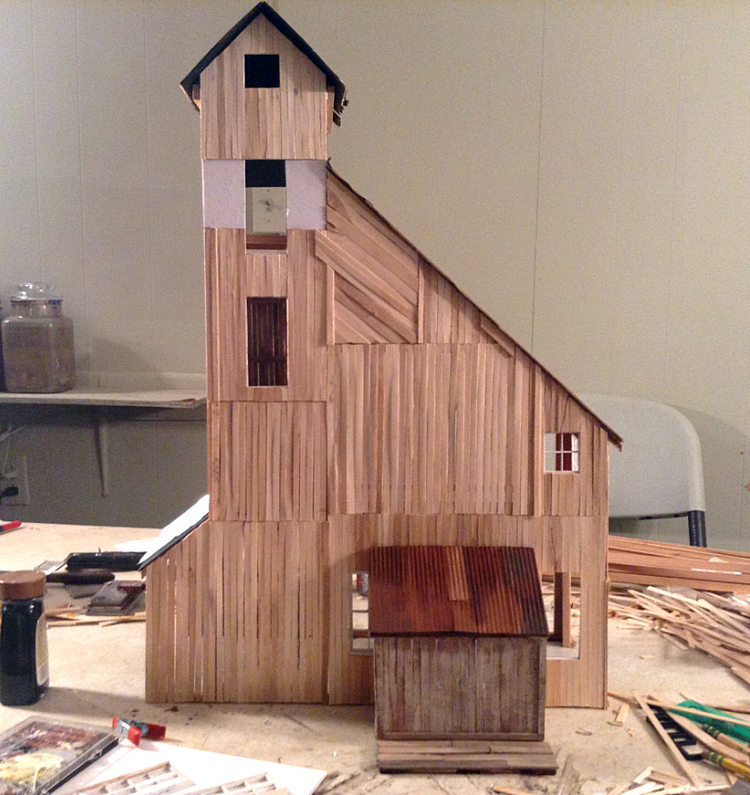
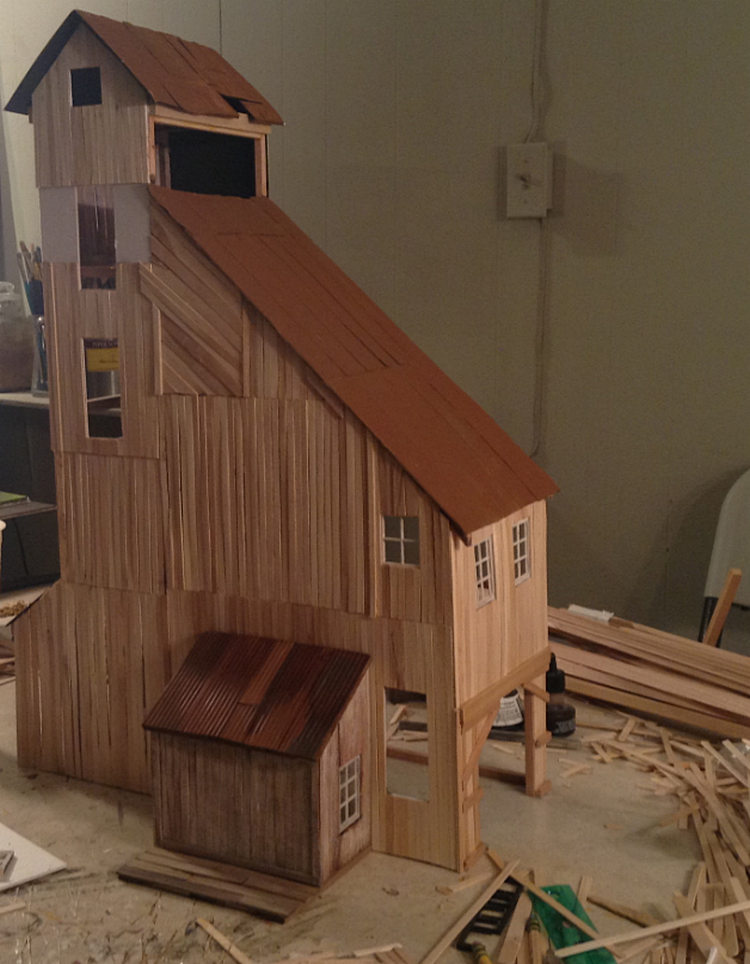
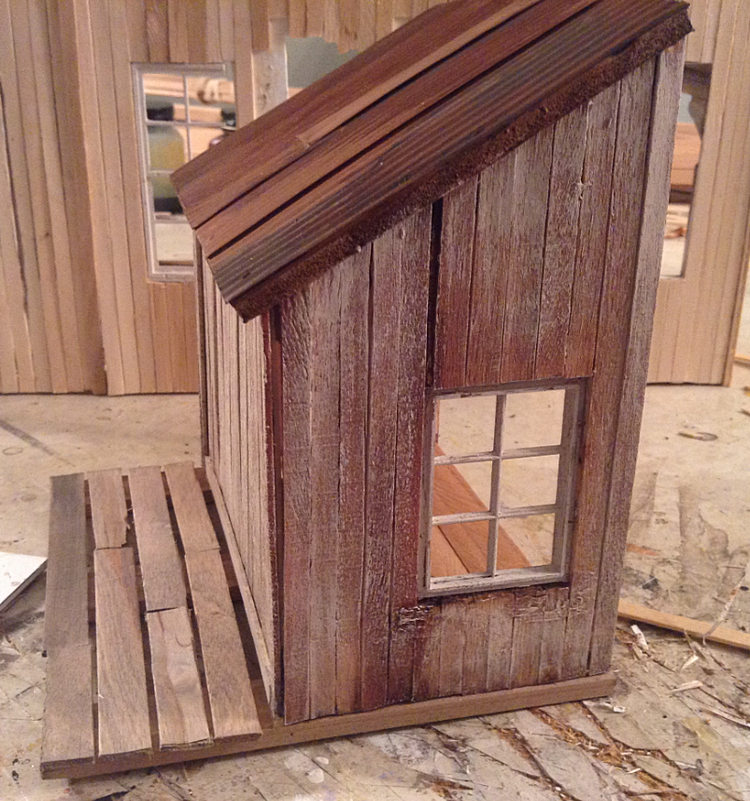
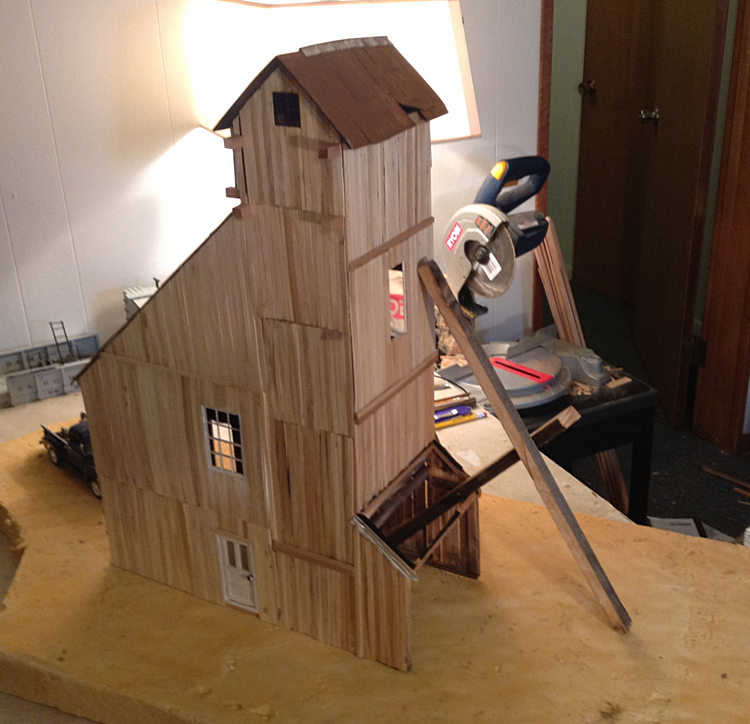
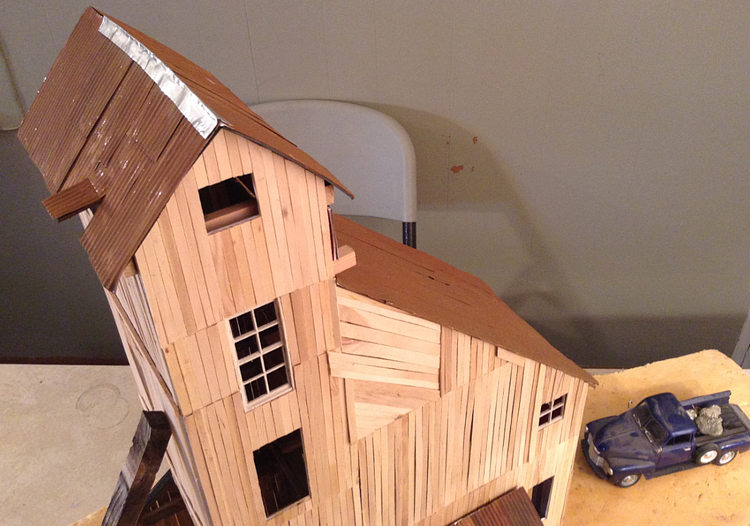
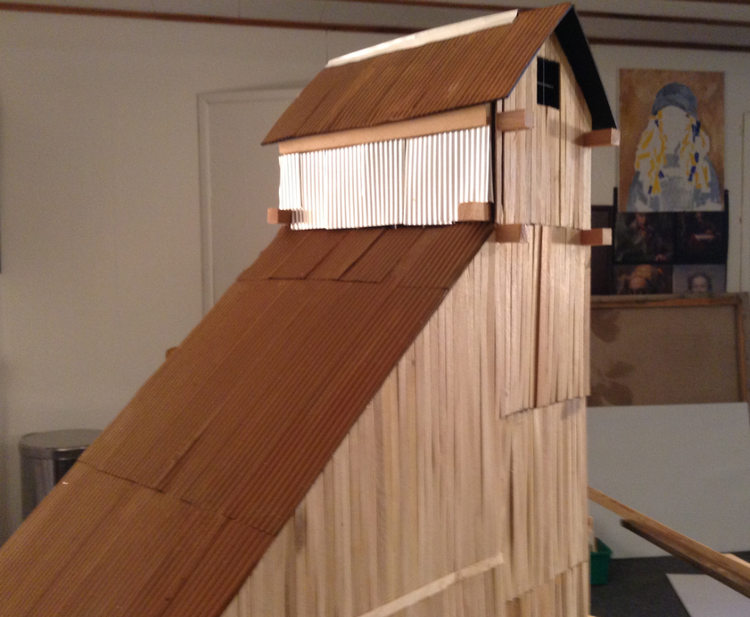
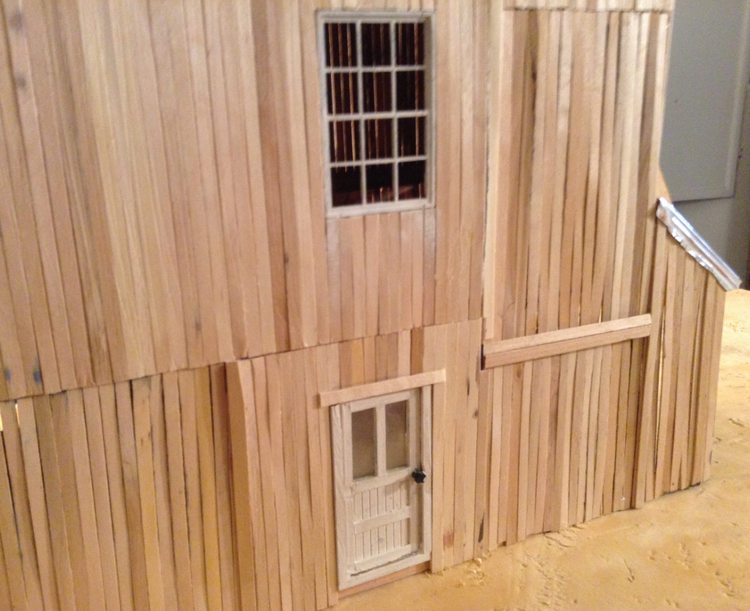
More progress…I’d say I’m half-way finished, or finnished, as the president of Taylor Tin Works says (!) with the sheathing and the windows and roofs, maybe half-way, at least two sides are mostly finished and some of the windows modified and installed:

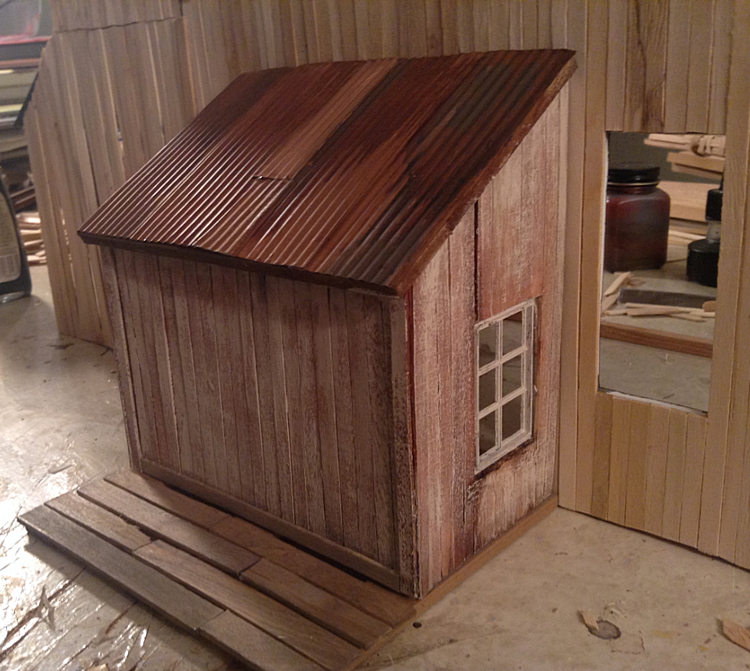
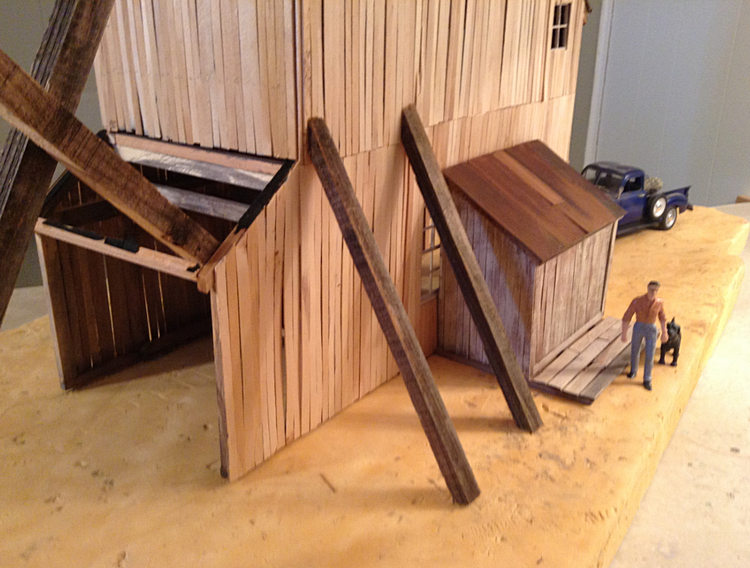
This is the little shed that was added, and subsequently fell apart and removed, to the side of the structure. Like I said, this is a resto-mod build and I decided to include this add-on shed, complete with a little landing area that I intend to populate with some appropriate details like chains and barrels or whatever, maybe a chair for sittin’ out in the mountain sunshine:
 \
\
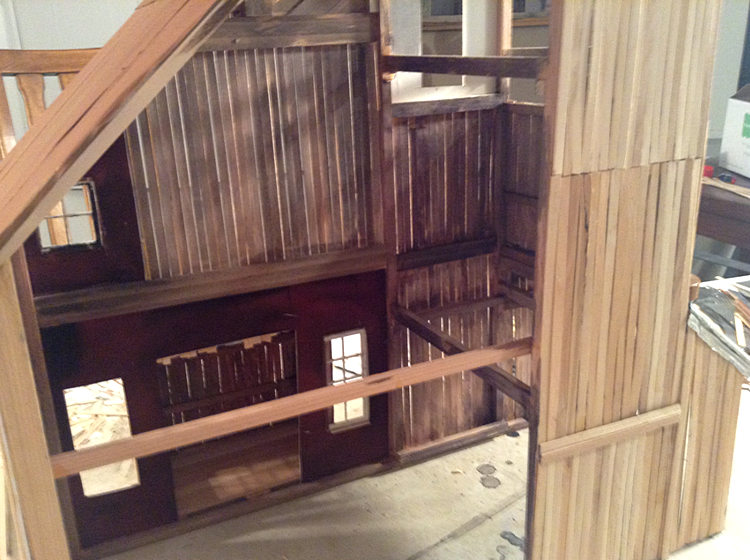
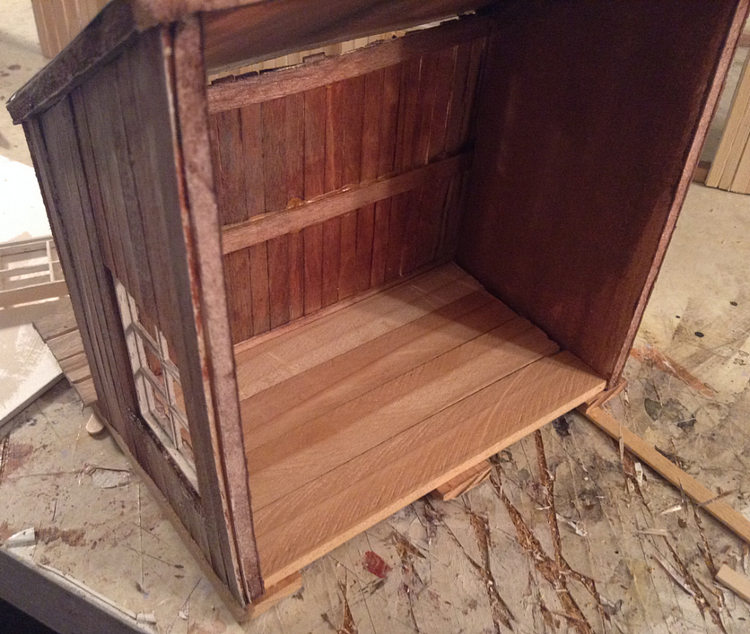
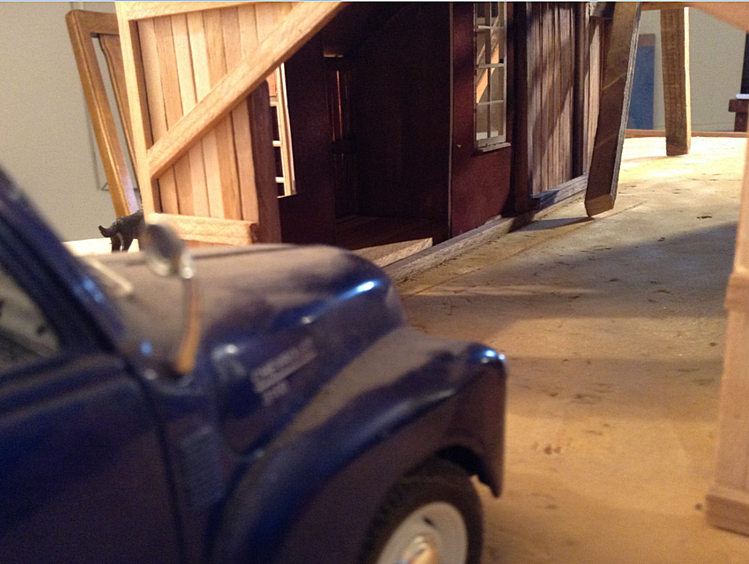
Here’s a picture of the inside as it stands right now. I’ve done some staining and coloring in case anybody looks int he windows:

Here’s a couple of close-ups of the shed, including the inside where I laid a floor, again in case someone wants to look in the window. Eventually I’d like to put a little workshop of something in there, but that sure as hell ain’t happening in time for the Challenge deadline, no no, no way:
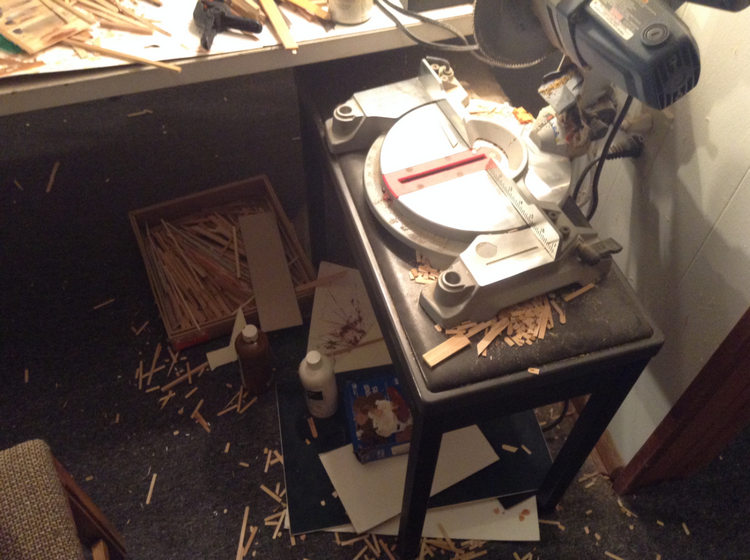
And one last note: I can’t stand working in this mess anymore!!! It’s time to clean up and hit the workbench RESET button before getting back to work! (Did I say work? I will actually have to go to work today to earn a living; easy to forget when having fun modelling. I see some long nights ahead after the household is asleep.)

where, did you say, do you get your wood?
i see a piano stool, but no more piano…
that is coming along excellent
Great work, John. I feel your frustration on the workbench mess. I hate a cluttered work area but I know the more its cluttered the more fun I’m having.
Korm Kormsen said:
where, did you say, do you get your wood?
i see a piano stool, but no more piano…
Very observant Korm, and that one made me laugh! The framing all comes from Travis and the rest comes from…well, I won’t say. If I run out, maybe the piano is a possibility…hmmmmmm
Very nice!
That is looking really Nice. Keep up the good work!!..
That is really looking good. The interior looks great too. Nice work (http://www.largescalecentral.com/externals/tinymce/plugins/emoticons/img/smiley-cool.gif)
I really like how it has the “pieced together” look.
Really looking nice John, I think you’ve all but got it in the bag. I like how the MOW car at the end of your table is even holding wood for the build!
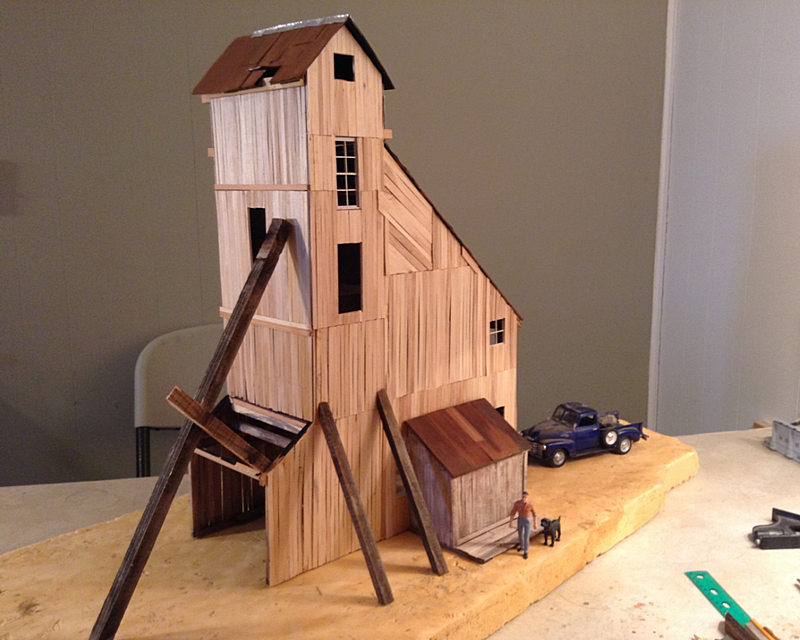
Well first of all, my SANITY is back now that I cleaned off the workbench! I’ve made quite a bit of progress and I can see the light at the end of the tunnel, none too soon either considering the deadline is approaching. I’ve started sizing up the outside bracing that is part of the current prototype. I’ve given the mine a base which I’ll scenick out some, nothing too fancy but enough to give the start of a sense of place. Also, the build needs, well then, a base! As a resto-mod,
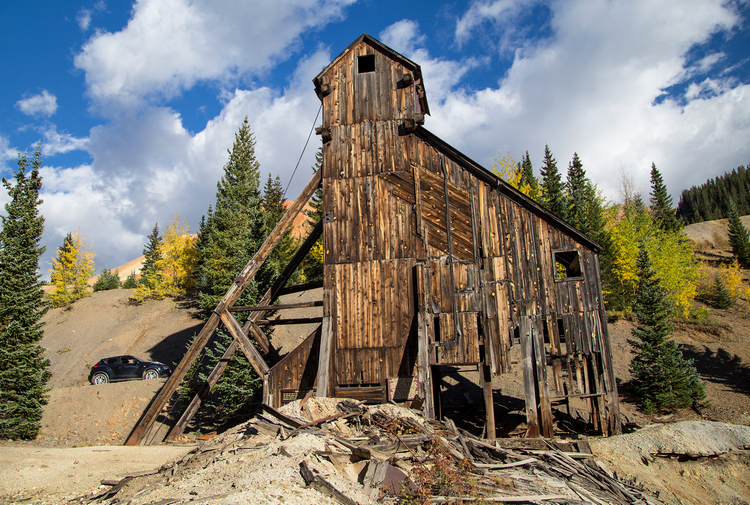
I hope I’ve started capturing the feel of the structure and place both old-time and current. If you have the time, please refer and compare to the prototype pictures at the start of the build, and Dave’s pictures, and if you have SUGGESTIONS they are more than welcome…thanks to everyone for all your comments and kind words. I must admit I’ve been really enjoying the Challenge very much. I follow all the builds very closely and haven’t managed to give feedback on as many of them as I would like, but I will.

edit to remove Whistler’s Mother, actually it’s called An Arrangement in Grey…my bad.
Wow this is coming along great I had to look back to see what you mean by the bracing
but you have NAILED it! Well done.
WOW, other than some rubble and stray 2x4s scattered around it looks just like the picture, pardon the pun but you nailed it

Wait …who’s the babe?