Large Scale Central

Bachmann 45 Ton Accucraft Coupler Mod - CVSRy M-11

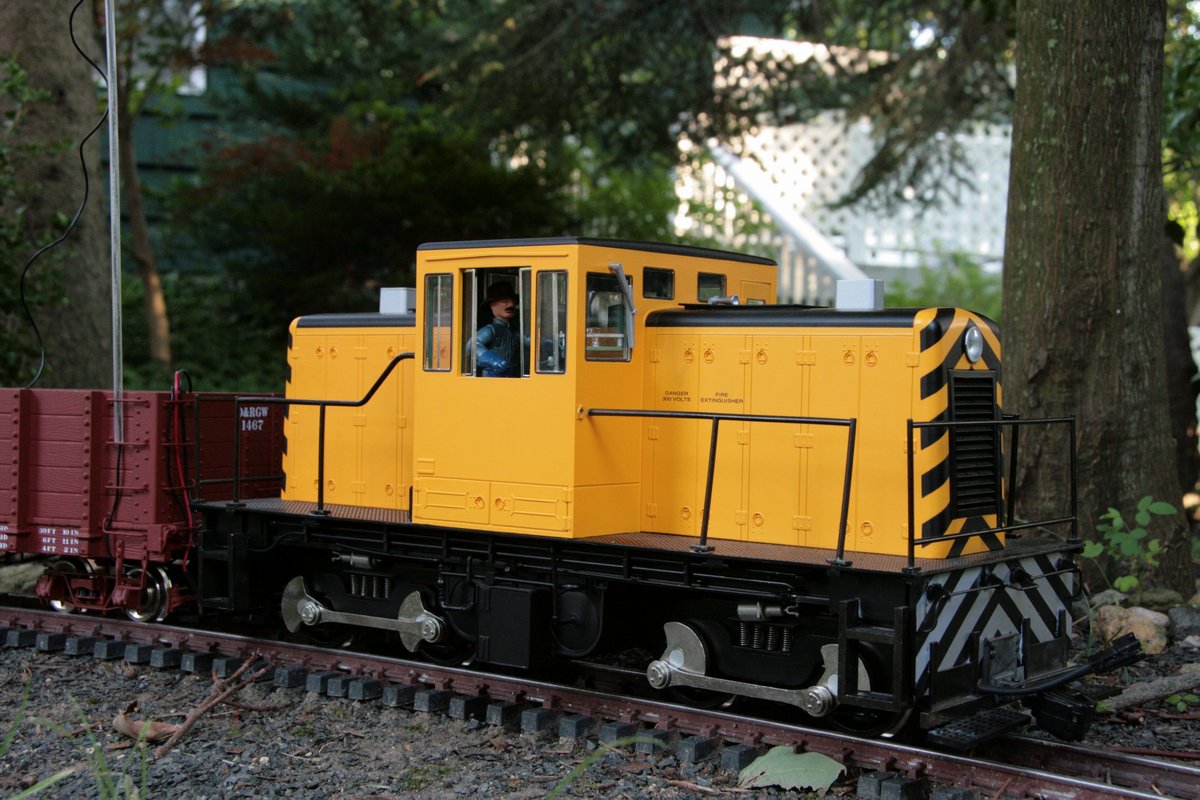
With the shop cleaned up from the Mik Challenge I decided it was time to get some unfinished projects done. M-11 has been out-of-service for over a year due to coupler problems. I use Accucraft F scale couplers and have tried various methos of attaching them to my 45 Ton diesels. None of my methods to date have worked well. I tried modifying an Accucraft coupler to fit into the provided coupler mount, but the height was too far off in either the high or low position. Next I settled on just using a screw to hold a modified Kadee draft box to the pilot. This worked well for height, but the screw kept coming loose sometimes with catastrophic results I think it was one of those incidents that moved M-11 to the dead line.

Looking at how others have done it I see that Accucrafts bulkhead draft gear is used. I bought a bunch of Accucraft AP-11730’s last year at ECLSTS but never got around to mounting them…

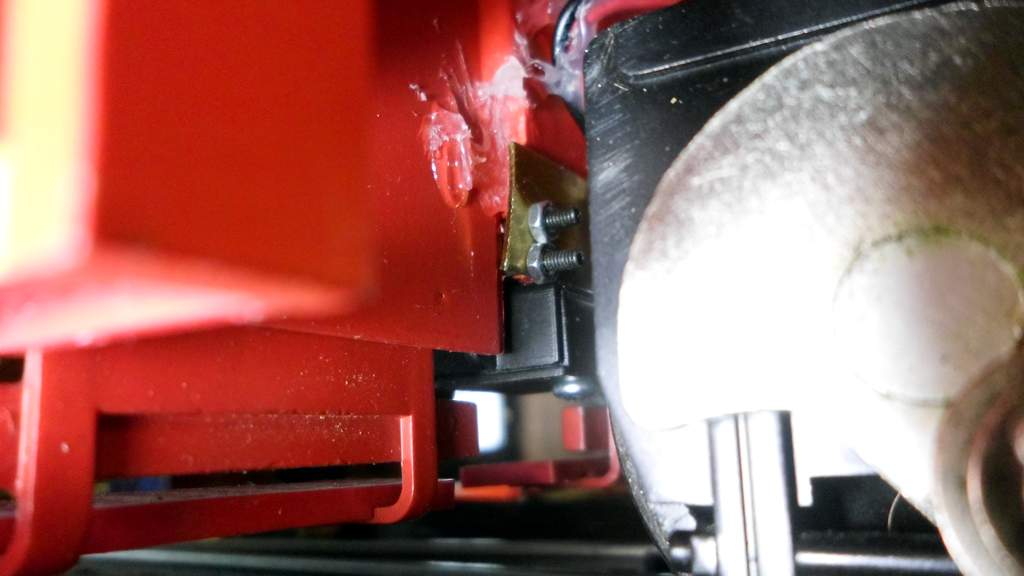
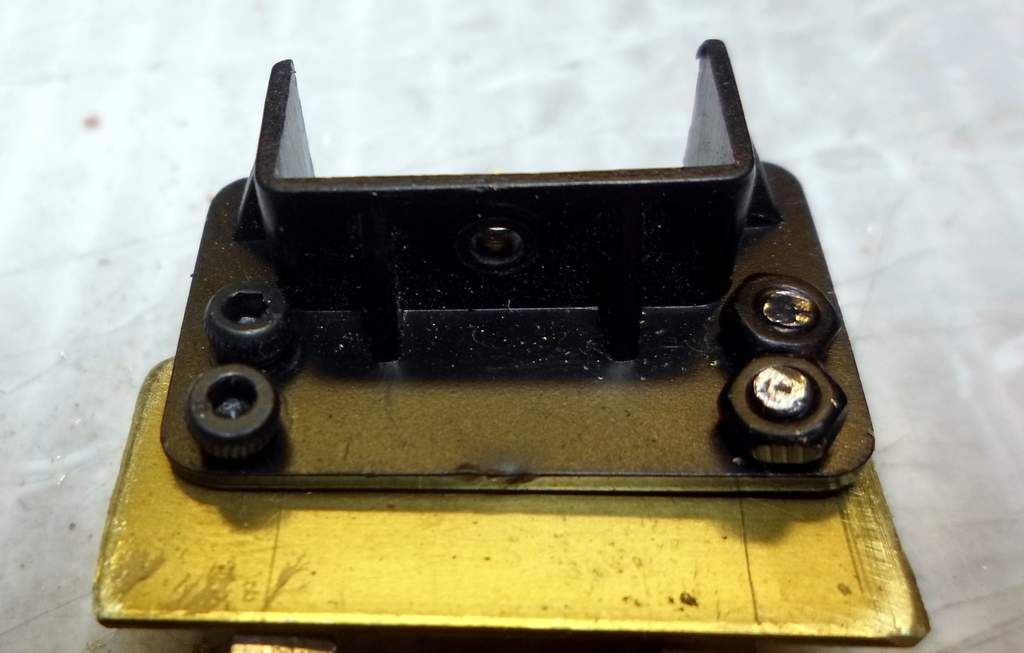
It seems I was over thinking it. I was sure I was going to need to create a mounting plate to cover the stock opening on the pilot. In looking at it again yesterday I discovered that the existing slots lined up perfectly with the mounting holes in the draft gear. I just needed some longer screws and a backing plate. Digging through my stock I found some M2x12mm hex cap screws and nuts and some 1/2" brass strip. I cut the strip about 1/4" wider than the draft gear then drilled it to accept the M2 screws using the draft gear to mark it out.

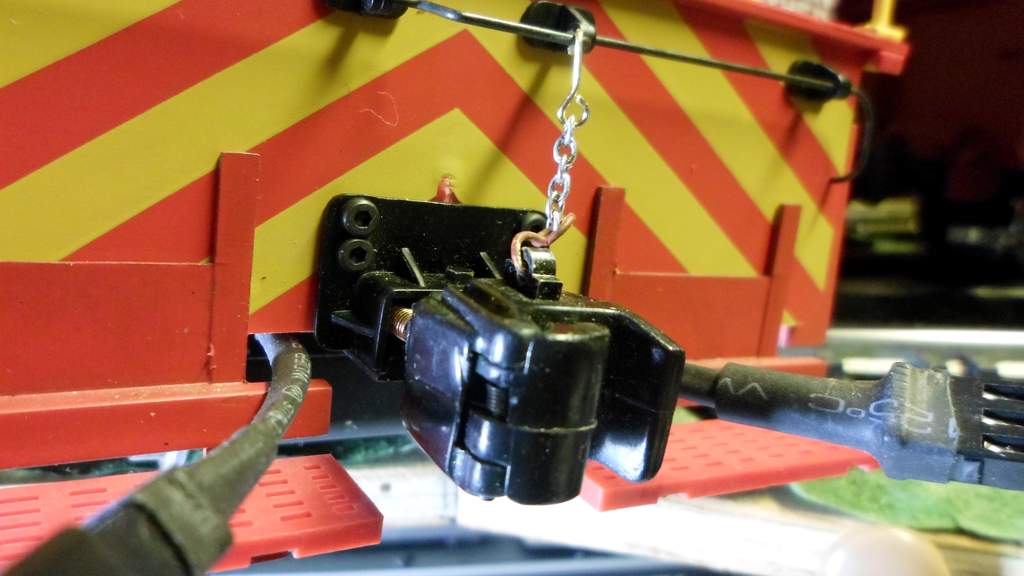
I assembled the screws, plate and nuts then slid it up the pilot slot from the bottom. Once I was certain the coupler was fully seated at the top of the slot I tightened down the screws. This is what it looks like from the back…

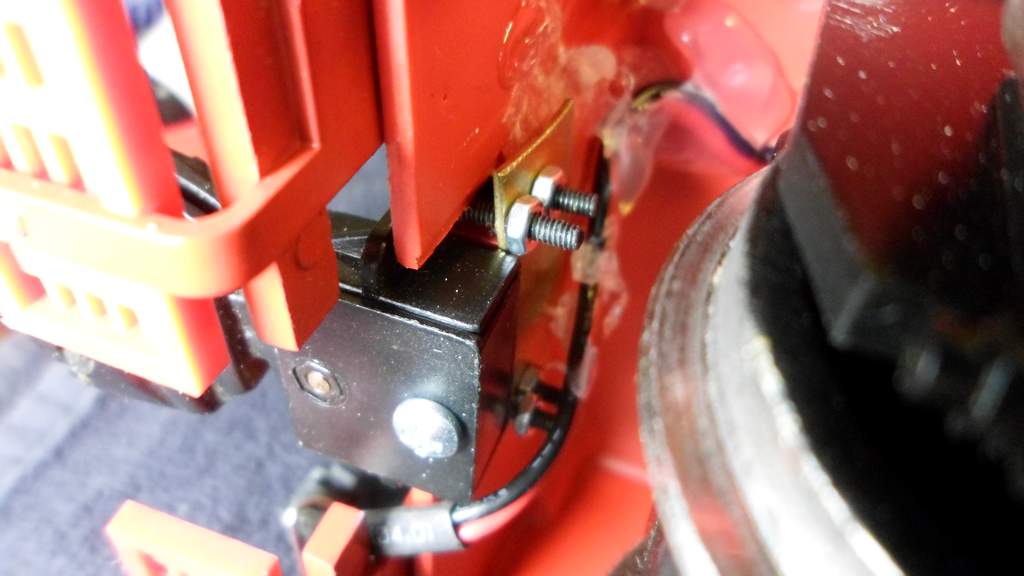
Since this area really isn’t visible when the loco is running I didn’t worry about making it pretty. A #4x.75" sheet metal screw was driven up through the bottom into the pilot to help keep it at the top of the slots. Note that the draft gear needs to be drilled out a bit to accept a #4 screw…

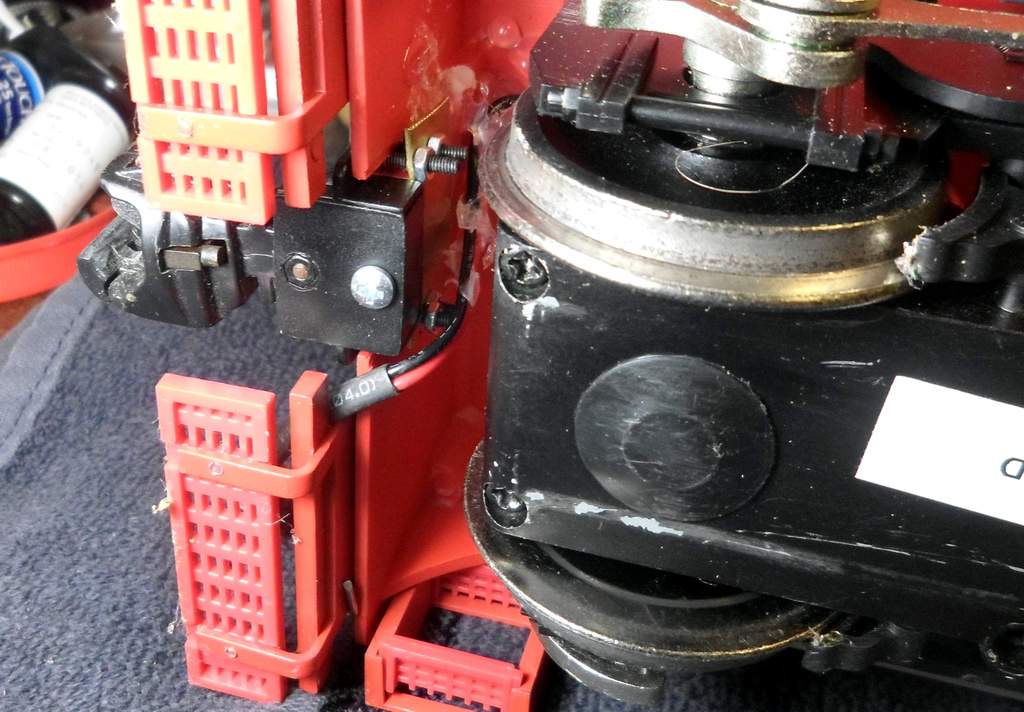
A little further away for context…

And from the front…

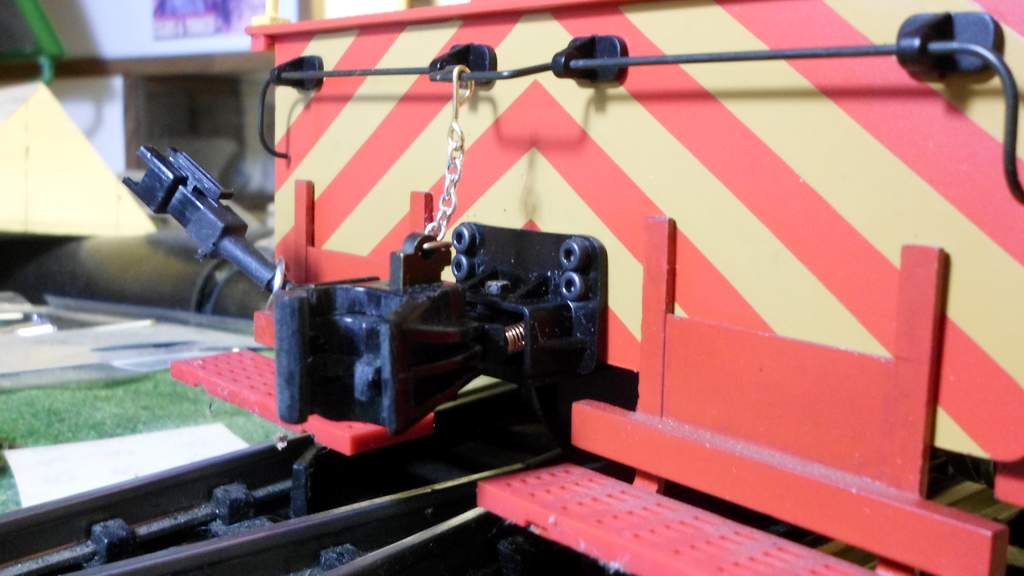
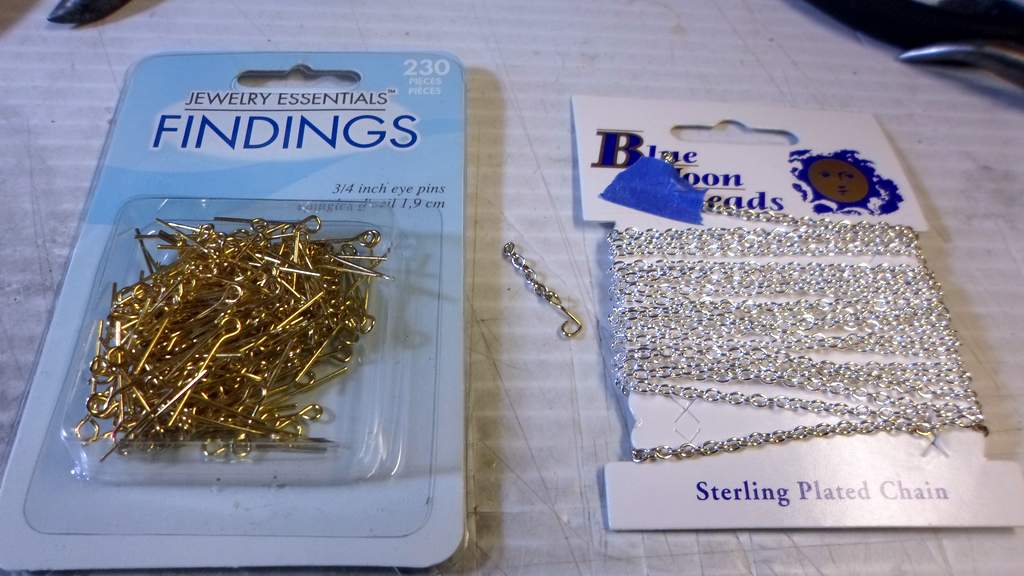
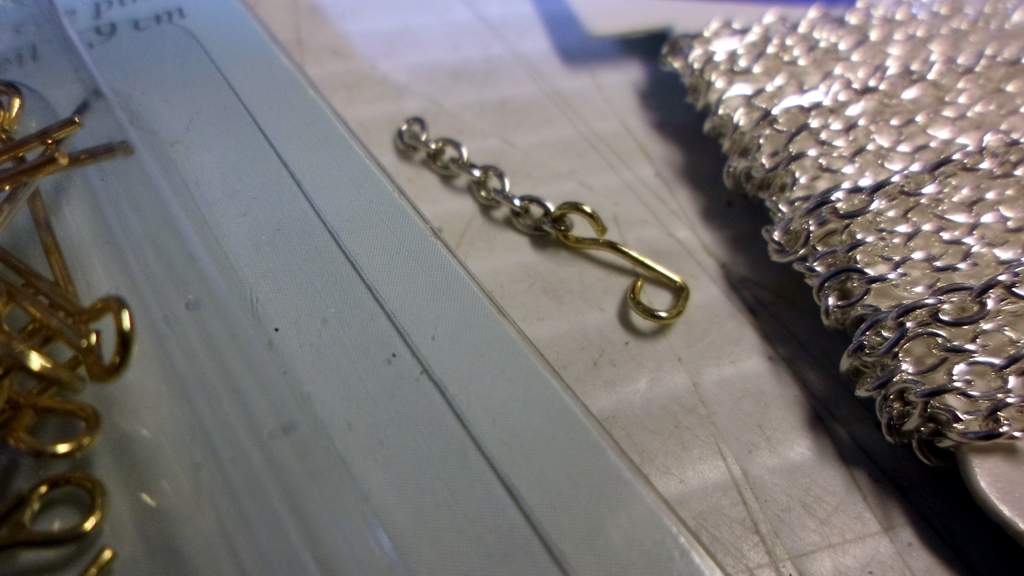
While I was at it I made the stock lift bar functional. I used some small jewellery chain and eye pins found at Michael’s…

The eye pin was bent using needle nose pliers to make an attachment for the lift bar…

Coupler closed - at rest…

And open with the bar lifted…

I still need to weather the chain and eye pin. And I’m not in love with the hex cap screws, but i had them in stock and M-11 is finally back in service.

Huzzah!

Thank you, John Radder, for sharing your fine method of applying an Accucraft coupler to your

45 Ton Diesel locomotive…well done.

For those that would like a much simpler method, involving the drilling of only ONE hole in the locomotive, which will never be seen, or damage the value of the locomotive I submit:

Kadee has a sheet describing the application of their #835 “G” scale or #1835 #1 scale coupler to this locomotive.

The application may be on their web page, or available with a simple call to SAM at Kadee.

I have made the conversion on several 45 tonners, with great success, and no operating problems.

The Kadee draft gear box used may be uesd with an appropriate Accucraft coupler if that is your choice.

If you can’t locate the sheet in question, I can copy the one I have and send it to you.

Kadee has a NEW and Improved version of these couplers, if you don’t appreciate the old knuckle spring. I just don’t have the new product number handy at the moment…so check their web page for it…

Fred Mills

Thanks Fred. I believe that is the method I tried second. Single screw up though the bottom of the draft gear into the pilot which is very thick plastic. That worked well for me for a few seasons, but eventually the screw would work loose. Repeated tightening stressed the plastic so that it was no longer possible to tighten the screw. I did not want to use glue so I had to come up with a better method. I also like the more finished look of this draft gear Vs the Kadee.

EDIT to add: Fred does bring up an important point: Accucraft couplers do indeed fit in Kadee draft gear boxes. I have been using Kadee draft gear boxes in one form or another (some highly modified) on all my freight cars.

Just to clarify. Method #1, use the existing Bachmann draft gear with a modified coupler…

Notice the coupler droop. That and lack of springs made coupling without manual intervention impossible. Height was also an issue.

Method #2 - The Kadee recommended method mentioned by Fred (see http://www.kadee.com/conv/pdf/b45t.pdf ) I didn’t have a tap so I used a sheet metal screw. Worked good for a while but looked bad…

I ran some switching ops on the indoor division today using the new system and it worked perfectly and looks great - so for me this is the best method…

(http://www.largescalecentral.com/externals/tinymce/plugins/emoticons/img/smiley-wink.gif)

Edit: because you said mounting

Nice work, Jon! Good looking fix and mod.

David Russell said:

(http://www.largescalecentral.com/externals/tinymce/plugins/emoticons/img/smiley-wink.gif)

Edit: because you said mounting

Let see 10,000 - 9,771 = 229

Rooster 229 double posts to go!

If they are double posts then wouldn’t it be 229/2, 114.5?

I would shorten the screws and put the nuts on the outside. I think it will look better.

I agree. I might try that for M-10 if it ever gets out of the Electrical Shop. M-11 is done and I can live with the look.

Since we are on the subject of screw and nuts, The 2mm crews I used came from the hobby store in bags of 4 for $2. Nuts were separate at the same price. I replenished my stock with bags of 100 each from Amazon for a little over $10 - a significant savings and with Prime shipping I ordered Saturday and had them by Monday!

Peter Hendricks said:

I would shorten the screws and put the nuts on the outside. I think it will look better.

Well Peter, I like your suggestion so I tried it today when mounting couplers on M-10. Unfortunately it was a No-Go. The nuts end up conflicting with each other so they cant be turned from the front and there’s not much room on the back side to turn the cap screws with an allen wrench. This shows both…