I recently pulled my 2 Cylinder live steam Shay from moth ball storage, where it has been for 10 years, for a run around the railroad in a recent snow fall. This rekindled my interest in live steam and prompted me to look into improving it’s performance. Jason Kovac at The Train Department offers a number of simple upgrades that don’t require getting into more complicated adjustments like timing. Specifically, Jason offers two control valve upgrades; one for the finicky gas valve that is difficult to adjust and fails to hold it’s adjustment for the duration of a run. The second is a steam valve that offers finer throttle adjustment that promises to improve low-speed performance.
I ordered them up and they arrived on Monday. Last evening I began the task of installing them. First up was the Gas Valve shown here below the stock valve…
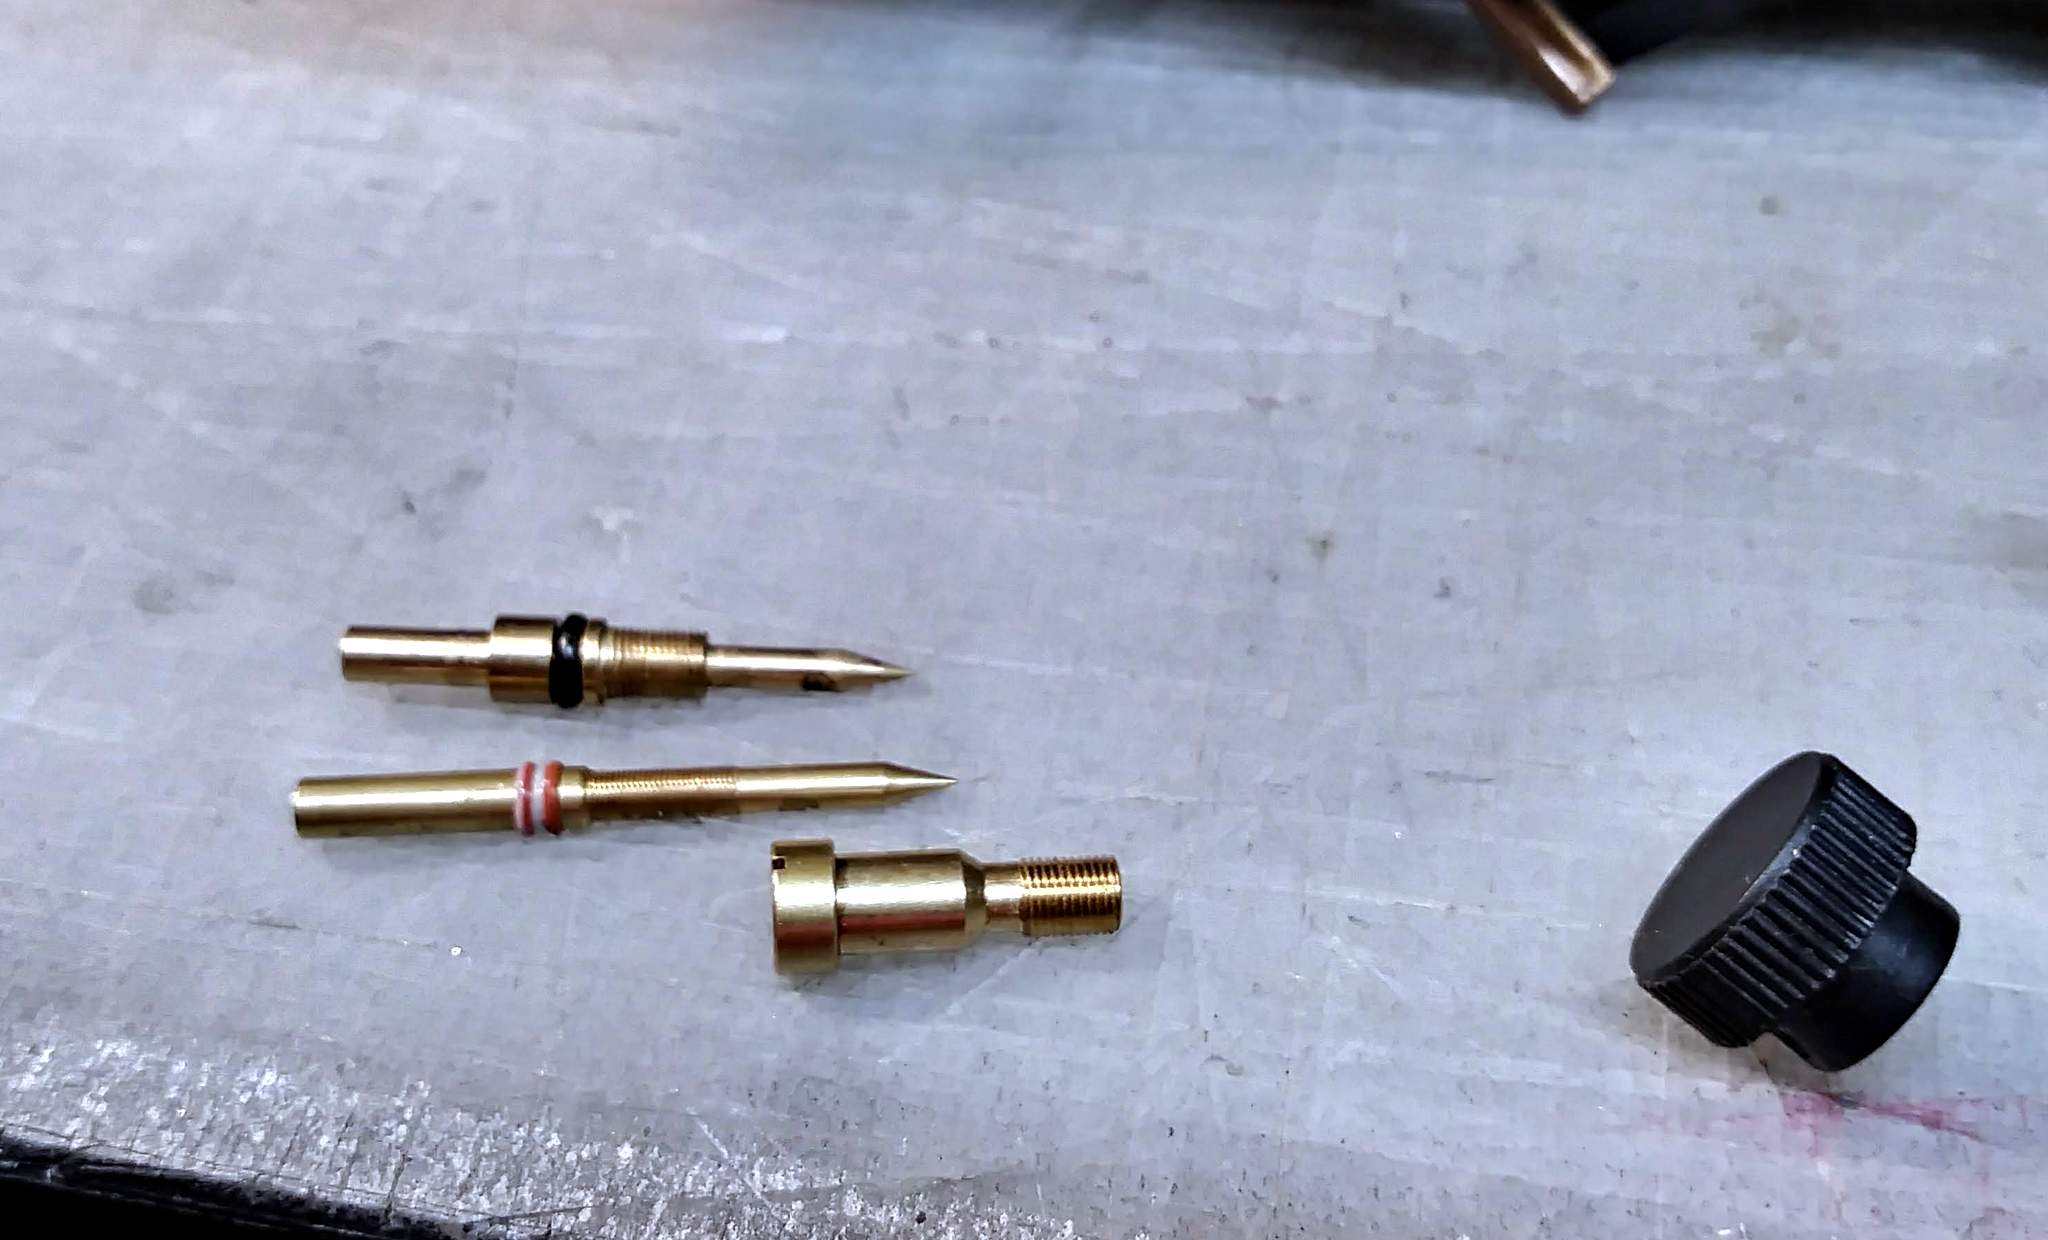
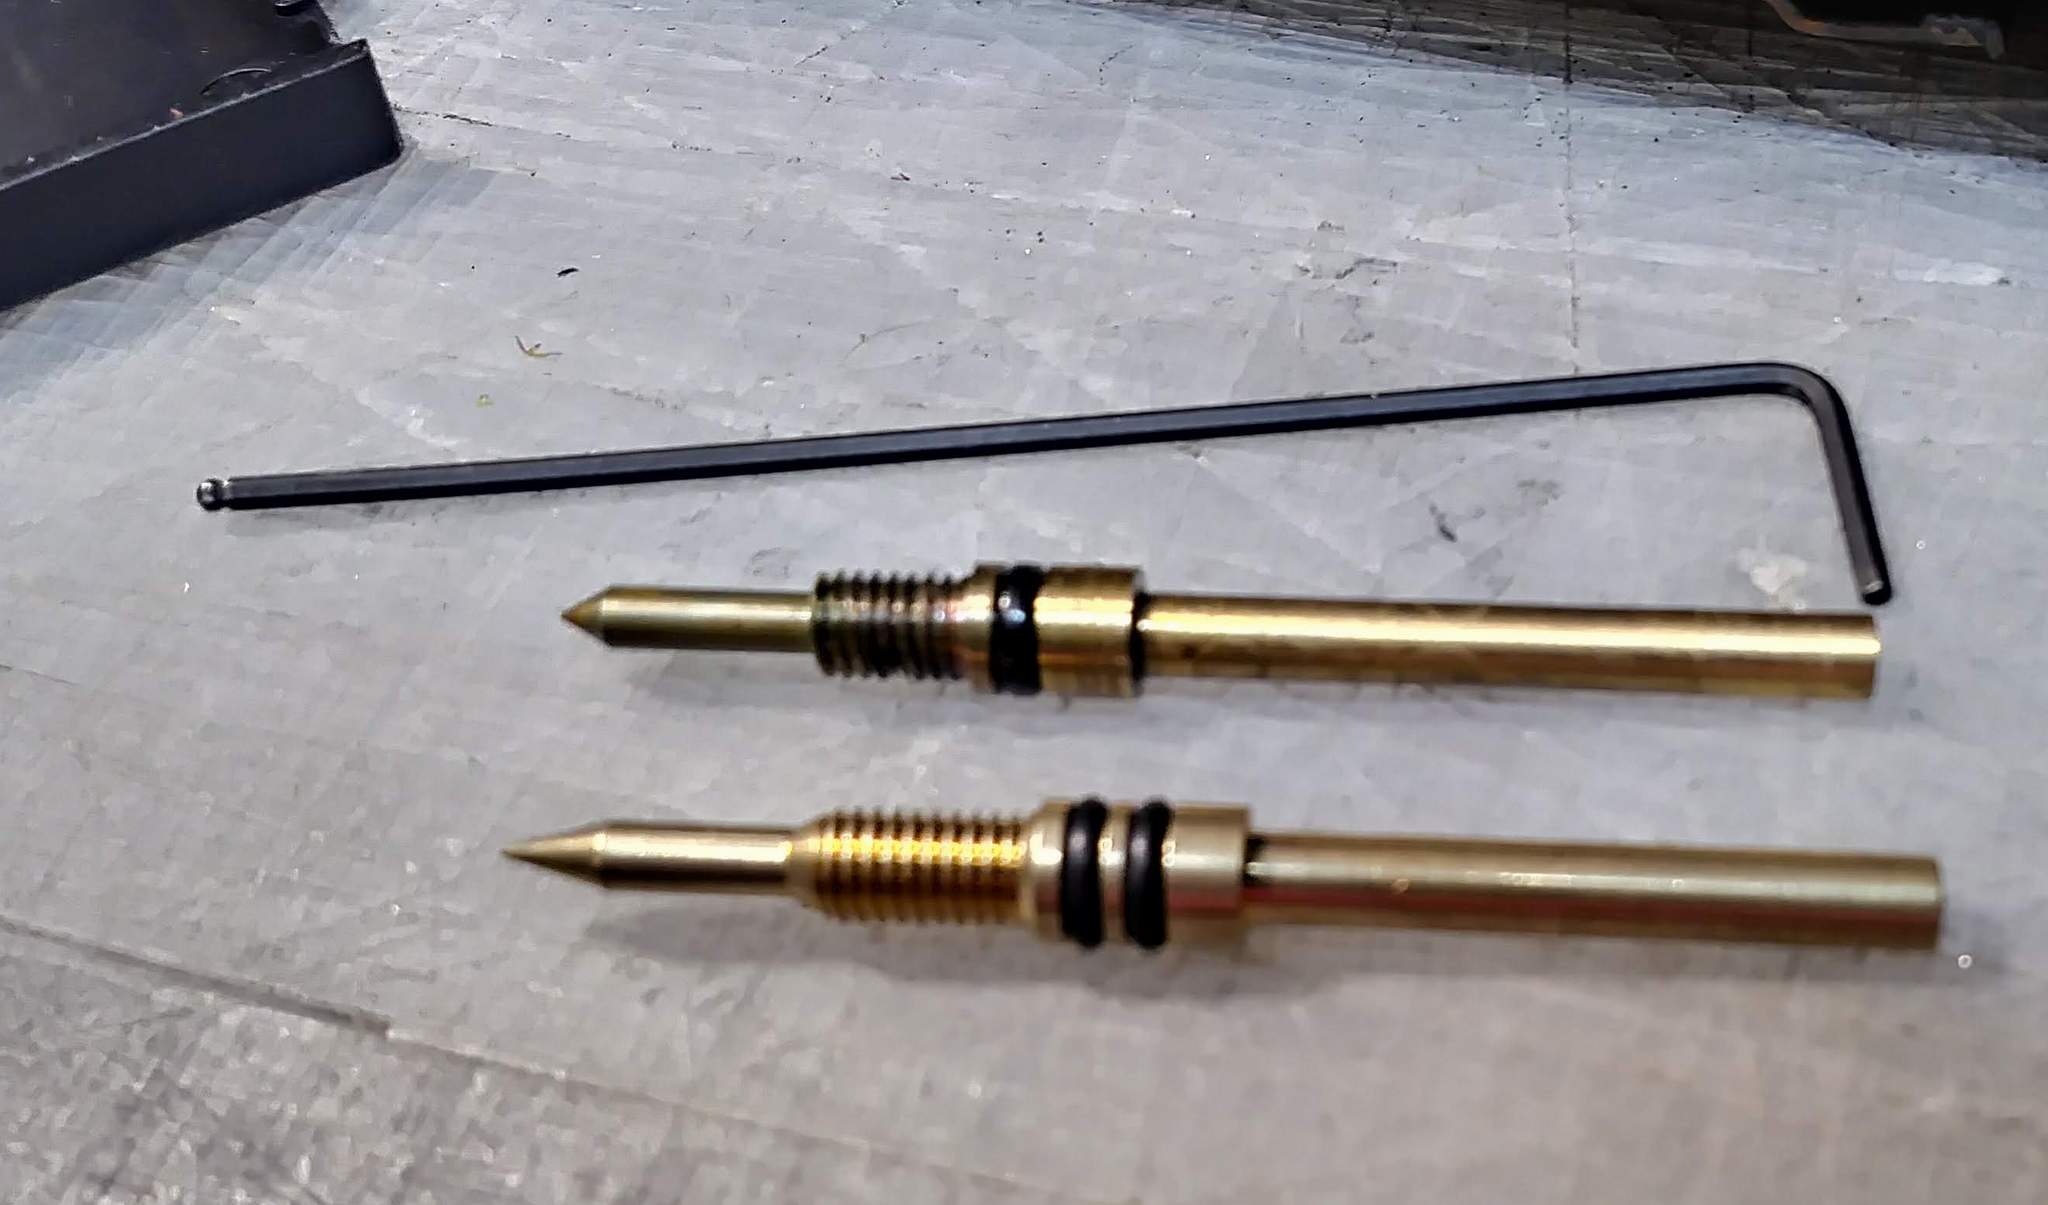
Jason’s replacement consists of a thread adapter that screws into the existing valve body using a high temperature thread sealant, then a new needle with a much shallower taper, finer adjustment thread, and two O rings. Installation is a matter of removing the old, inserting the adapter and then screwing in the new valve using the knob. On some locos this is very simple, but the Accucraft Shay gas tank is very close to the rear cab wall preventing the old valve from being removed. The cab superstructure / water tank needs to be detached from the deck to allow access. There are 8 screws. Two at the rear of the tank, two on top of the T-Boiler and 4 under the deck attaching the rear cab wall to the deck which are removed from underneath…
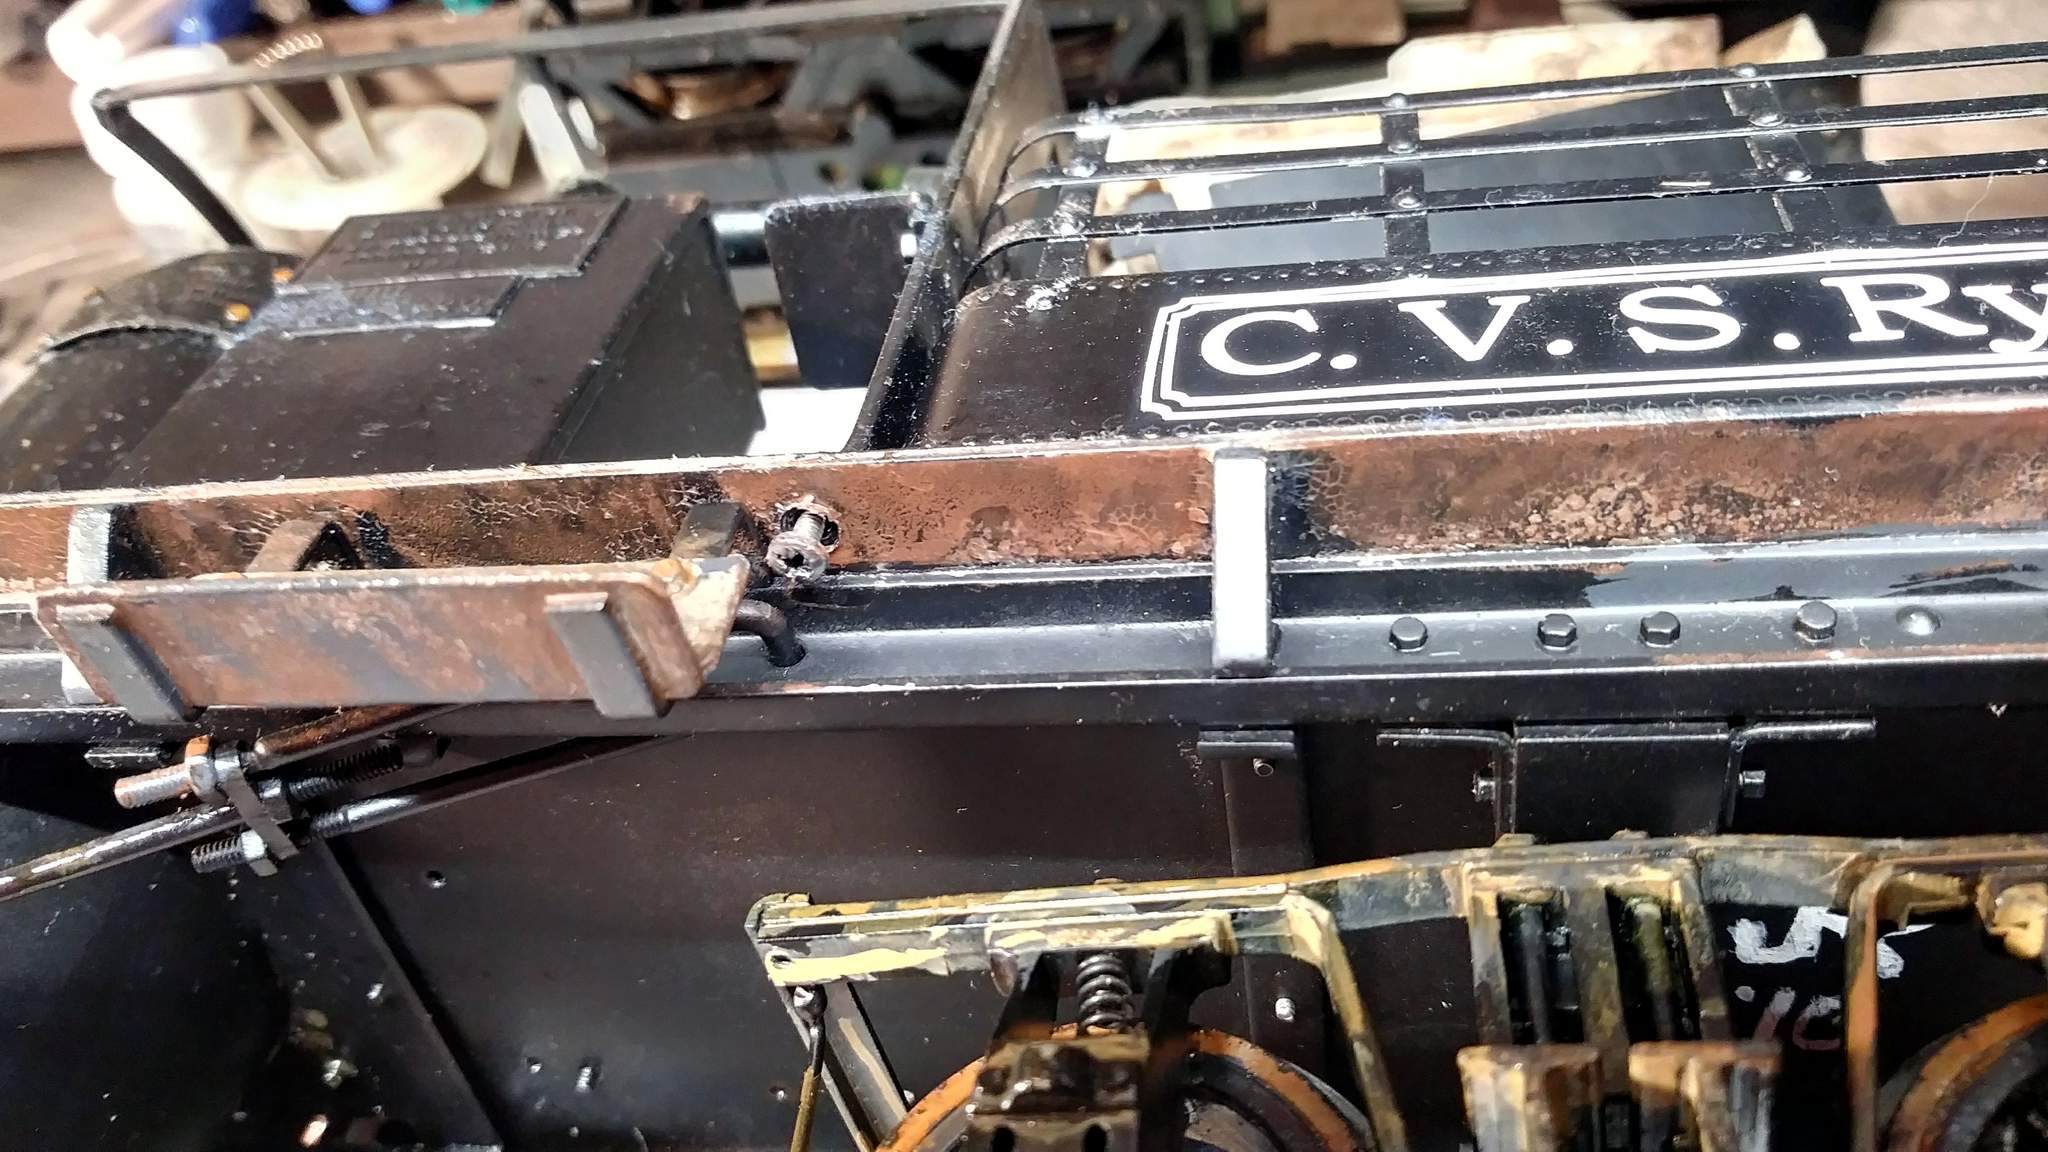
With the screws removed, I was able to shift the superstructure to allow access to the valve stem. Fortunately, the home made Johnson Bar/ Servo link was flexible enough that I did not need to detach it…
Once the valve was in and everything back together, I realized that the replacement shaft was too long and wouldn’t allow the valve to be opened more than a crack before conflicting with the cab wall. So everything came apart again so I could cut 2mm from the shaft with my Dremel. Jason’s site does mention that the length may require trimming.
With the modified gas valve installed and the super structure replaced again, it was time to move on to the steam valve. The photo below shows the stock valve on top and the replacement on the bottom. The replacement has a much finer needle, more adjustment threads, and two O rings…
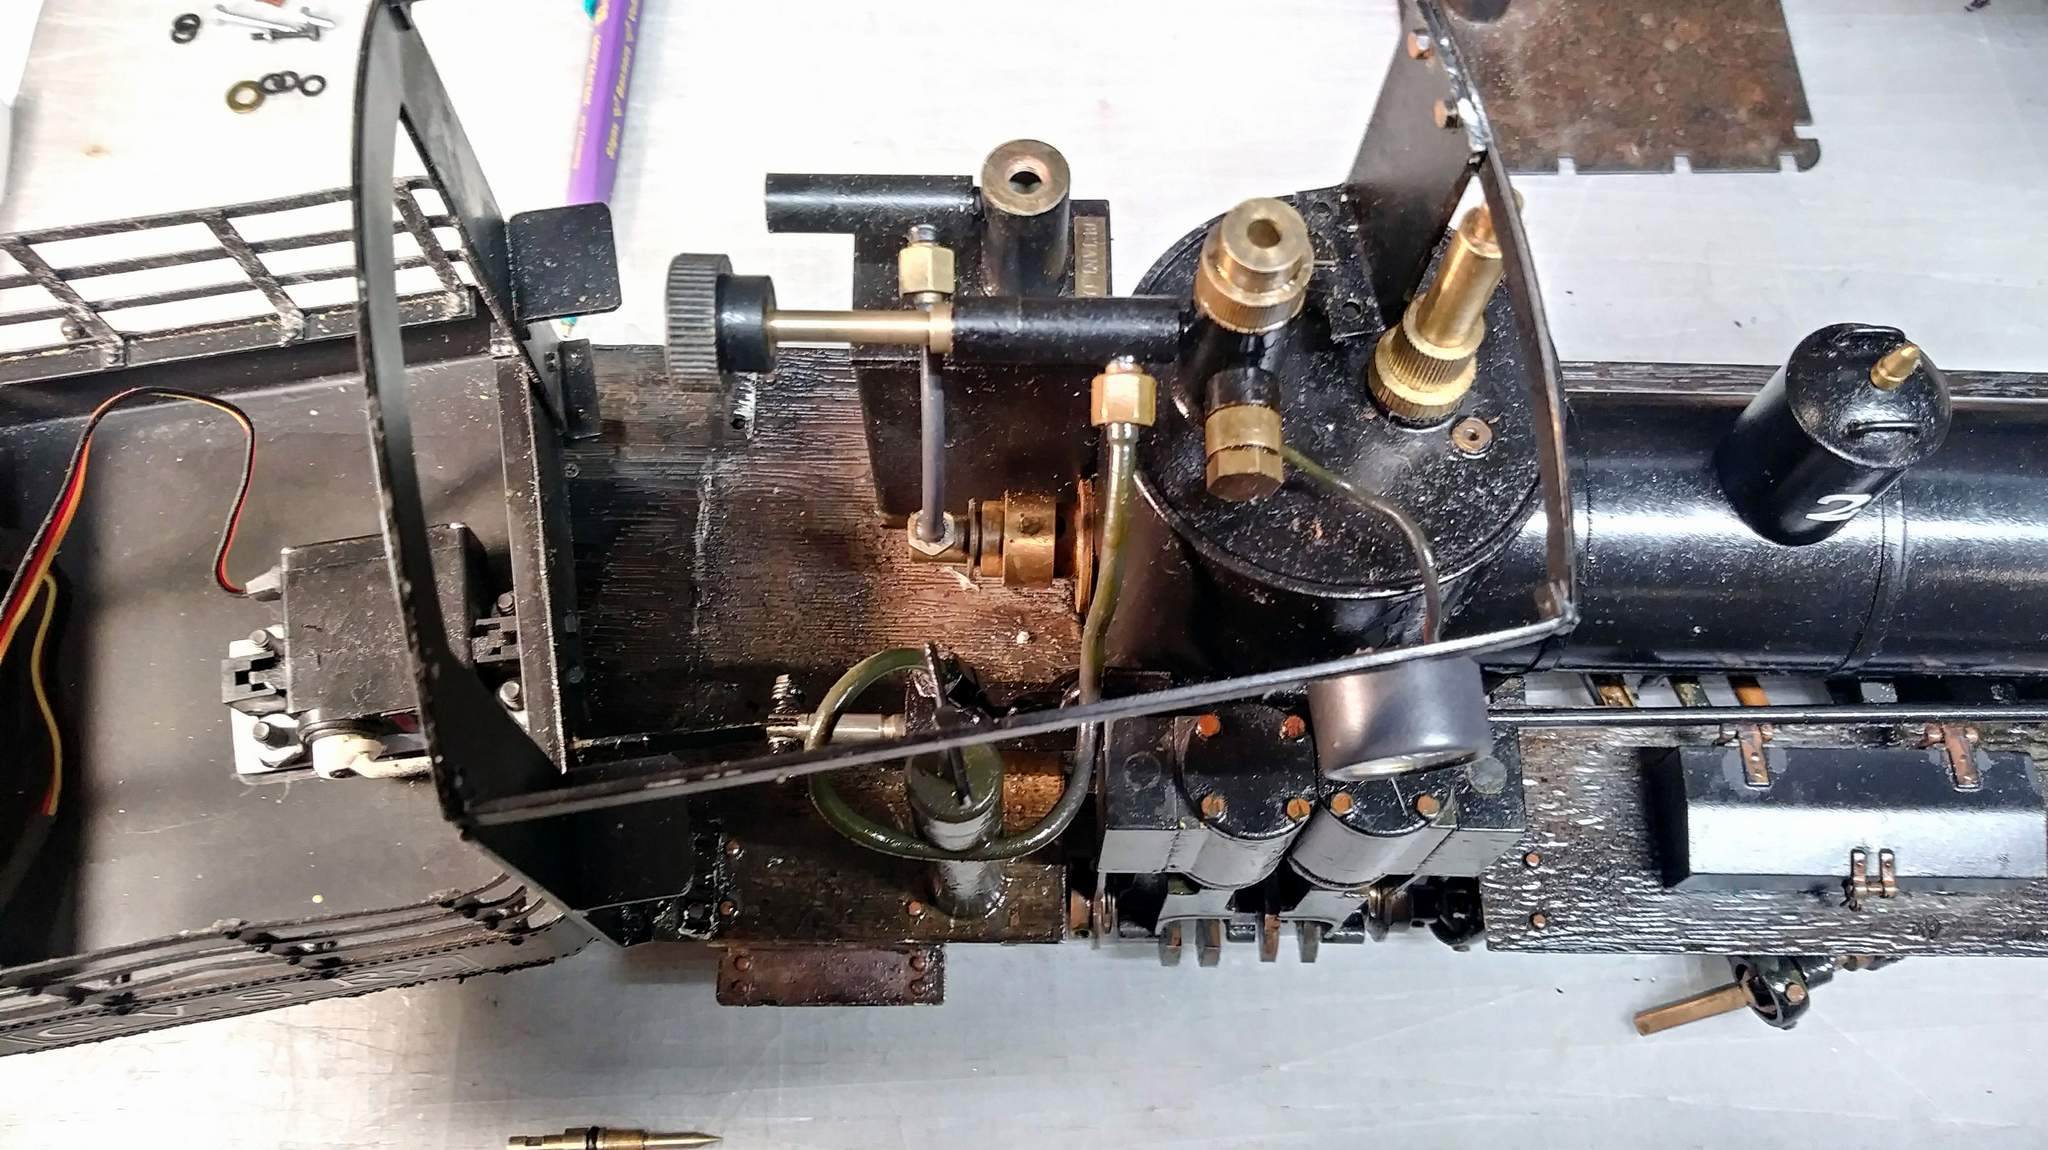
This valve is a very simple swap. Just unscrew the existing one using the knob, swap the knob to the new valve, then screw it back in. No conflict with the super structure at all. Here is everything put back together awaiting the battery box and RC gear…
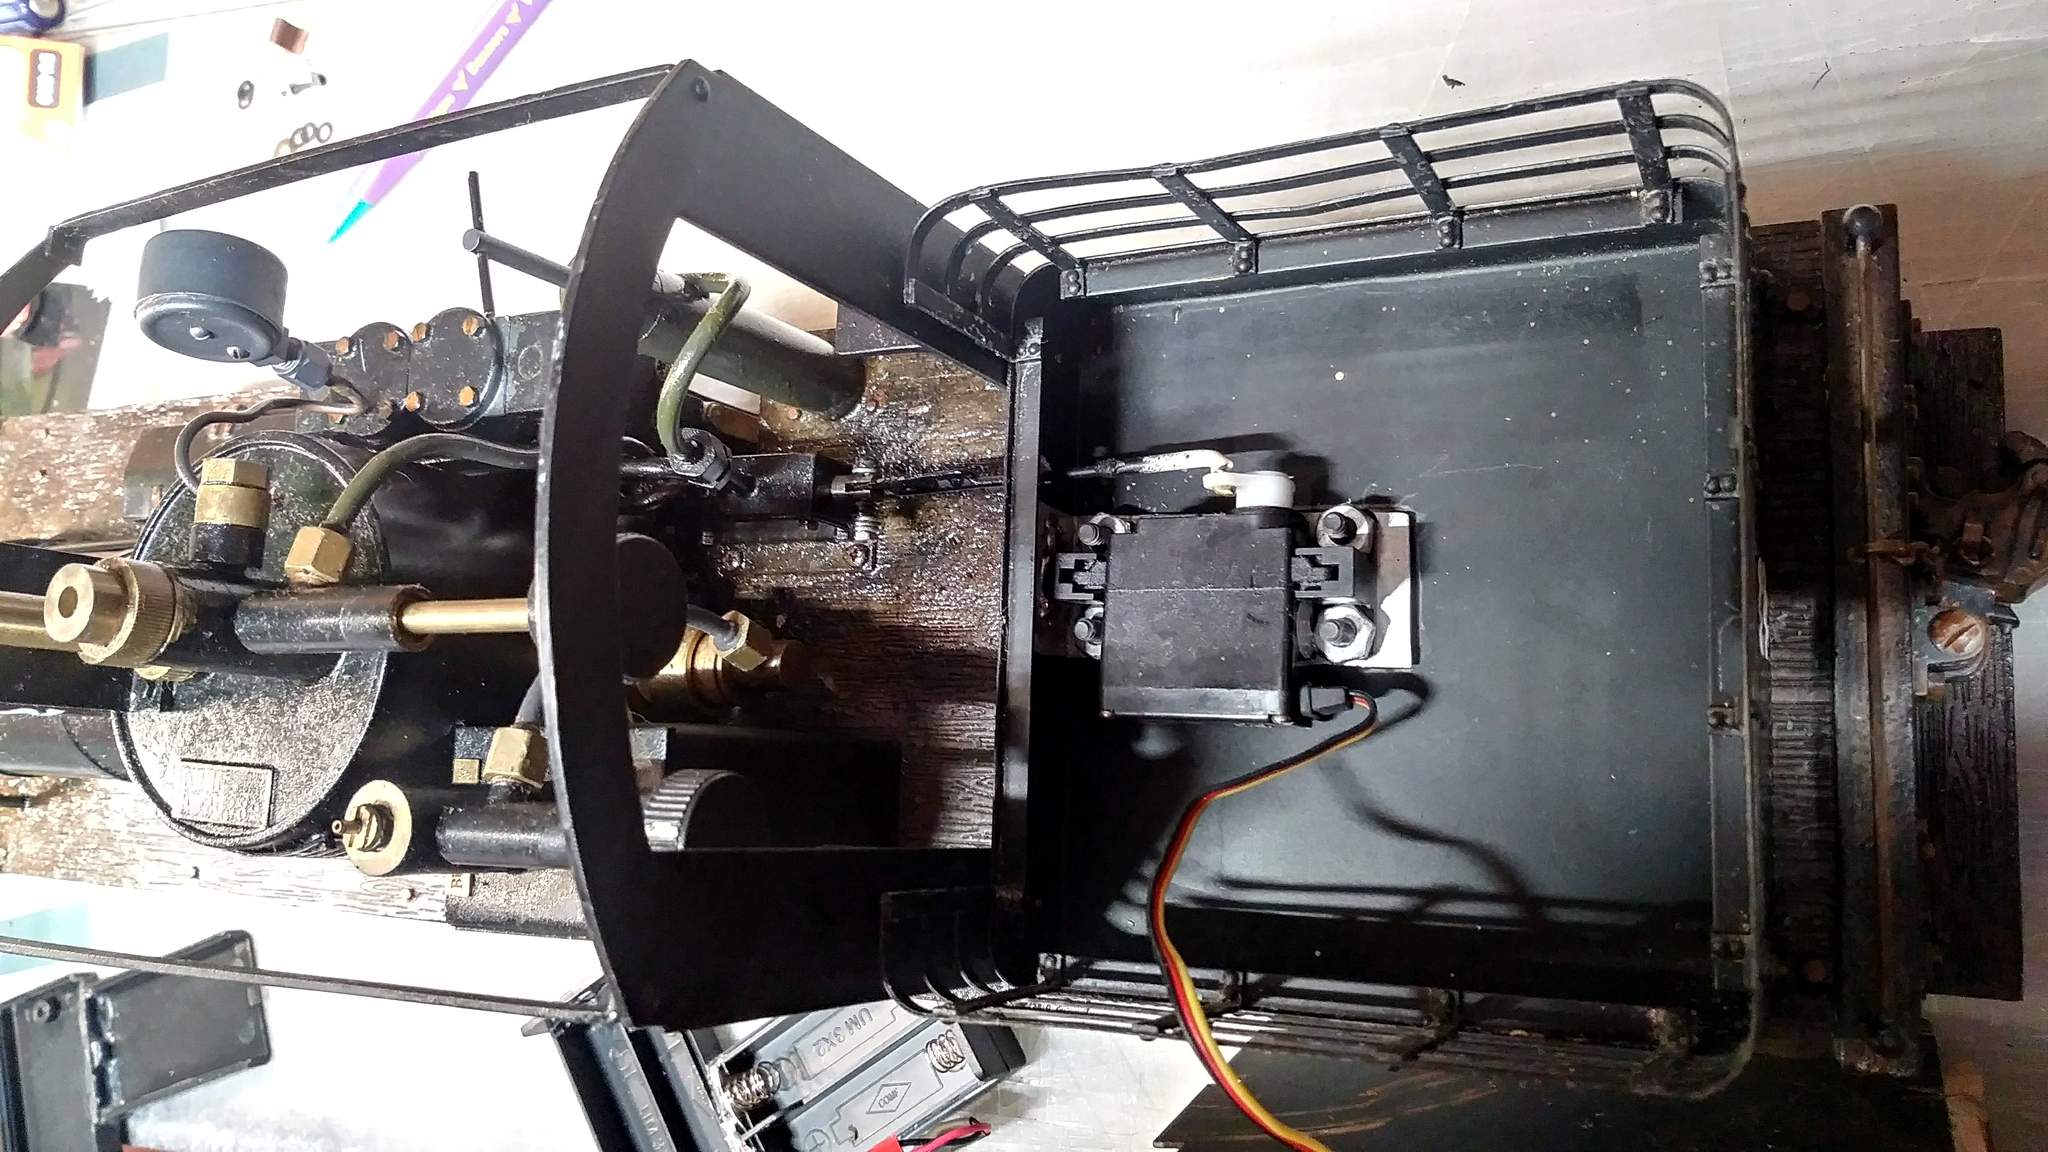
Once everything was opened up, it seemed like a good time to swap the RC batteries. The last time they were replaced was 2010. Still plenty of life left, but a royal pain to chnge so I did it anyway! I cobbled this battery box together from two boxes so batteries would fit in the tank with the servo…
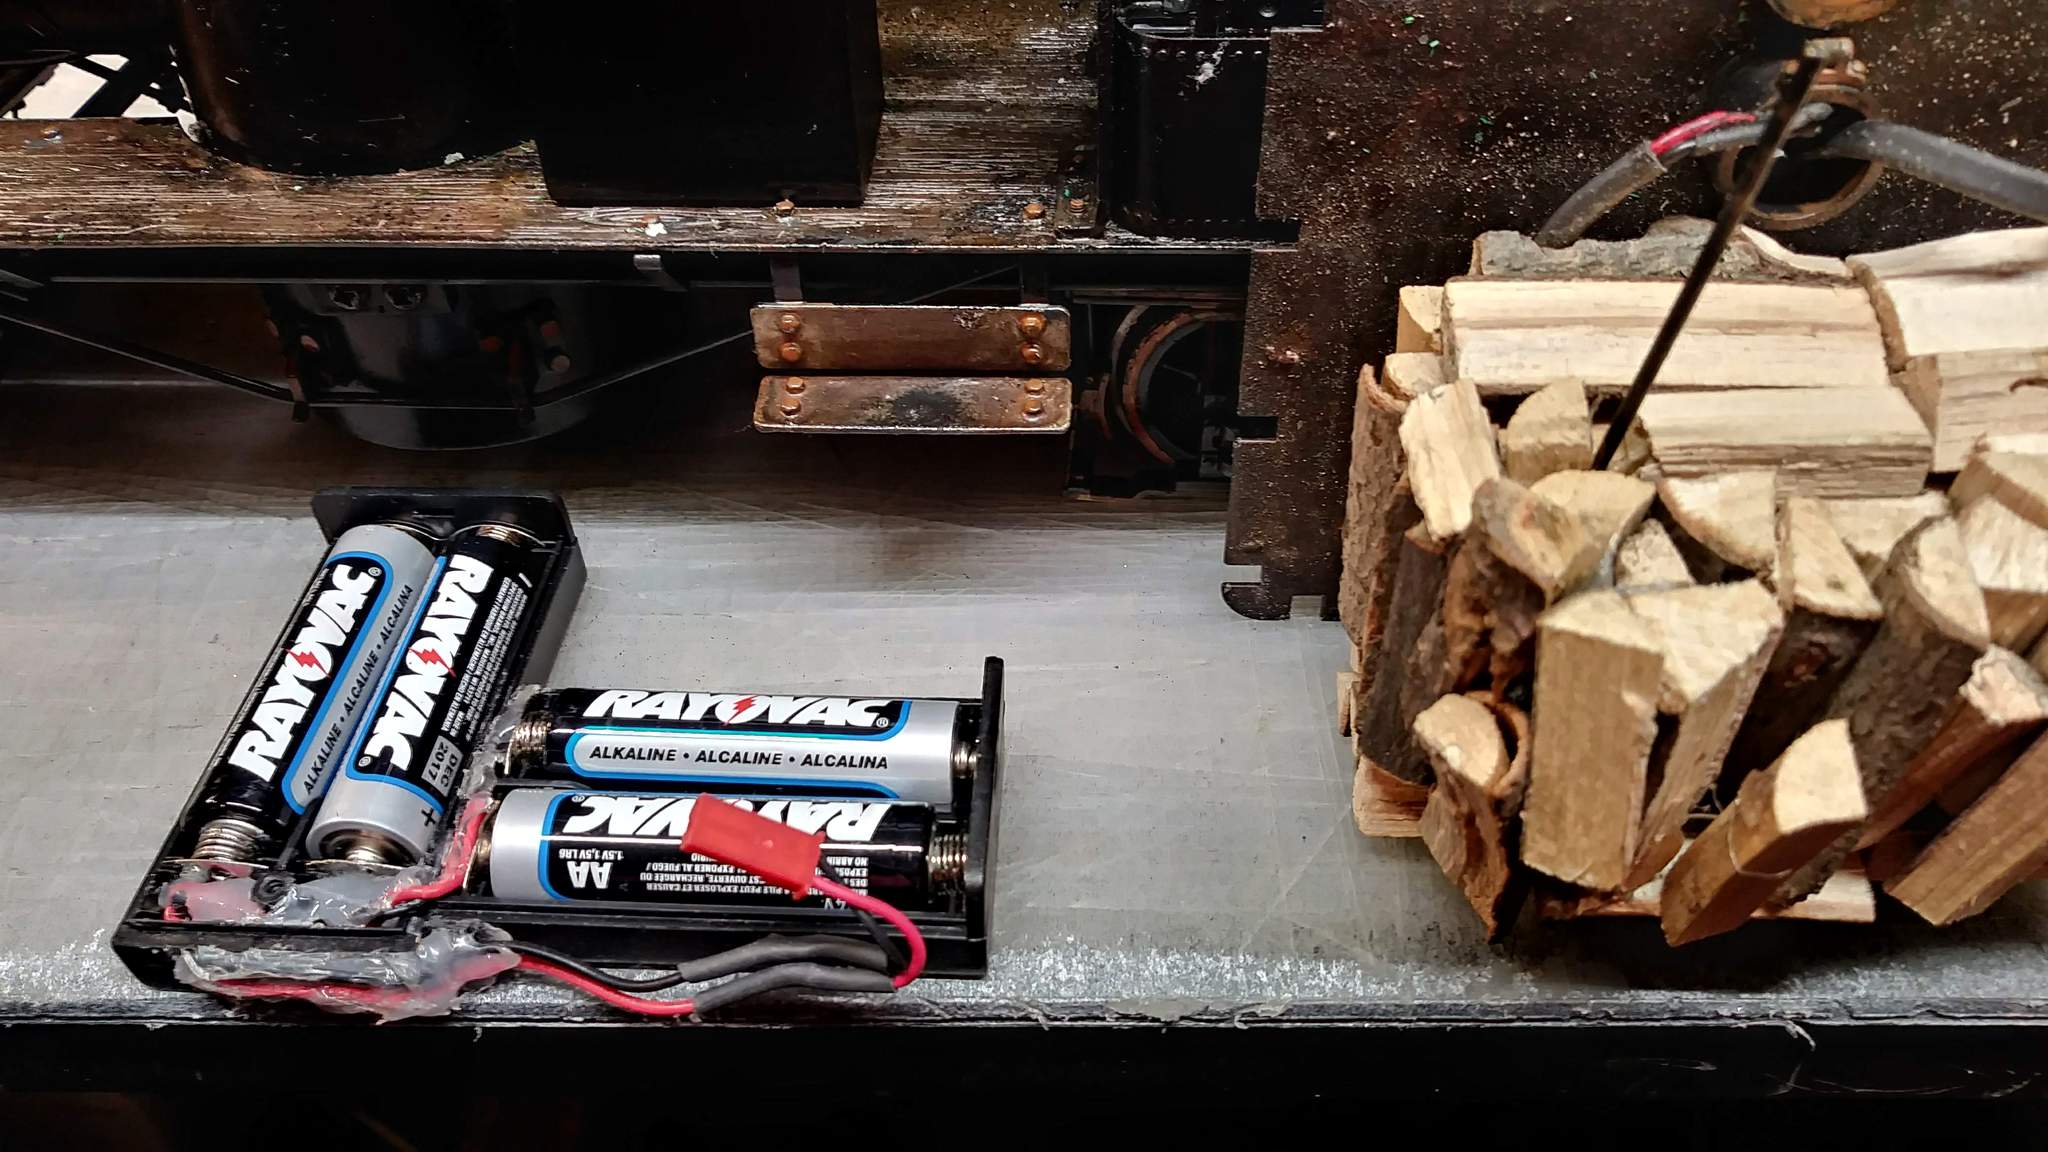
The wood load at the right hides the radio gear and power switch…
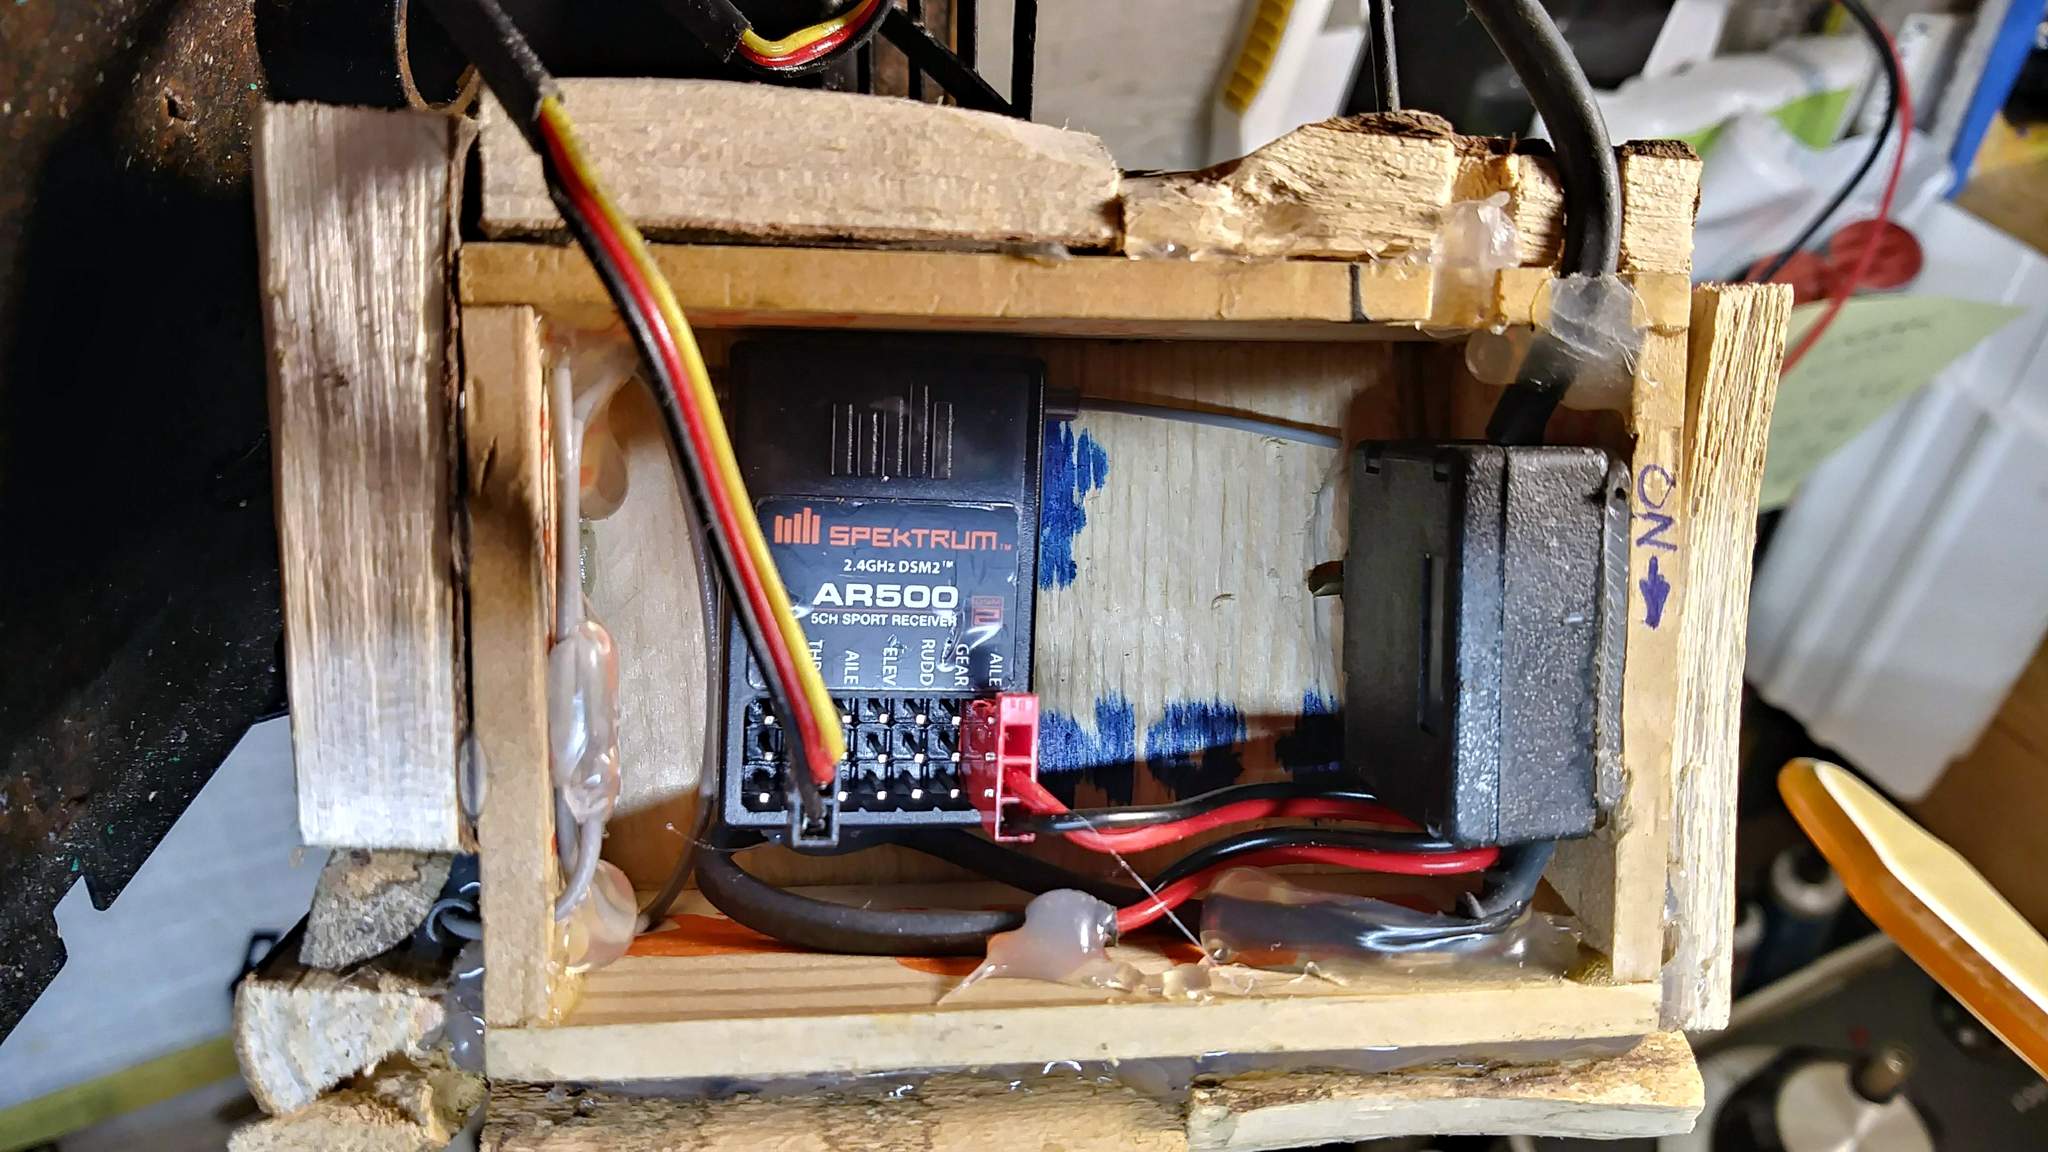
Gee, look at that. Model airplane parts used for a train. How ridiculous!!!
Battery case closed up and back in place ready for the tank top and load to be installed. Operational testing is scheduled for today.
Two more upgrades I am considering is a servo for throttle control and a pop style safety valve. Need to get a mini servo and experiment with placement.