Large Scale Central

3D Printed Comfort cab for USAT GP38-2

The biggest challenge when printing scale models with FDM is smoothing the layer lines. This is much easier when the surface is flat so I designed the shell with no raised areas. The raised detail parts will be printed in resin and added later. I may also experiment with styrene doors and just printing the latches. This is a direct fit for the USAT GP38-2. It slides over the long hood and is fastened with the same screws as the standard cab. The only modification needed is the removal of the ridge at the bottom of the nose that follows the contour of the original cab.

Test fitting

That looks good, Dan. Very nice print.

Well done, Dan.

Is it planned to do the windows with clear plastic, too?

-Ted

Ted Doskaris said:

Well done, Dan.

Is it planned to do the windows with clear plastic, too?

Thanks Ted. Microscope slides. Now I’m playing with printing vs strip styrene for the seals or maybe thin strips of black rubber or RTV?

Dan Hilyer said:

That looks good, Dan. Very nice print.

Thanks Dan. I’ve since applied glazing putty and sanded smooth. Not counting drying time it was only a few mins work!

Dan, it looks like your printer does a great job with bridging. What material are you using?

Dan Hilyer said:

Dan, it looks like your printer does a great job with bridging. What material are you using?

PLA. I used 20% infill (lines) support everywhere.

Some progress
Printing the cab shell without the details makes it quite easy to smooth the print. I shmeared Bondo spot putty over it, waited 30 mins and sanded for maybe 10 mins. Sure beats trying to sand around raised details! Loving the Elegoo Mars SLA printer I used for the detail parts.

Dan Gilchrist said:

Ted Doskaris said:

Well done, Dan.

Is it planned to do the windows with clear plastic, too?

Thanks Ted. Microscope slides. Now I’m playing with printing vs strip styrene for the seals or maybe thin strips of black rubber or RTV?

I want to try experimenting with heat shrink around the edge of slide glass. Slice one edge of the heat shrink, then wrap that around the slide glass. Apply some heat, and see what happens. Gaskets are a really hard thing to replicate.

Craig Townsend said:

I want to try experimenting with heat shrink around the edge of slide glass. Slice one edge of the heat shrink, then wrap that around the slide glass. Apply some heat, and see what happens. Gaskets are a really hard thing to replicate.

That’s an interesting idea Craig. It may be quite a challenge to get the glass cut to match the window opening but i’d imagine it would look really nice. I’m trying printing (.4mm) gaskets now.

Craig Townsend said:

Dan Gilchrist said:

Ted Doskaris said:

Well done, Dan.

Is it planned to do the windows with clear plastic, too?

Thanks Ted. Microscope slides. Now I’m playing with printing vs strip styrene for the seals or maybe thin strips of black rubber or RTV?

I want to try experimenting with heat shrink around the edge of slide glass. Slice one edge of the heat shrink, then wrap that around the slide glass. Apply some heat, and see what happens. Gaskets are a really hard thing to replicate.

Craig, you may already be thinking about this, but you will need to adhere each end/side of the heat shrink to the glass otherwise it just does exactly what its name says, shrink, to almost nothing. I’ve tried it in a similar manner on another project and failed miserably. I hope you figure out how to make it work because I would love to be able to use it for stuff other than wire and tubing.

Well, Dan, no one would ever know that has been printed. Great job. Paint job looks awesome too. I’ve thought about an SLA printer for details that are just to small or intricate for the FDM printer but it looks quite messy. Any feedback on the complexity of the process and/or the durability of the prints would be welcomed.

Dan,

What I’ve did on my Snow Dozer was make a sandwich of .010" styrene, slide glass and then another layer of .010" That way I could make the glass square and the opening curved without having to make the glass perfect. It works, but it isn’t a easy process. For the gasket, I tried 1/2 round rod, and it looks decent.

Dan Gilchrist said:

Craig Townsend said:

I want to try experimenting with heat shrink around the edge of slide glass. Slice one edge of the heat shrink, then wrap that around the slide glass. Apply some heat, and see what happens. Gaskets are a really hard thing to replicate.

That’s an interesting idea Craig. It may be quite a challenge to get the glass cut to match the window opening but i’d imagine it would look really nice. I’m trying printing (.4mm) gaskets now.

Yep, but I could never make it work however I only tried once…yep, only once.

Dan Hilyer said:

Well, Dan, no one would ever know that has been printed. Great job. Paint job looks awesome too. I’ve thought about an SLA printer for details that are just to small or intricate for the FDM printer but it looks quite messy. Any feedback on the complexity of the process and/or the durability of the prints would be welcomed.

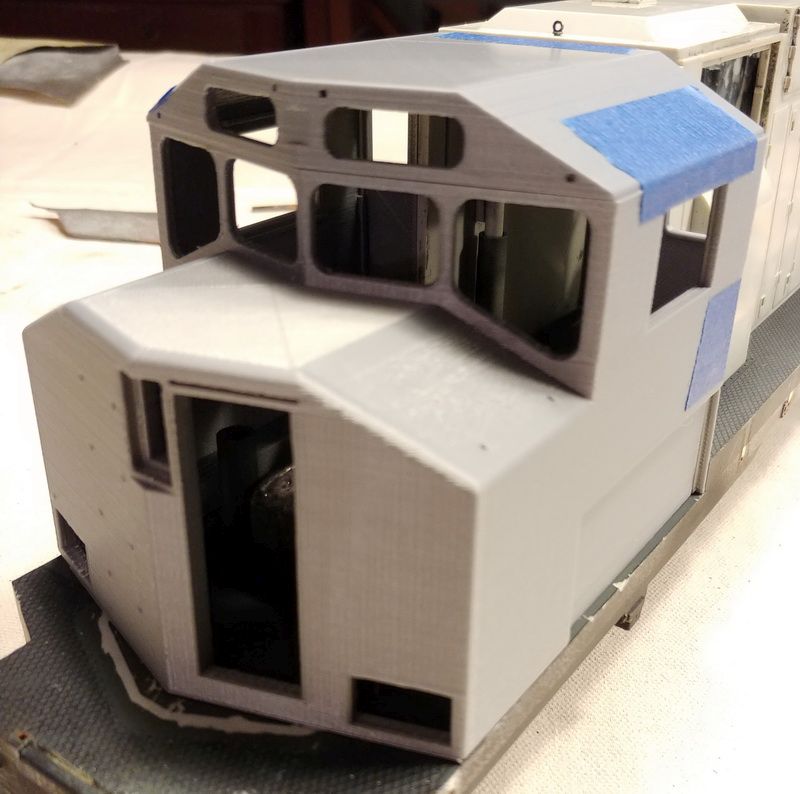
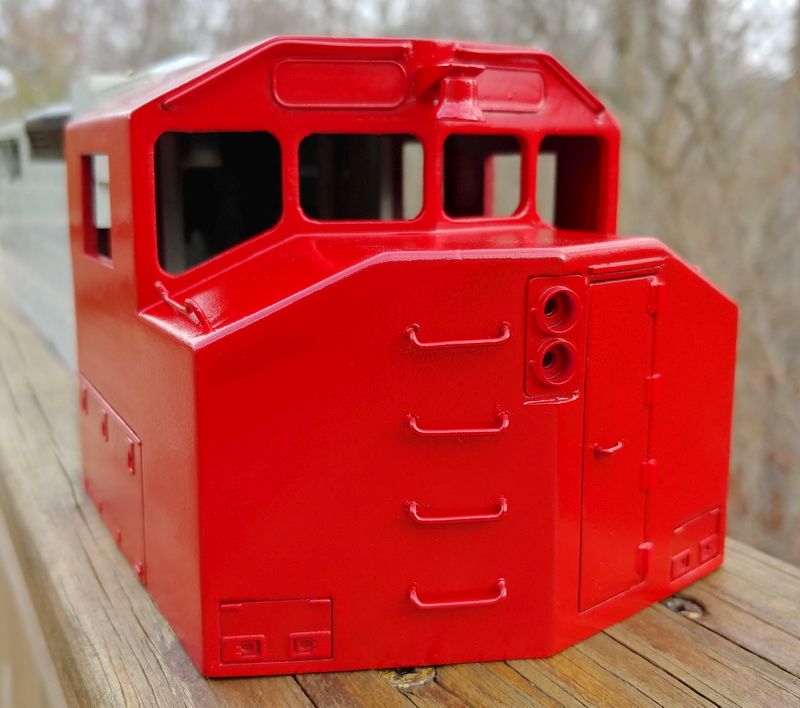
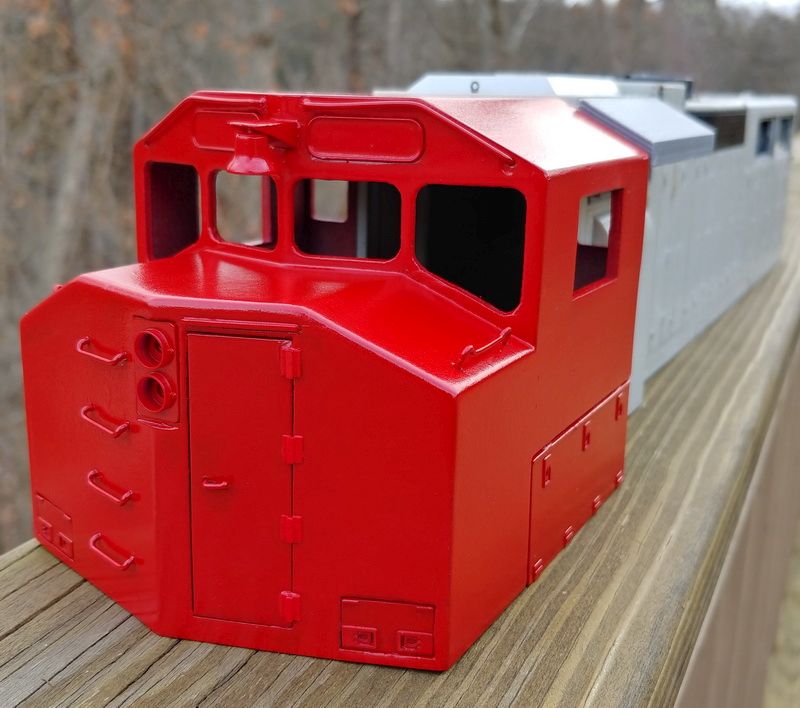
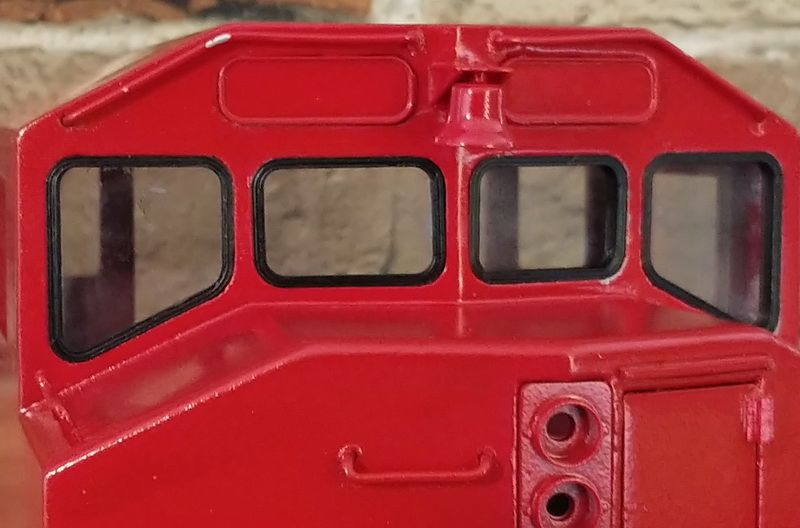
Thanks Dan. The paint is not good at all. I chose the most flattering pics. I got impatient and applied too thick of a coat of some old rattle can enamel (in the dark). No matter, this is the prototype I made for testing.

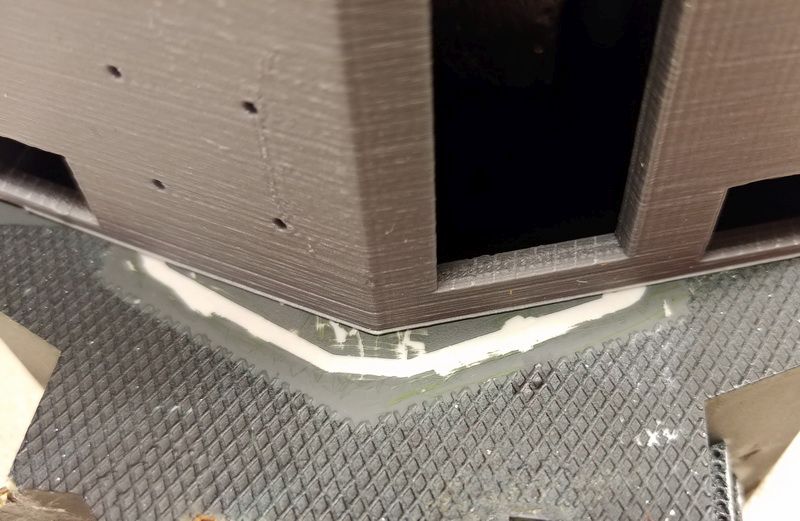
The process is a bit messy but not as bad as I expected. Probably because the parts I’m printing are so small. I’m usually able to remove the parts after printing with the included spatula into a pickle container filled with 99% alcohol without making contact with any of the nasty stuff. Then I just “squeegee” the build surface with the same spatula and I’m ready to print again. Post processing prints involves shaking the pickle container for a few mins then spilling the parts onto a paper towel. Some parts need a bit of work with some alcohol and a toothbrush. Let dry and place under UV light for a few mins.

First week observations:

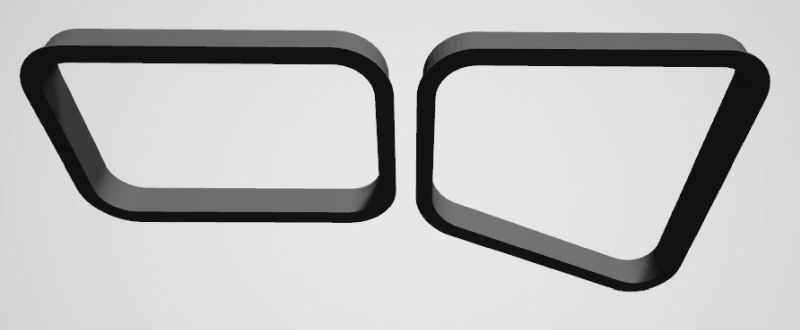
Even at .05mm layer height this thing prints quite fast. Unlike FDM, It takes the same amount of time to print 20 of a part as it does to print one. Time to print all details 48m 21s

Resin is more expensive then filament but printing these small pieces is cheap. Total cost standard resin for all details $0.39.

Smell is not bad at all. Although I have only used Elegoo standard resin.

Much quieter than my FDM printers.

Thanks for the info, Dan. I might just have to try one. I wonder if Rose, our bearded dragon, would mine sharing her UV light with a few parts from the printer (http://www.largescalecentral.com/externals/tinymce/plugins/emoticons/img/smiley-wink.gif)

Printed the gaskets with PLA. Not finescale but good enough for me!

That asses the 2 foot rule with ease!! Nice work. Did you place the glass in the printer

and print directly on the glass?

Pete Lassen said:

That asses the 2 foot rule with ease!! Nice work. Did you place the glass in the printer

and print directly on the glass?

Thanks Pete! Microscope slides are glued from the inside. Printed gaskets adhered from outside. Actually, just press fit for the photo. The cab walls are 2.5mm thick but I think the flange I created on the gaskets gives the illusion of the glass being closer to flush.

You showed me that at Springfield and just looks fantastic now!