Large Scale Central

Coaches for the Emily/Stirling Single

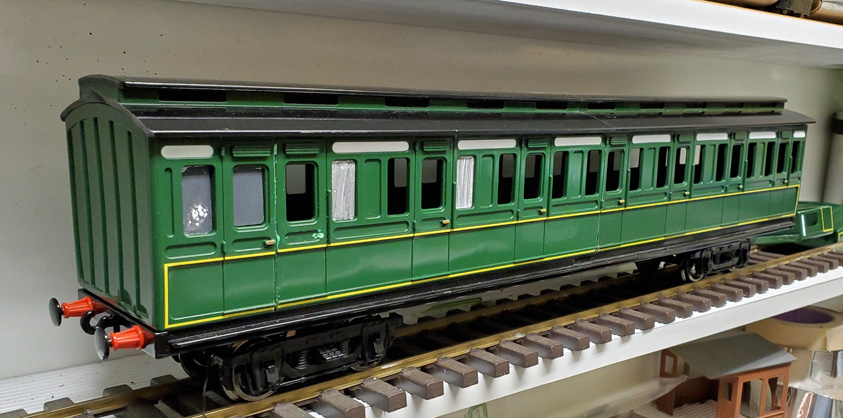
You will probably recall there is already a thread with a similar name that I contributed to - but it contains some nastiness and we don’t do that anymore, so I started a fresh topic.

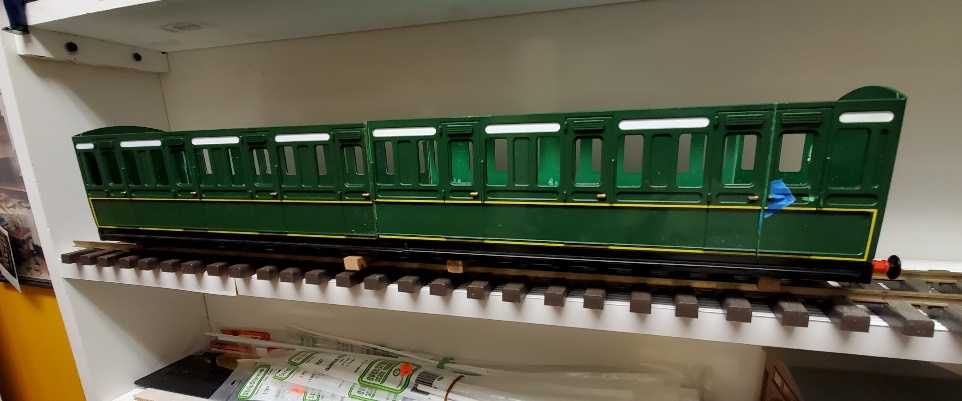
This time of year I am always looking for smaller projects to fill a couple of weeks before the trek back to Florida. The “Emily” coach sitting on my shelf was talking to me, so I finally bought it’s cousin and got out the circular saw. (Most of these photos are on GScaleCentral.com, as they are more UK oriented, but I know you all have Emilys and are converting them to Stirling Singles - right?)

The idea is to chop 2 coaches into a Midland Railway 7-compartment coach. Something like this (a 4mm:1ft model) but without the fancy lining!

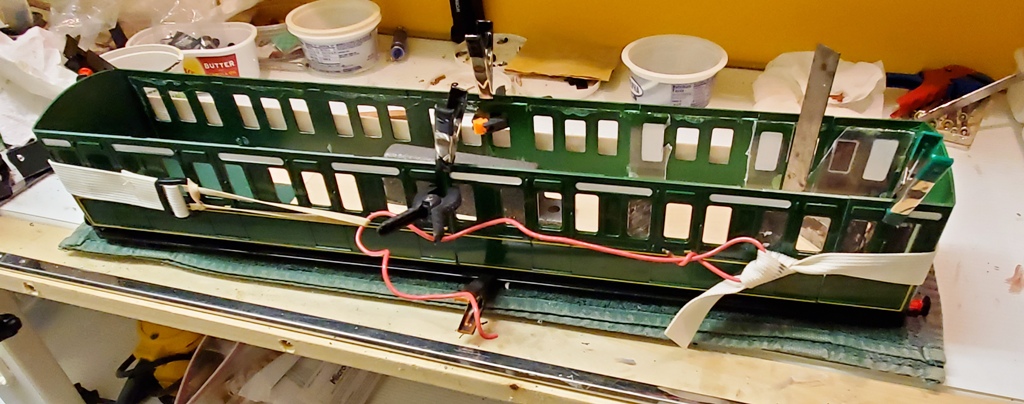
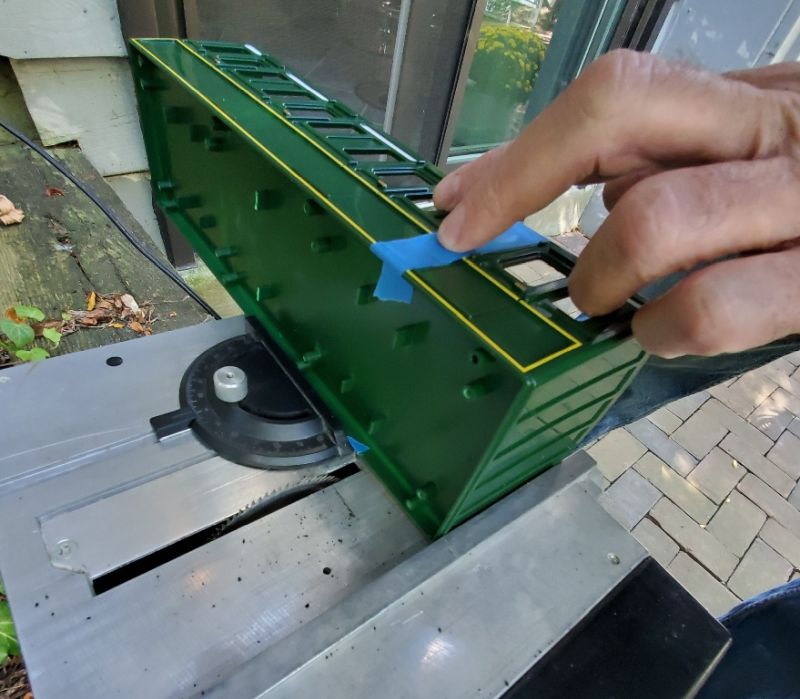
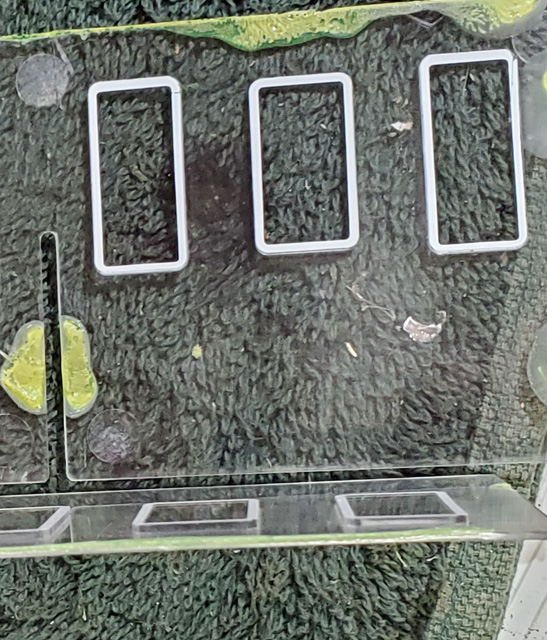
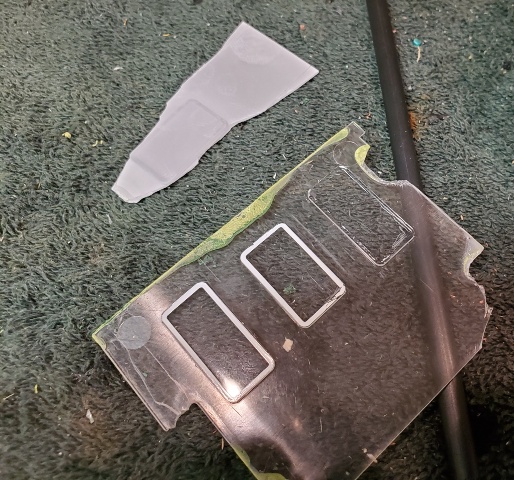
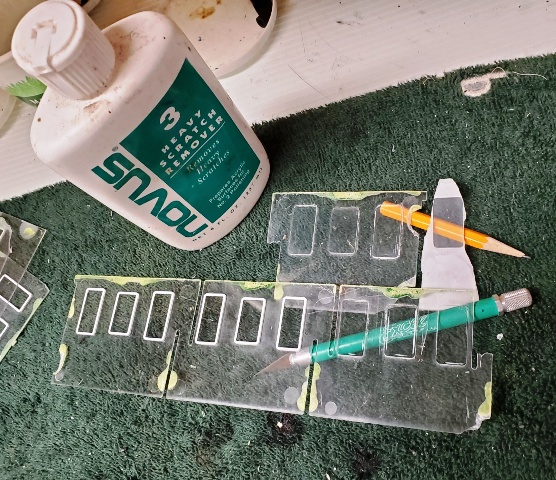
I cut the two coaches and the underframes, and here’s the result. That blue tape is holding the handle on as I switched it to make double doors for the guard/conductor. The white fill-in windows from the ‘emily’s brake’ will be inserted and glued in several windows then painted to make a guards compartment. Note on the model above that one window of the double doors is glazed - should be able to handle that.

Still got to cut the roof and glue the sides together.

This looks to be a really cool project, Pete. I don’t blame you on the “fancy lining”; it would be a nightmare…I couldn’t do it, and I’m a painter! Besides that, it looks like the prototype lining is confined to raised edges, which would make it easier.

John Passaro said:

This looks to be a really cool project, Pete. I don’t blame you on the “fancy lining”; it would be a nightmare…I couldn’t do it, and I’m a painter! Besides that, it looks like the prototype lining is confined to raised edges, which would make it easier.

John, I think the raised paneling is actually black, with yellow/gold lining around the inside edges of the raised portion. Don’t think thay would that make it easier.

I dunno, after the first thirty hours painting lining you will probably be good enough to go on to the next two thirds of that side.

Forrest Scott Wood said:

I dunno, after the first thirty hours painting lining you will probably be good enough to go on to the next two thirds of that side.

Not sure I want 30 more hours of practice before I head out (http://www.largescalecentral.com/externals/tinymce/plugins/emoticons/img/smiley-cry.gif)That red coach, btw, is HO scale - about 9" long.

Actually, I have/had some fine paint pens that draw very clean lines. I could put a waist stripe on it with no trouble. But decals would be needed for the curved panels.

The “layout” is sort of confusing. I see the red model has what looks like 2 doors per compartment. Your green one seems to have one. There must be a lot of variations.

So the green car looks pretty long, how long in inches is it?

You are a braver man than I!

Greg

Greg Elmassian said:

The “layout” is sort of confusing. I see the red model has what looks like 2 doors per compartment.

What looks like it might be a handle for a second door is actually a short grab iron.
See illustration here http://nnrailway.blogspot.com/2015/06/

Also, https://blog.railwaymuseum.org.uk/a-derbyshire-dalliance/

Greg Elmassian said:

The “layout” is sort of confusing. I see the red model has what looks like 2 doors per compartment. Your green one seems to have one. There must be a lot of variations.

So the green car looks pretty long, how long in inches is it?

You are a braver man than I !

Greg

I picked a bad example. That red coach is actually a combine. It has 4 simple passenger compartments at the far end, all with doors and windows either side of the door. However, the near end is a very large baggage (“guards”) compartment with 2 double doors, a single door for the guard, and a view ducket (the bit that sticks out - think of the pop-out windows on a steel caboose.) Here’s the bit sold by Smallbrook Studios for the Annie Coach, to convert it to a brake/guards coach (I probably need one):

My coach only has 1 pair of double doors, and the adjacent compartment will be paneled over to provide a door for the guard to enter/exit without using the luggage/baggage doors. A coach where 1/2 of it is baggage is unusual in the UK, so my example is misleading. There are lots of variations - I have a whole book full of coach plans that allow me to justify any combination of baggage and passenger compartments!

So the green car looks pretty long, how long in inches is it?

Sorry, I forgot to mention it is 23 1/2" in real life, or 44’ in 1:22.5, which seems the nearest scale to “Thomas” scale. The London & Midland Railway underframes over the headstocks (buffers, i.e. total length,) on older coaches, like these, tended to be 44’, 45’ or 48’ over the buffers.

P.S. If it is 1:22.5, then it should be standard gauge, i.e. Gauge 3, which has a following in the UK at 2.5" gauge, or 63.5mm. Some UK guys have tried to widen the coaches the fit the G3 track.

Today’s fun - gluing the coach sides together. I also added back the old window glazing with grey paint where the windows are deleted. I ended up with 5 compartments, a guards door and the double doors to the luggage/baggage section.

you have got no R1 curves, i suppose…

Korm Kormsen said:

you have got no R1 curves, i suppose…

You suppose correctly - though it would probably go round them. It’s about the length of a regular Accu J&S coach. Jerry’s SC&M where I play with my trains is minimum 4’ radius, 8’ diameter. (I insisted, as he wants me to run my AML K4 live steam pacific.)

Rainy day in MD so I got the saw out and put it on the deck under the overhang. Chopped the roof to size:

It’s starting to look like a coach. Just a lot of filling, sanding and painting, unless I decide to fit an interior. Windows are an issue - I have the original plastic ones that fit the spaces but they have white trim/surrounds which will be tough to remove. I really need 2 sets of Annie/Clarabell windows, but they are already in my other 2 coaches and not available as spares.

I also looked around for some LMS Crimson Lake paint. Mike Toney’s thread on painting his Bassett-Lowke 2-6-0 gave me a clue, but also pointed out that Precision Paints in the UK won’t ship spray/aerosol cans overseas. Ford “Dark Canyon Red” seems to be the color, which was a 1985 F150 and Mustang option. Not at my Pep Boys, but available on Amazon and one or two other sources. Hope it gets here before I leave - I’d like to see what it looks like.

Talking of chopping - I didn’t post this photo yet, but here’s how I cut the bodies to size. I use a regular Micromark table saw with an 80-tooth blade - it still melts plastic if you go too slow! This is the same process I used on a bunch of EBT coaches. A tiny test cut on the bottom of the item helps make sure the measurements are good. I use 2 hands - the other was holding the camera - to keep it on the sliding 90-degree support and the fence, which (usually) results in straight cuts. The blue painters tape marks where the cut should go.

(Edit July 2020)

If you have clear plastic windows, but some pad printing of detail, you can often remove with an automotive cleaner wax, which has enough fine abrasive to remove the paint, but keeps the plastic shiny.

Greg

Greg Elmassian said:

If you have clear plastic windows, but some pad printing of detail, you can often remove with an automotive cleaner wax, which has enough fine abrasive to remove the paint, but keeps the plastic shiny.

Greg

Good idea. I have plenty of marine cleaner wax, and marine compound polish, and a 5" circular polisher. Bet that would work too. However, B’mann in their wisdom painted the sides of the window inserts too. They might be visible or maybe not, so perhaps a test is called for.

I have used Meguires with a lot of success, also if you do a lot of plexiglas, then the Novus stuff is really good.

They have a complete line from polish, to fine scratch remover, to deep scratch remover. Been around a long time, when we poor kids on motorcycles had to polish the scratches from our visors on the helmets.

I wuz wrong - the window paint is only on the surface. Off to get the marine compound from the boat. . .

Try the cleaner wax first, the compound may be too aggressive. Greg

Yesterday was window experiments. I want to remove the white trim around the "Emily" coach windows. I found my Polly S decal/transfer and paint remover, so I put some in a dish and dropped a window into it, and promptly forgot it for an hour or so. It came out hazy, so I read the instructions (duh!) and treated another window to a slight dose using a paint brush, and I took the Polly S off when there was any sign of crinkling. With a bit of rubbing it came off. Here's the first trial window and the second.

135132_558aa69421f91e842c321630c0d8f977.jpg


I scratched up the second window getting the rest of the paint off, and I visited Jerry and picked up his motorcycle windshield treatment kit, (My marine compound was useless - the plastic bottle disintegrated ion my hand when I tried to shake it! Fortunately the compound was a congealed mess, so it didn't destroy my wife's kitchen.)

The second experiment, due to the haze on window 1 and scratches I had made on #2, was to wet-sand down all 3 windows with 400 grit emery. That left them pretty hazy, but only on one side this time. The Novus 3 (as Greg suggested) is quite aggressive and made a good job of clarifying those 4 windows. Not quite to the pristine standard of the originals, so it's a good job I have some spares.

I then tried Greg's suggestion of removing the paint with the compound, and that worked, though it's a lot of work and I have 30+ windows to deal with. On the three windows on the right of the strip the clear acrylic is still clear and the paint is just about gone. The original expermient windows are not yet clear enough!

135134_7893dd8bb22ddee8fec485af1cdb88fc.jpg
 

Did you try the purple power ? Soak a cotton ball and let is sit on the window ,

You could also use to get rid of scratches…