Large Scale Central

Rock Sculpting around Coal Dump Curve

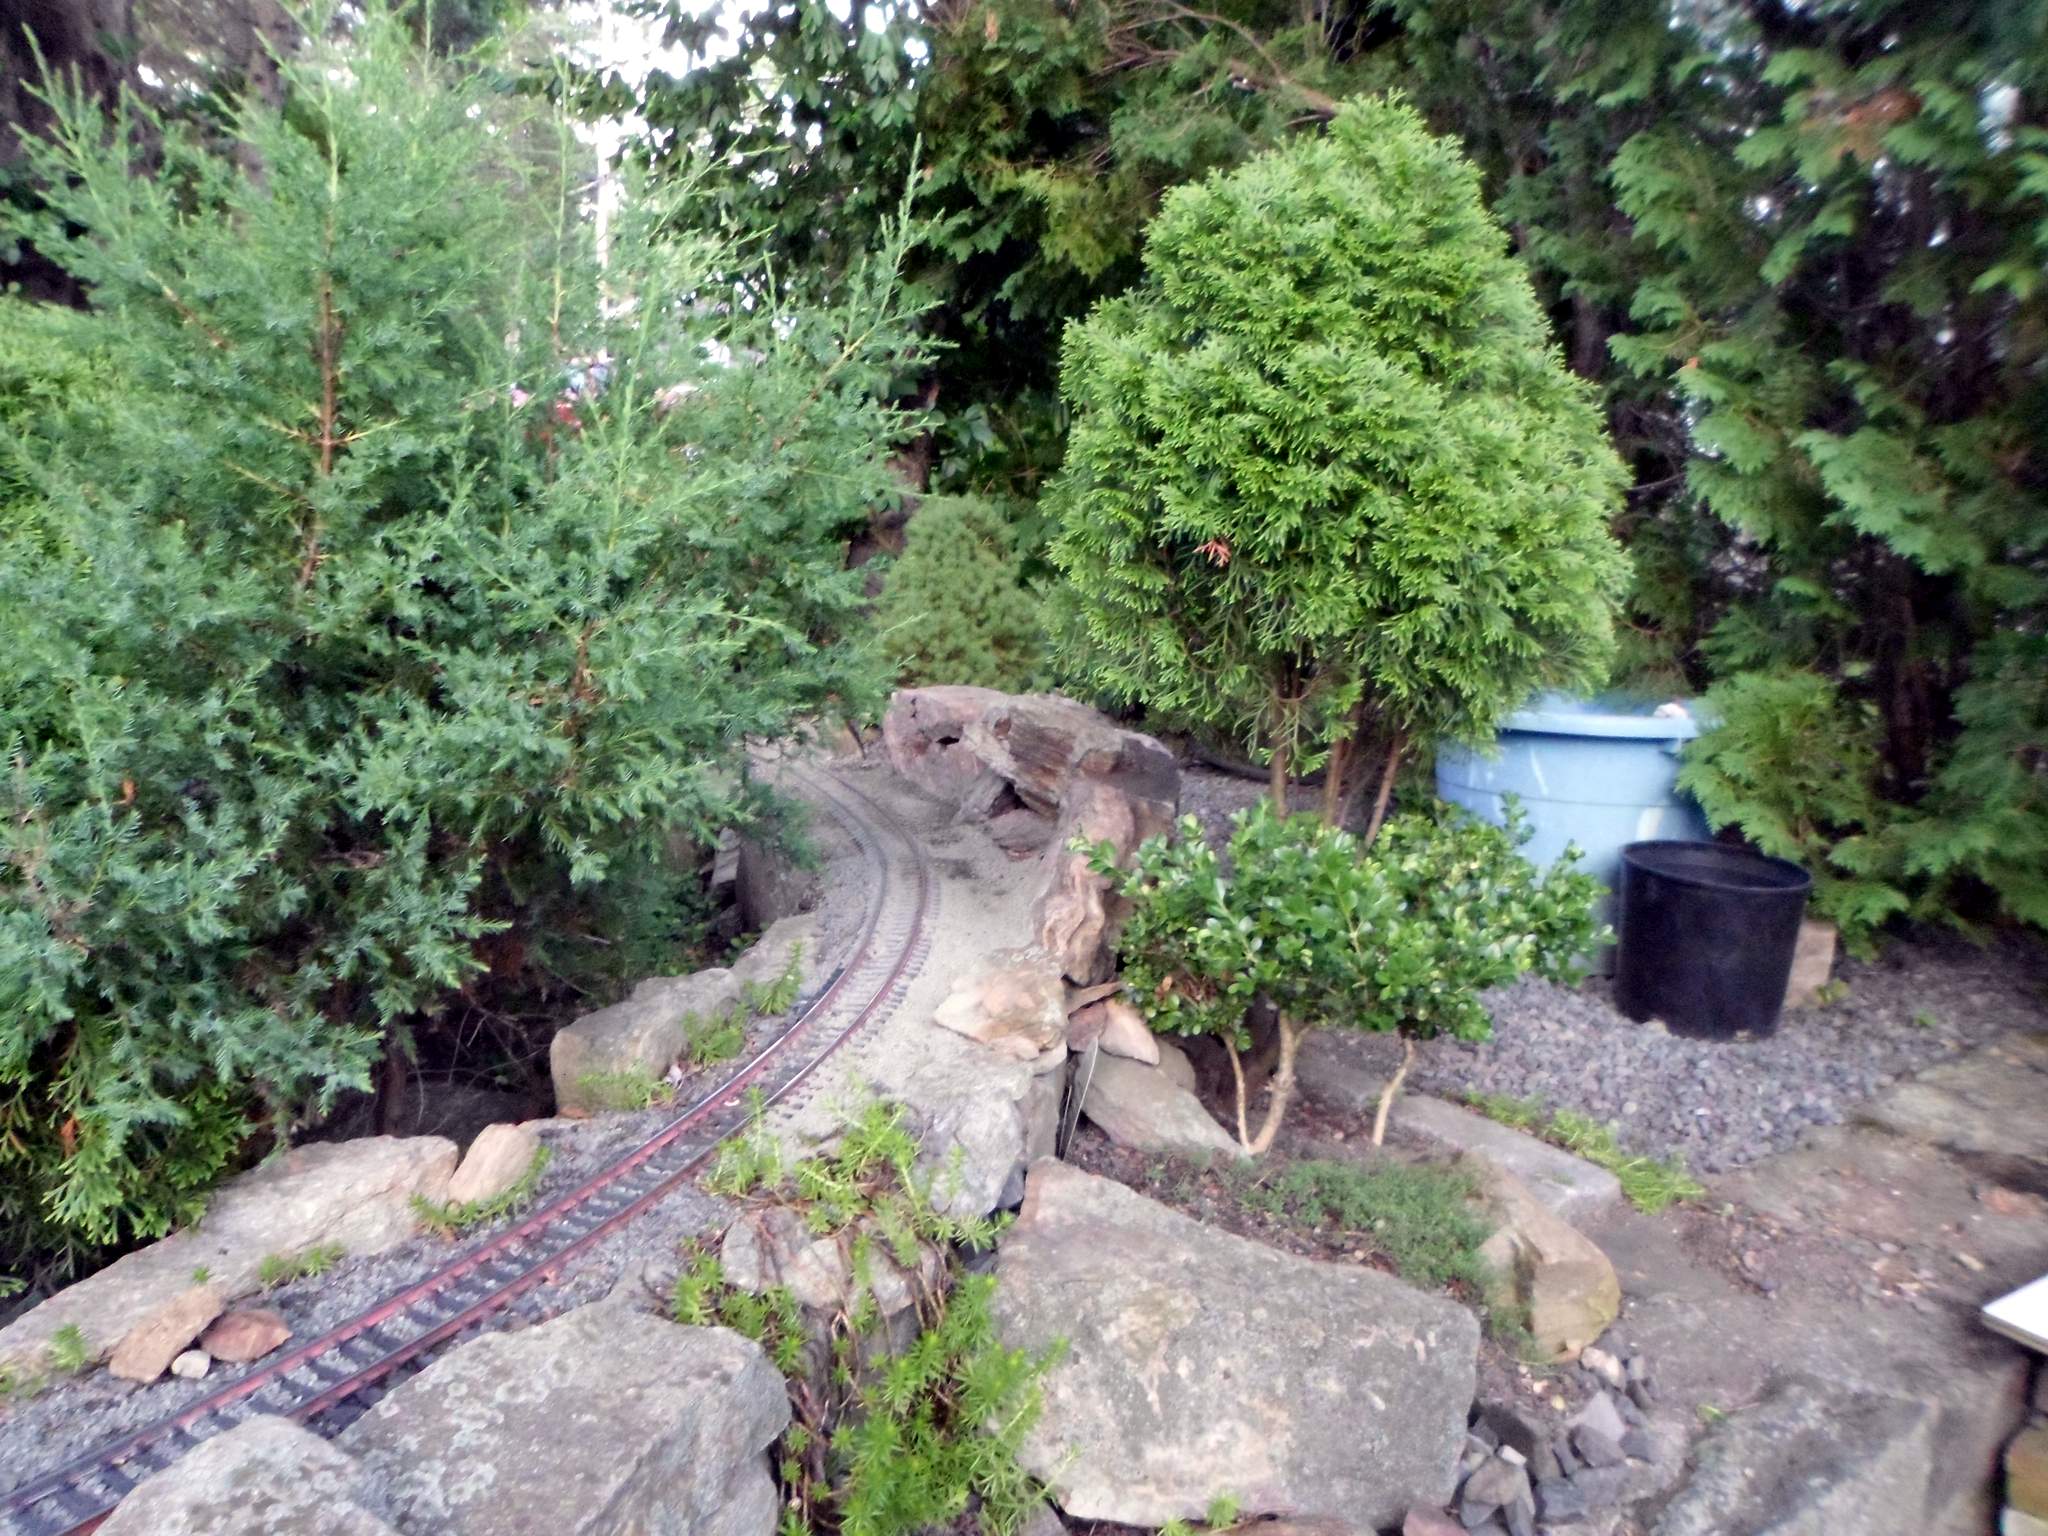
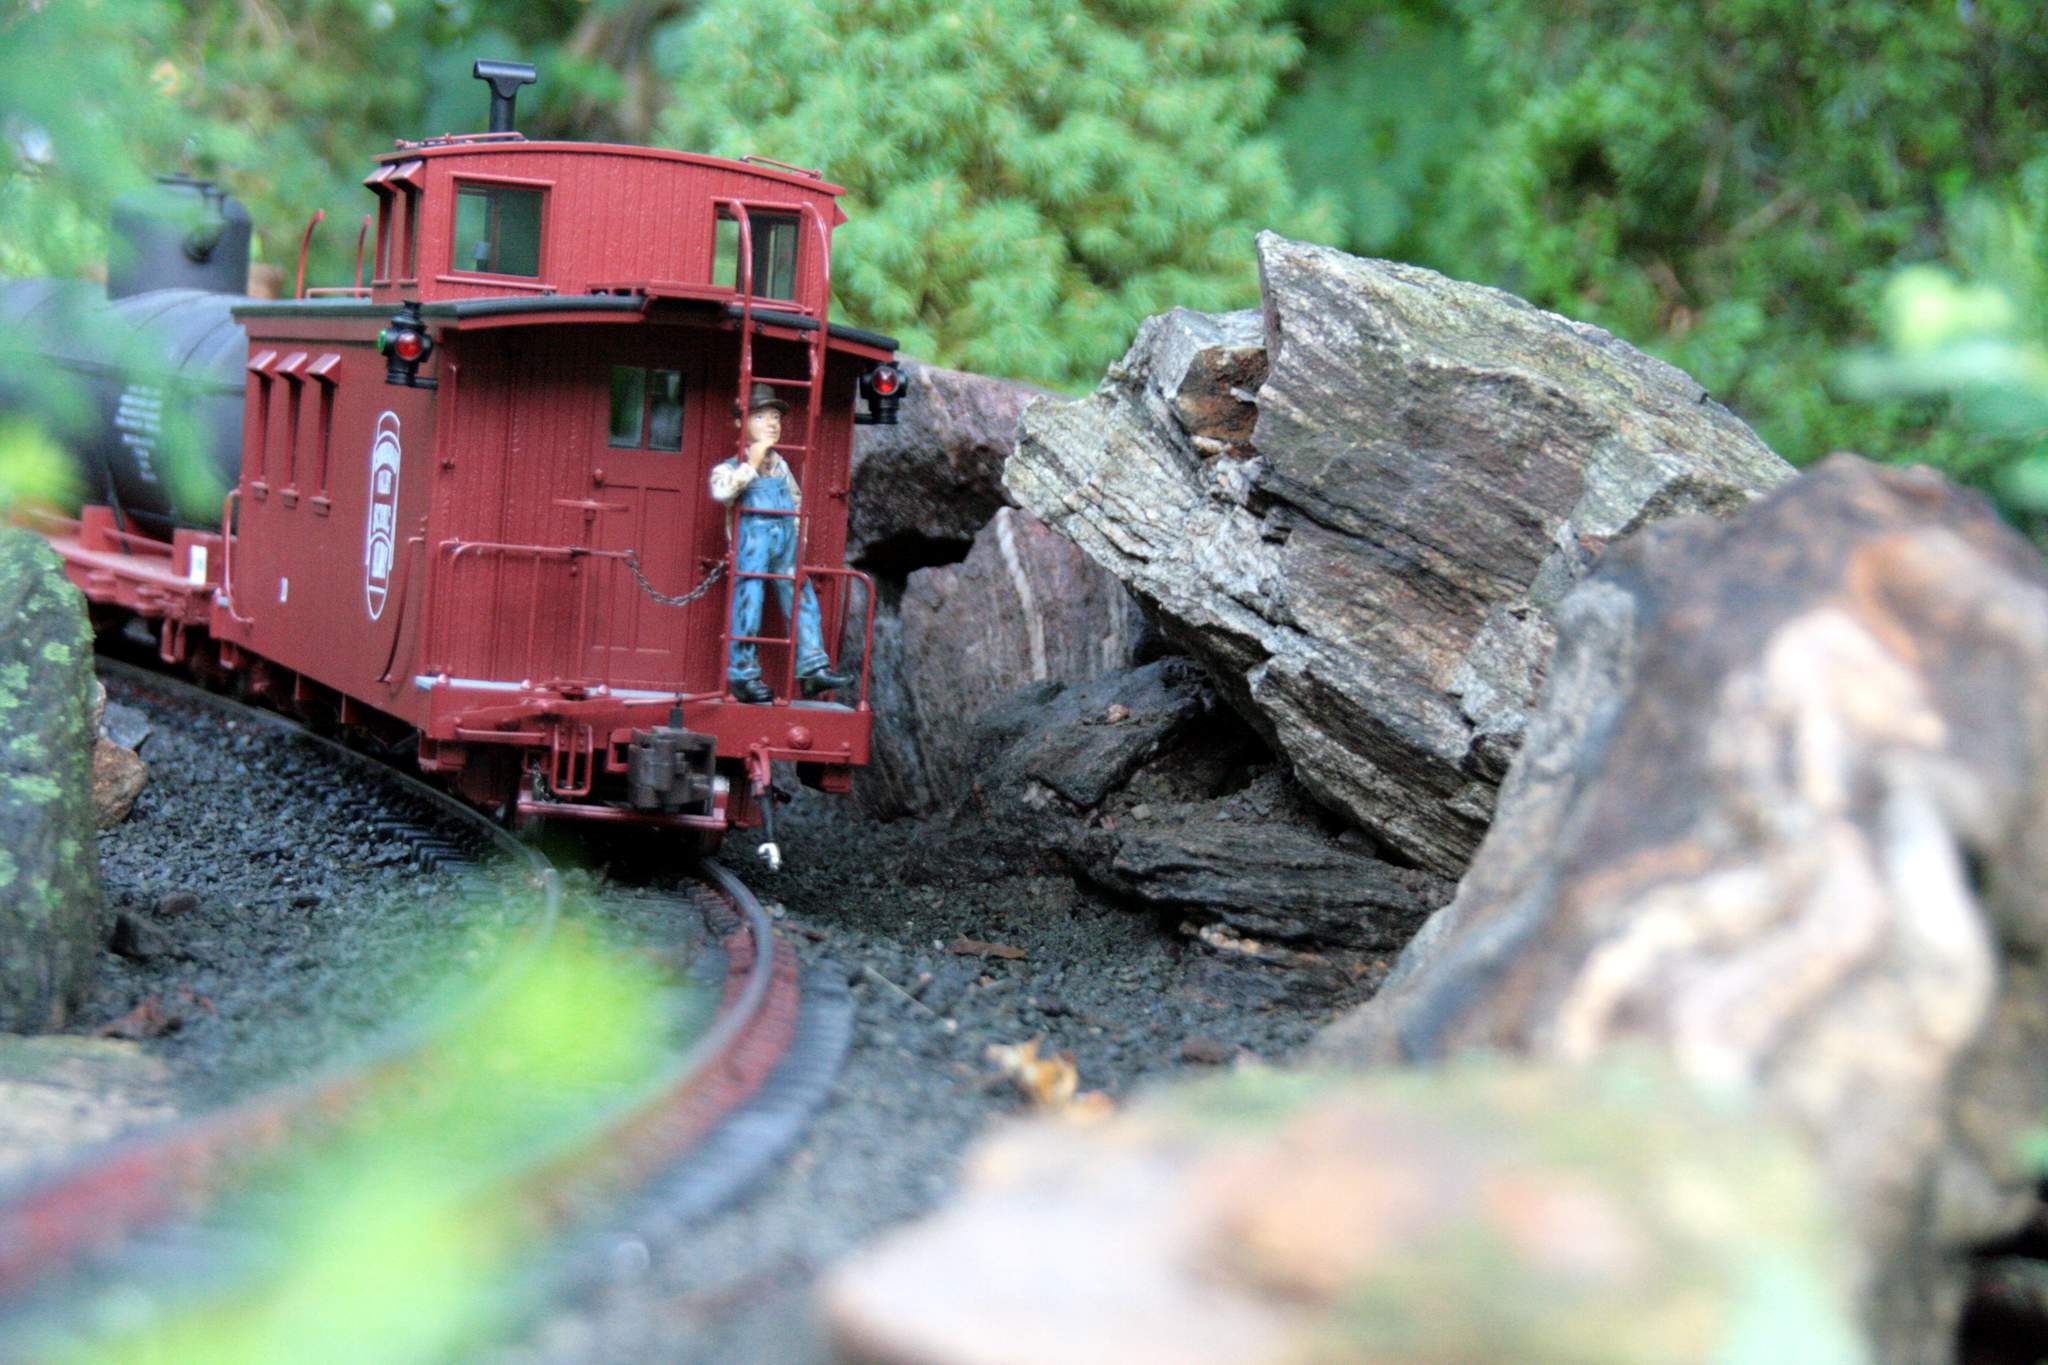
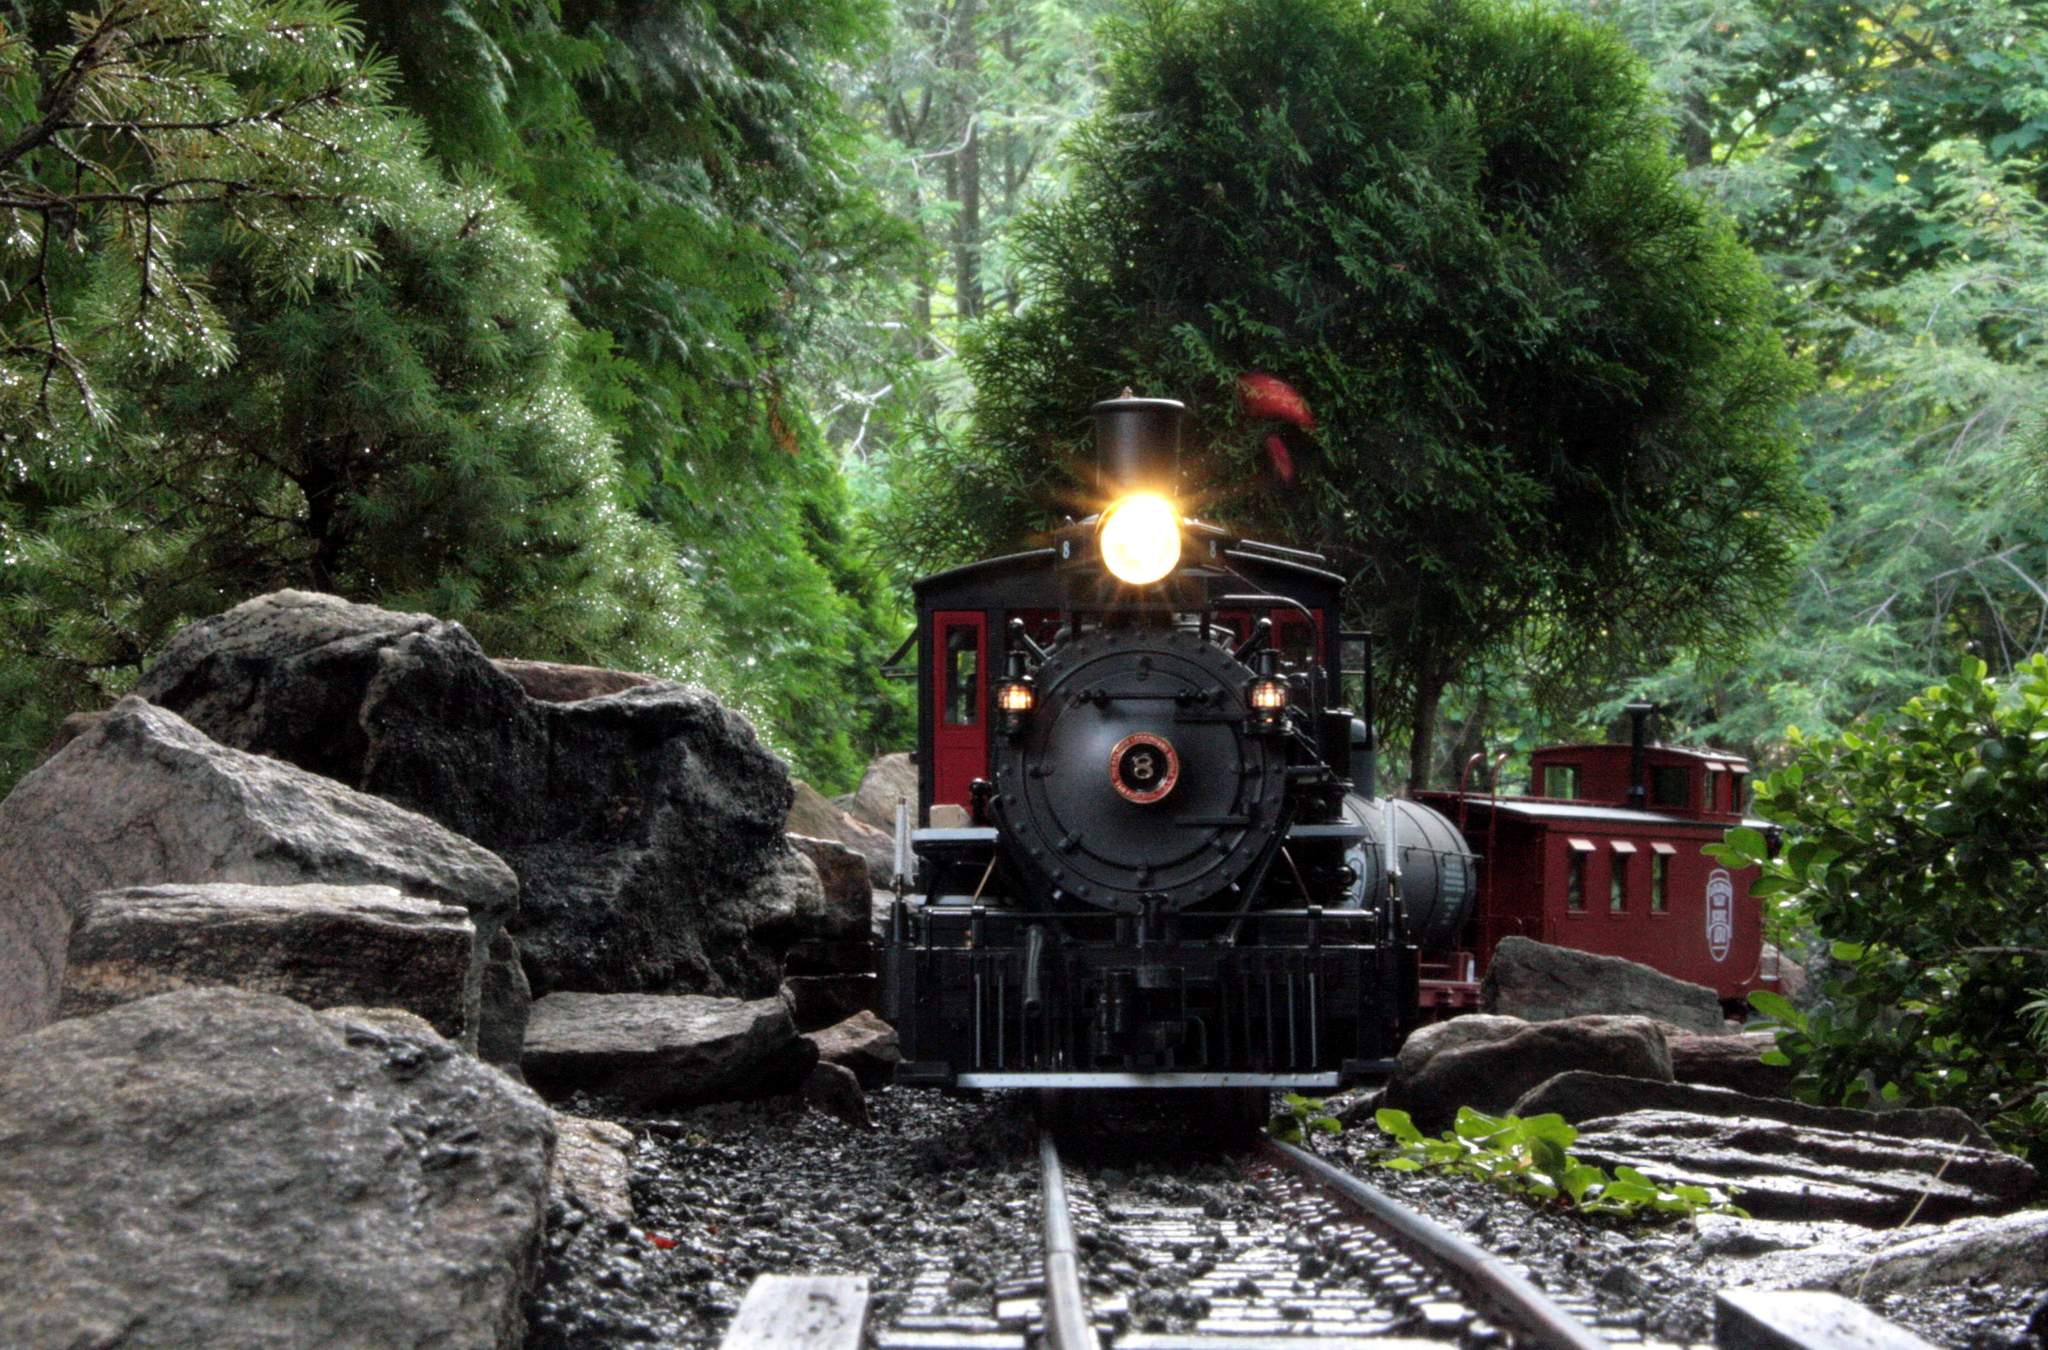
The lead in to Coal Dump Curve where Wall Station and passenger shelter sit has long been a favorite photo spot, but it lacked close-to-track detail around the back side of the curve. Early this spring I hatched a plan to use the rocks I have been collecting over the last few years. All are harvested from the shores of our man-made lake. The rocks I fish out of the lake are heavy and need more than an earthen base to support them up at track level, so I began buying a few concrete blocks a week in anticipation of building a base for the rock.

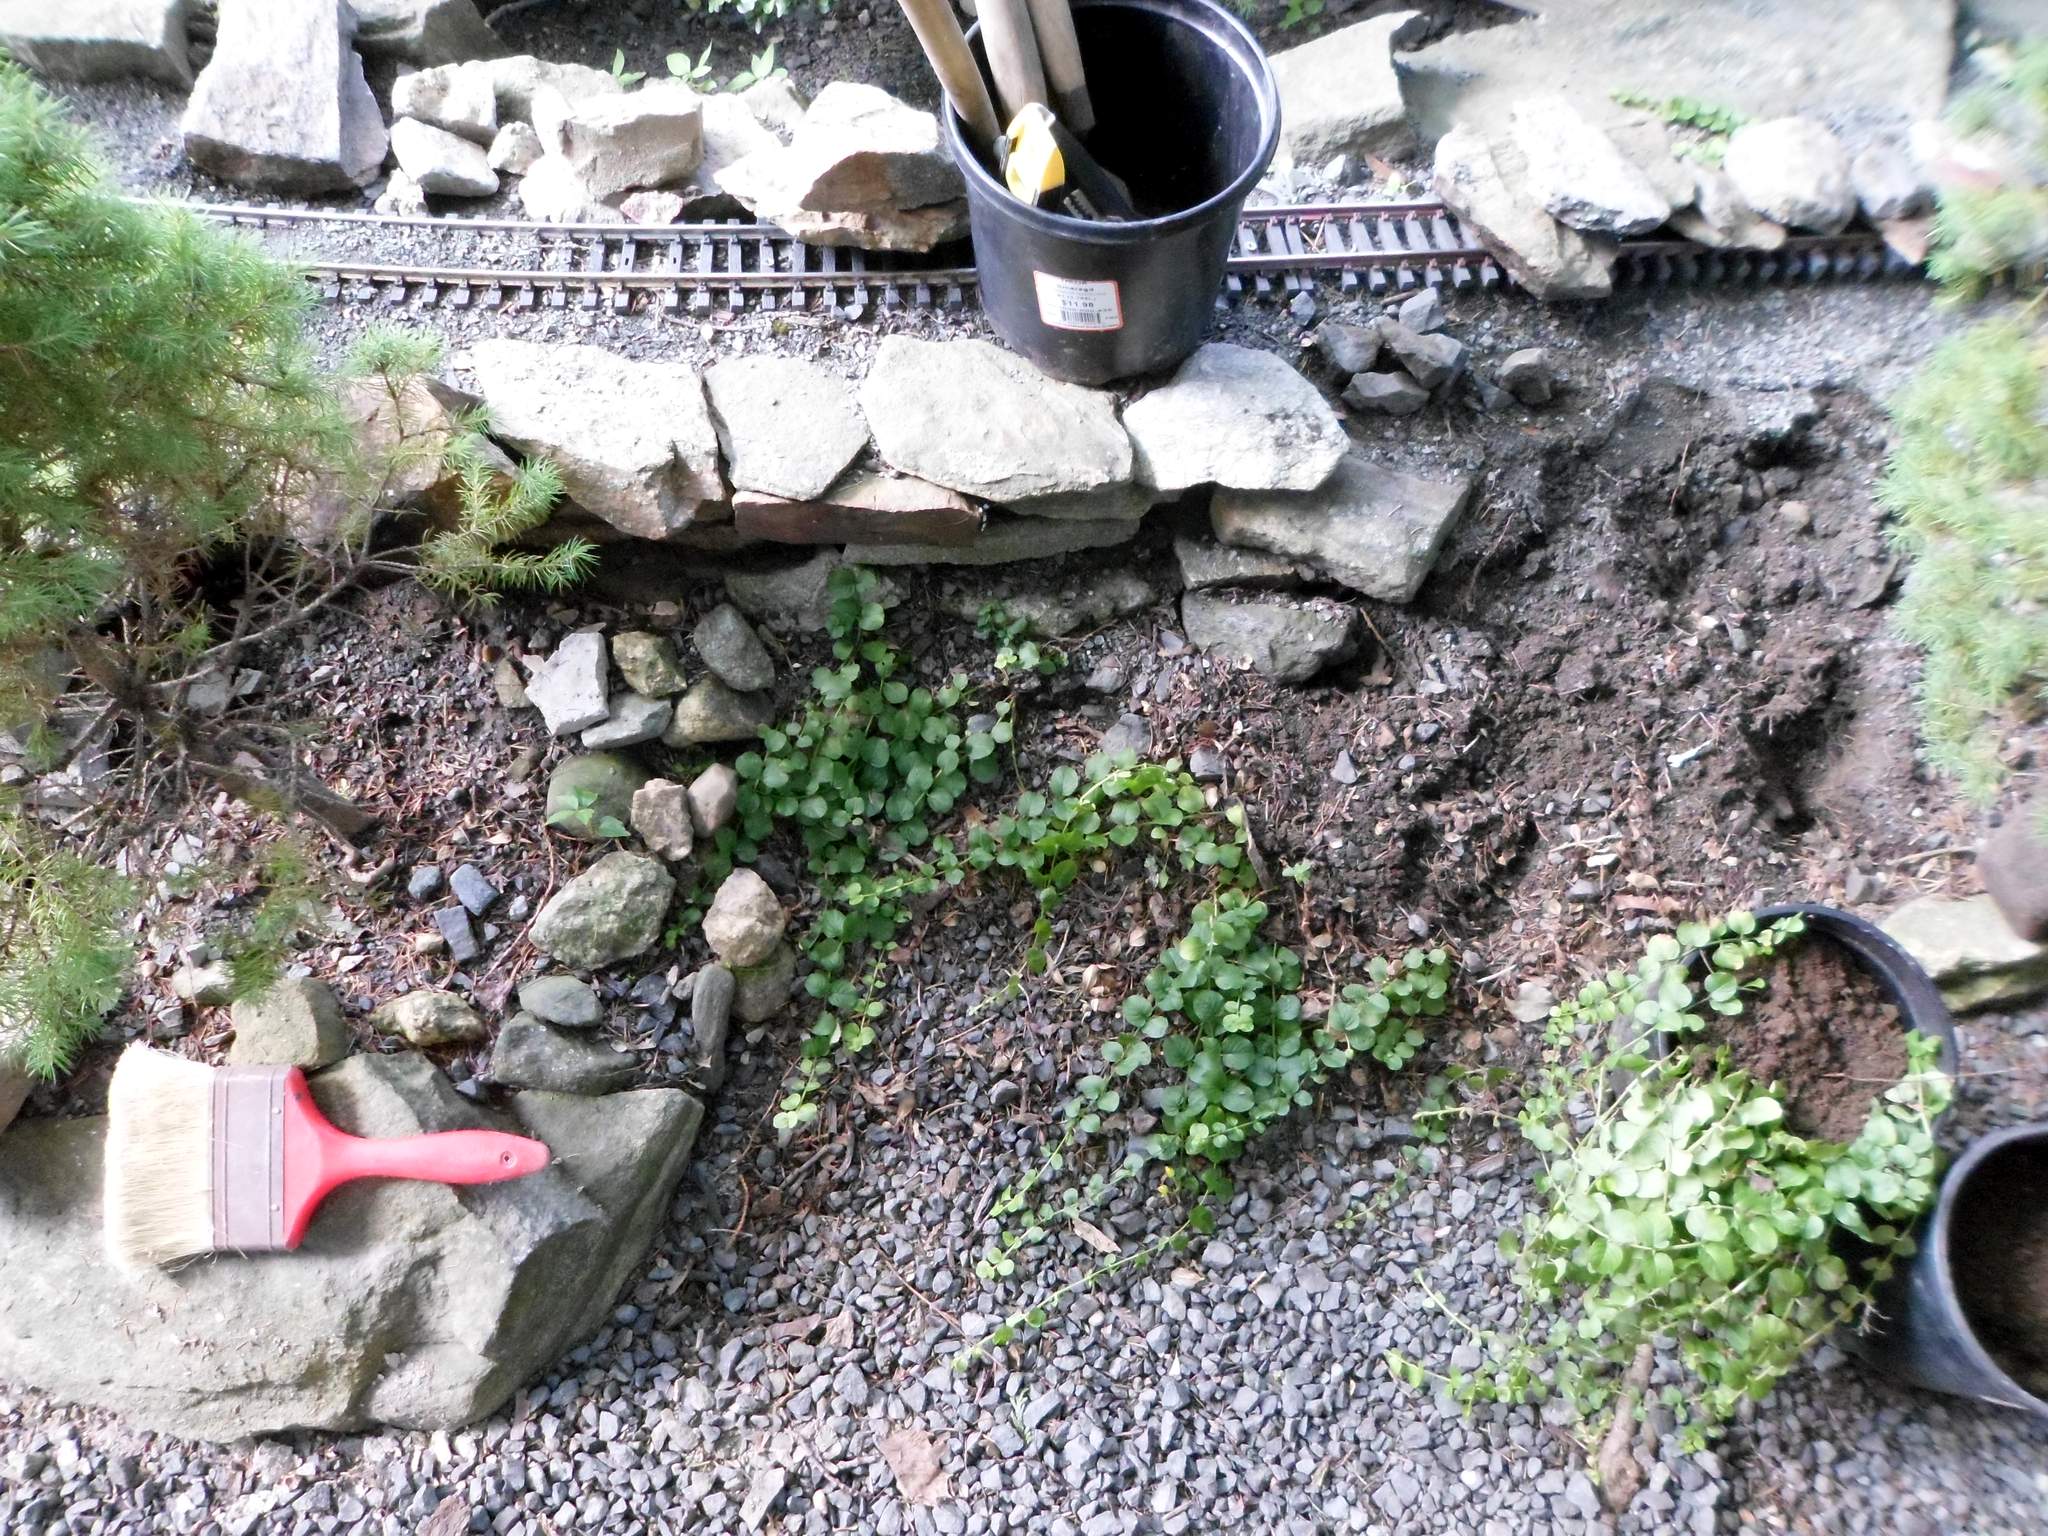
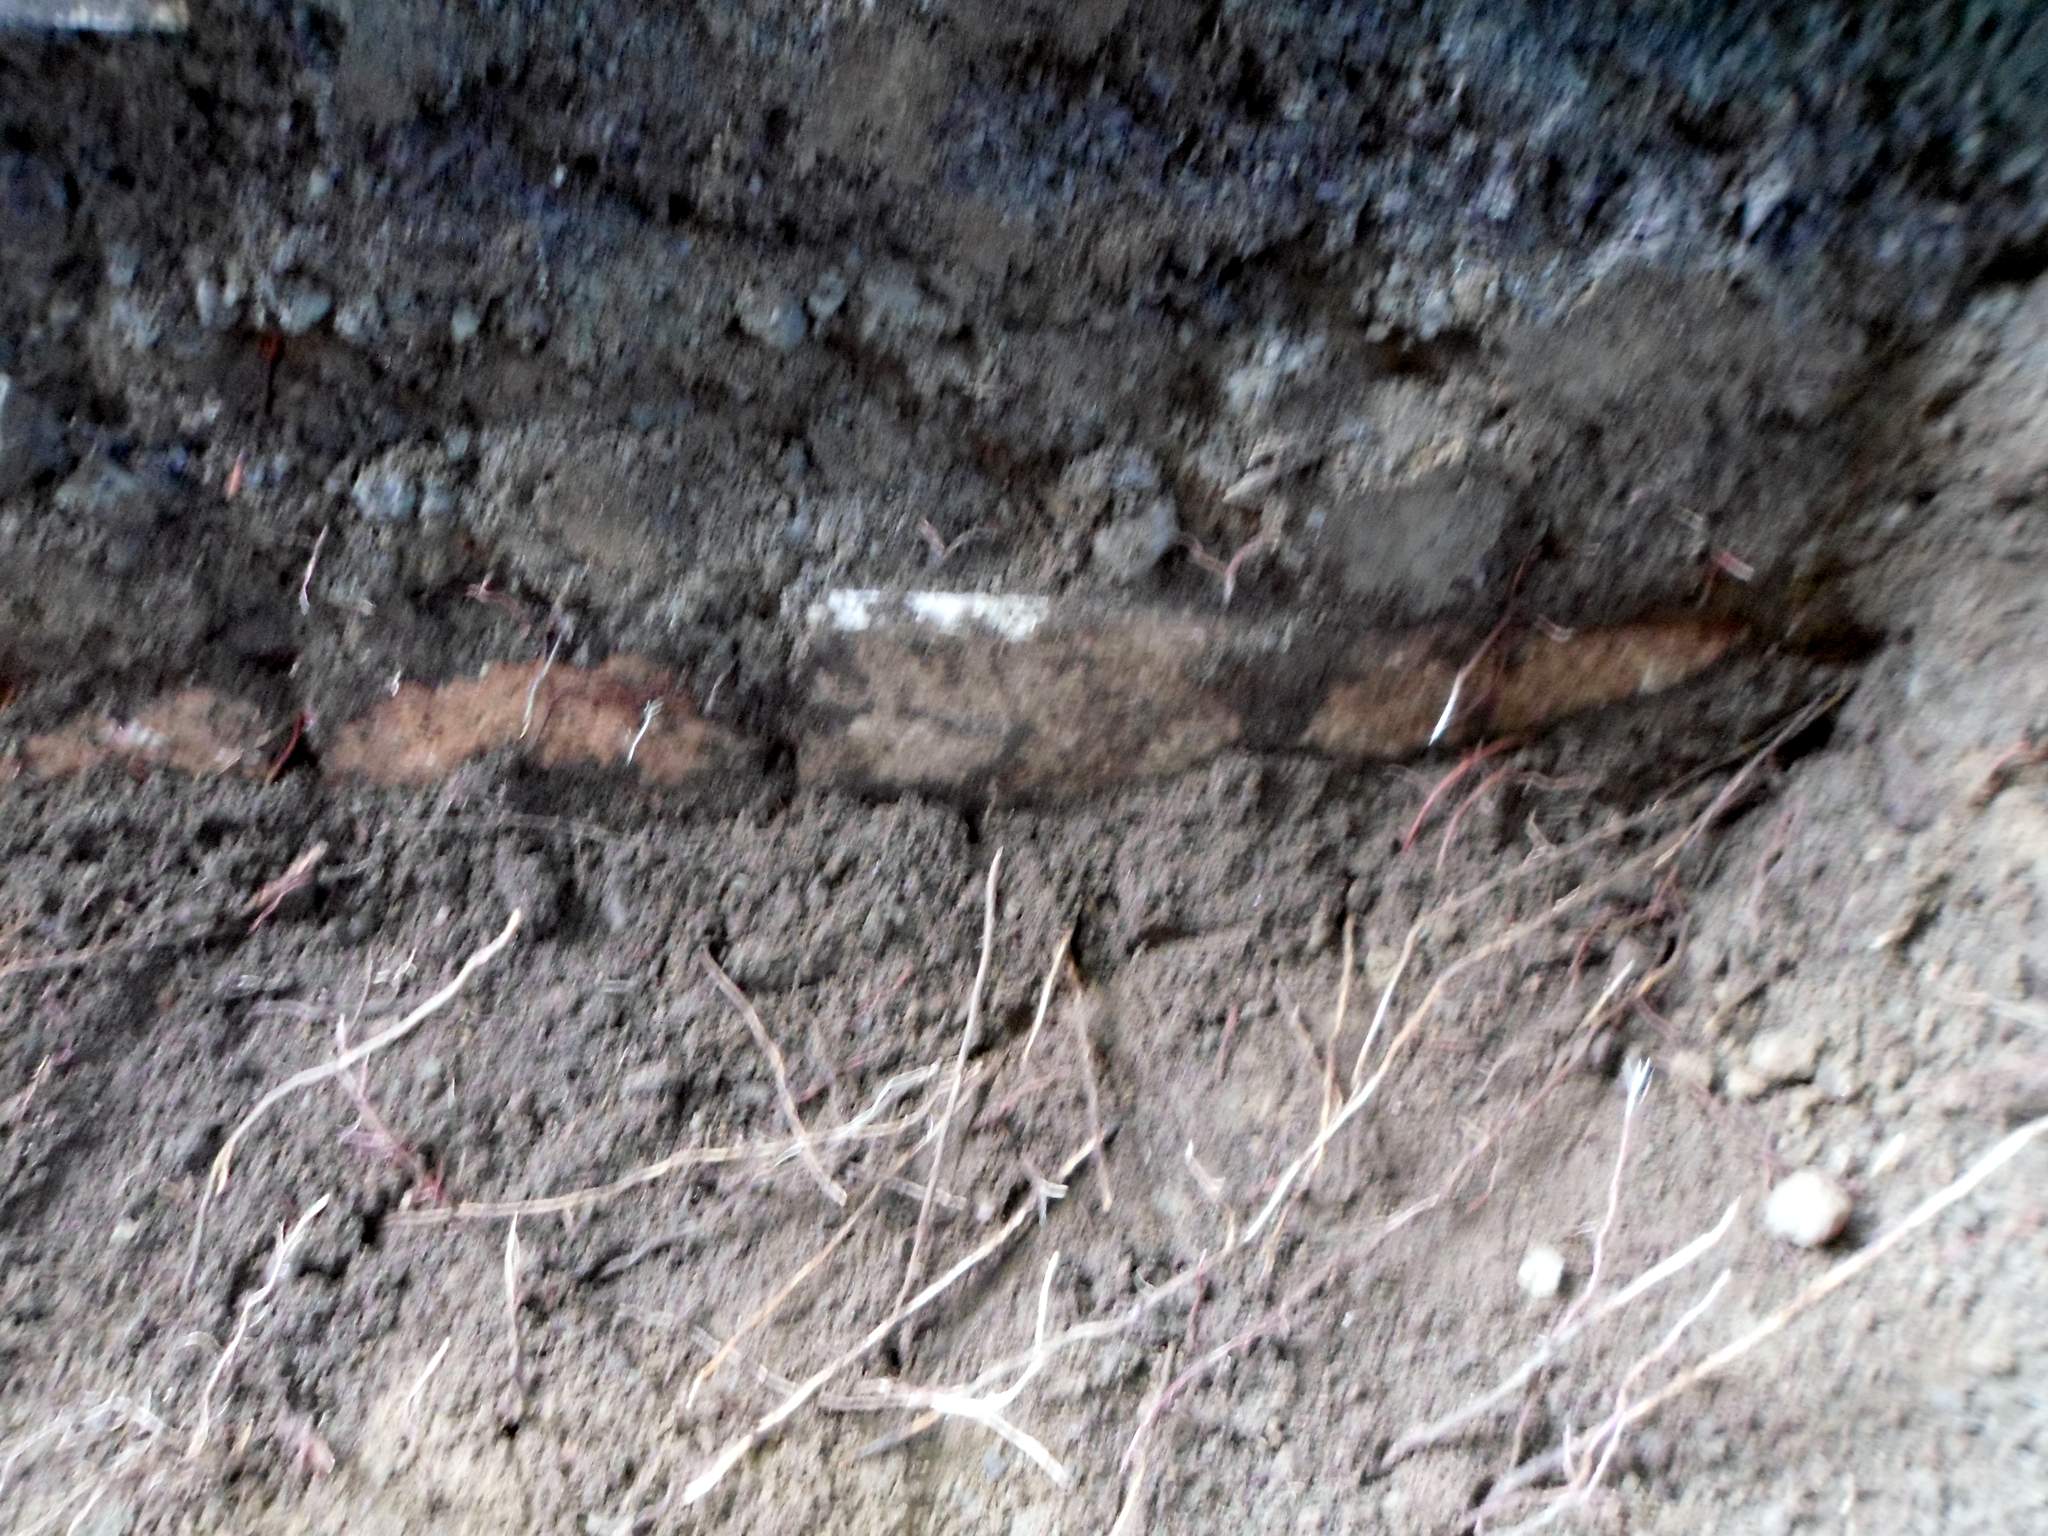
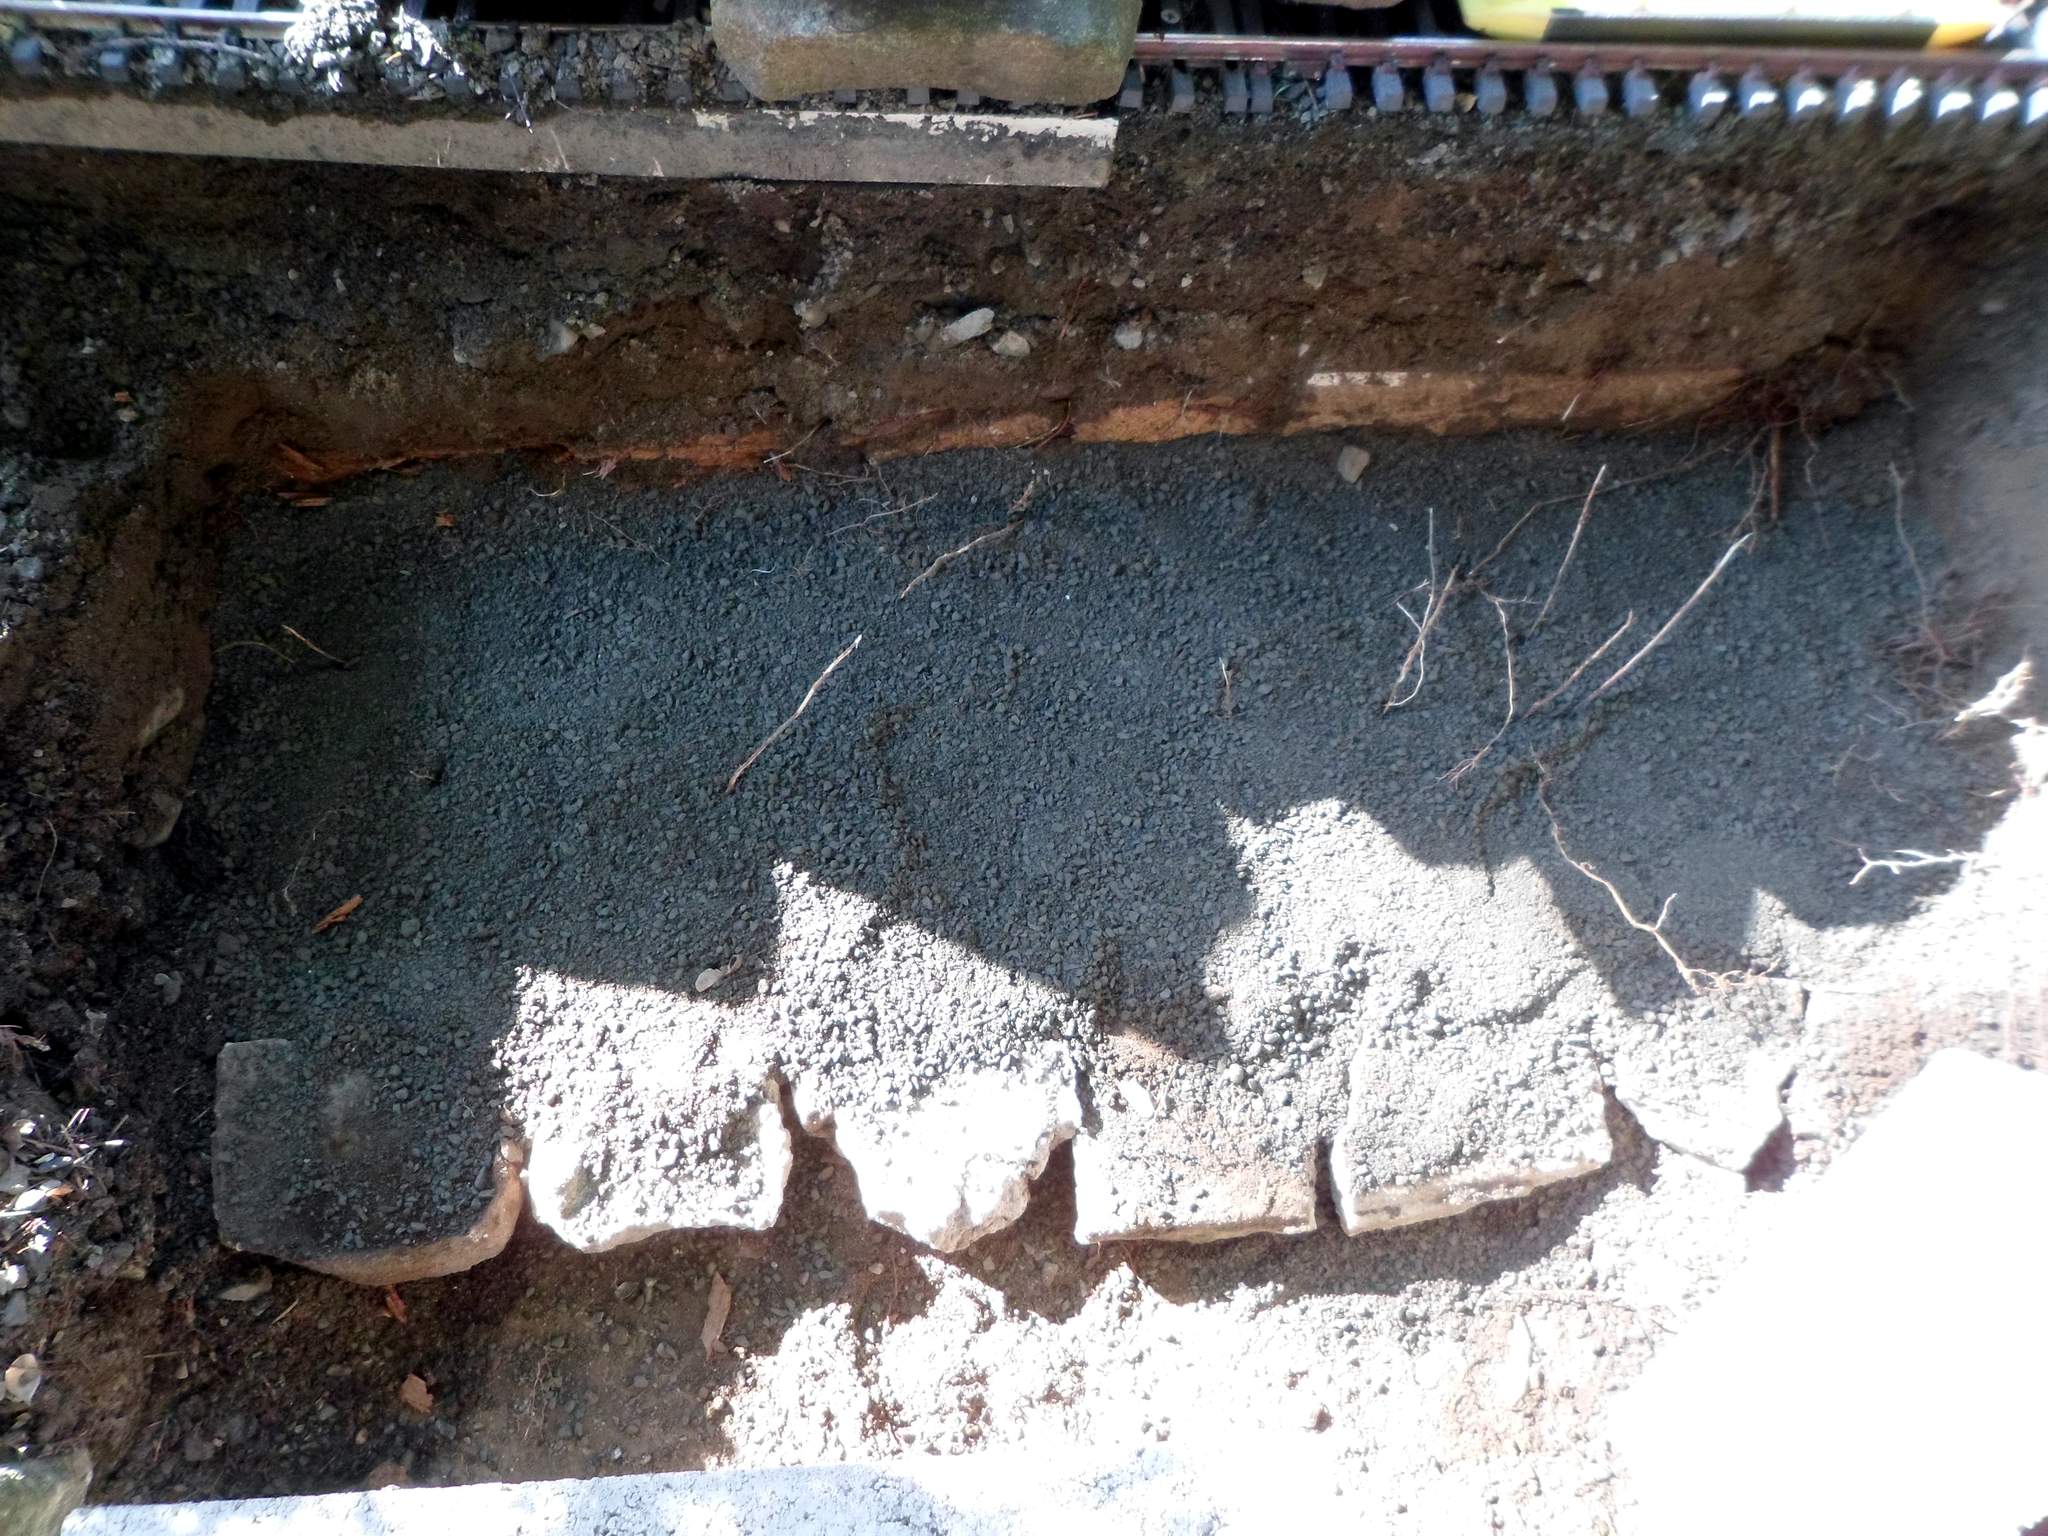
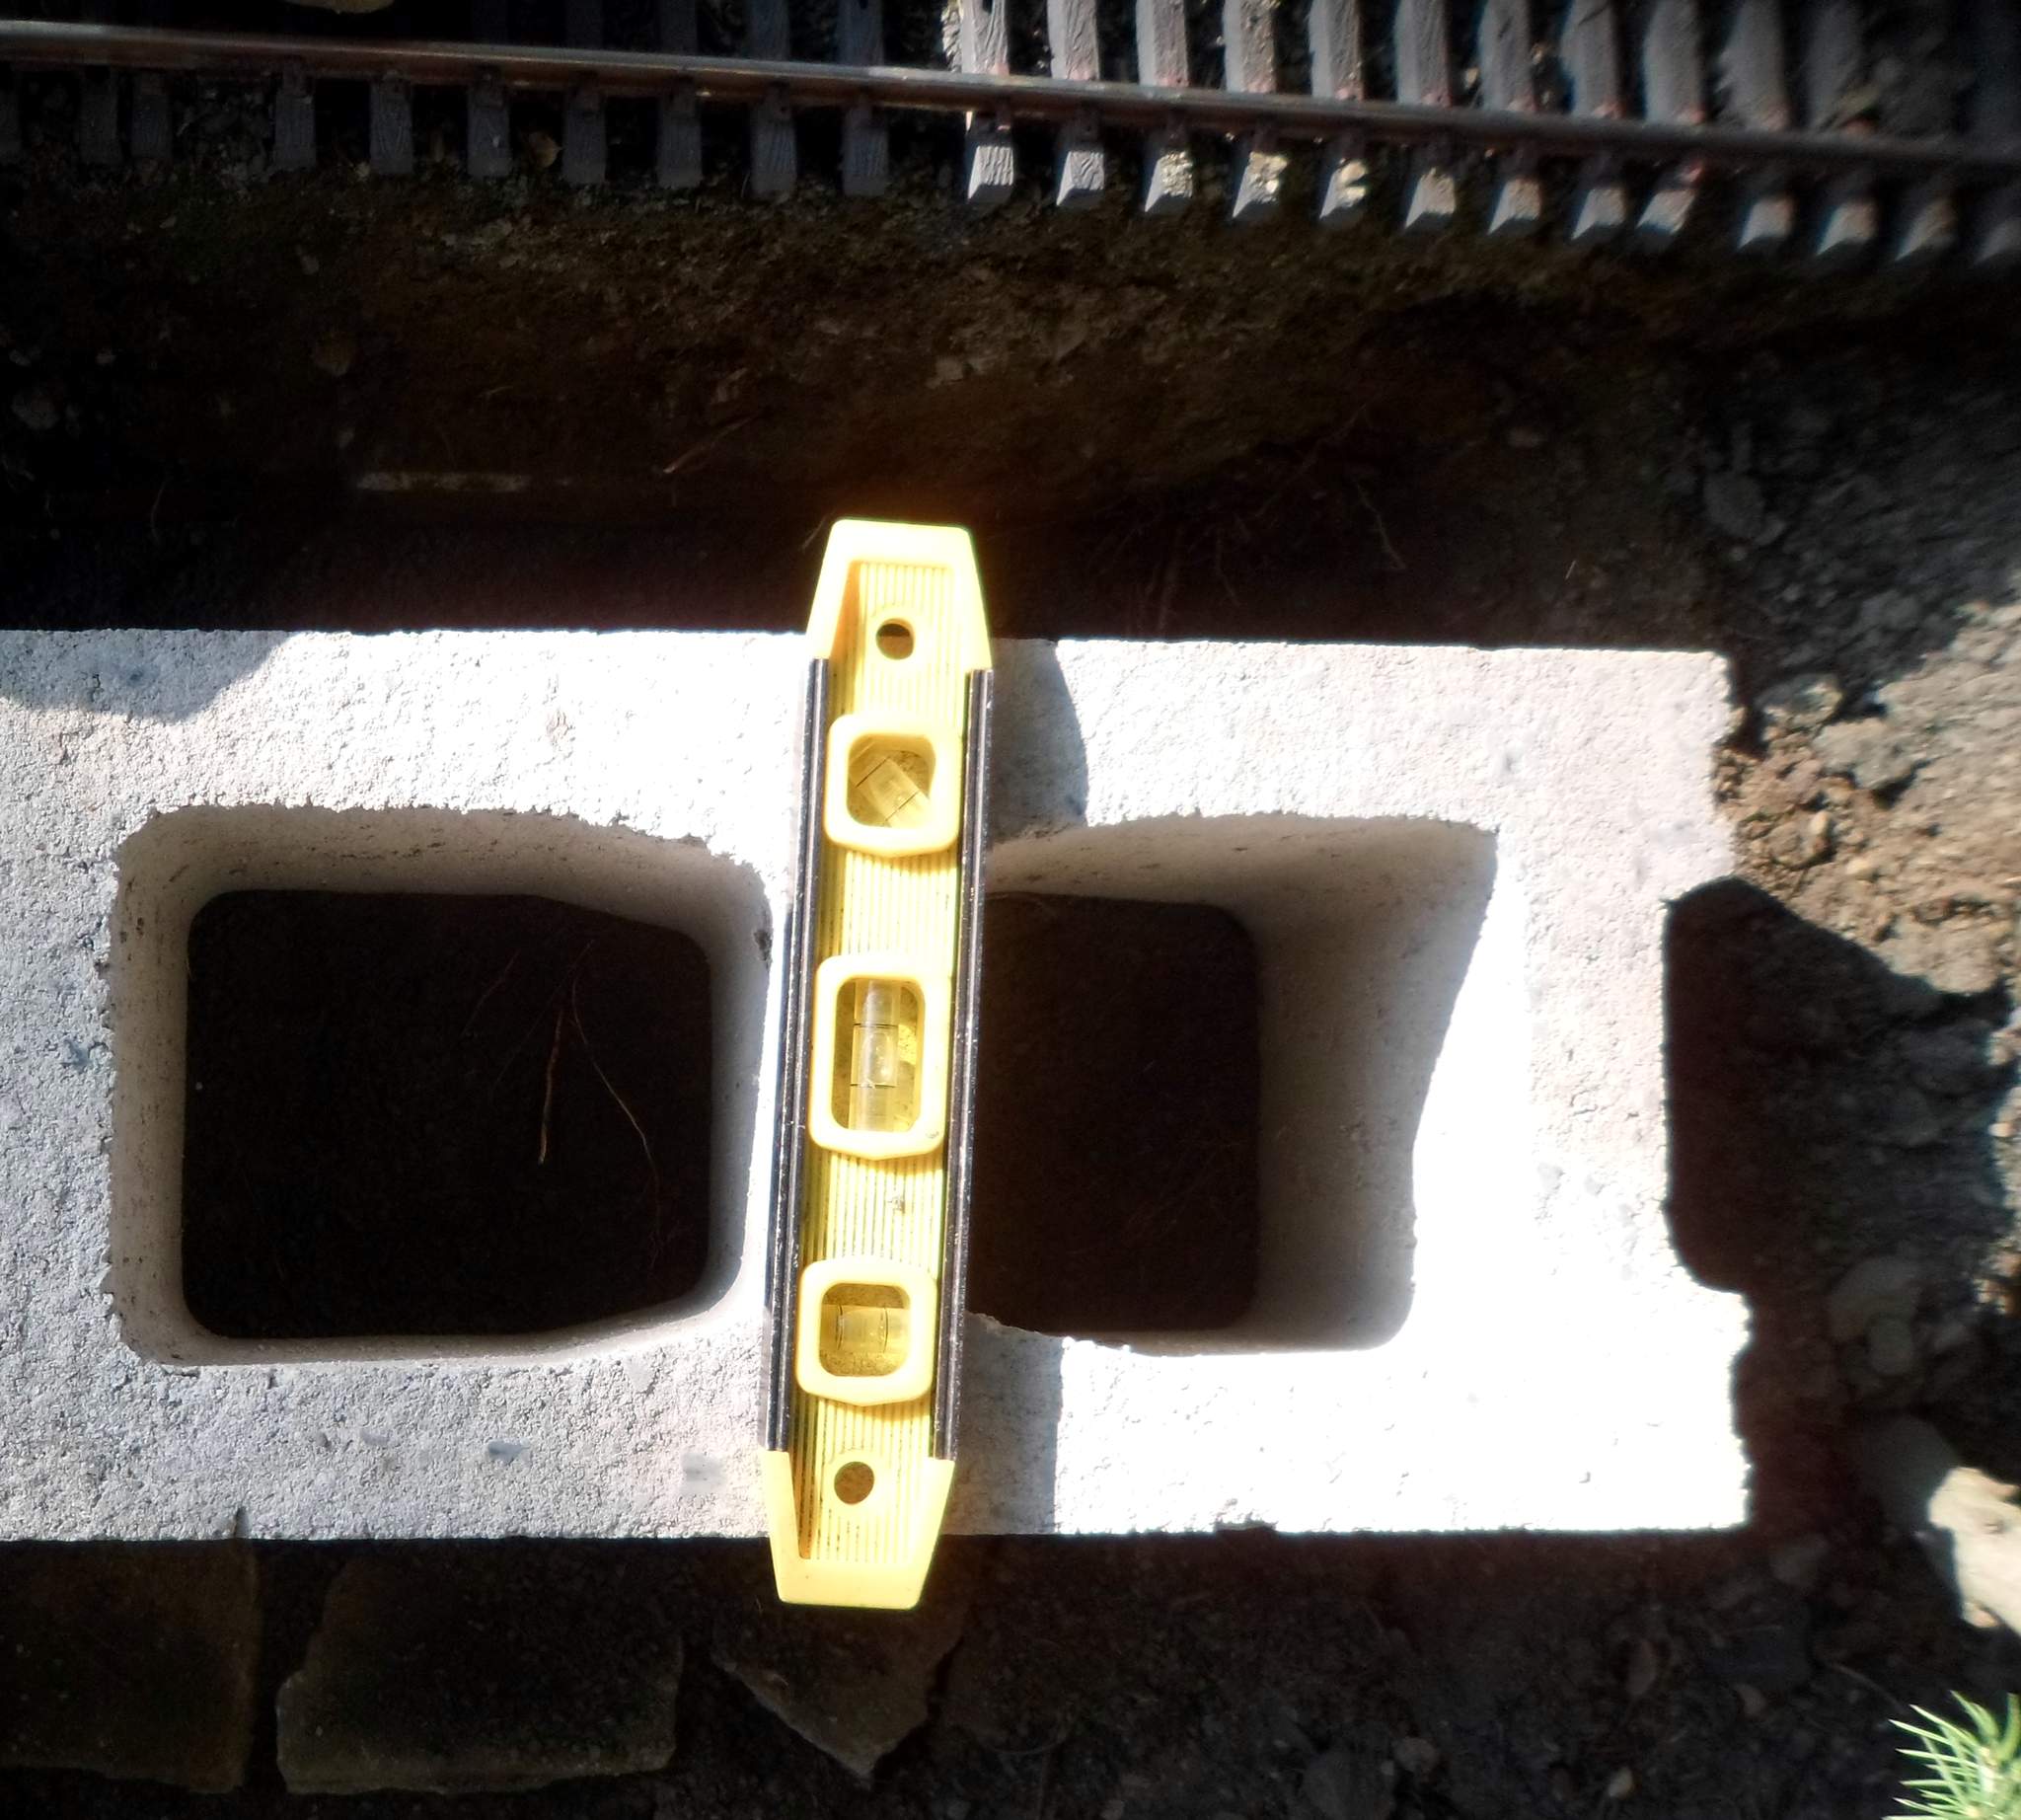
Yesterday I excavated the old fill back to original compacted grade and began to set the blocks. Here is the first course in place with some additional fill provided by scrap concrete that was found when excavating…

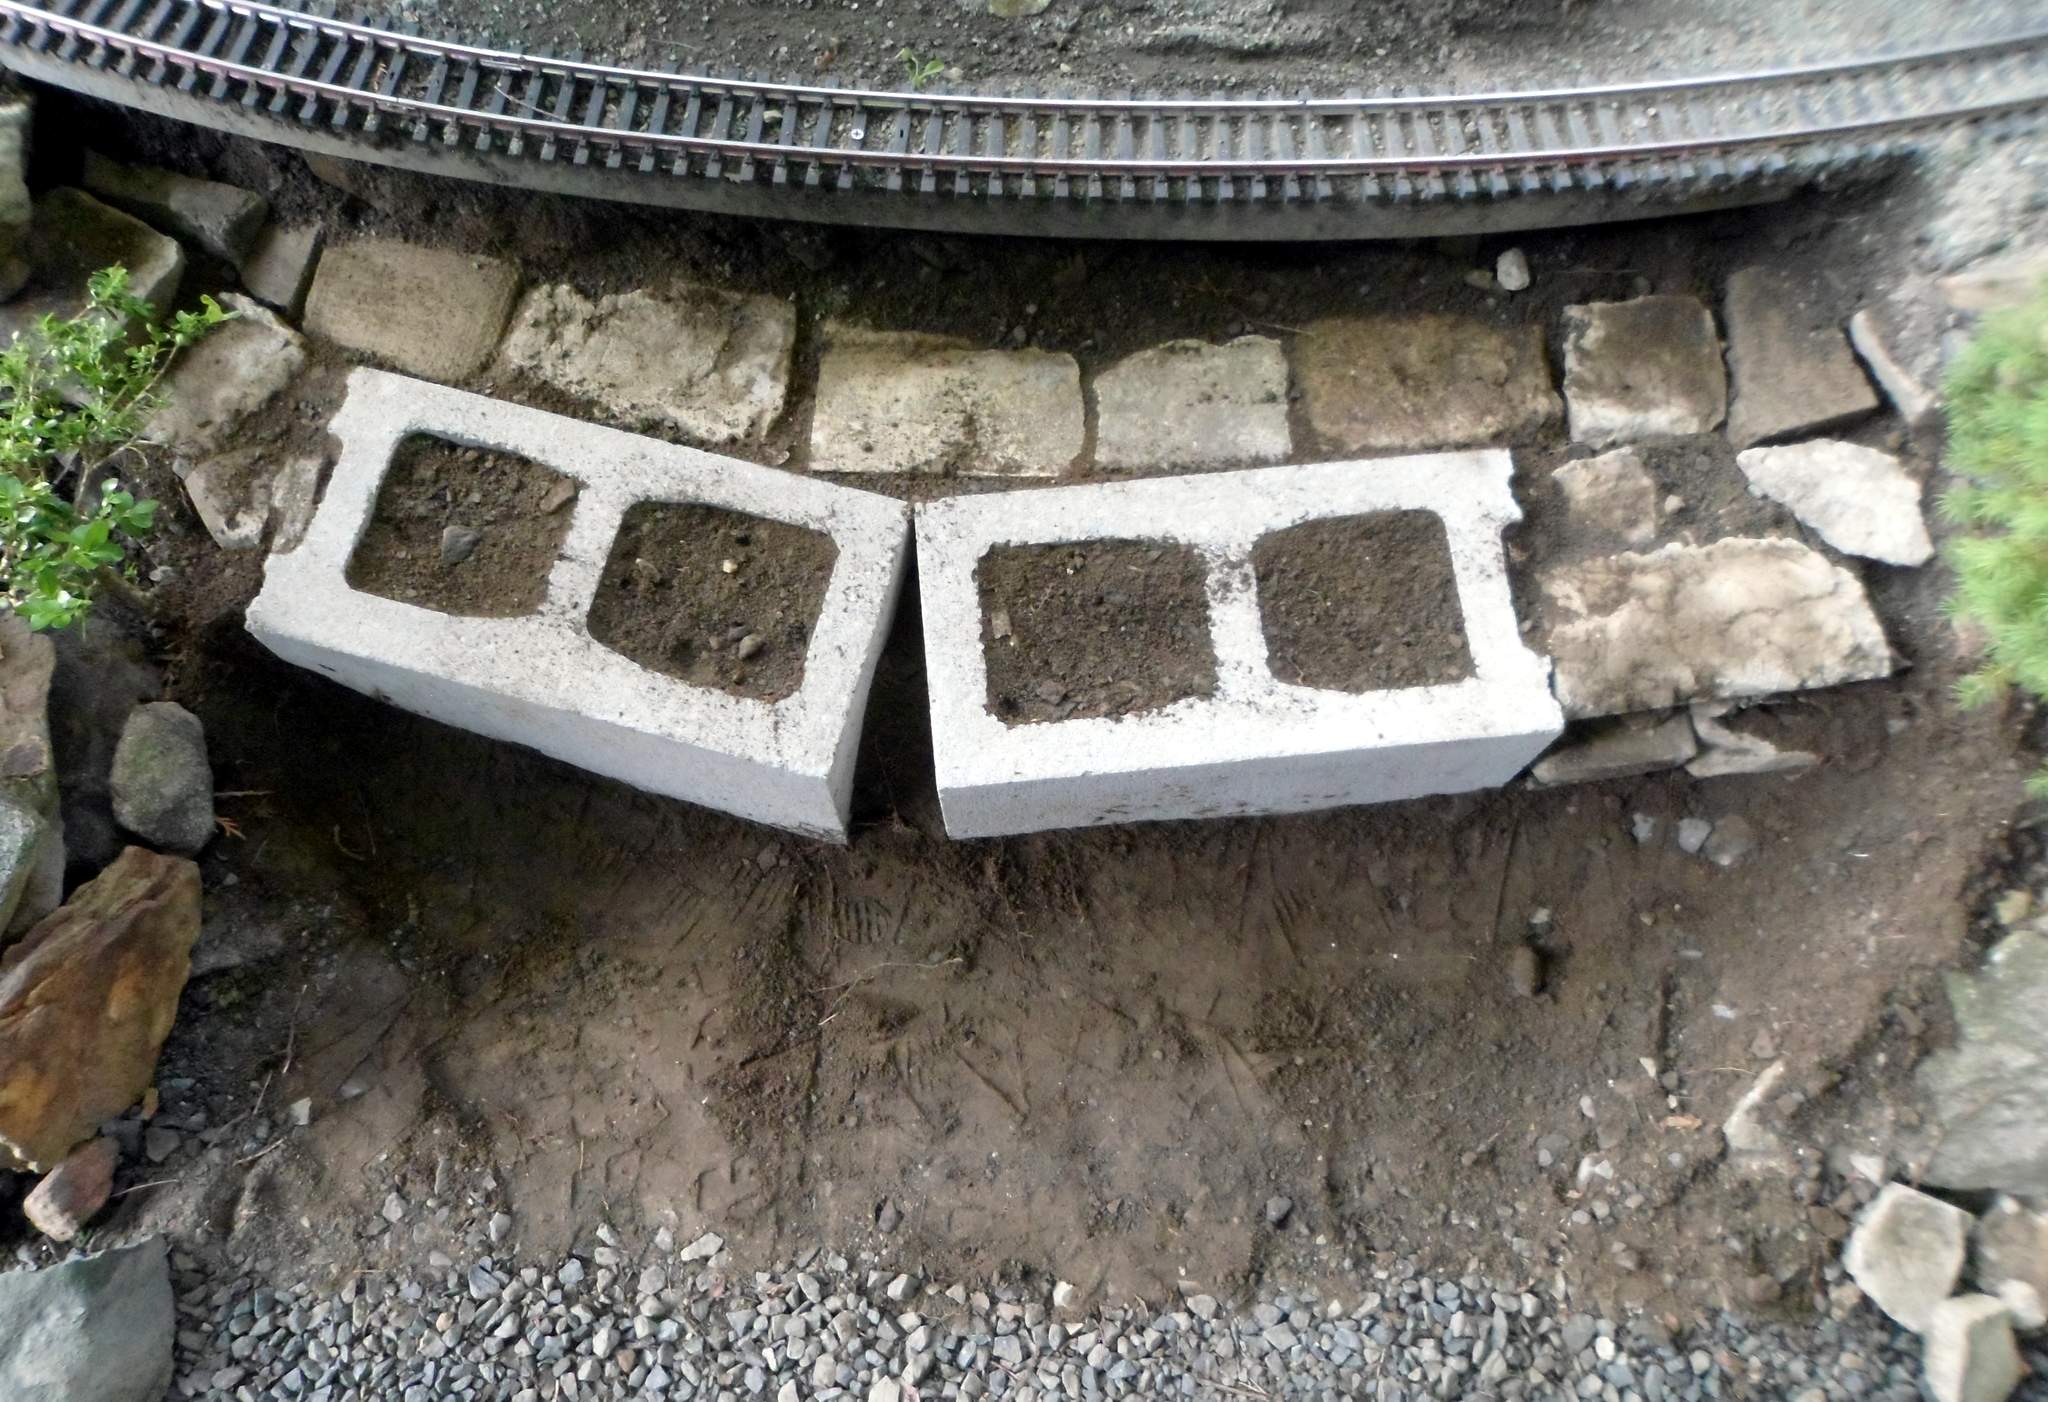
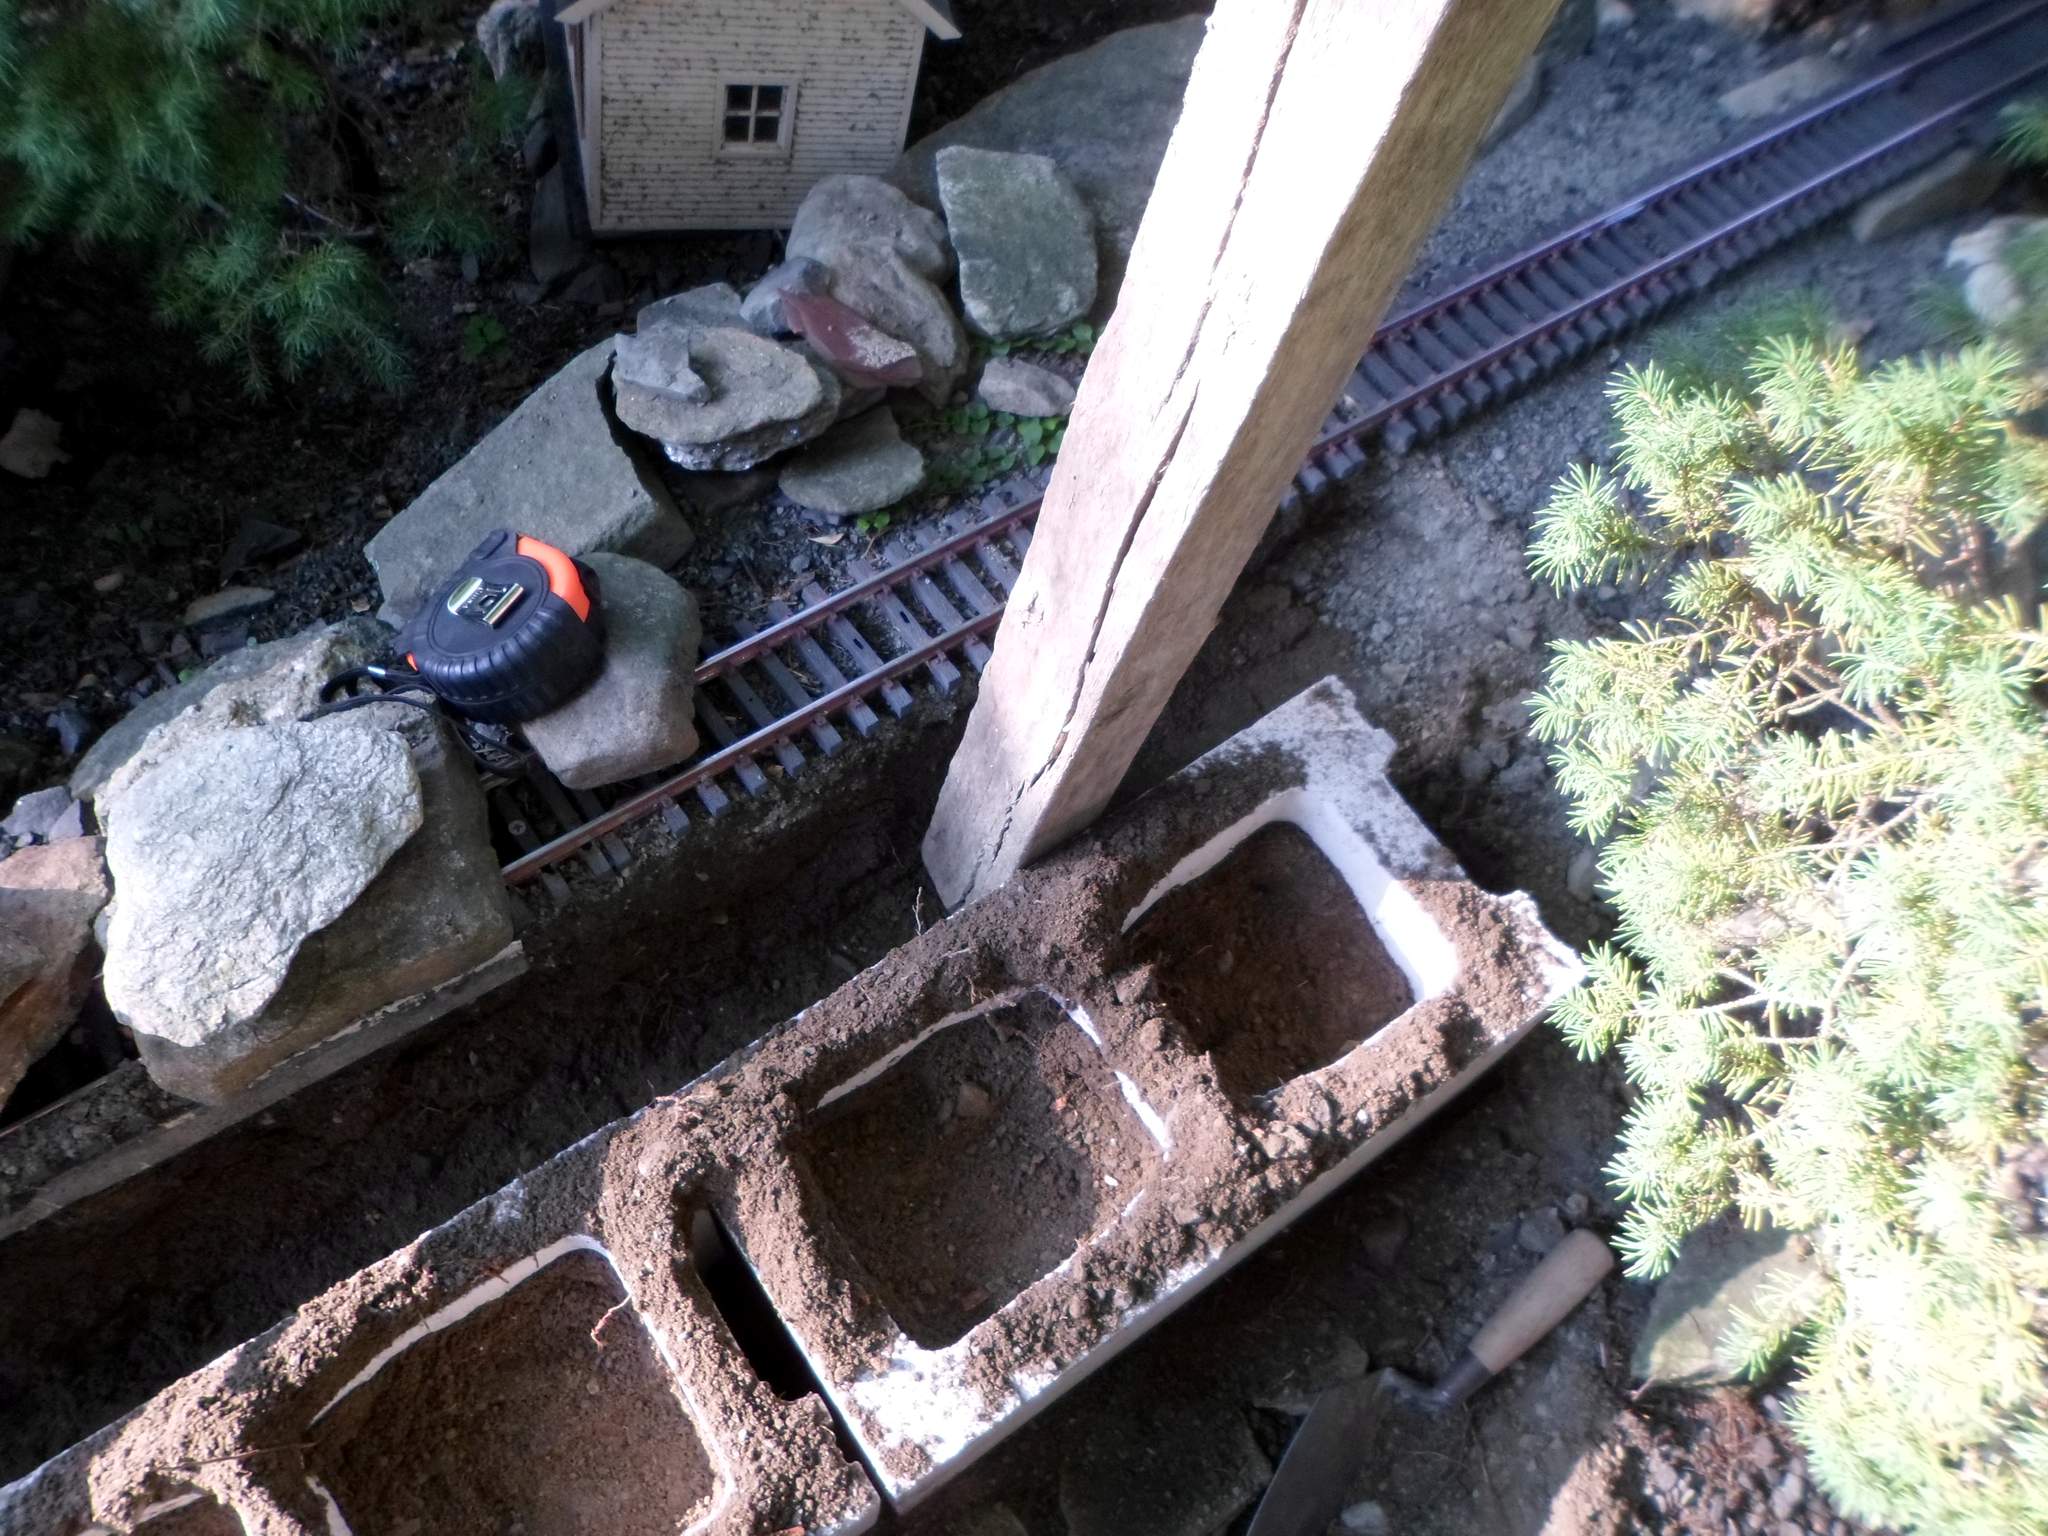
A second course of shallow block laid on it’s face brings the base up to an inch below track grade…

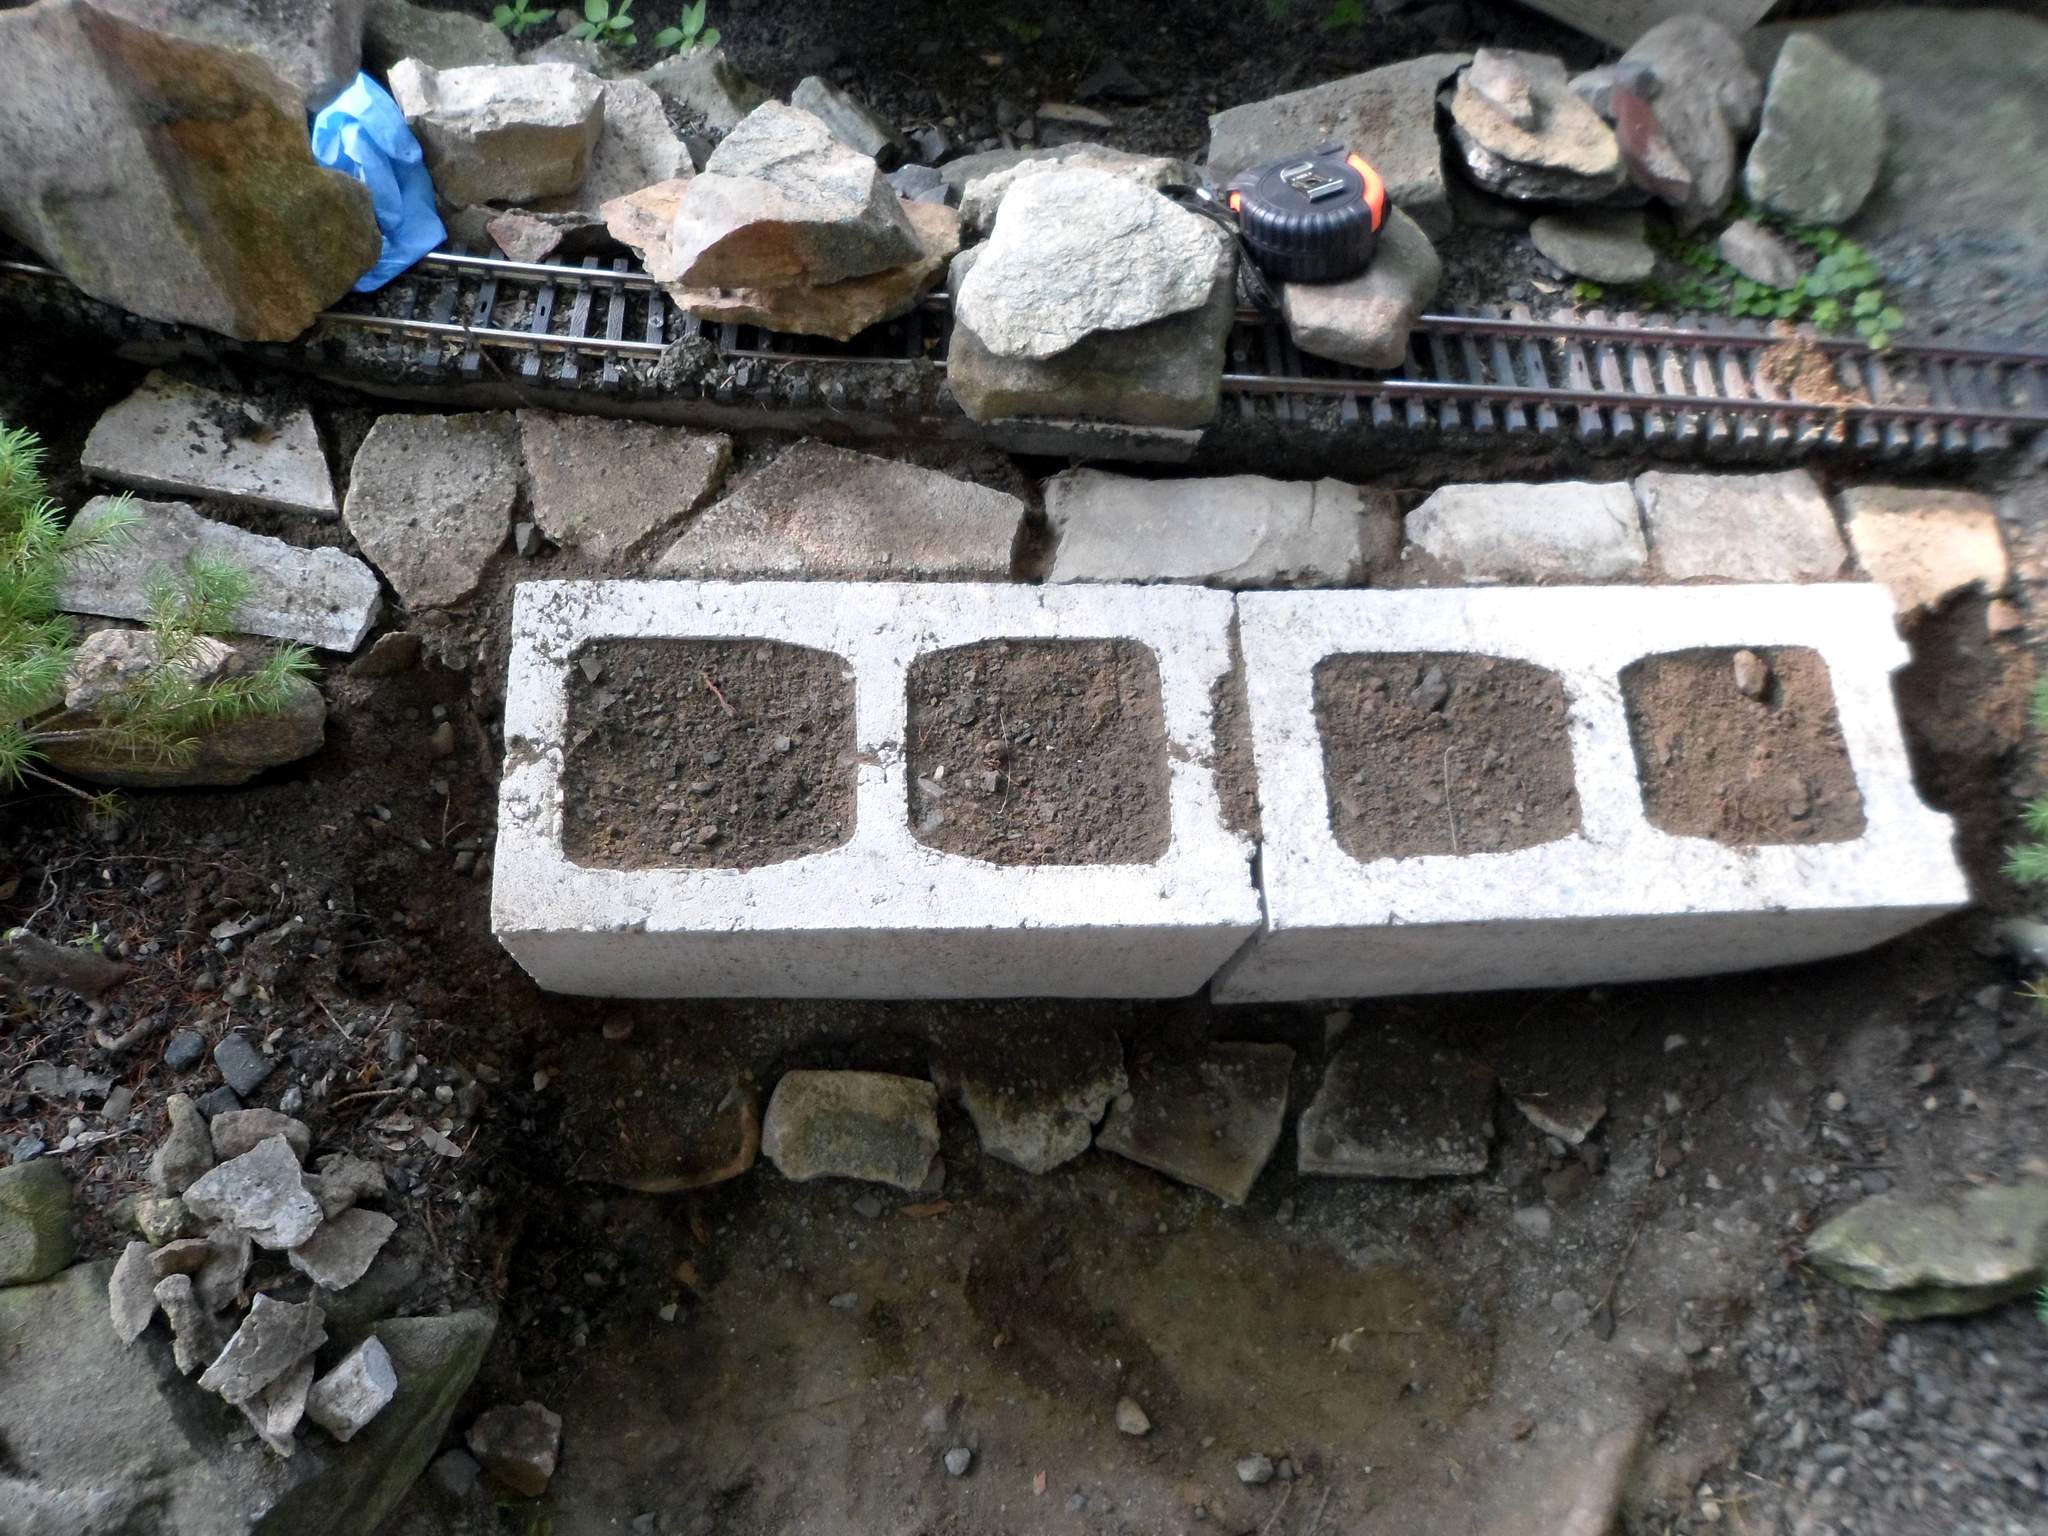
I then filled in with sub ballast. All ready for rock…

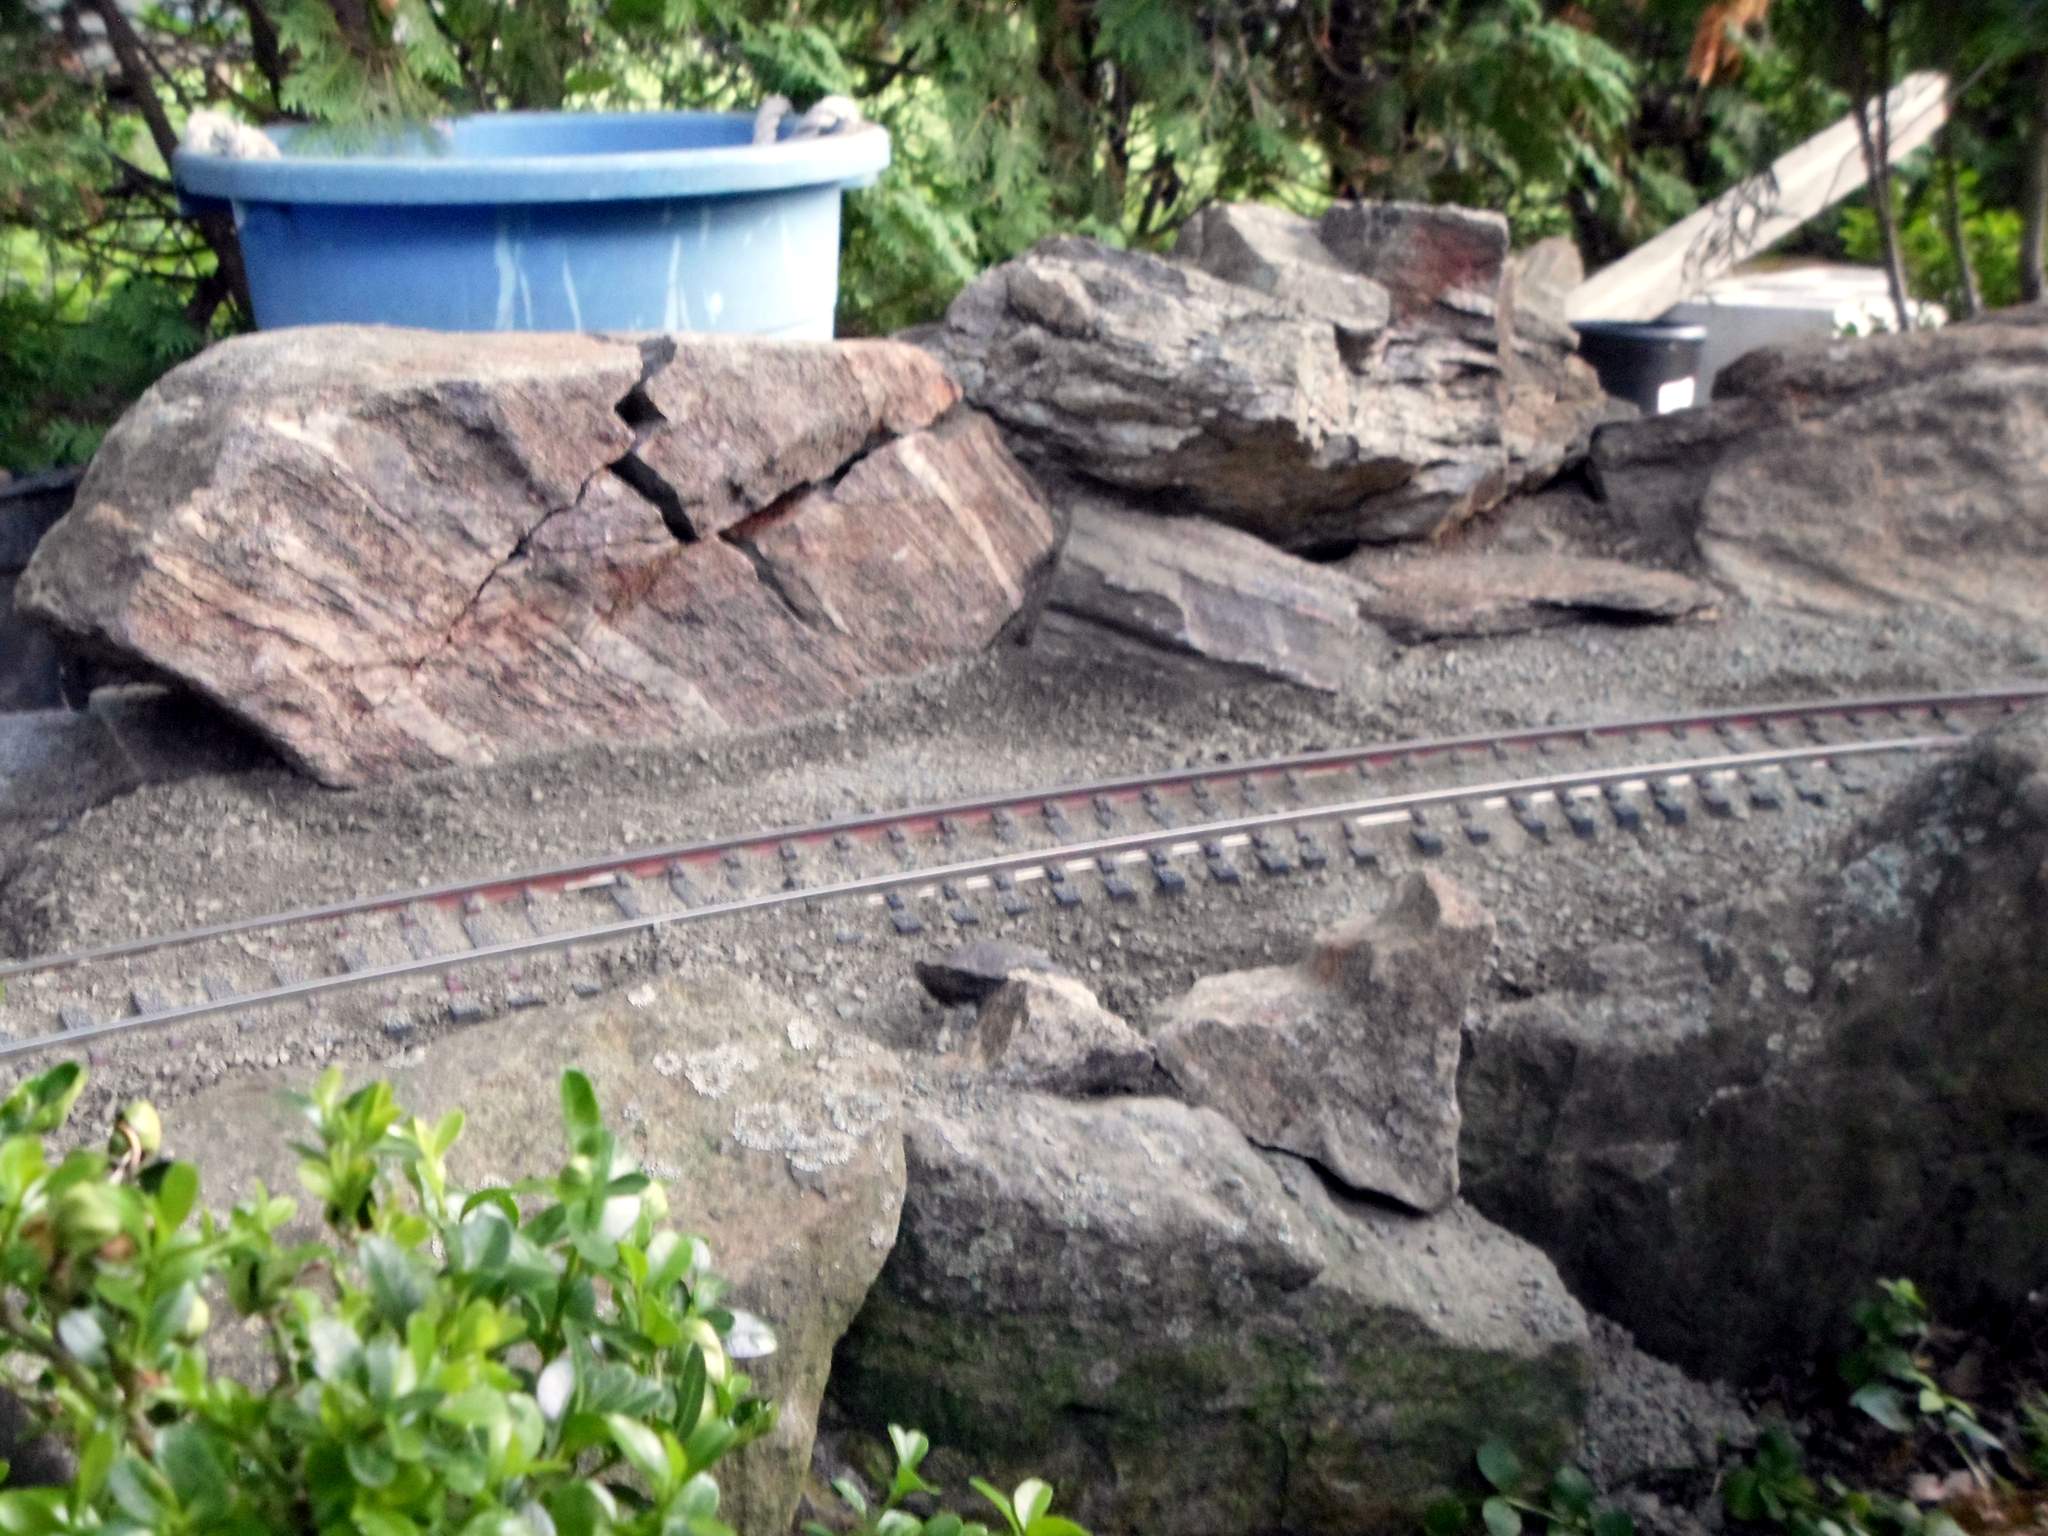
I watered that well to let things settle in and called it a night.

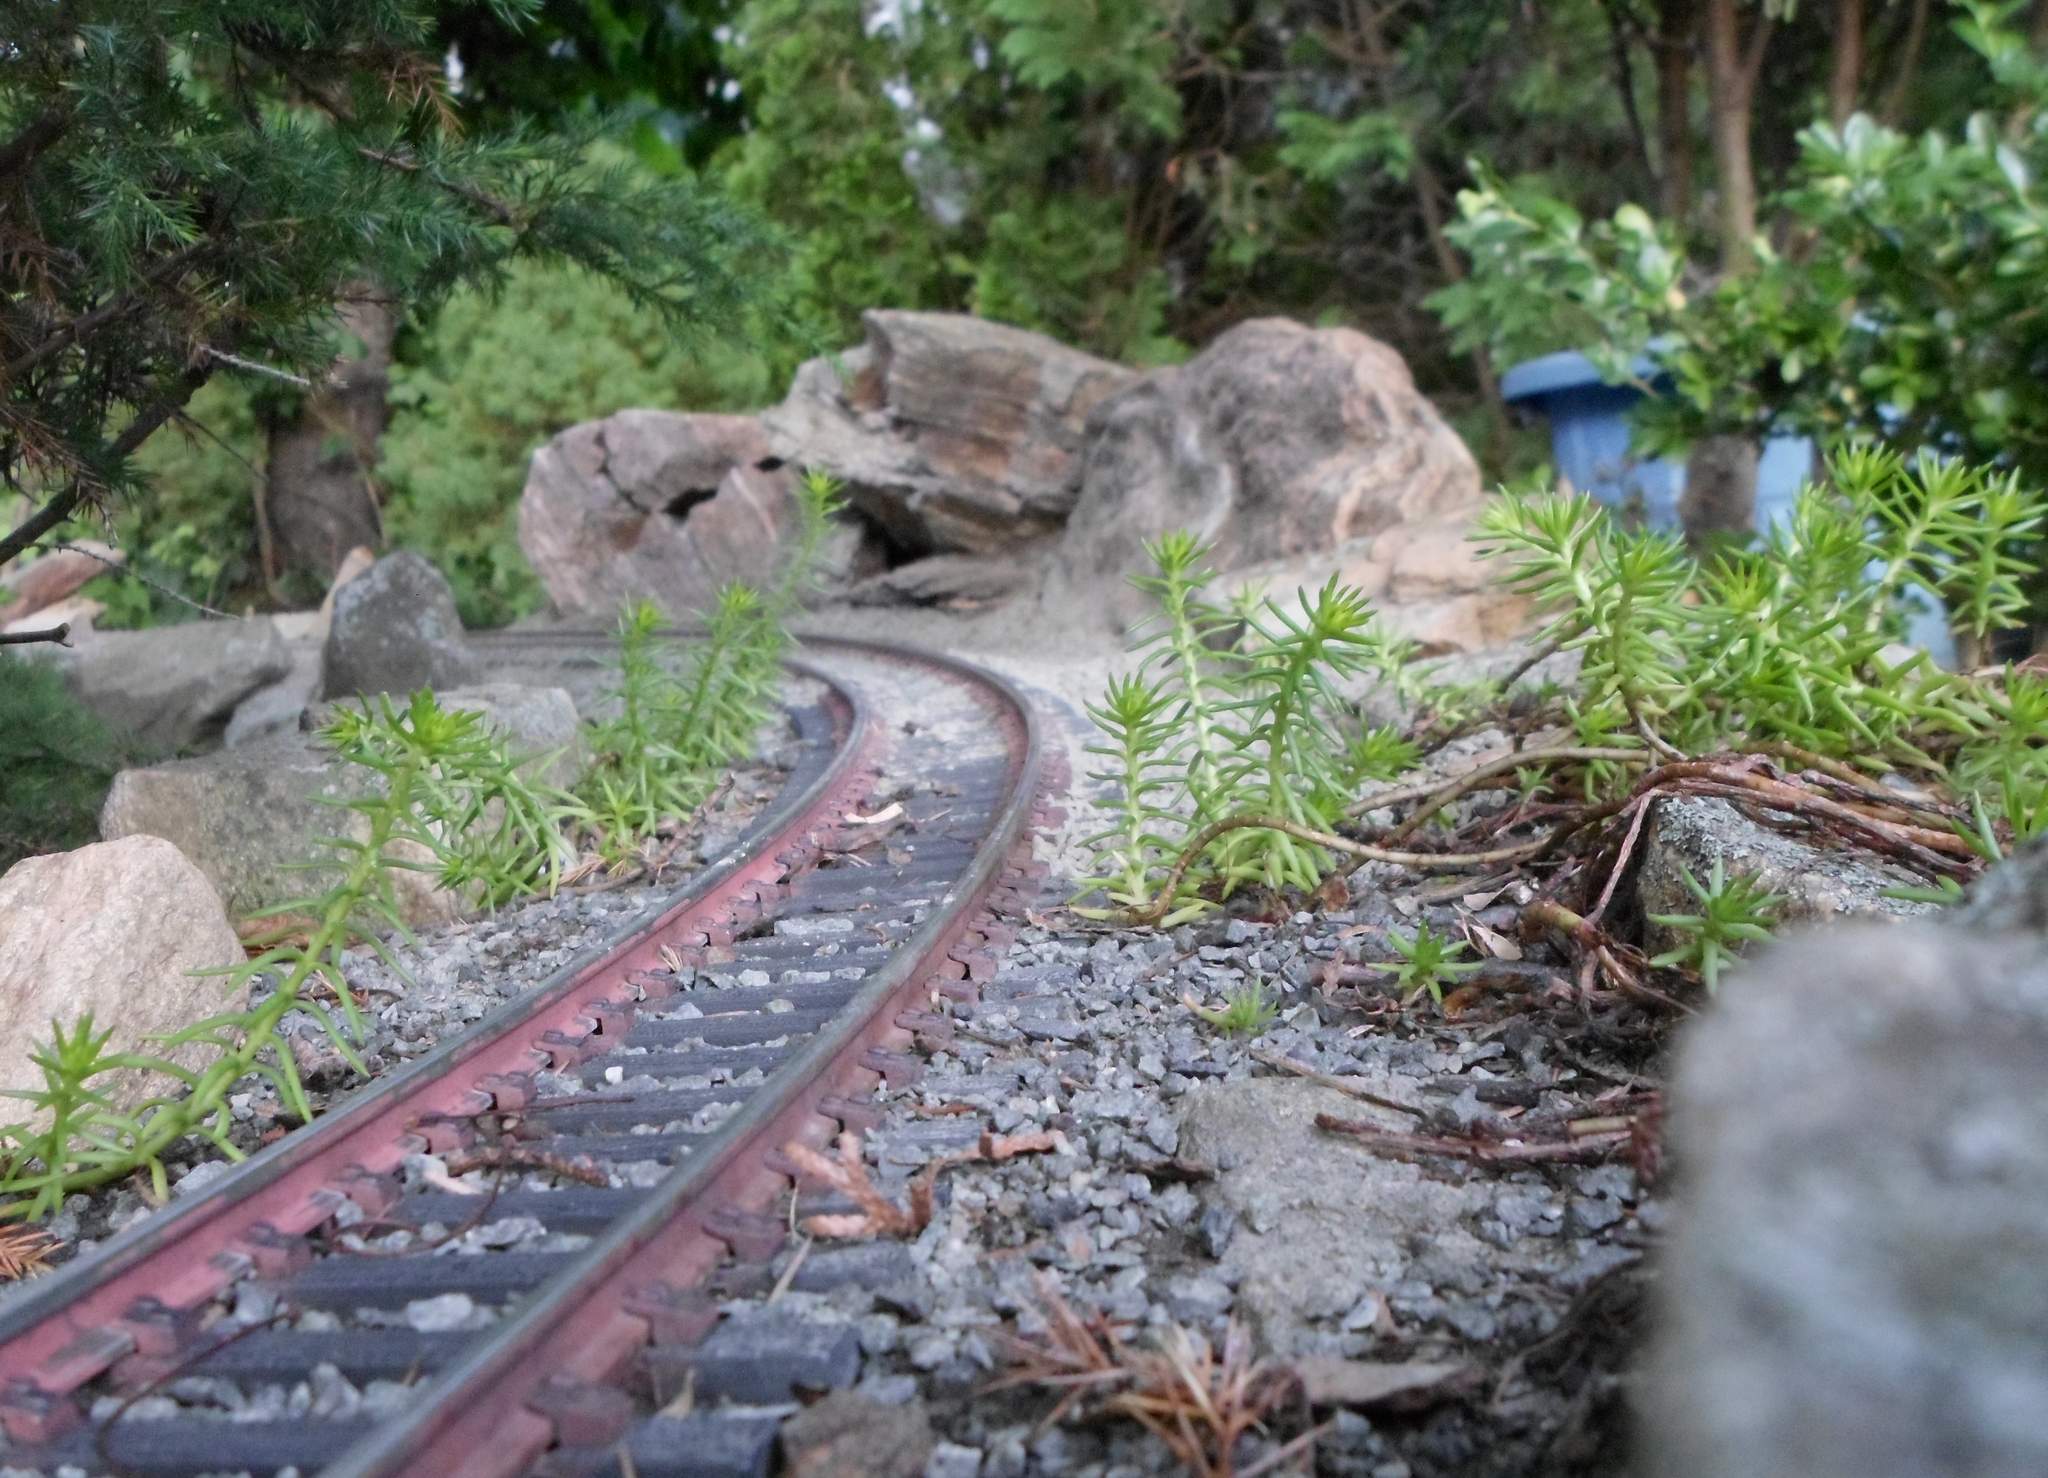
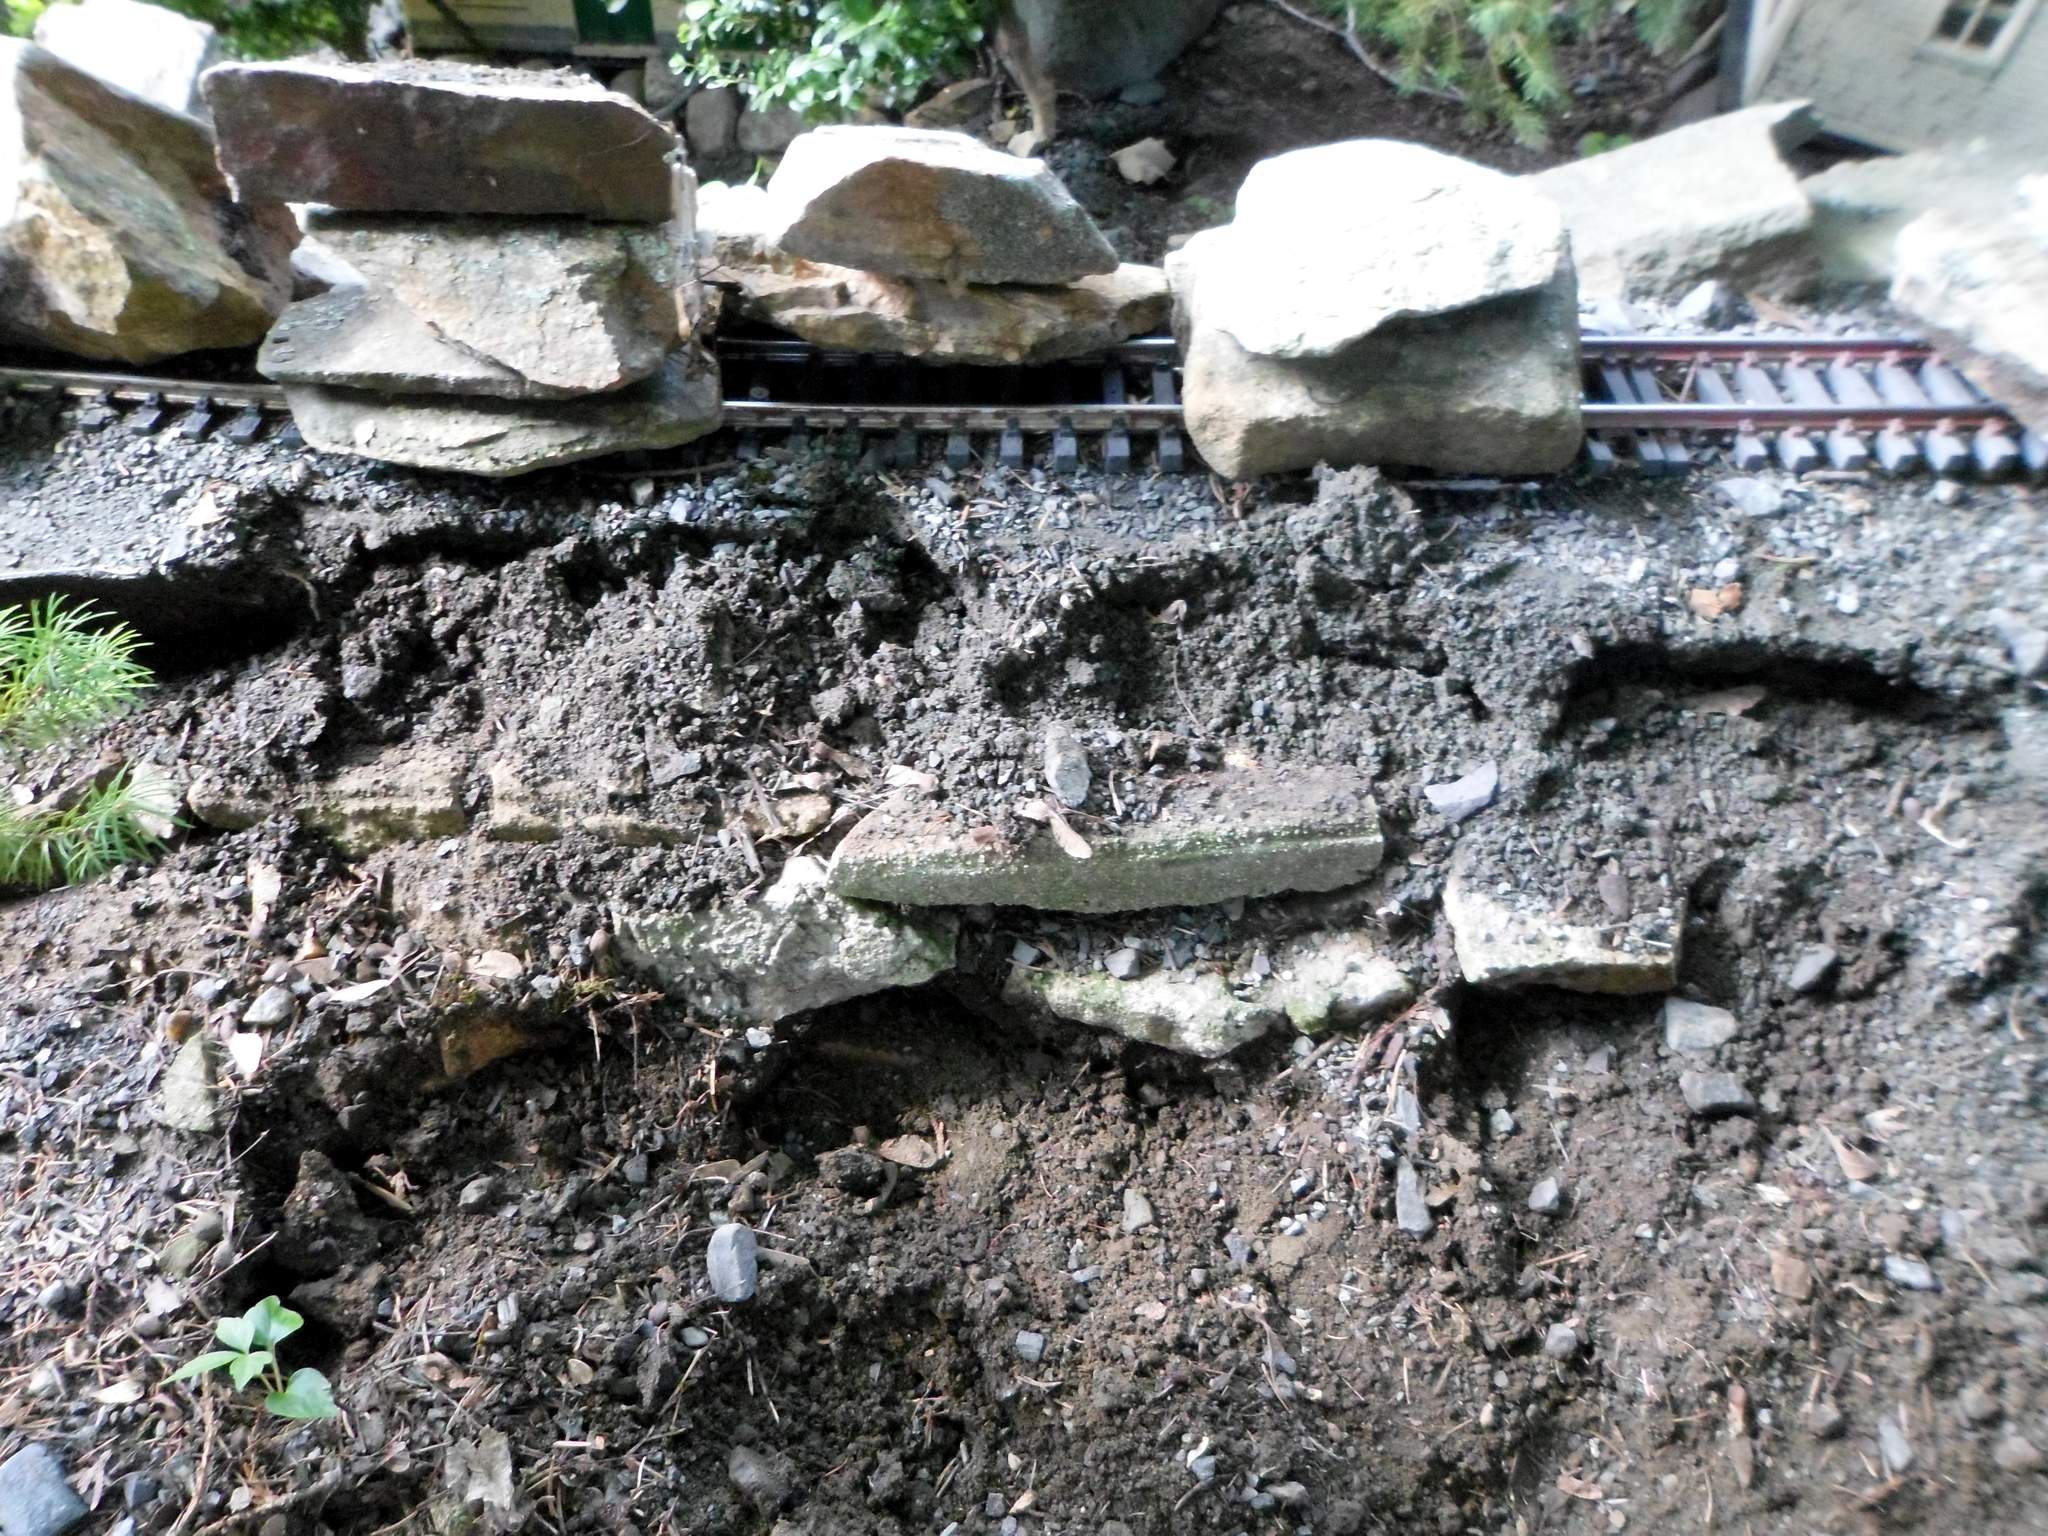
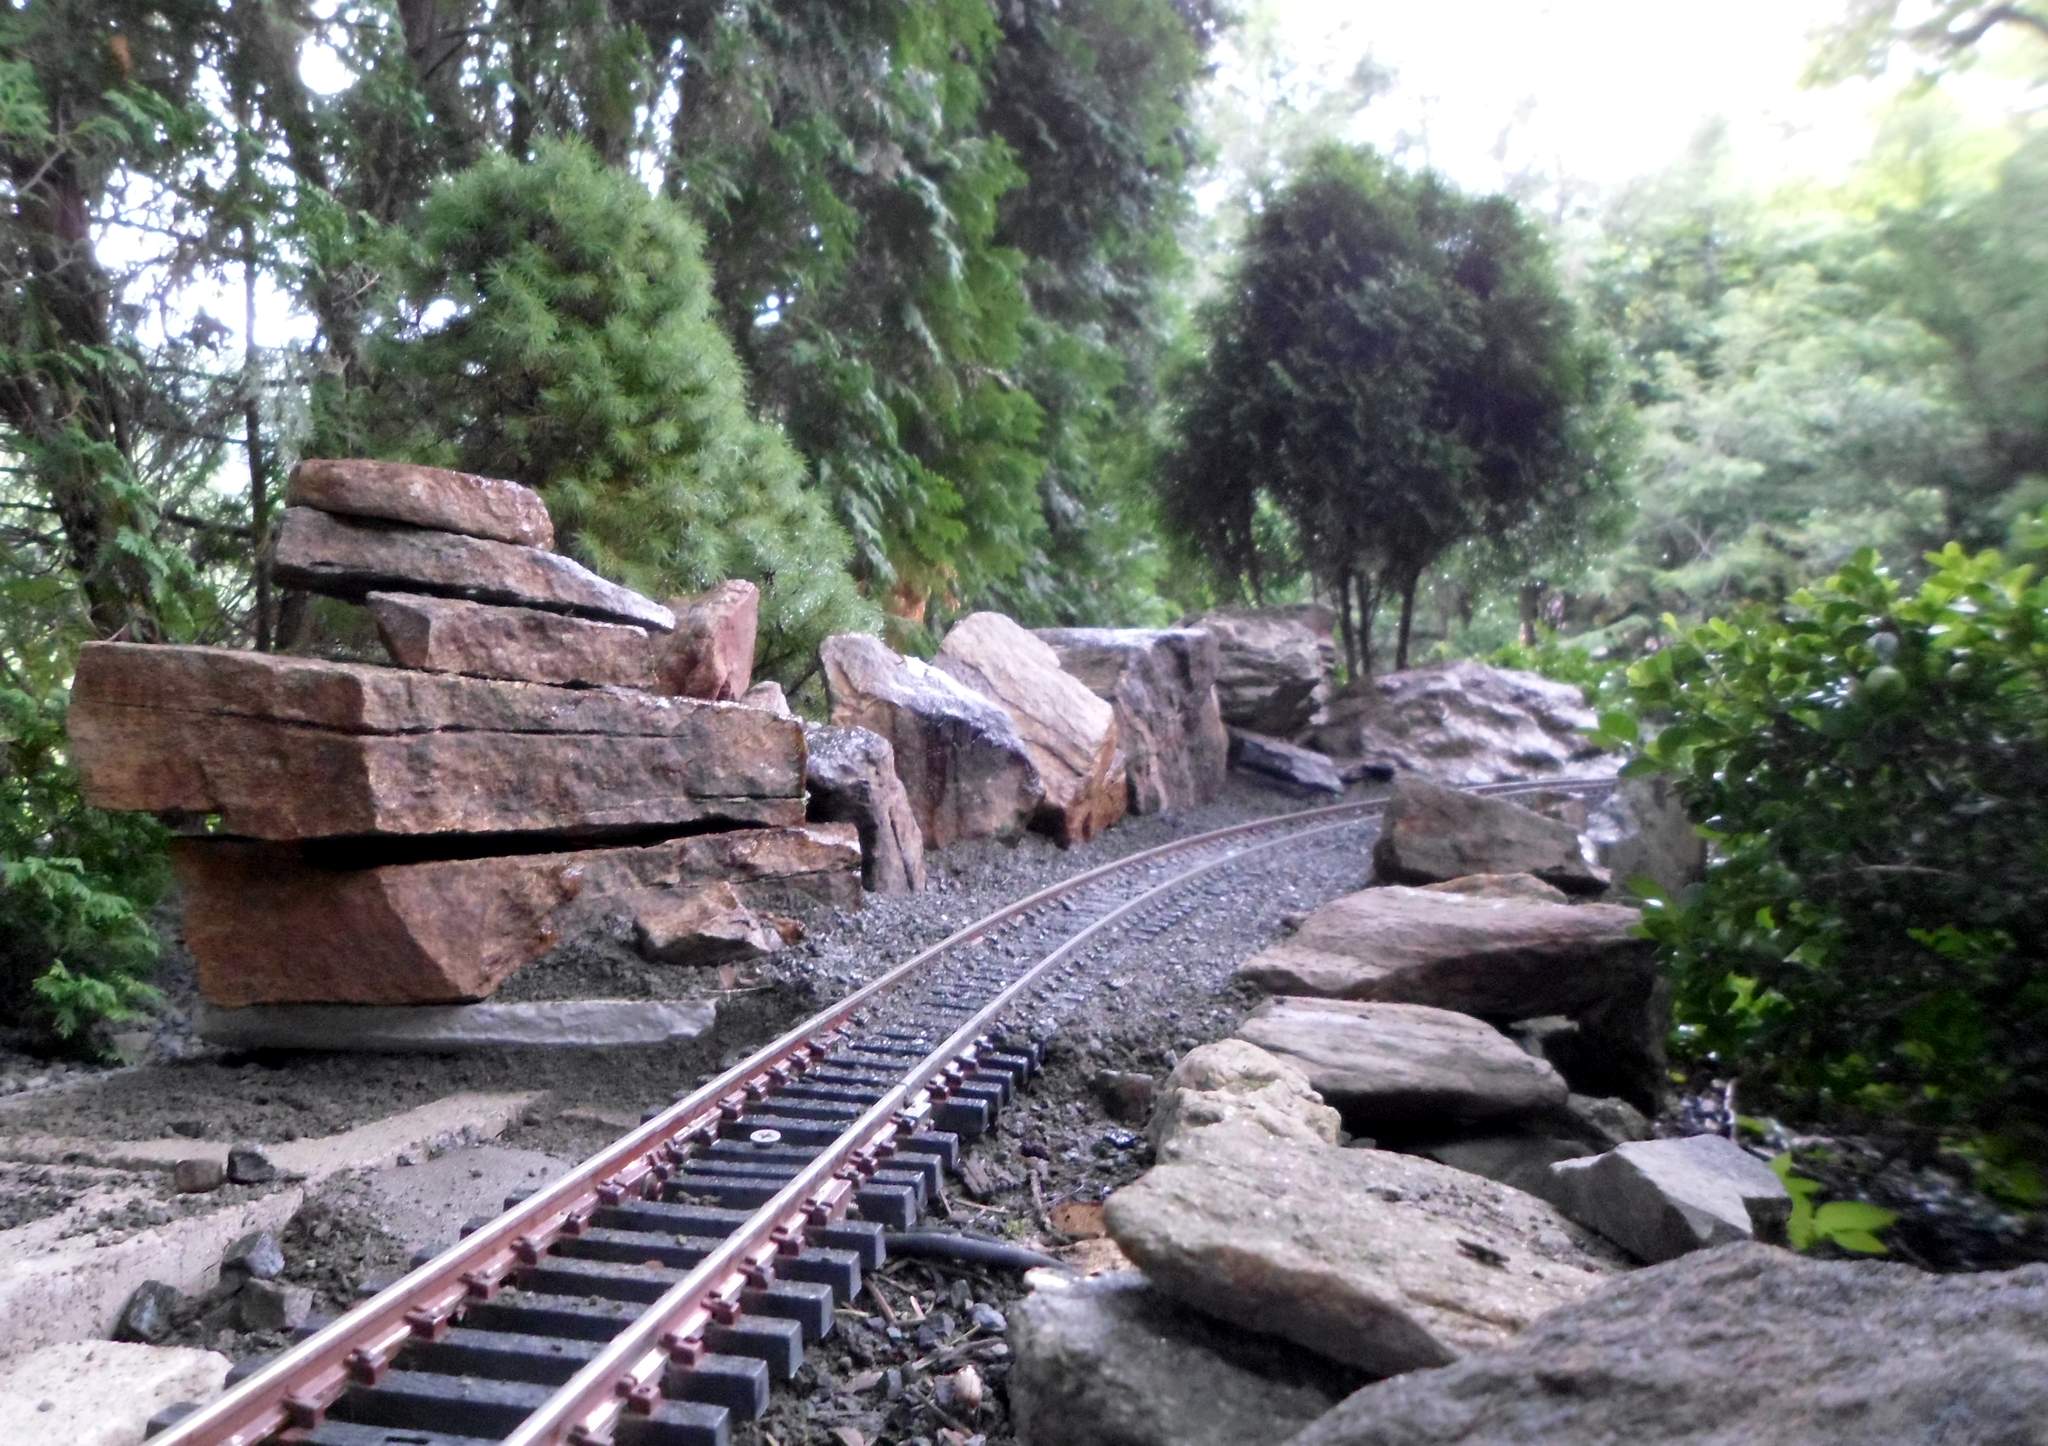
This evening I began placing rock. I will also want to hide the block on the back side as it is visible from a walkway…

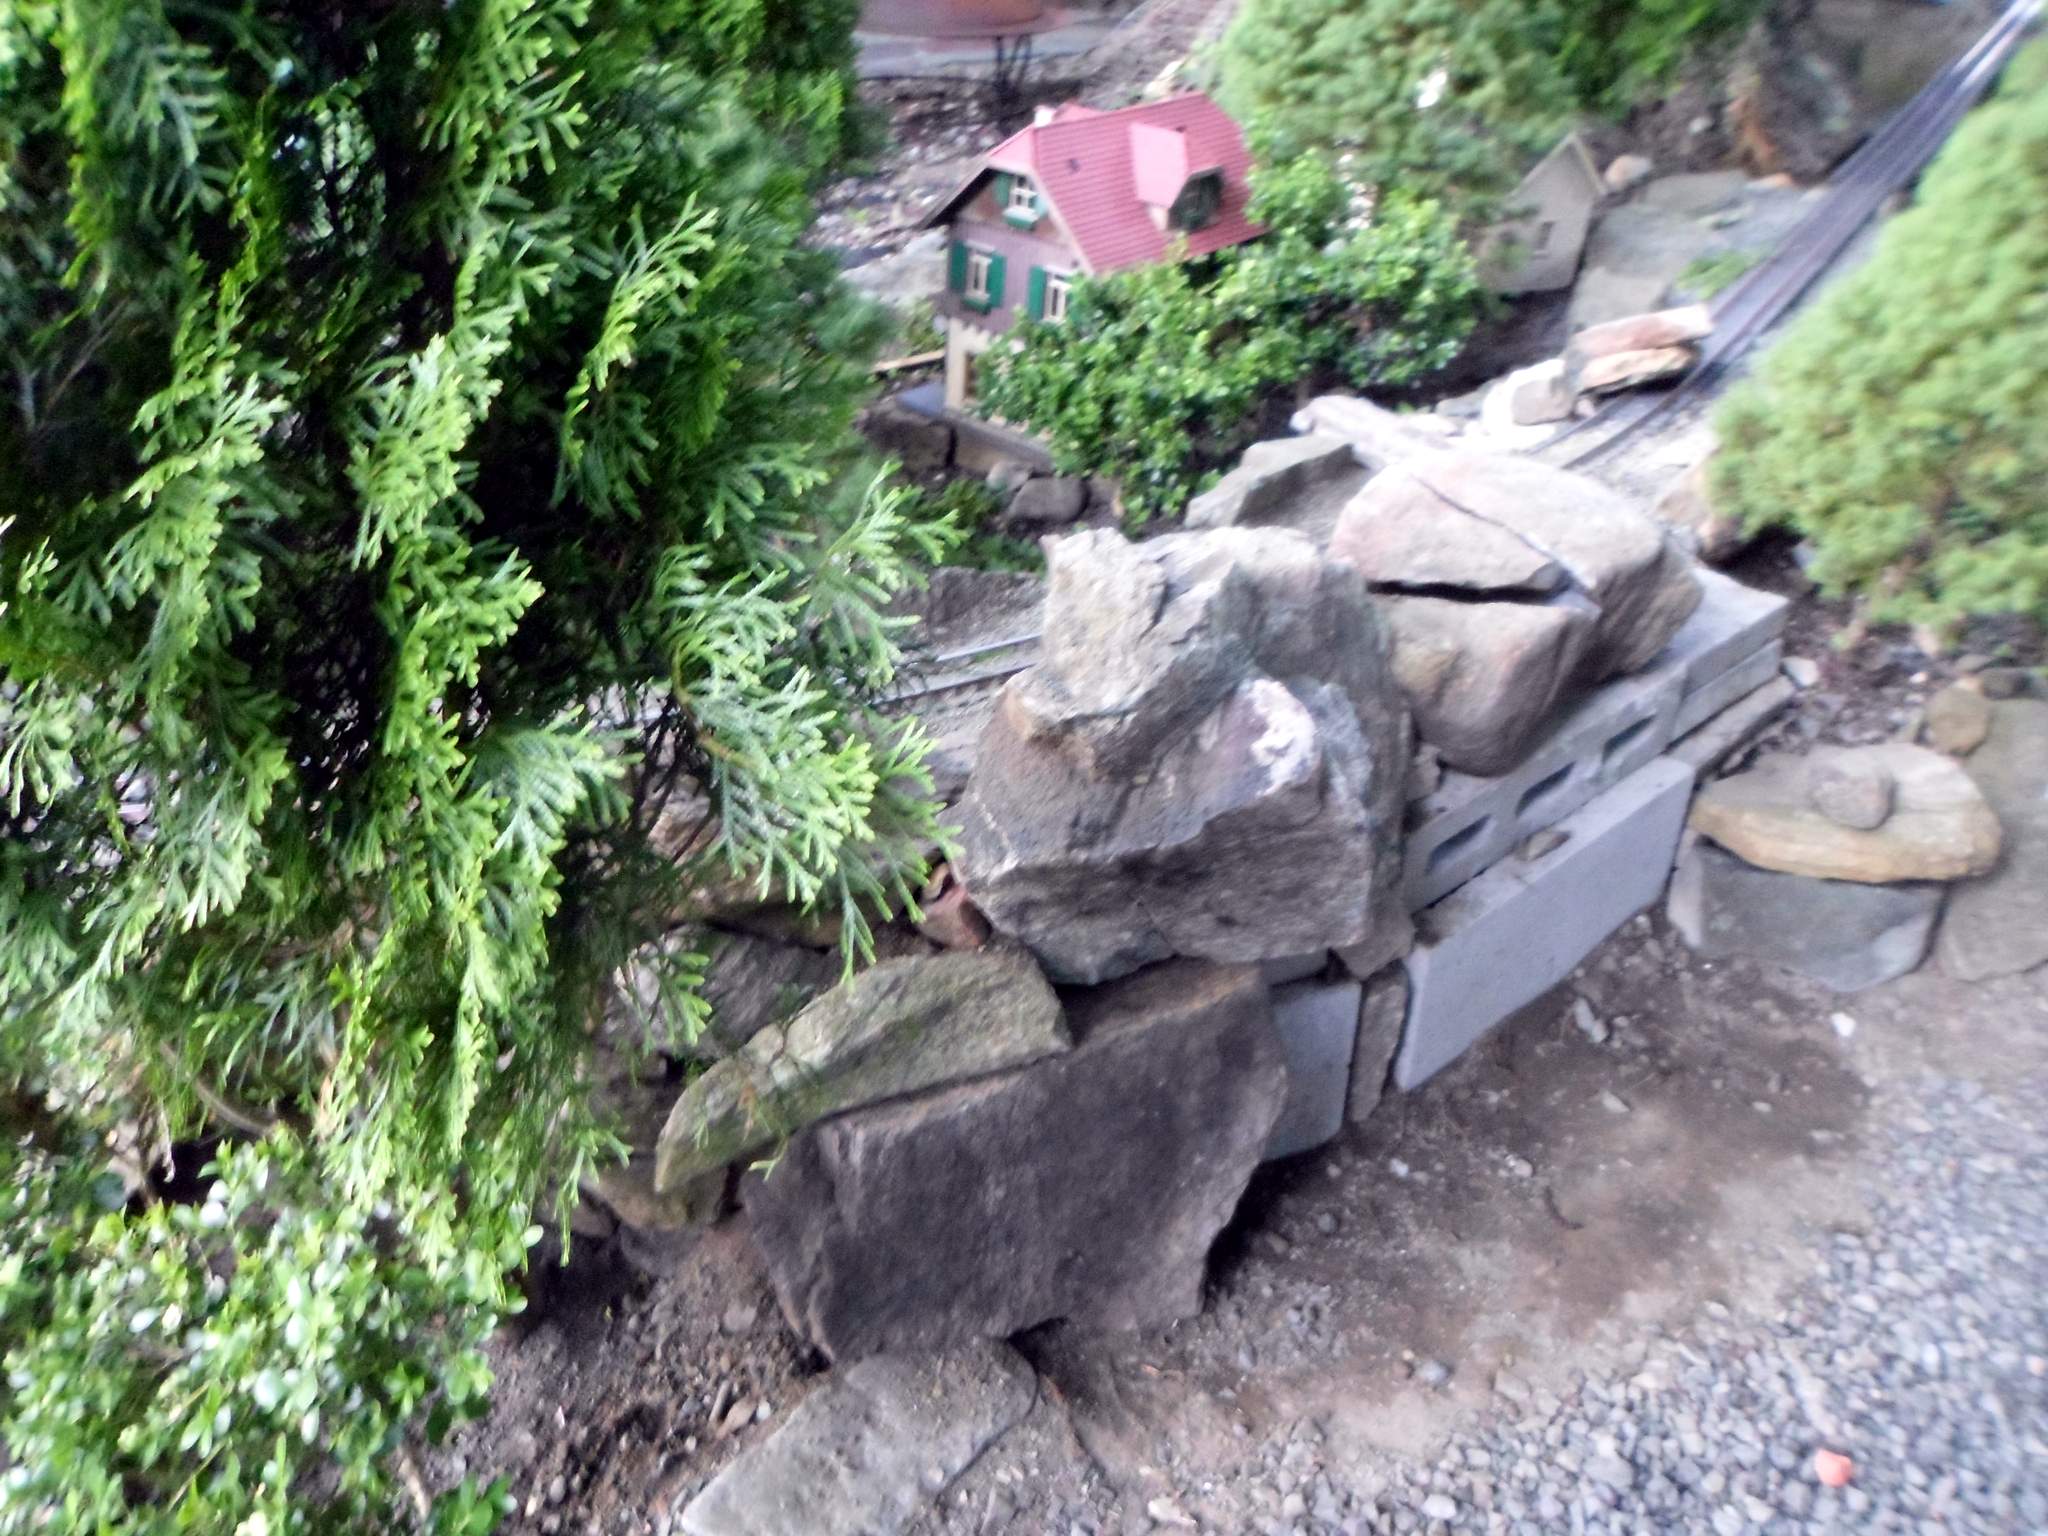
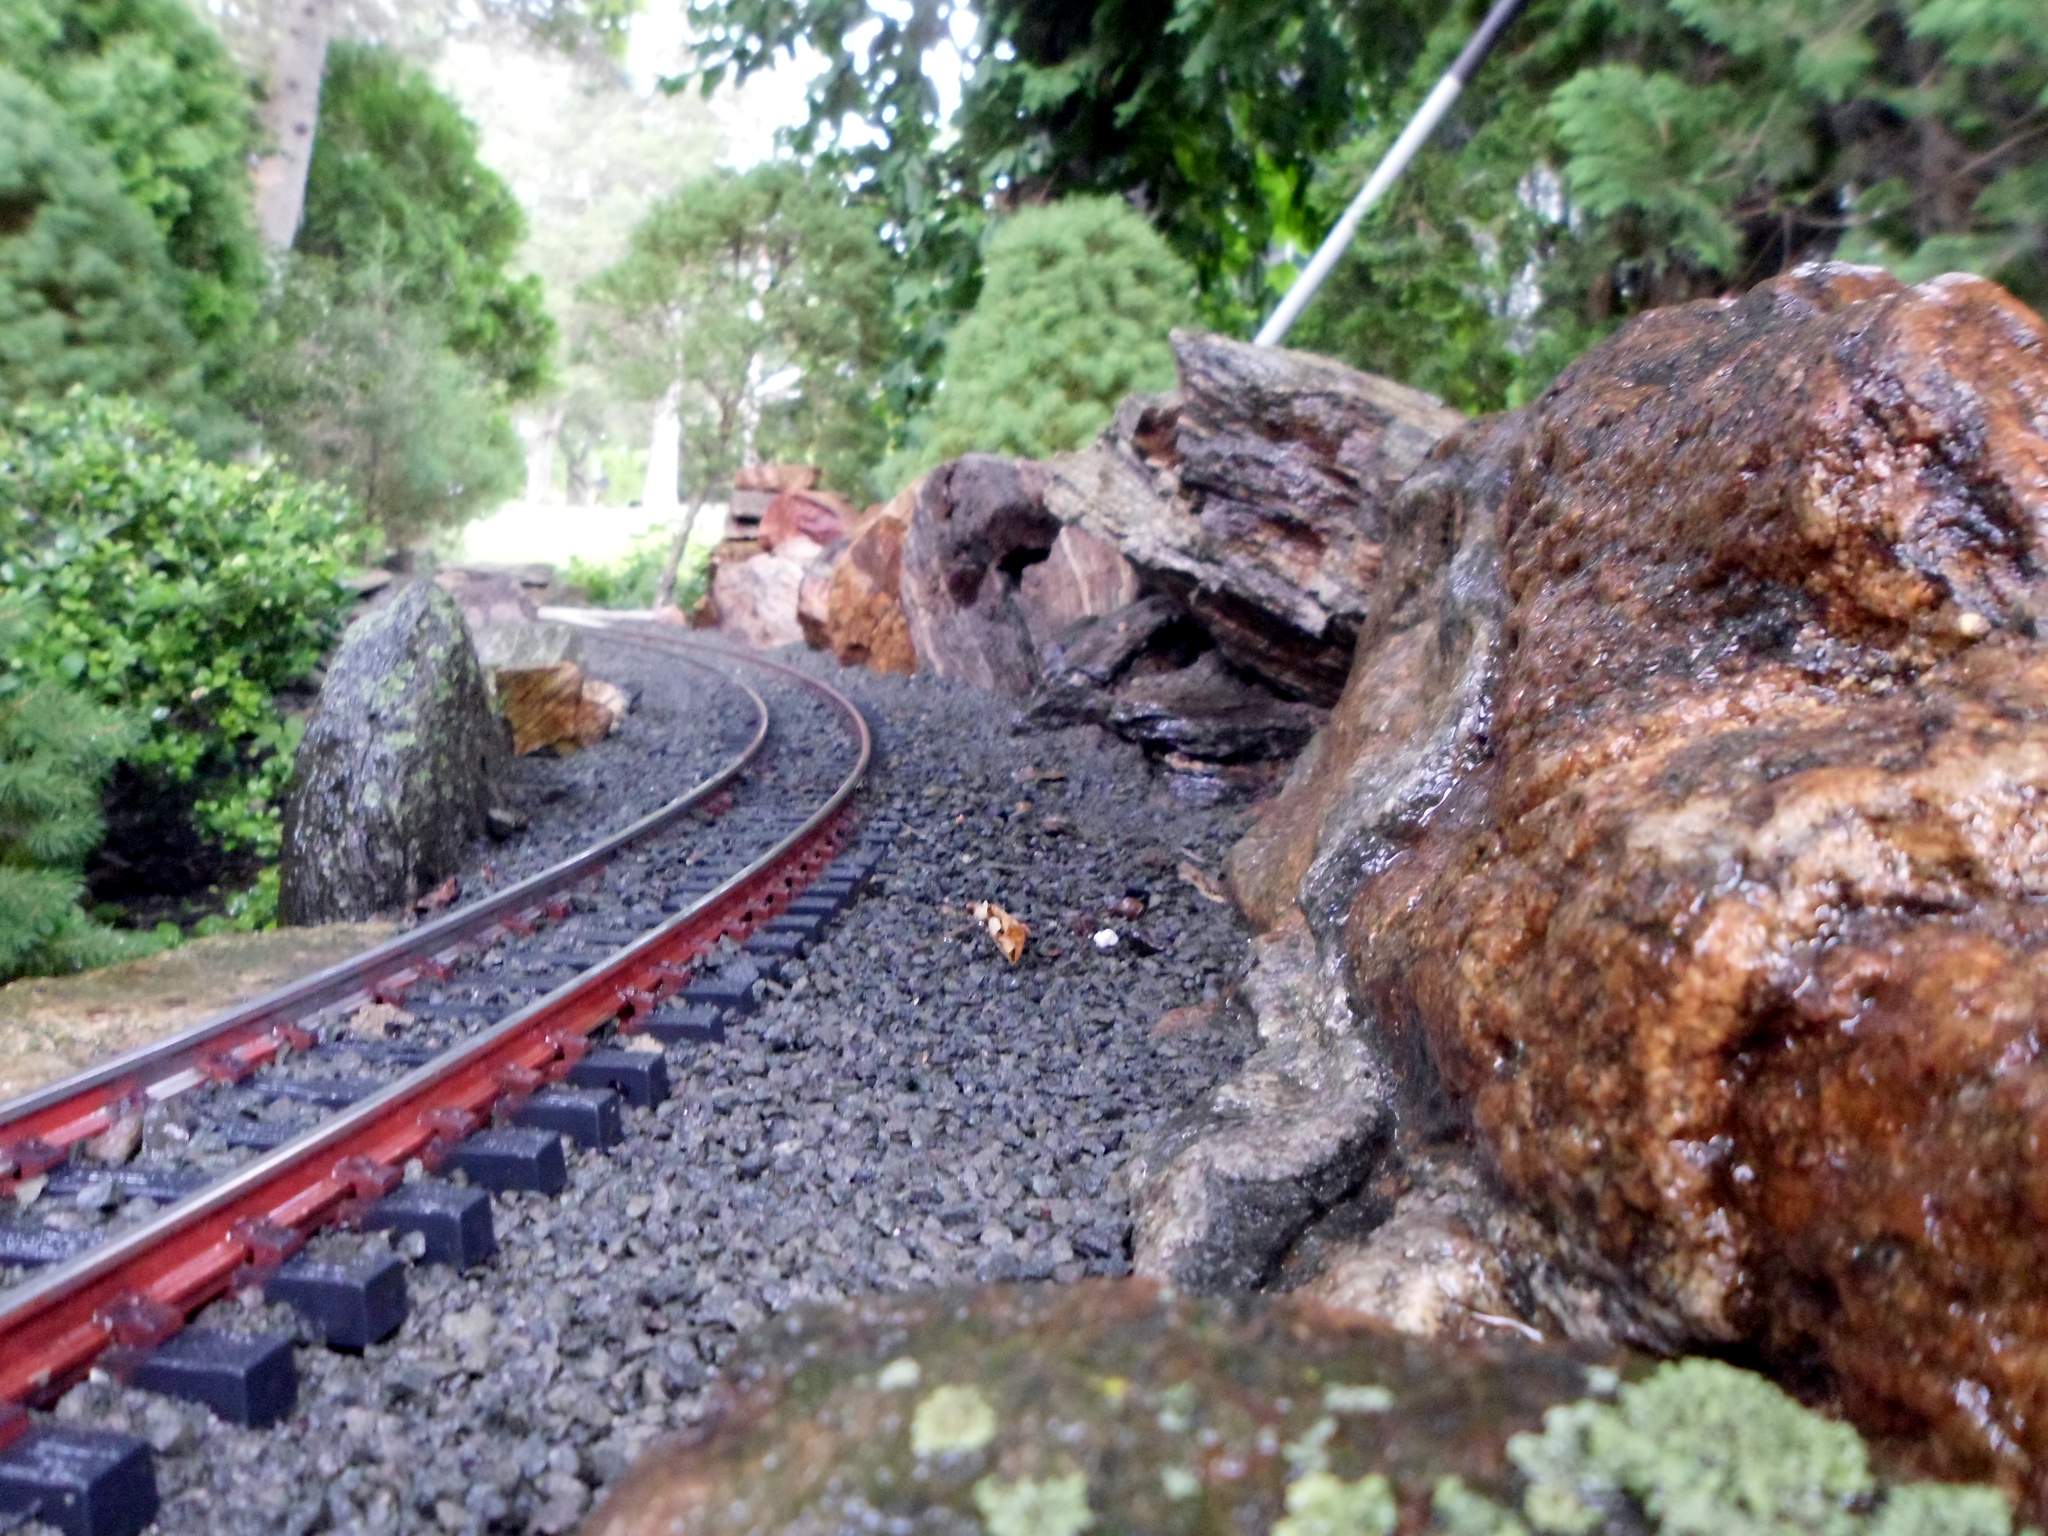
I have found several split rocks with all the pieces intact, I am experimenting by how far to open the cracks, This one fits back together cleanly with just a little of the edge weathered off…

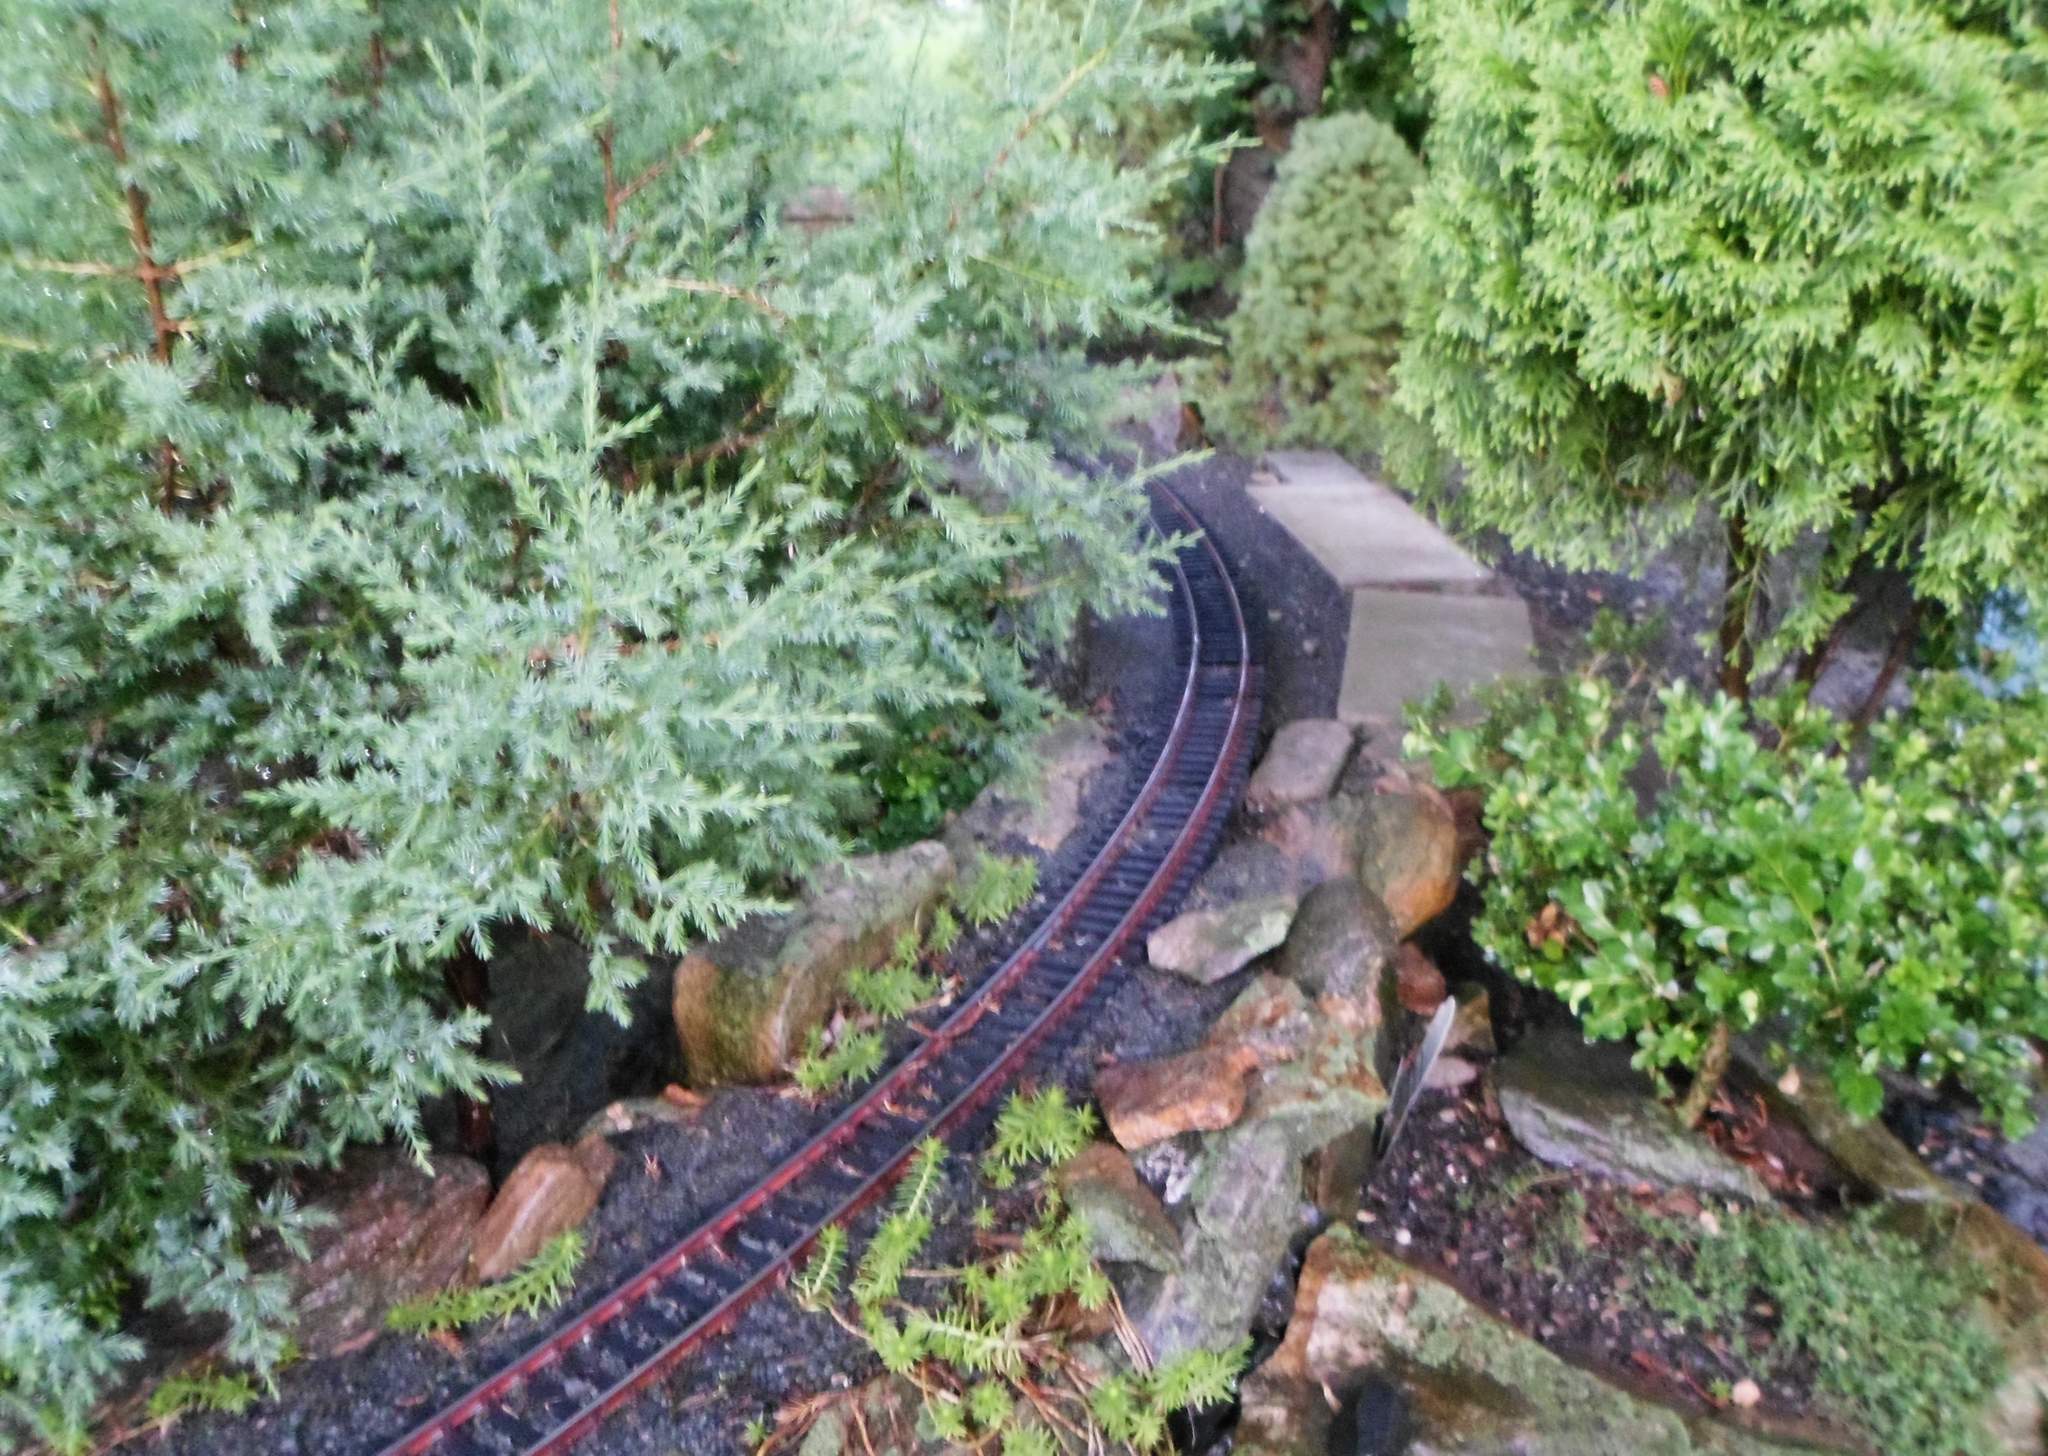
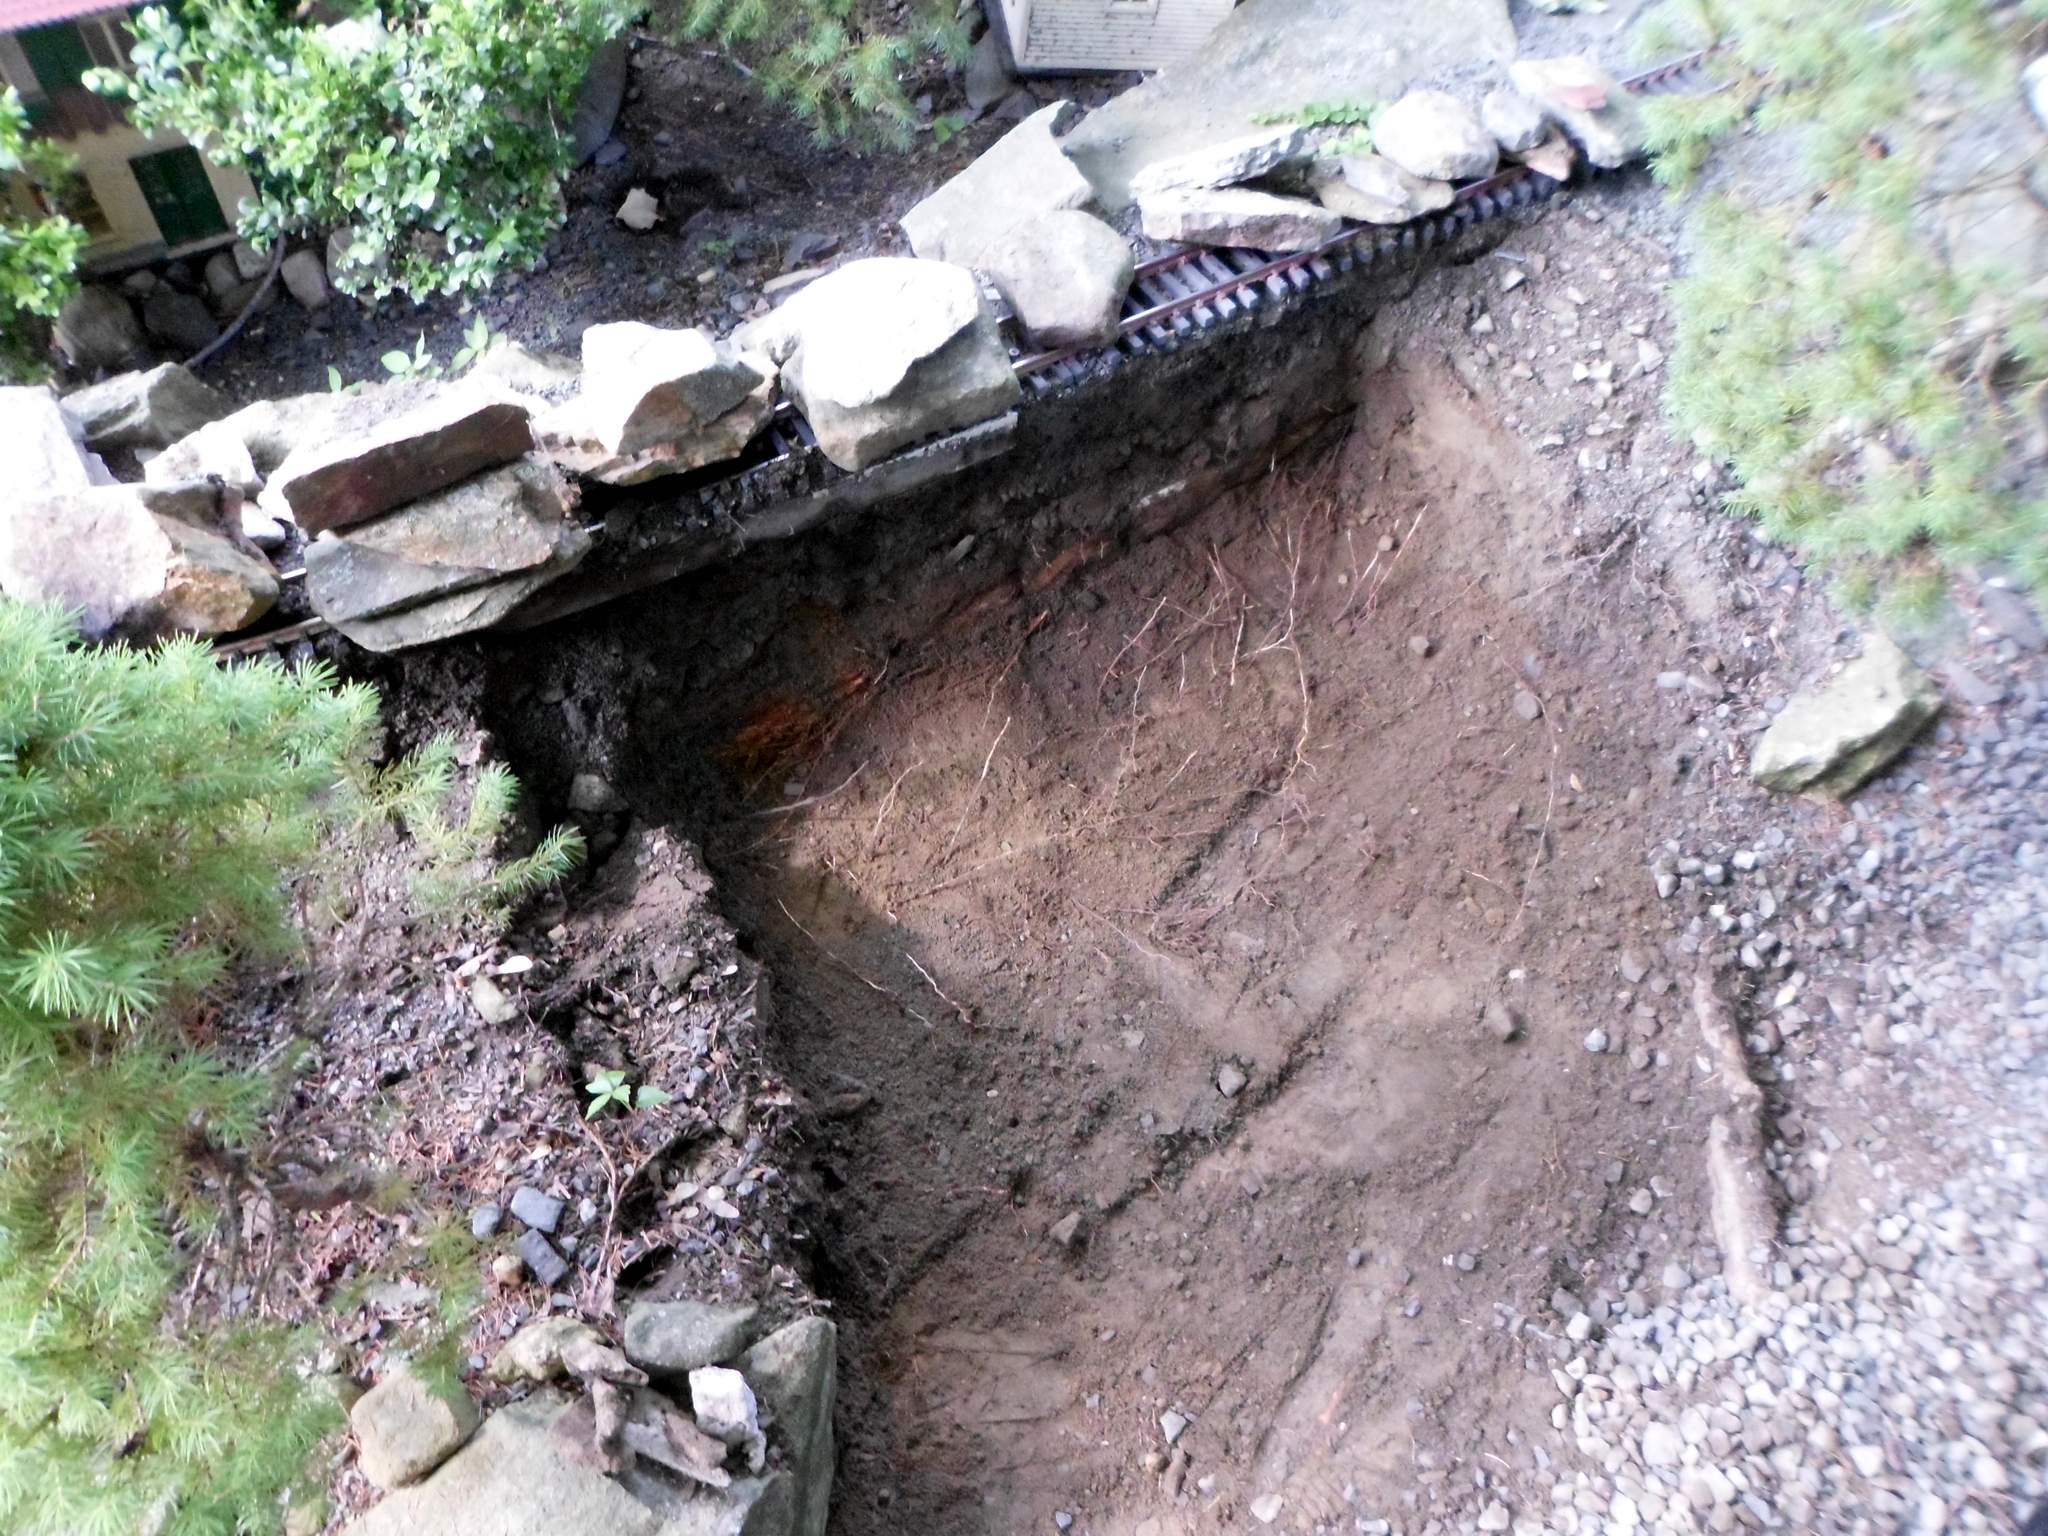
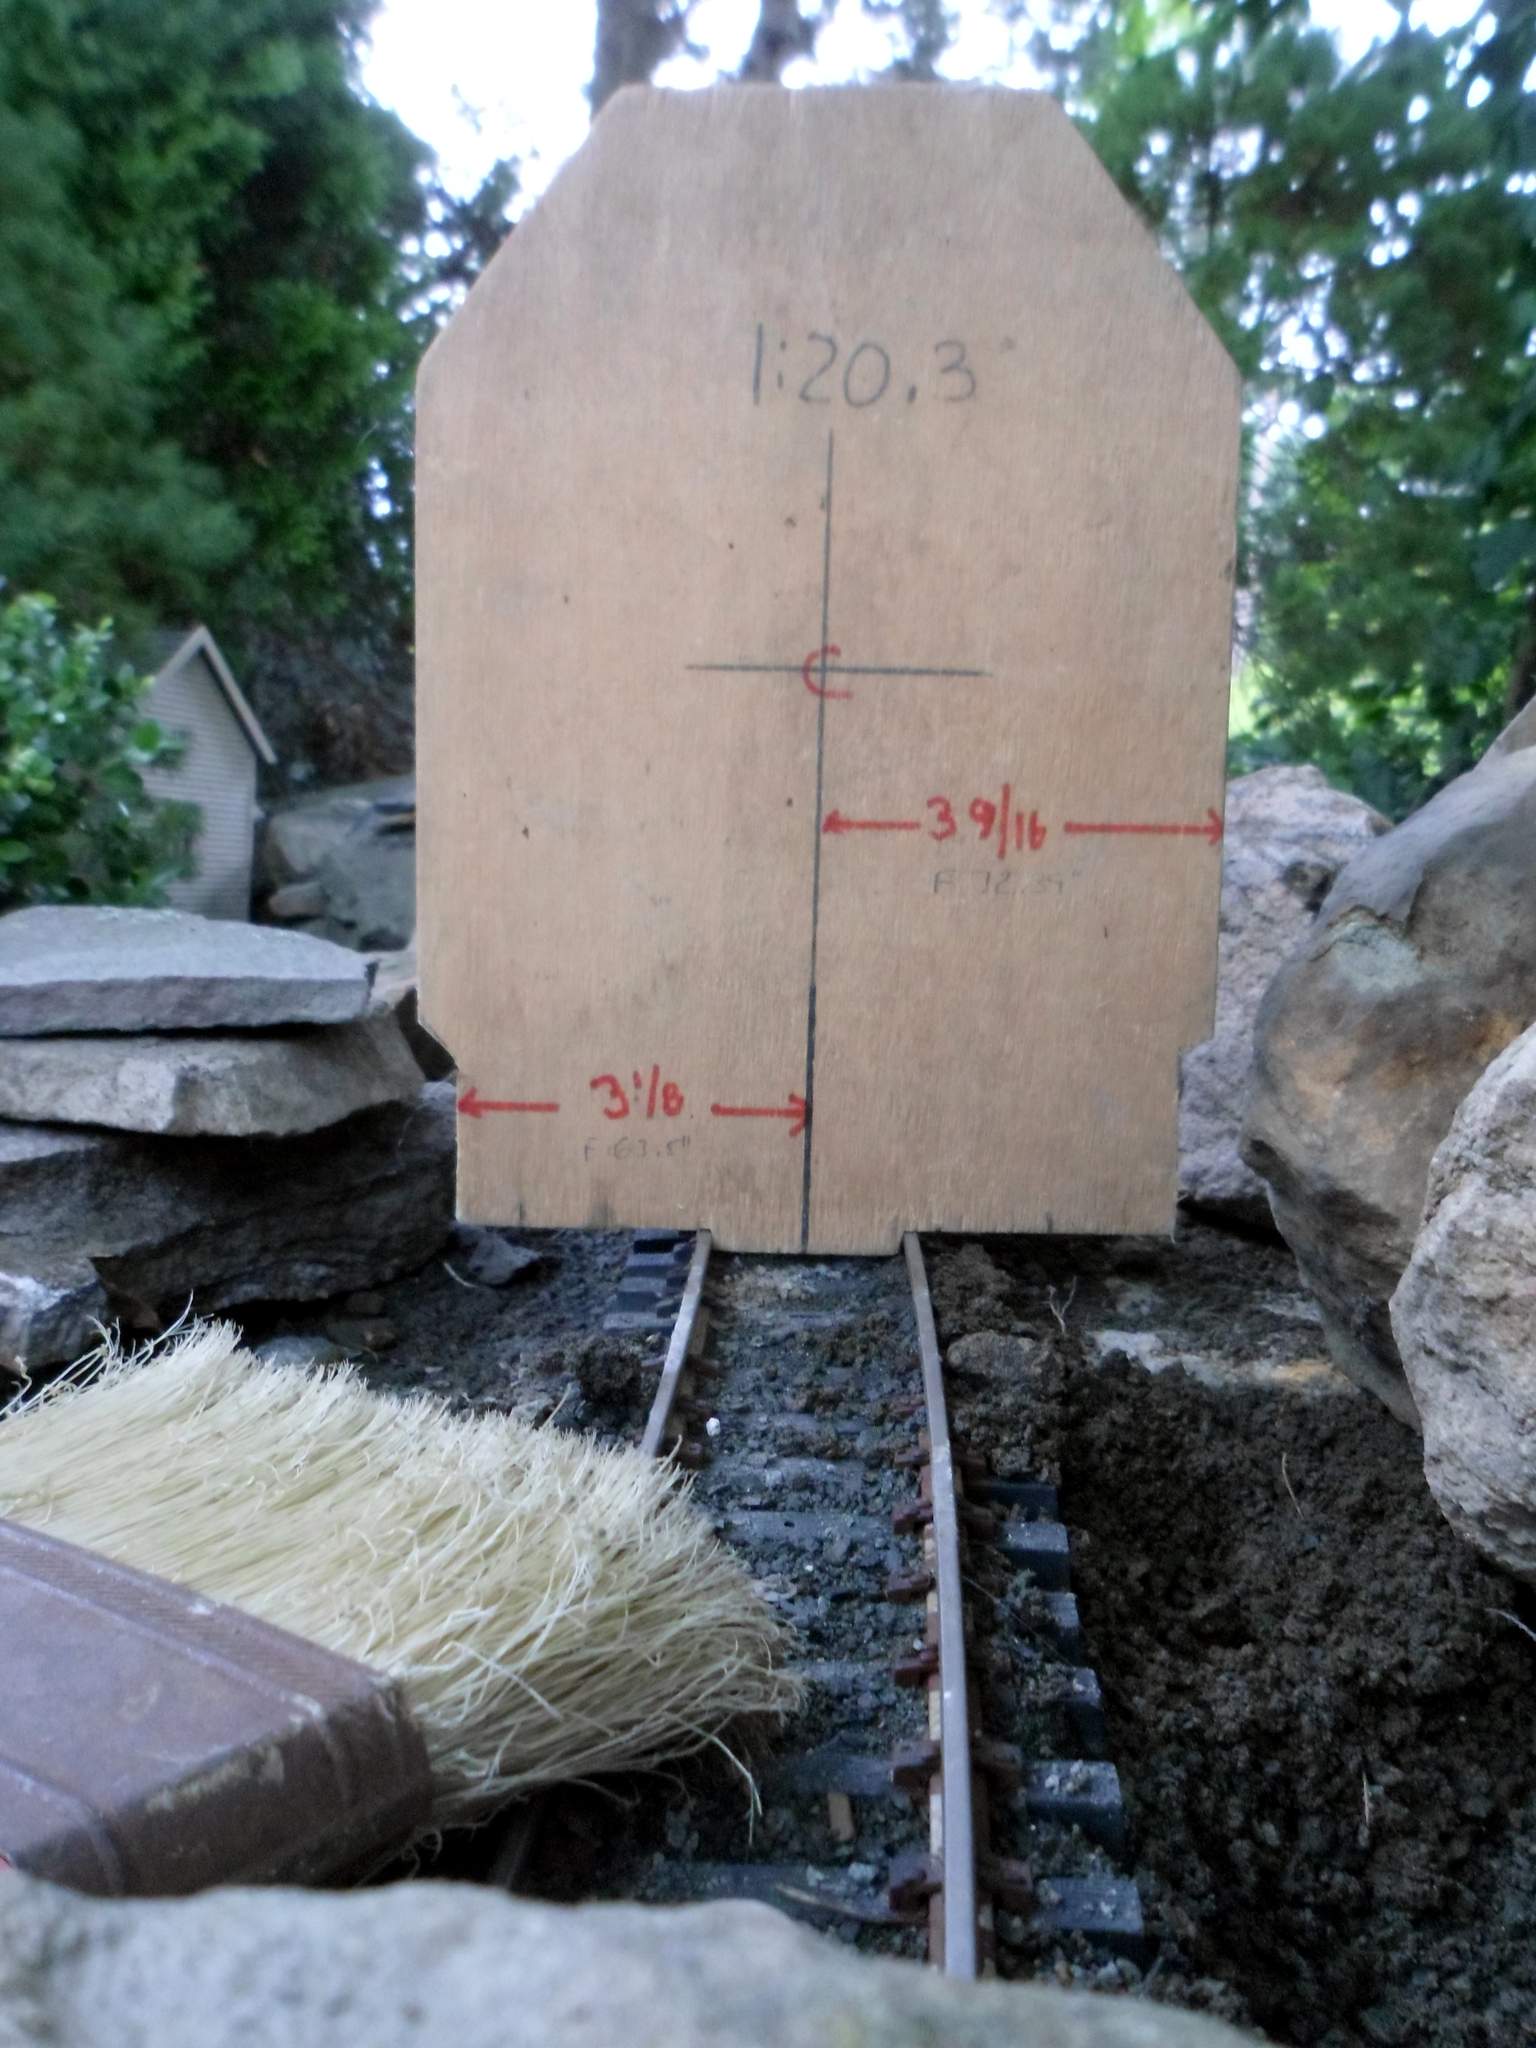
View down the track from just East of Wall Station…

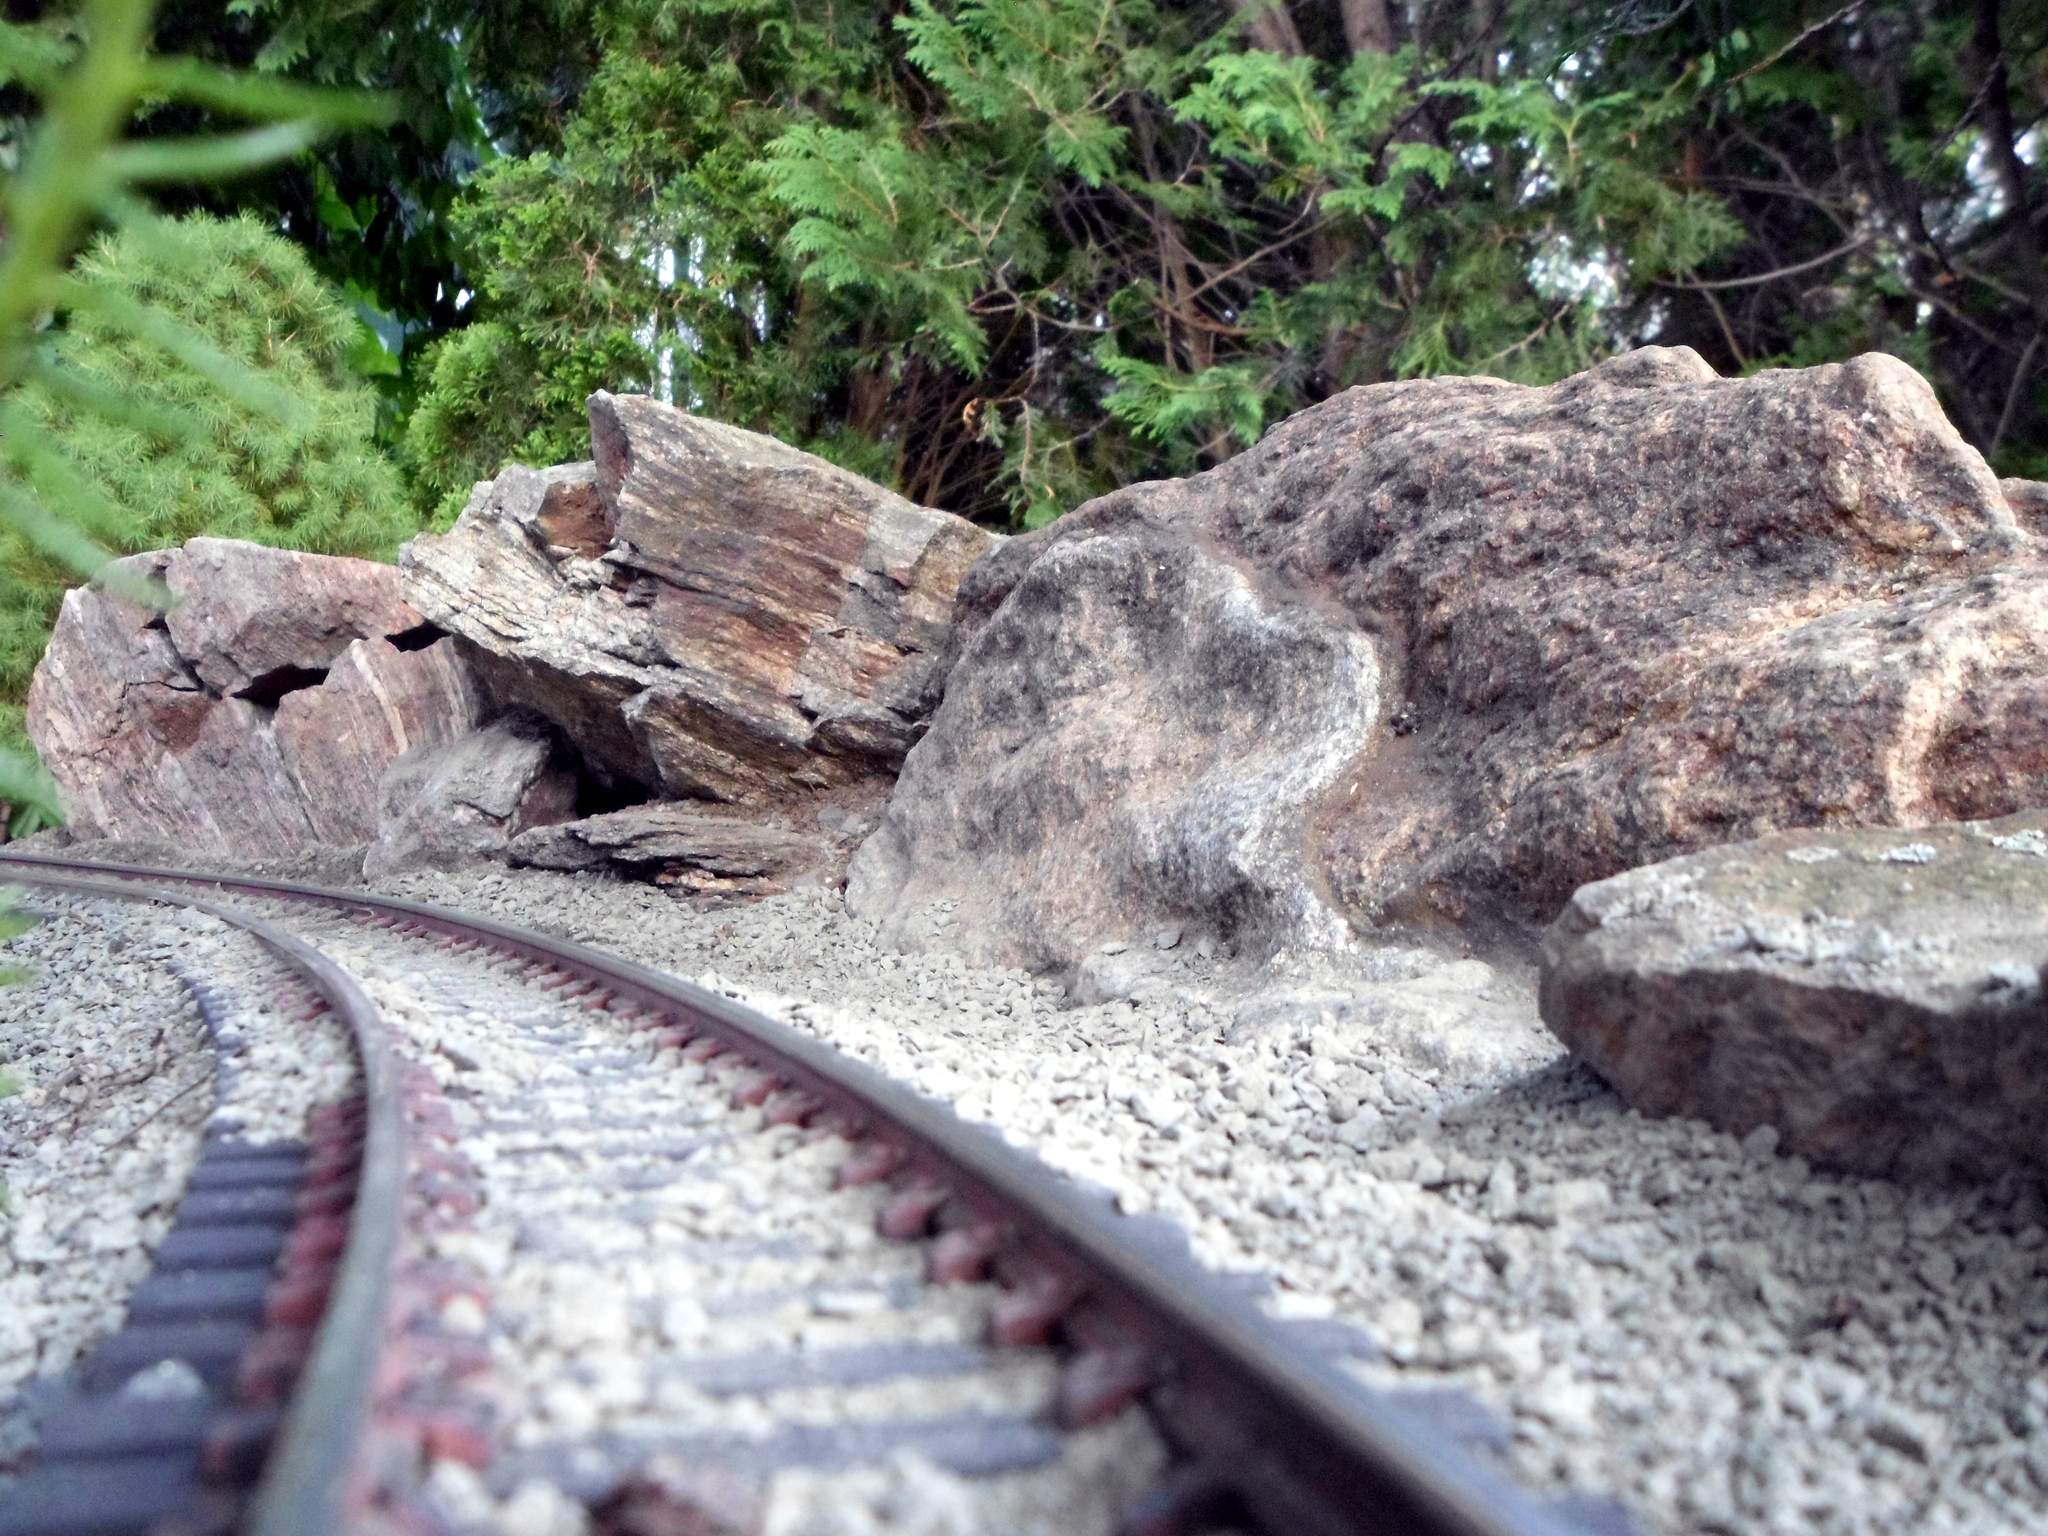
Less than half done and I already think this is going to look great as a photo background…

I need to take a break from fun and mow the lawn. Maybe I can get more time for this over the weekend.

Top notch Jon.

(https://www.largescalecentral.com/externals/tinymce/plugins/emoticons/img/smiley-cool.gif)

Looking really good Jon.

I like the fractured/serrated rock, looks very natural the way you have placed it.

Rick

Love this shot !!!

Reminds me of this …https://www.youtube.com/watch?v=3R0PJBn8d_s

Yes… I know how to embed but not needed for this thread and thank you.

What they said!

Love the stop action of broken boulders.

Very nice job. It looks superb!

Great work, Jon. Looks natural.

Hate to just do a me too post, but yes, me too! looks great!

Jon, really good looking rock and setting, Bill

Thanks all, I’m out there again this afternoon. Humidity levels are up so I’m working a little slower and taking breaks. I’ve got all of the plants out and the old fill removed for the next 3 foot section. I remembered to take some before pictures this time so I’ll post some more pics tonight.

Jon, I agree with what they said… It’ll definitely be a go-to picture area… (http://www.largescalecentral.com/externals/tinymce/plugins/emoticons/img/smiley-cool.gif)

I documented most of the steps during today’s work, so here they are. First existing plantings must be moved to temporary pots. This section had a lot of Creeping Jenny…

Next the existing rock border is pulled out revealing scrap concrete pieces used as a base when the current alignment was built…

And yes, that is Poison Ivy. It and it’s parent vine on the neighbors tree were carefully removed. Once all the concrete scrap is pulled out the area is excavated down to the original compacted dirt grade…

Near the bottom of the excavation is some of the original fill made from old bricks and pieces of Cedar…

Scraping the dirt down to form a good base for the block like I did for the first 32" would have done too much damage to the roots of the Dwarf Alberta Spruce trees on either side of the dig. Those trees are already in distress from lack of sun so I figured more root loss might kill them. Instead I used some of that scrap concrete as a retaining wall and filled in with Stone Sand untill I had a nice base that was level side to side and sloping uphill the same as the track…

Blocks were placed and side-to-side leveled…

Then some of the dirt that was excavated is back-filled around and in the block. To tamp the dirt I use an old Cedar 3x3, same as what is buried and has been hanging around for over 16 years since the original roadbed was graded…

Once the dirt is near the top and tamped firm, sub ballast and some more concrete scrap is placed. This is where I stopped to leave time to mow the lawn…

The view down-grade from Indian Hill Bridge…

More when selecting and placing rocks gets done,

YES That looks very nice

Dennis

Got the rest of the rocks placed yesterday, then took a break to bring a short train out for pitures. But first, a few more construction photos. This is one of the most important tools for the job. I want close clearances, but not broken details, so the clearance of every placement is checked. Tight for 1:20.3 and probably too tight for 7/8’s…

It was a humid and overcast afternoon. After wetting things down so they settle in I had to grab a few shots as the colors were so cool…

This Dwarf Alberta Spruce was on it’s way out last fall. I didn’t expect it to survive, then two strong storms completely changed the amount of sun this area gets by taking down big trees and limbs. Now it is covered with new growth…

I really like this rock. I found it two weeks ago 99% submerged on a beach. All the pieces were together. It was a bear to dig out, but worth it. Note the concrete foundation beneath it to bring it up near track level…

At this point I wanted to start moving toward smaller rocks on the approach to Indian Hill Bridge. I have since changed my mind and will probably pull this one and replace with much larger ones to try and block the view into the neighbors front yard where she parks her big red pickup truck. I’d also like to stick with similar colors and these two are not red enough…

Once that section was ballasted I called it a day - time to run trains. This is what I was going for and I think it’s working!

I took a few more with the train and will post them over in teh Summer Photo thread.

Looks great!

Wow! Except for spotting a few Phillips flat head screws sticking up here and there on the ties, the scene looks real. Great job. You have a lot of patience and an eye for realism my friend.

Well like others all I really can say is WOW, Awesome work, I need to go rock hunting and get some free landscaping done. I can dig in my yard and find round river rock all day, but want the jagged looking like you have, again Awesome!!!

Lookin’ good, Jon!

(https://www.largescalecentral.com/externals/tinymce/plugins/emoticons/img/smiley-smile.gif)

Pete Lassen said:

Well like others all I really can say is WOW, Awesome work, I need to go rock hunting and get some free landscaping done. I can dig in my yard and find round river rock all day, but want the jagged looking like you have, again Awesome!!!

Go out to an abandoned mine in your area and check the tailing piles. It will have broken rock from inside the mountain. All the rock on my pike has been hand selected and hauled to my truck and then to the highway. Helps to have a 4X4, erosion can make a difficult road dangerous… don’t go in the mines alone, my buddy was lucky I sensed the weak floor.(https://www.largescalecentral.com/externals/tinymce/plugins/emoticons/img/smiley-surprised.gif)

Look for ‘banked’ rock, low grade saved for more efficient reclamation. I’ve found real pretty host rock or mineral stained rocks. Most of the turquoise rock seen on my layout isn’t. Just an oxide layer, but nice…

edit: stupid proof reader dropped an n

Hey Jon, put a penny on the track for me!