Large Scale Central

Mik 2018 - Outside the Box - Jon Radder

I’ve been on the fence about committing after last year’s DNF. I have a lot of projects in the queue for the indoor layout and don’t want to get sidetracked with a Challenge build. Then I realized I could do both and build something to help finish the indoor division. Wall Station and it’s platform (from an earlier Challenge) winter at South Willow Hill on the indoor division. Being a small area this wouldn’t be hard to get into shape as a working diorama. I have moved my lighting project indoors and started that in South Willow Hill (CP SWIL). SWIL is the last stop before the Southern terminus on the indoor track. It ends in another dead end tunnel behind a wall; the tunnel’s name is BOX. It is currently just unfinished plywood and framing lumber. My Challenge entry will be to build a wooden tunnel portal and retaining wall at BOX.

It’s a big project, so I unfolded the napkin for the drawing…

This is the area to be improved with a portal…

Nice idea Jon. I remember the spot from past discussions, but I think of an angled face to any tunnel portal for that spot. (https://www.largescalecentral.com/externals/tinymce/plugins/emoticons/img/smiley-cool.gif)

That will be fun

David Marconi, FOGCH said:

Nice idea Jon. I remember the spot from past discussions, but I think of an angled face to any tunnel portal for that spot. (https://www.largescalecentral.com/externals/tinymce/plugins/emoticons/img/smiley-cool.gif)

We’re on the same page here Dave. I thought of that after I drew it out. I checked clearances tonight and it should be OK to come in a bit from the corners.

That’ll look good Jon.

Good to see you join up.

As I have thought about this and sketched out several variations, the project has grown significantly. The portal will not simply be a flat, but have about 6 inches of depth extending toward the camera in this shot of the location to be improved…

The front edge extended portal will be flush with the white blocks at left and planks will also finish the first 6 to 8 inches of the interior of “BOX”. The balance of the box interior will be painted flat black. At the the left a retaining wall will be simulated extending back to the corner behind the station and the right side will extend an inch or so over the existing paneling.

I have sketches home that I can photo and post tonight.

As a side project, but not part of my entry, the open hole above “BOX” will be closed in and black PVC sheet will be attached to the block wall extending up 24 inches from the bench. Someday I may apply a vinyl printed back drop, but for now it will give a generic backdrop for photos that looks much better then the 50’s painted blocks.

I like it, go fancy!

This ain’t gonna be no Wall Passenger Shelter - which did not survive the early winter too well outdoors. The roof with all the detail is OK, but the frame with the fancy corbels did not fare too well. I think it’s beyond repair and needs to be rebuilt.

A portal will clean that area up nice. You will probably have enough wood left to go around the corner toward the log cabin and some angled bracing on the right of the tunnel.

Here is my progression of sketches. No fancy CAD for me this time - doin’ it old-school, the way I build signs at work. Here is my material requirement sketch. First pass under 800 board feet…

Then I looked at the target area a bit and refined it some more, extending the tunnel forward a few inches to allow some space for a hillside contour…

The latest would build a model tunnel section about 7 inches deep to face the existing plywood box. I also played around with attachment ideas…

I was hoping this thaw we are having would last through the weekend so I could mill my lumber outdoors, but that will not happen.

Searching around for inspirational prototype photos as I finish my coffee before heading down to the shop to start cutting. This image taken by Ray Dunakin was one of the first to pop up…

That has already helped me to determine that the angle timbers are outside the lining. Unfortunately, prototype photos of wooden tunnel portals are few and far between. There are a ton of model photos. These two have been a source of design and structure ideas…

That’s enough butt modeling for today, Time to get off it and go saw some wood!

I spent the good part of the morning gaining access to a cabinet in the garage where I thought the blade wrenches for my table saw were put away. Turns out they were left on the tool bench last time I changed a blade months ago. I decided to heed the advice about using a fine tooth blade. I normally just use a general purpose blade, but I had an almost new 80 tooth blade, so I started with that. I should have waited until I had at least carved out the 2x4 before changing blades as long rip cuts through 6" material were tough and produced a lot of fine sawdust and smoke (https://www.largescalecentral.com/externals/tinymce/plugins/emoticons/img/smiley-surprised.gif)The smoke must have been coming from the motor area of my saw as there was no burn evidence on any of the cut wood.

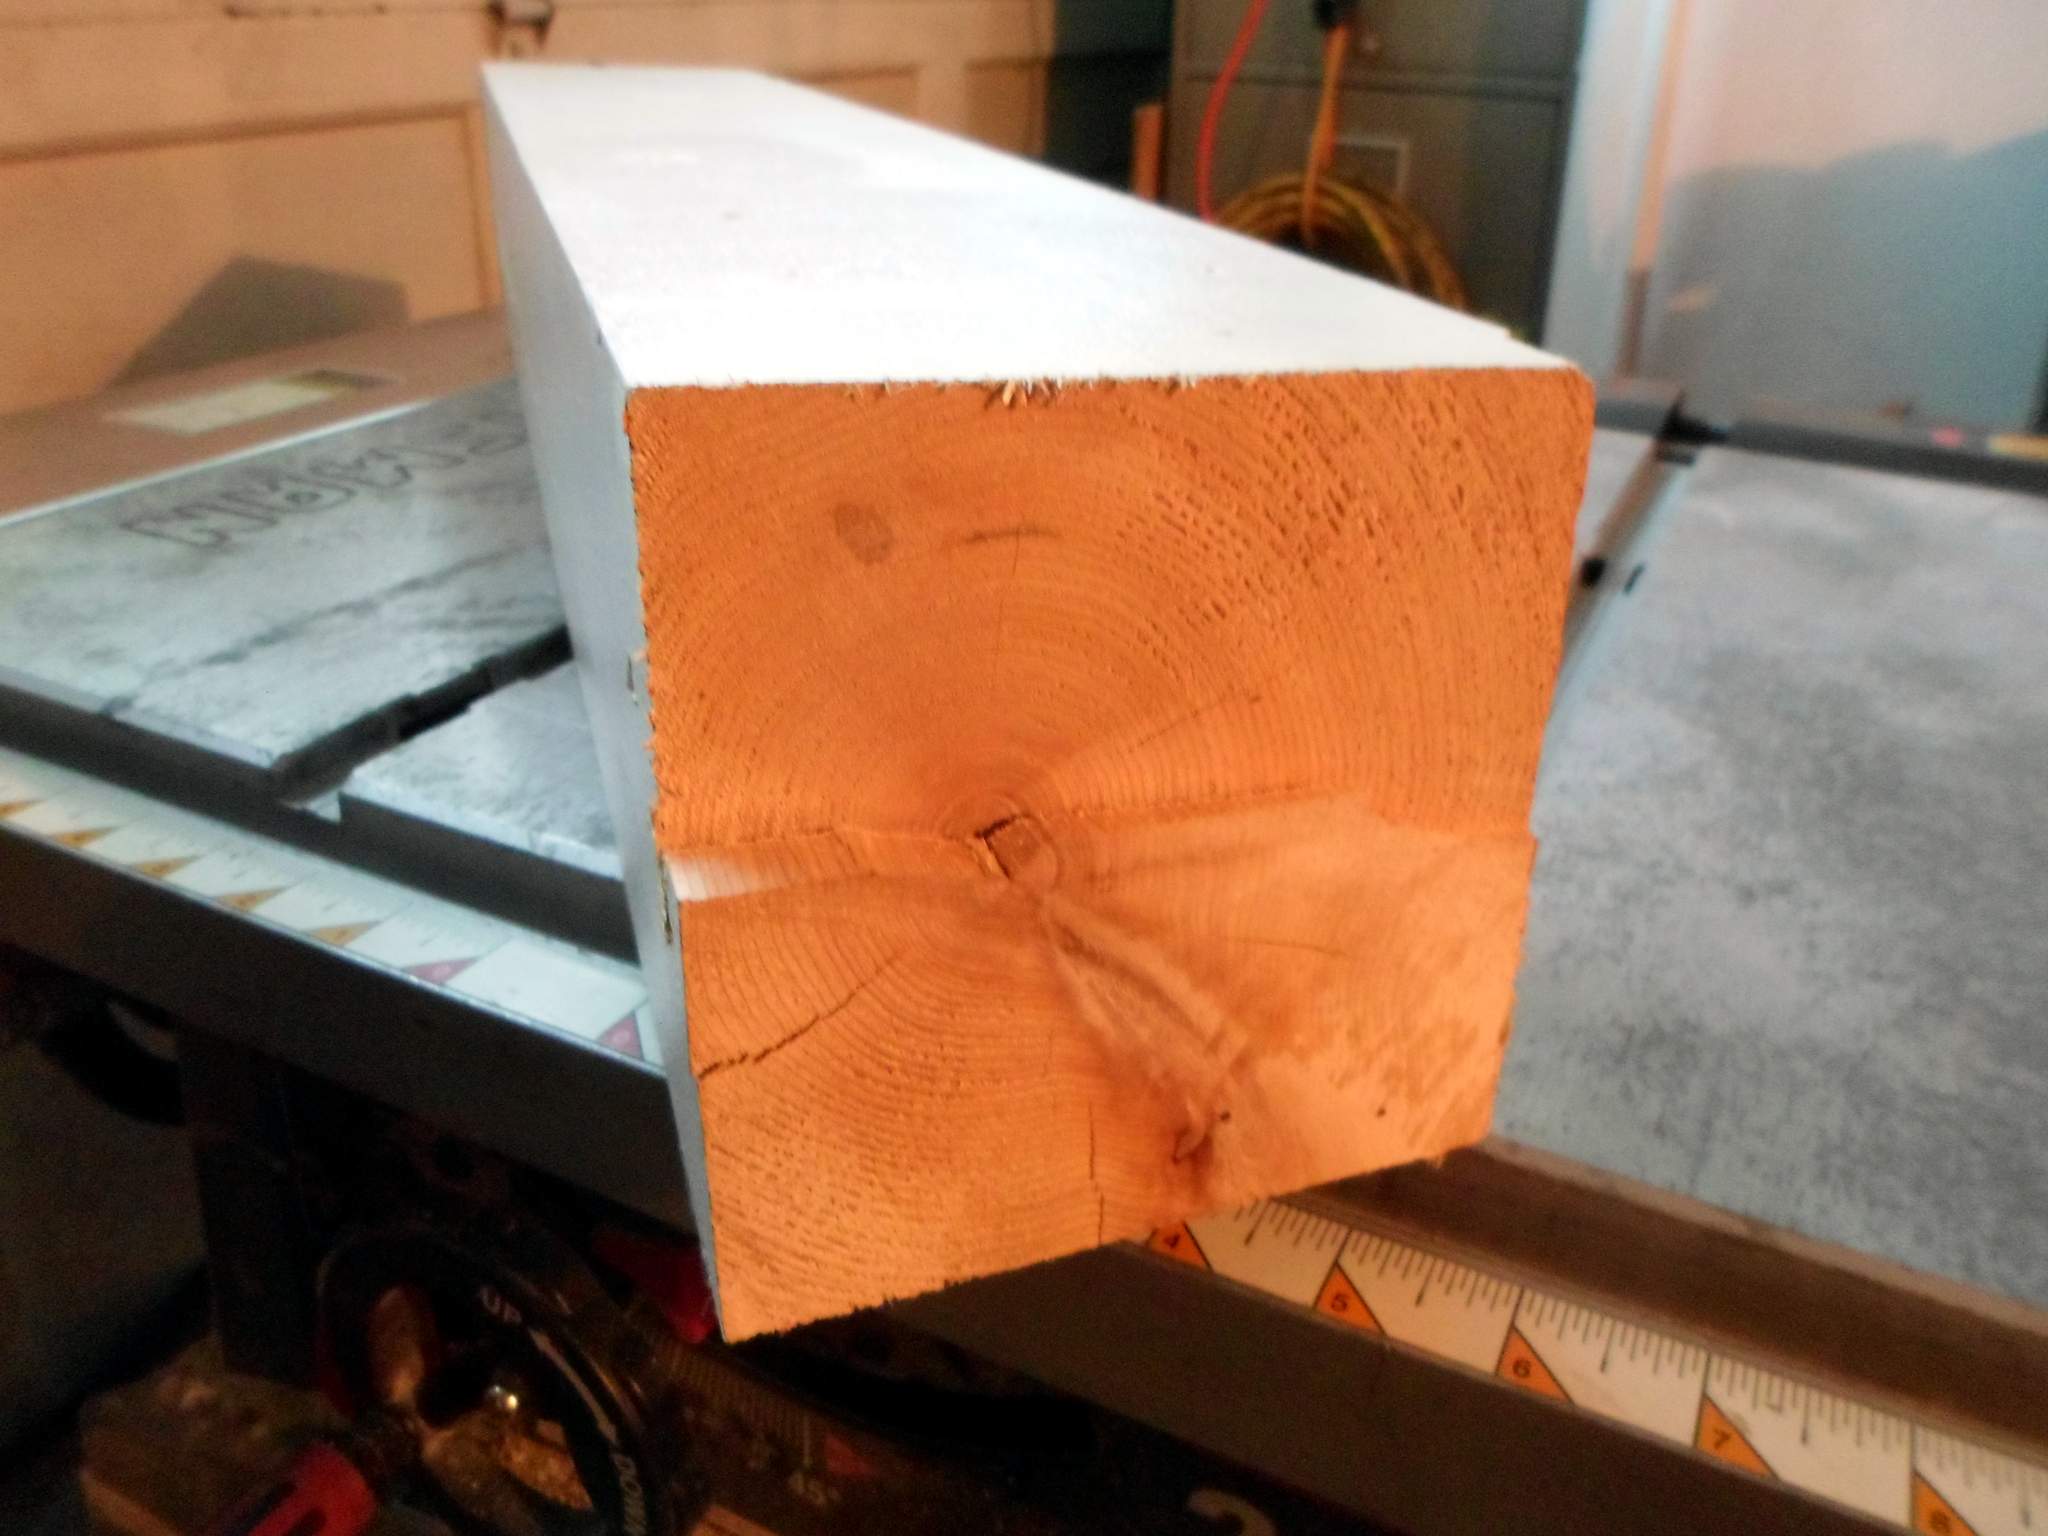
I started out with a chunk of painted 6x6 white Cedar that came from the scrap bin at work…

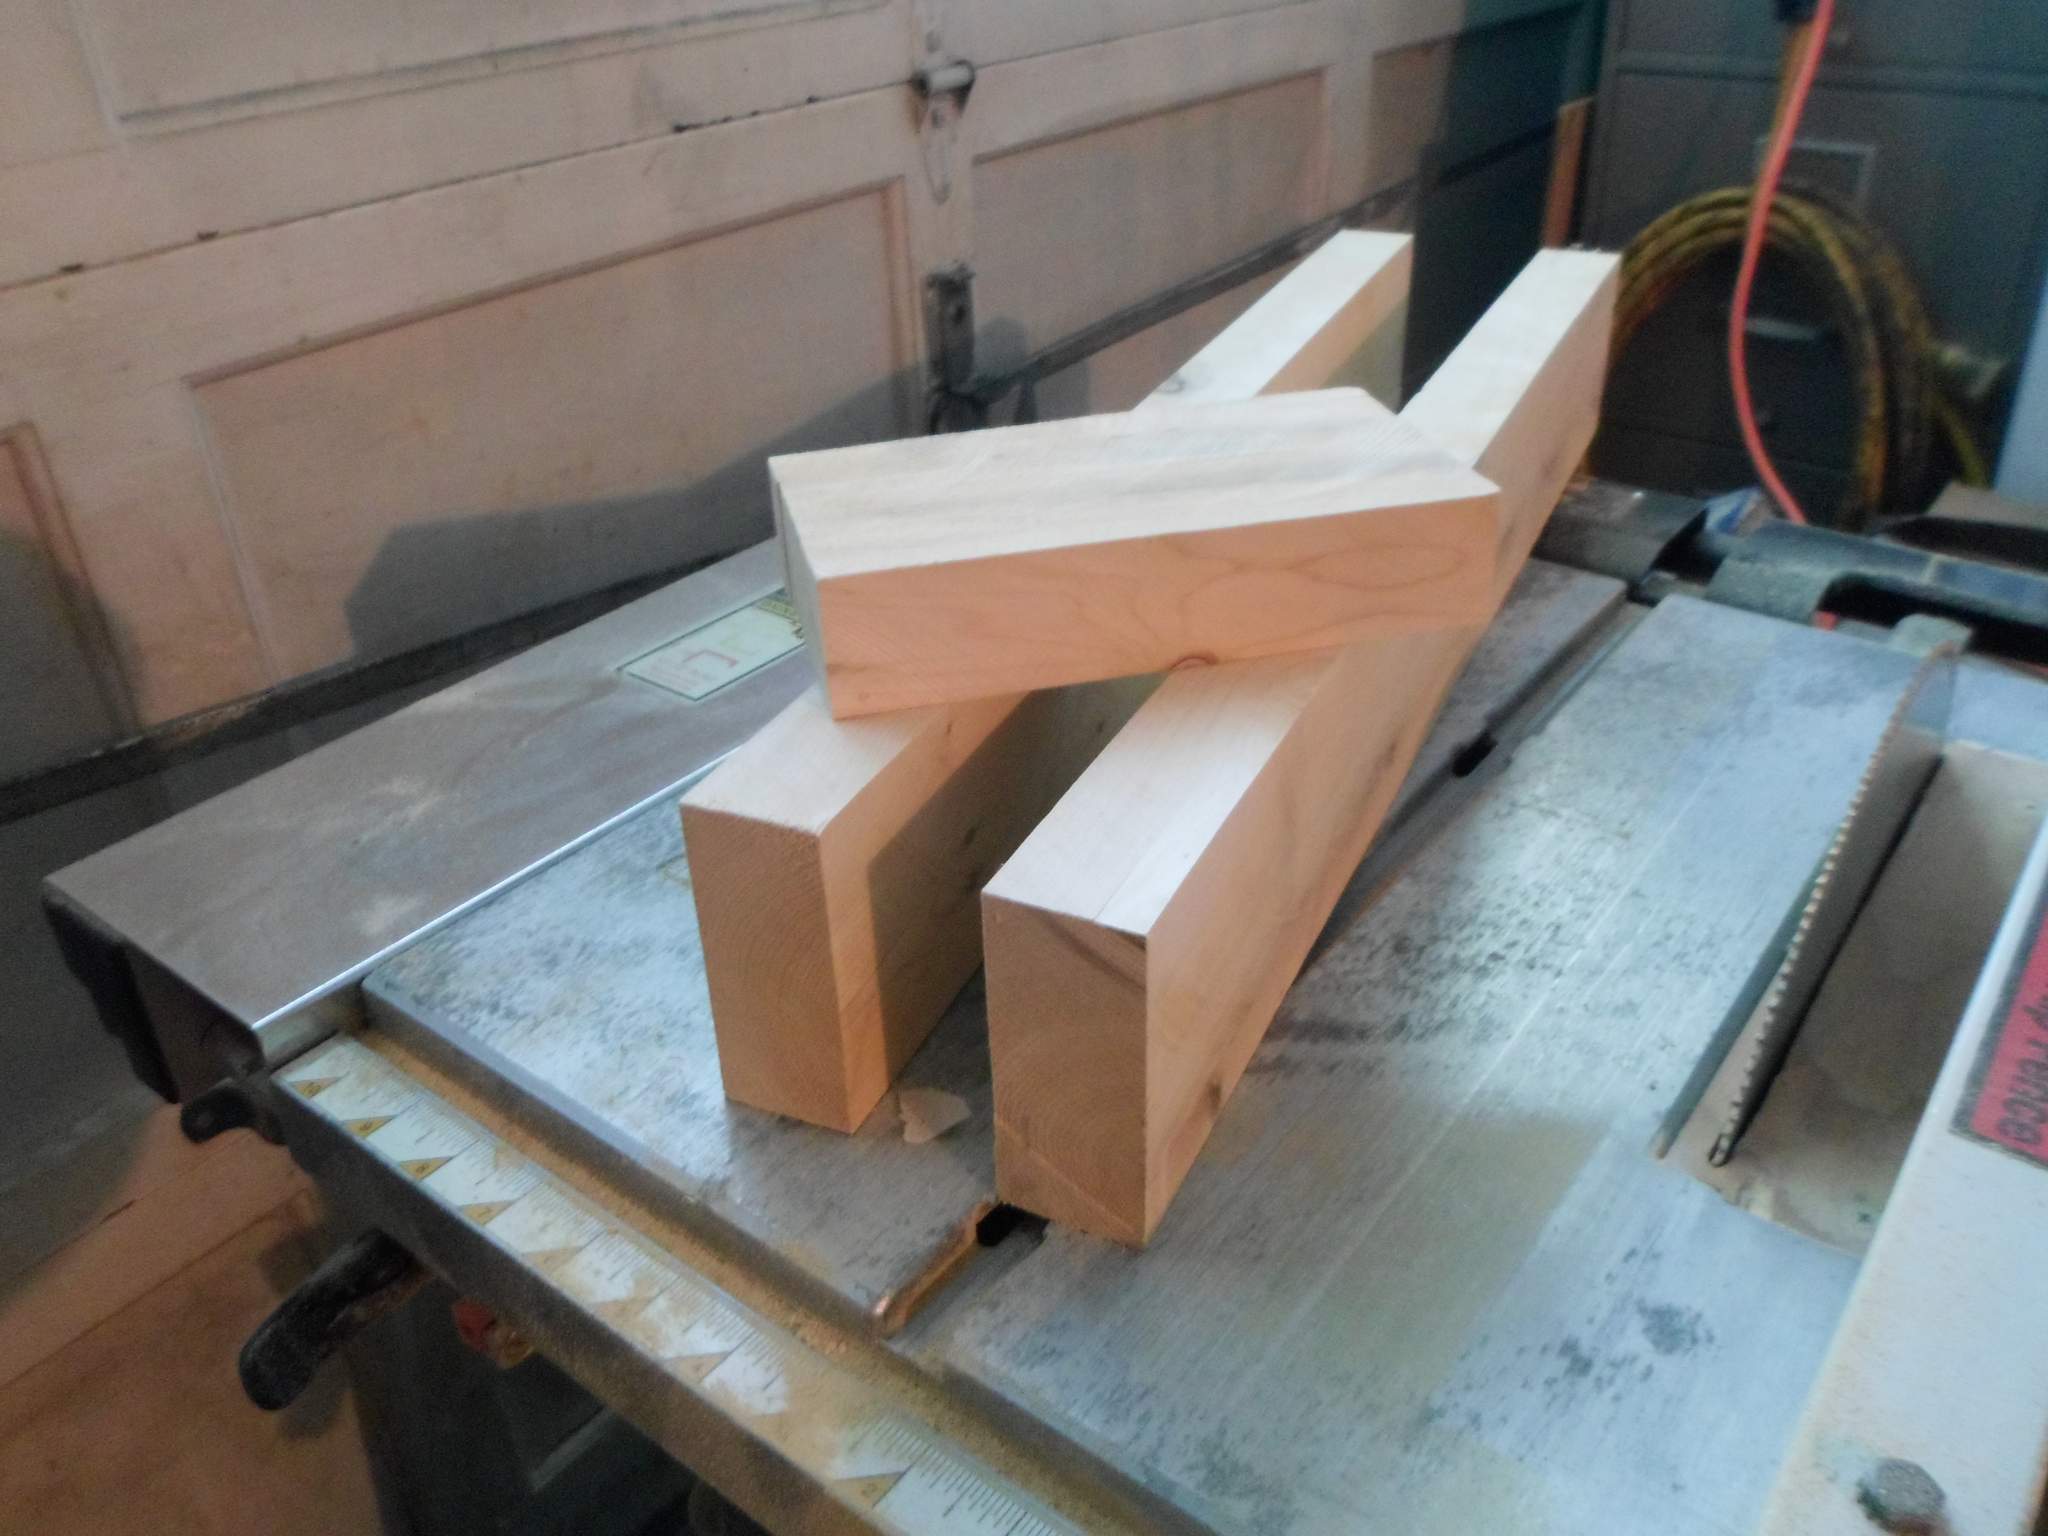
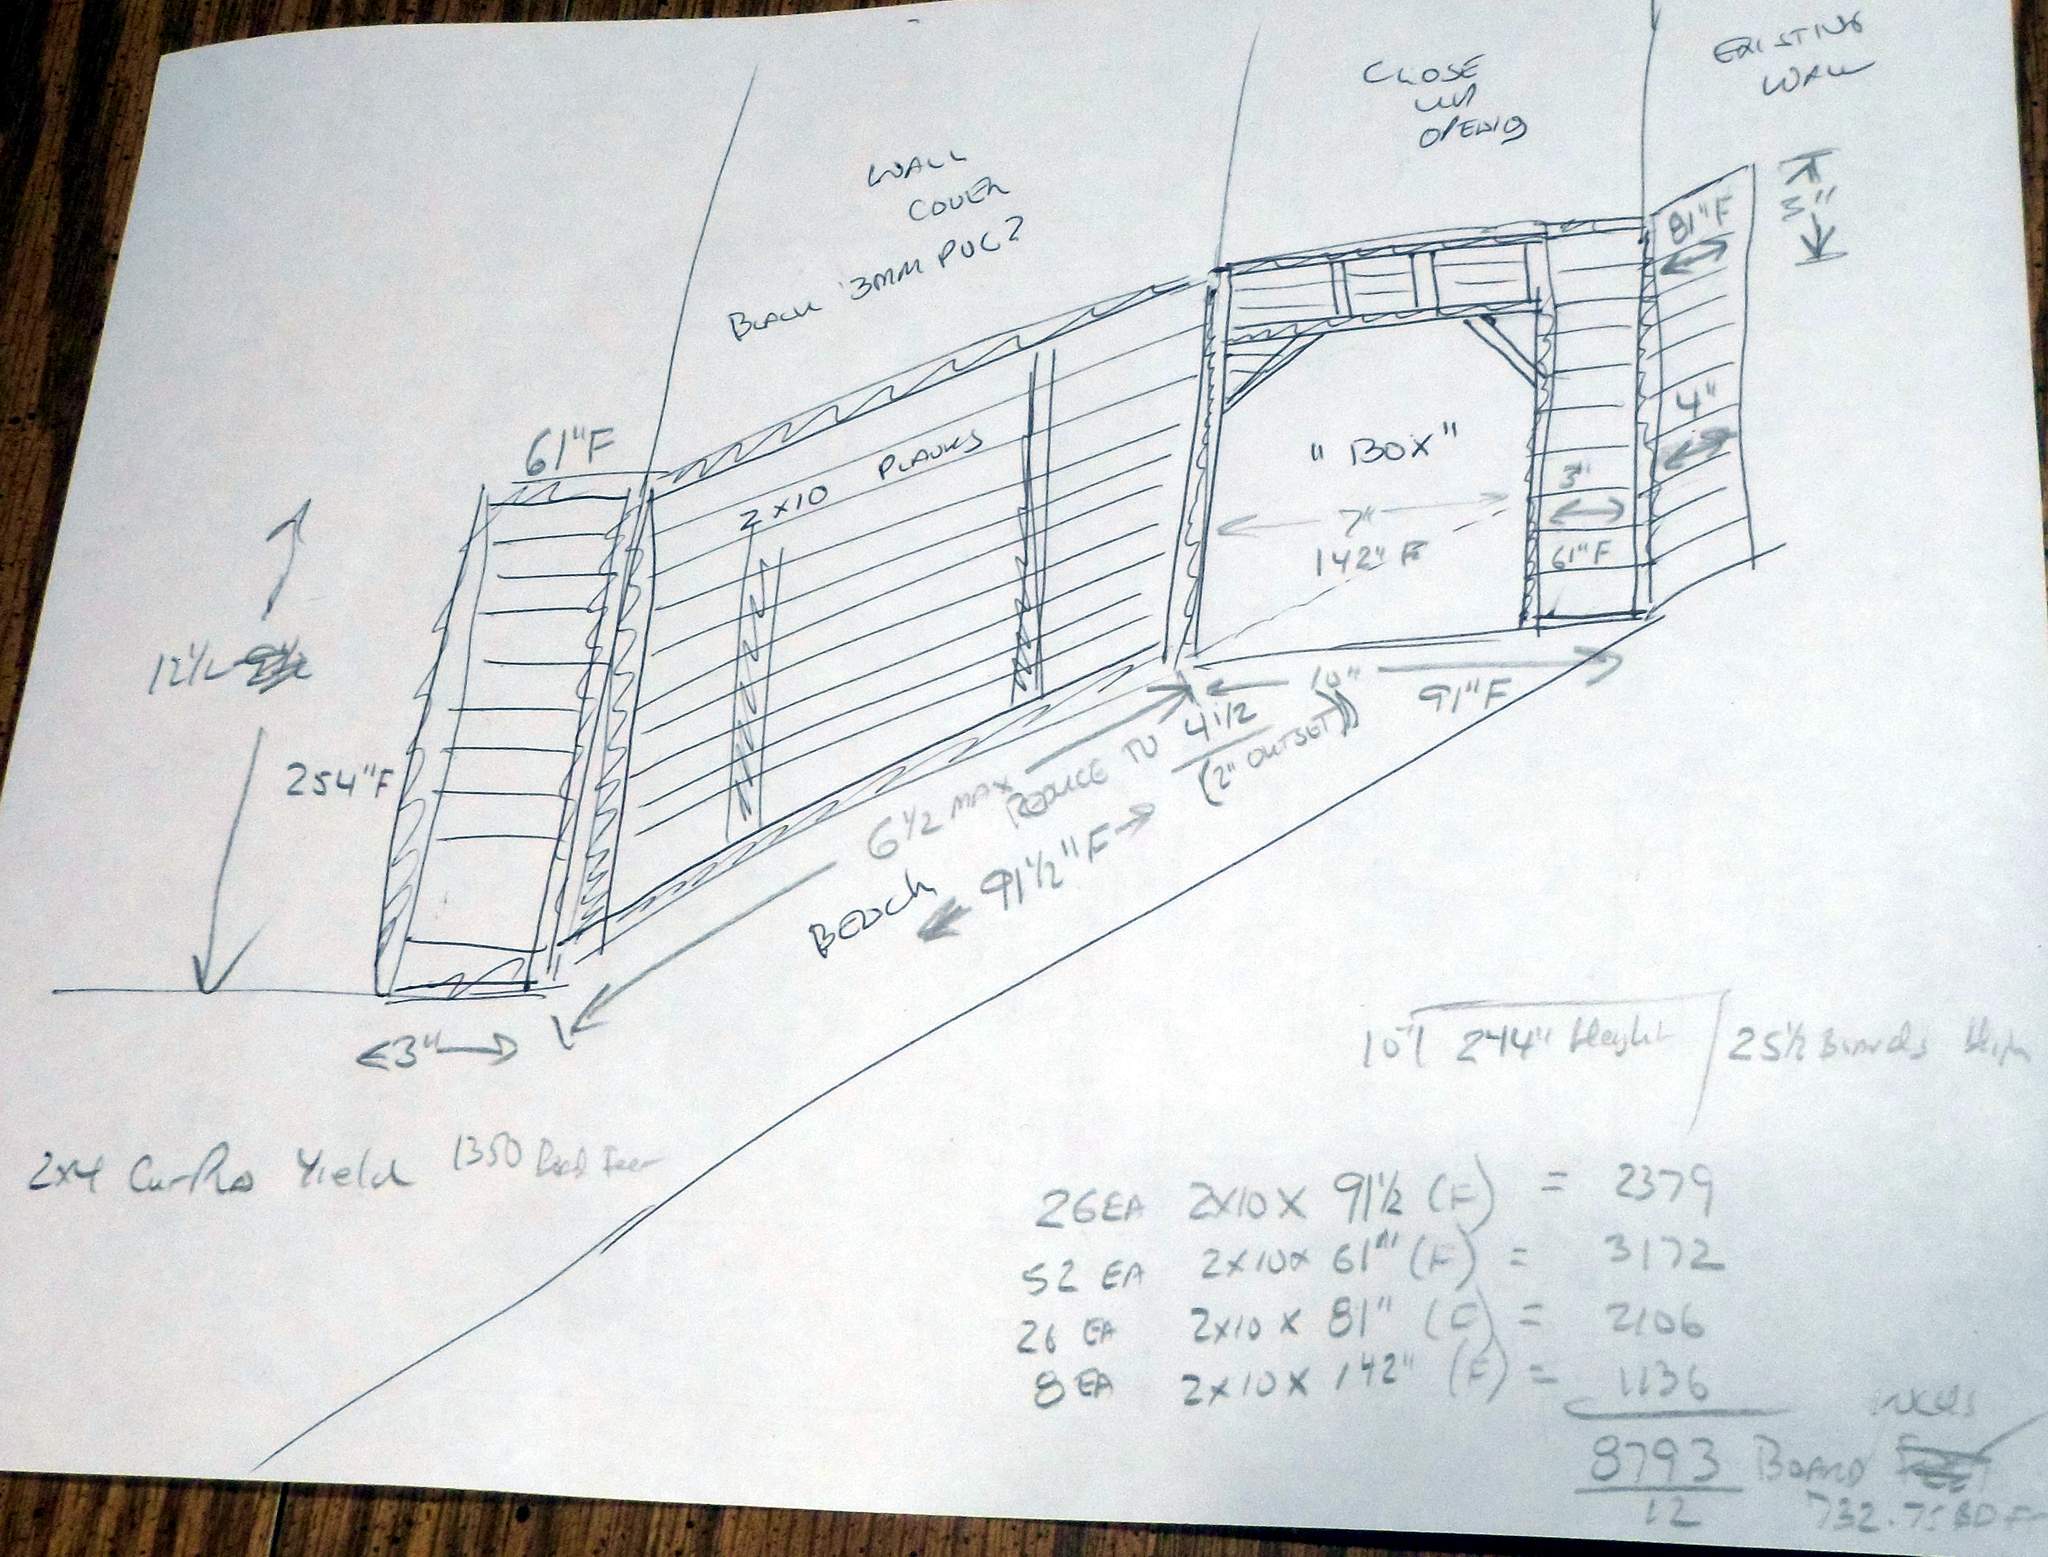
From that I carved out two 23" lengths of 1.5" x 3.5" (common 2x4), then chopped 7 inches of another chunk and carved that down to 1.5" x 3.5" too. This totals 53" of ‘2x4’ which is my allotment for 1:20.3 scale…

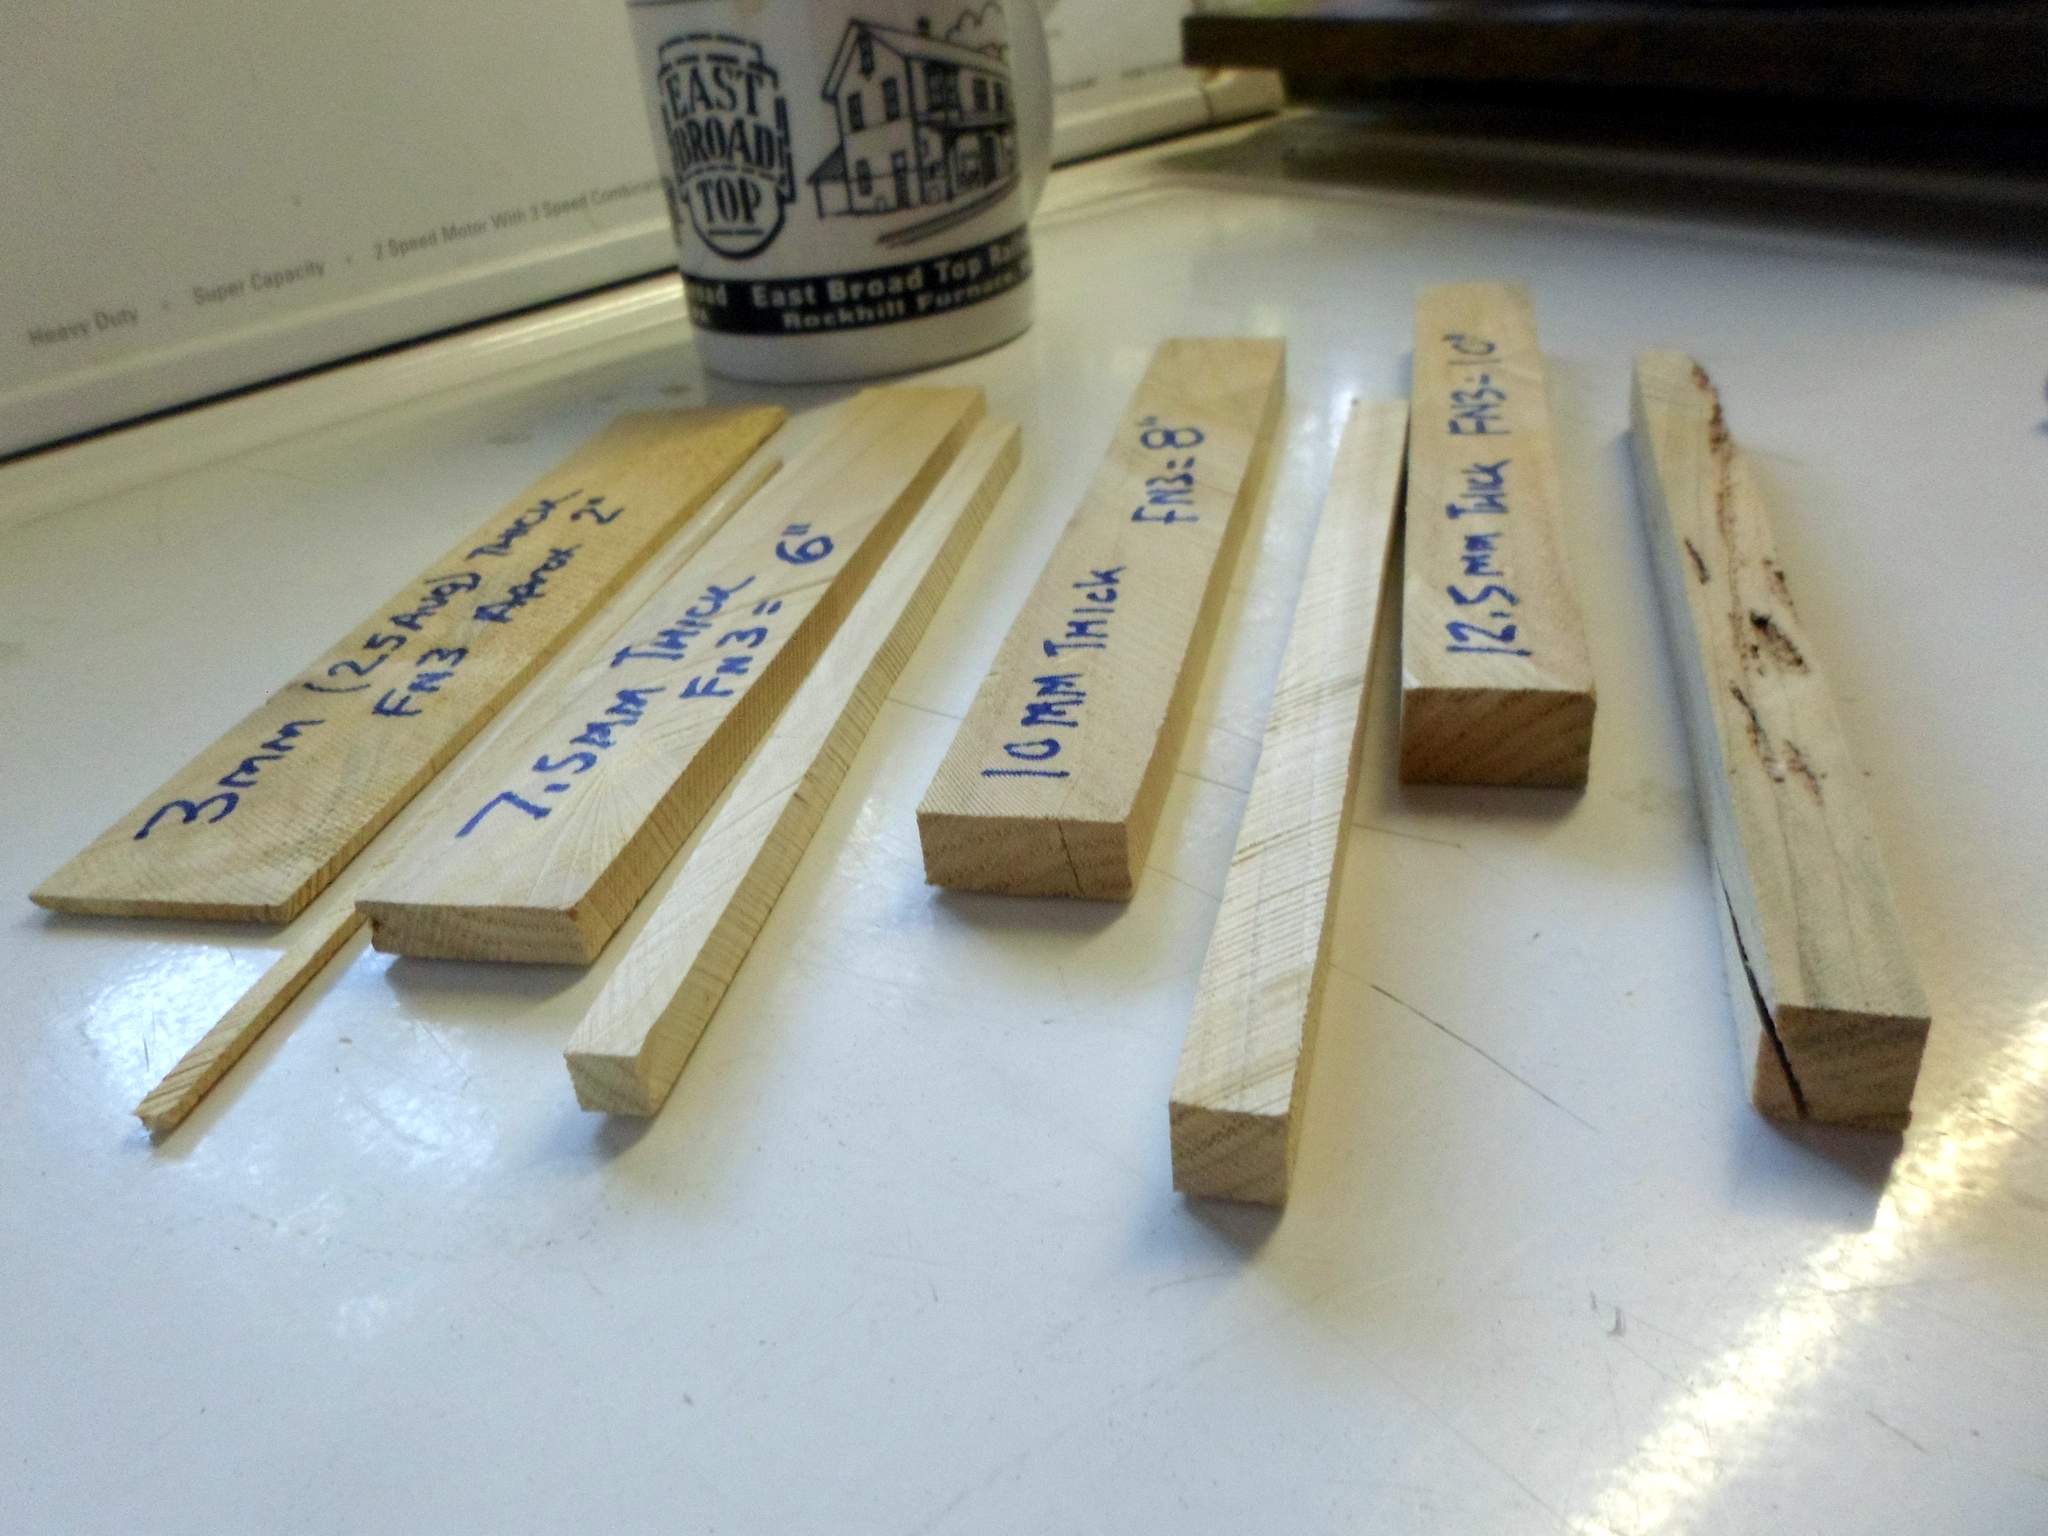
Next, I took some of the wood that was not part of my allotment and cut some scale thickness guides and lumber samples…

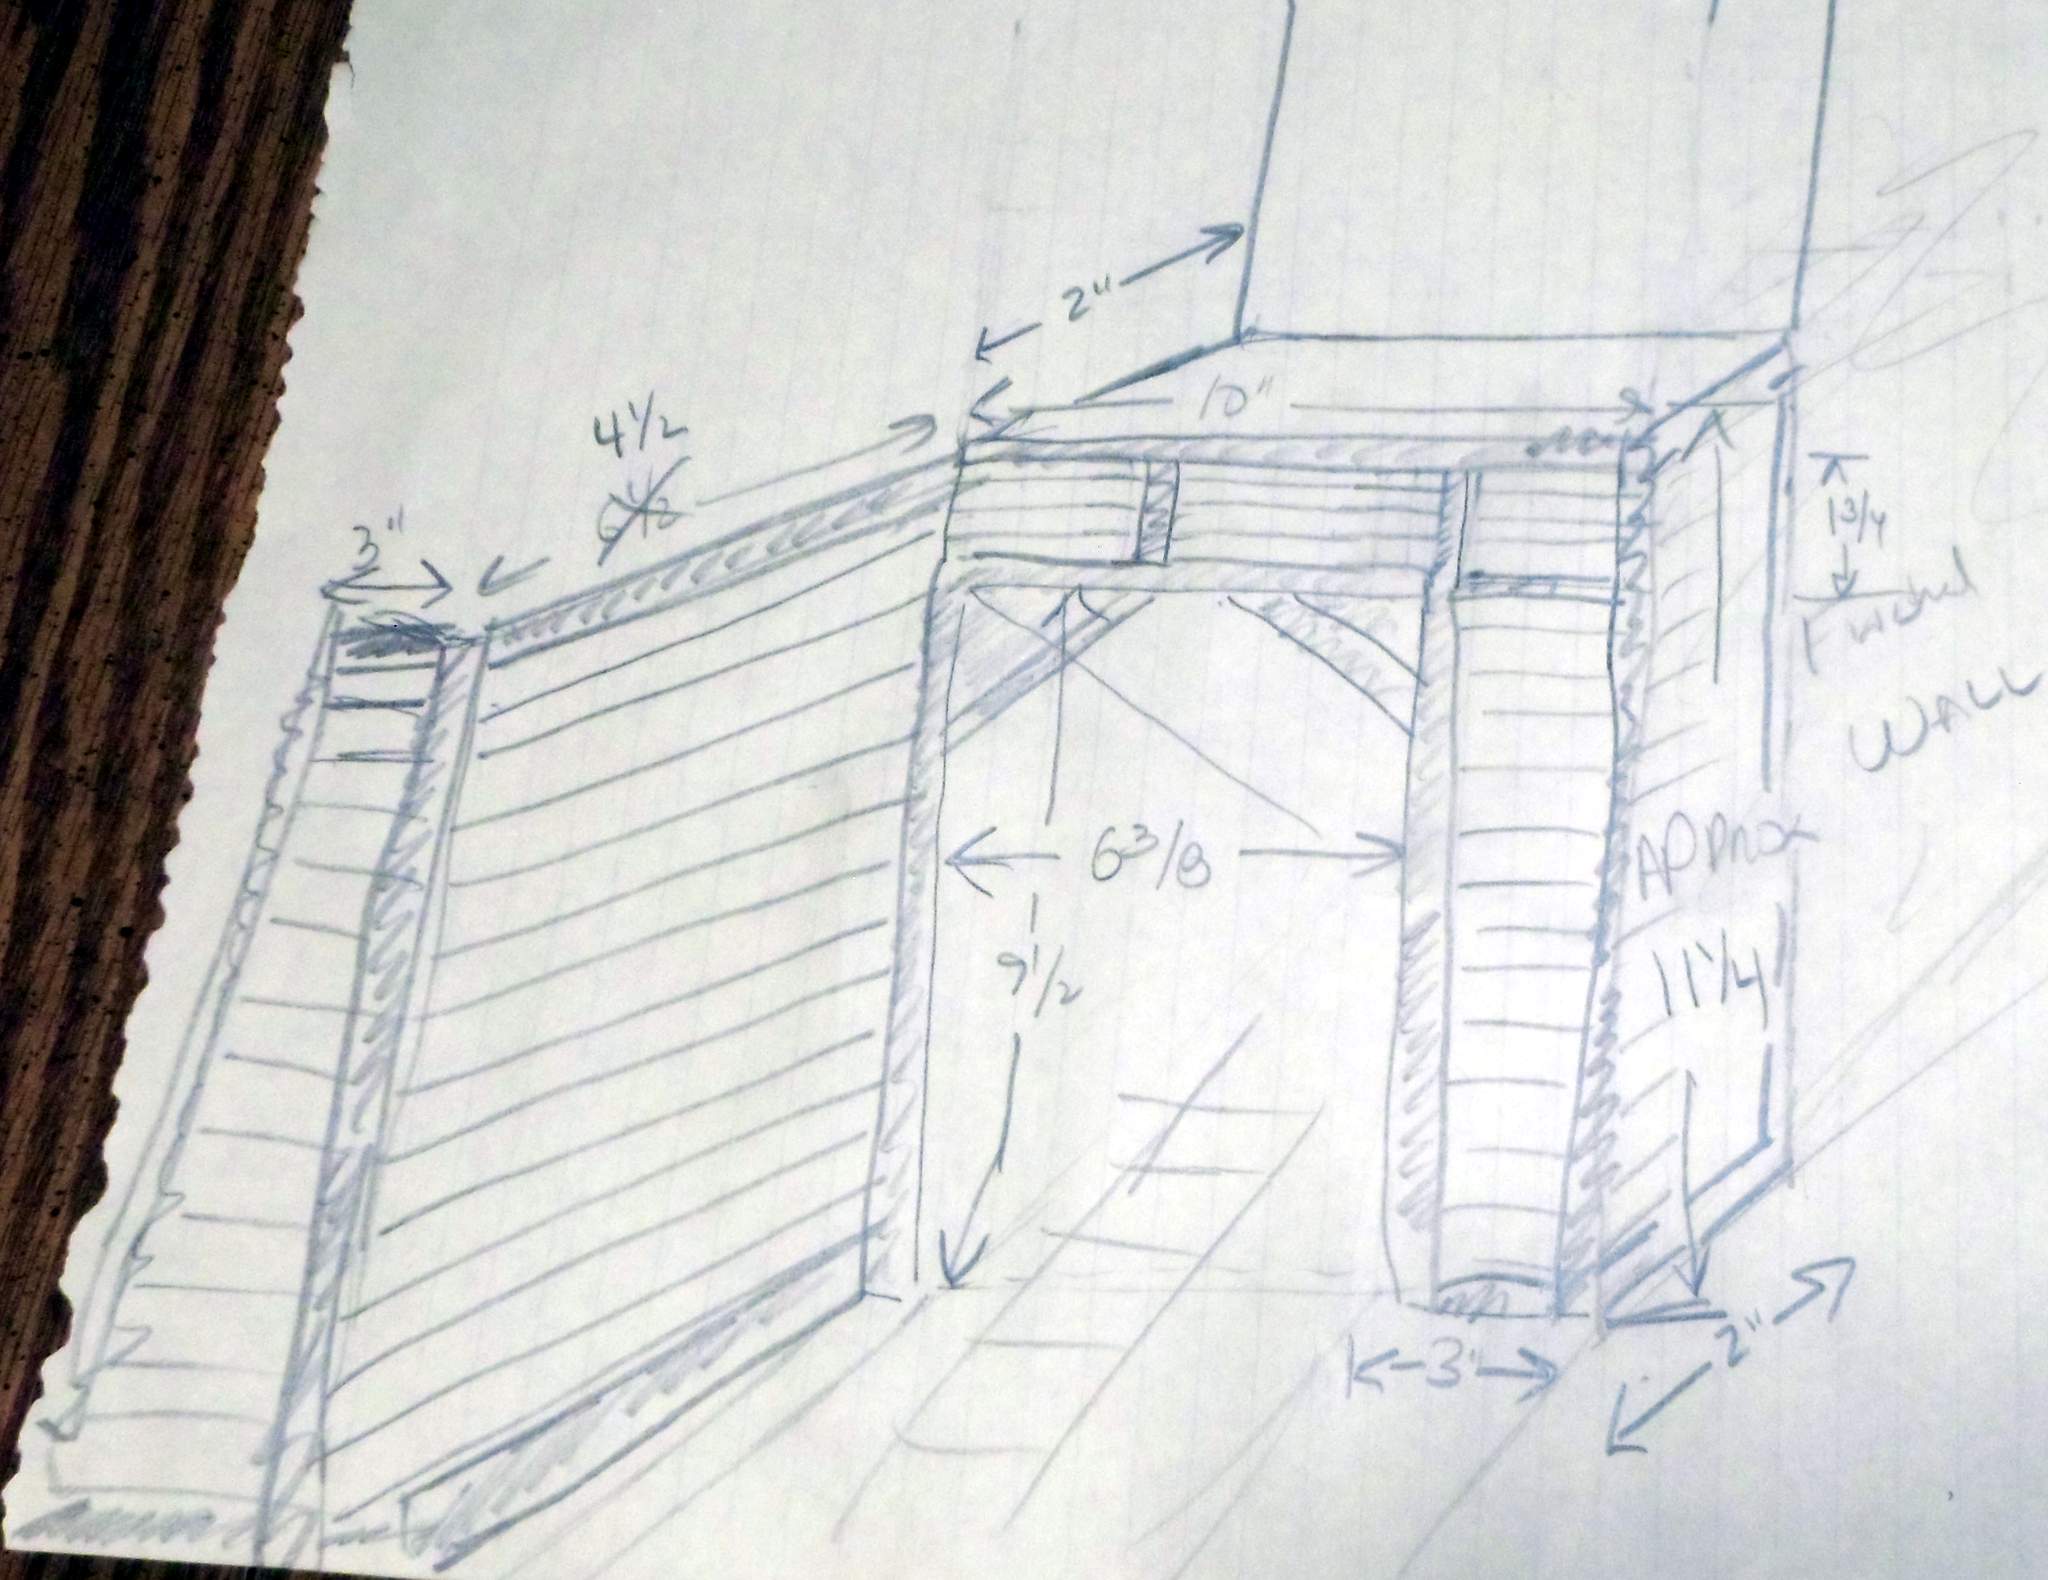
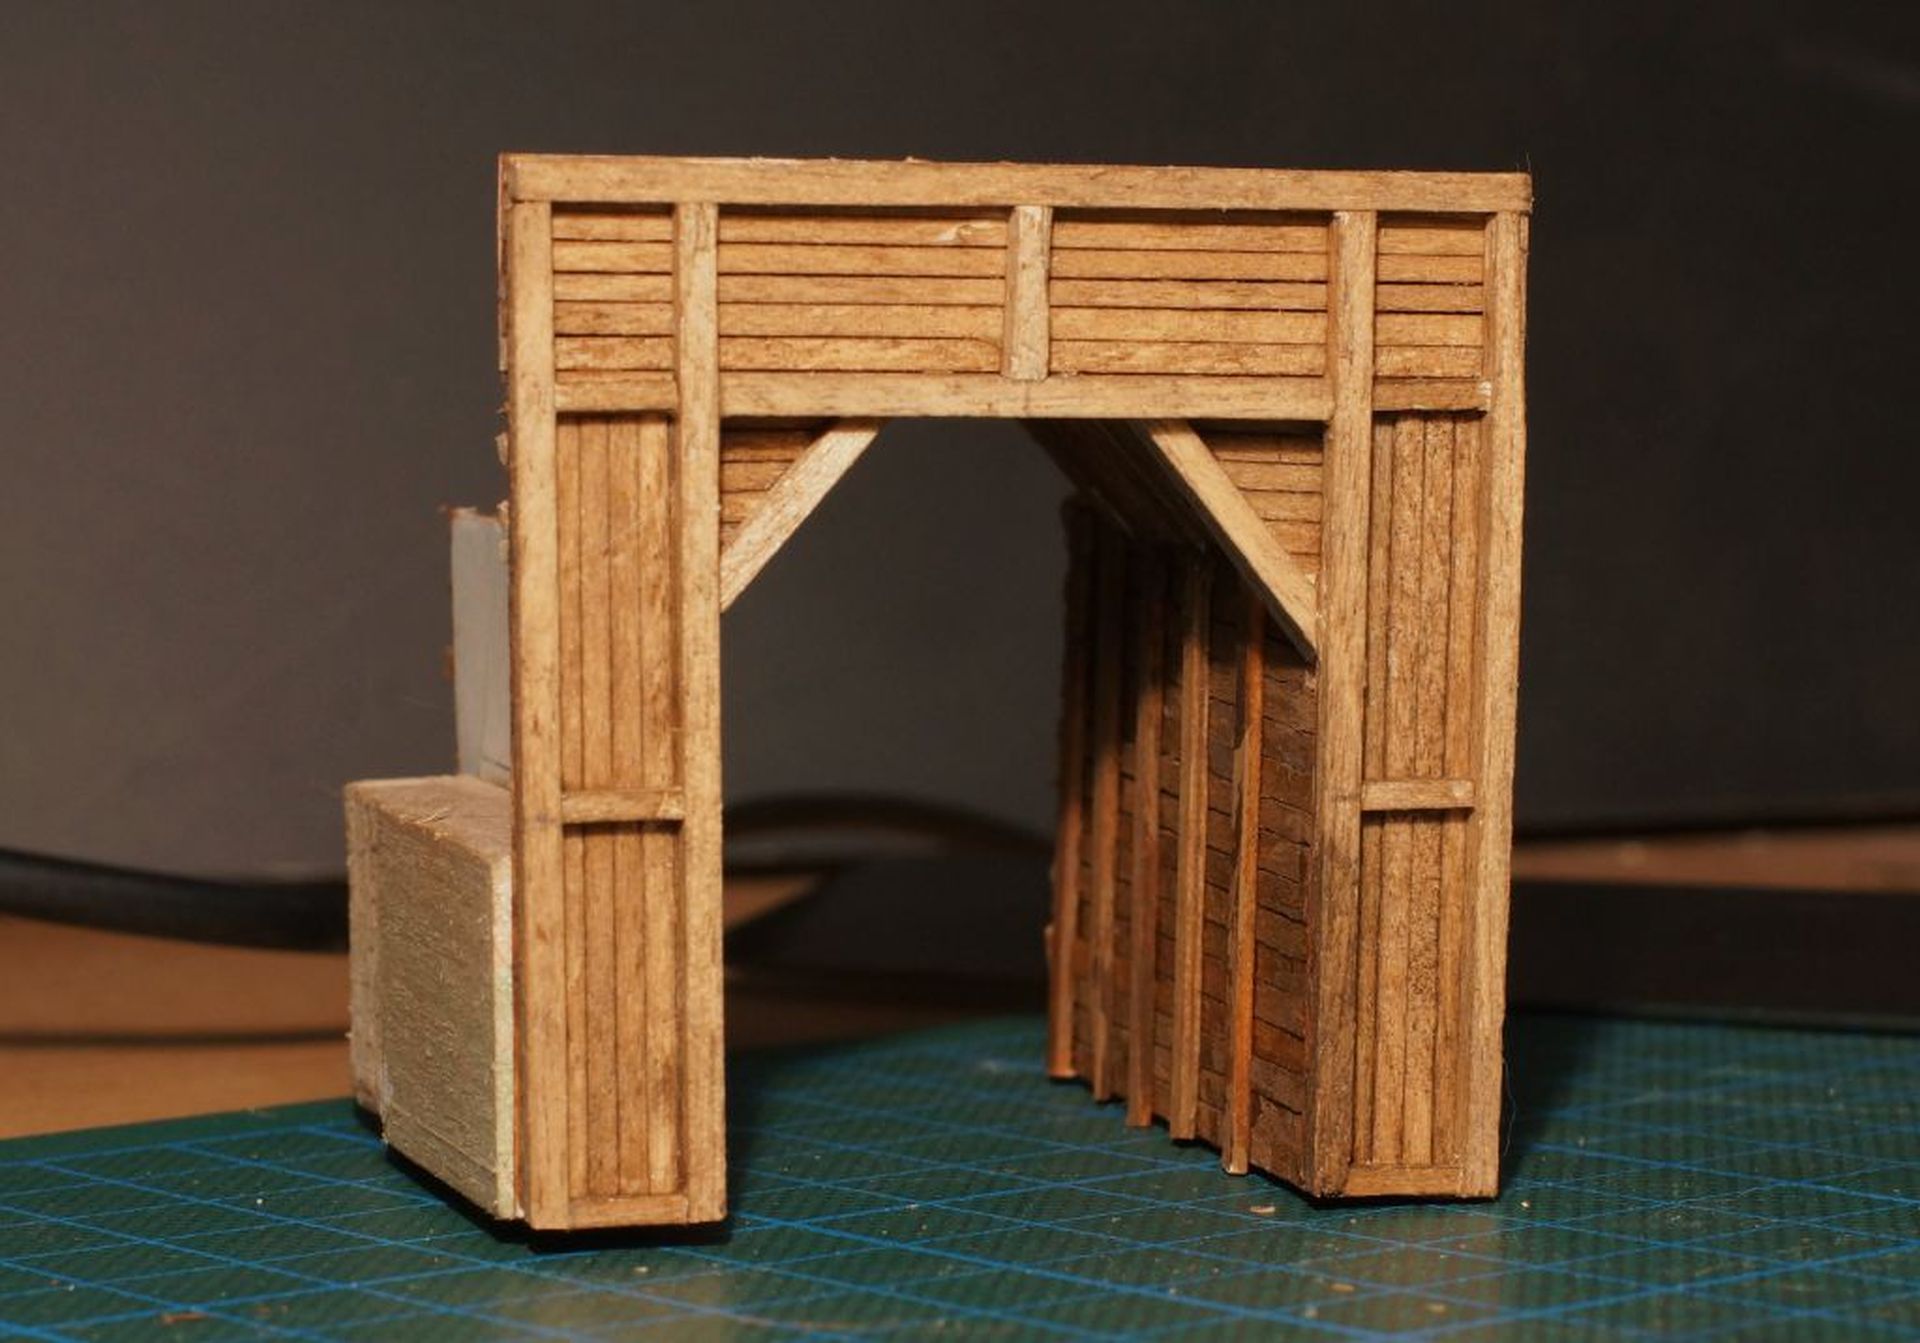
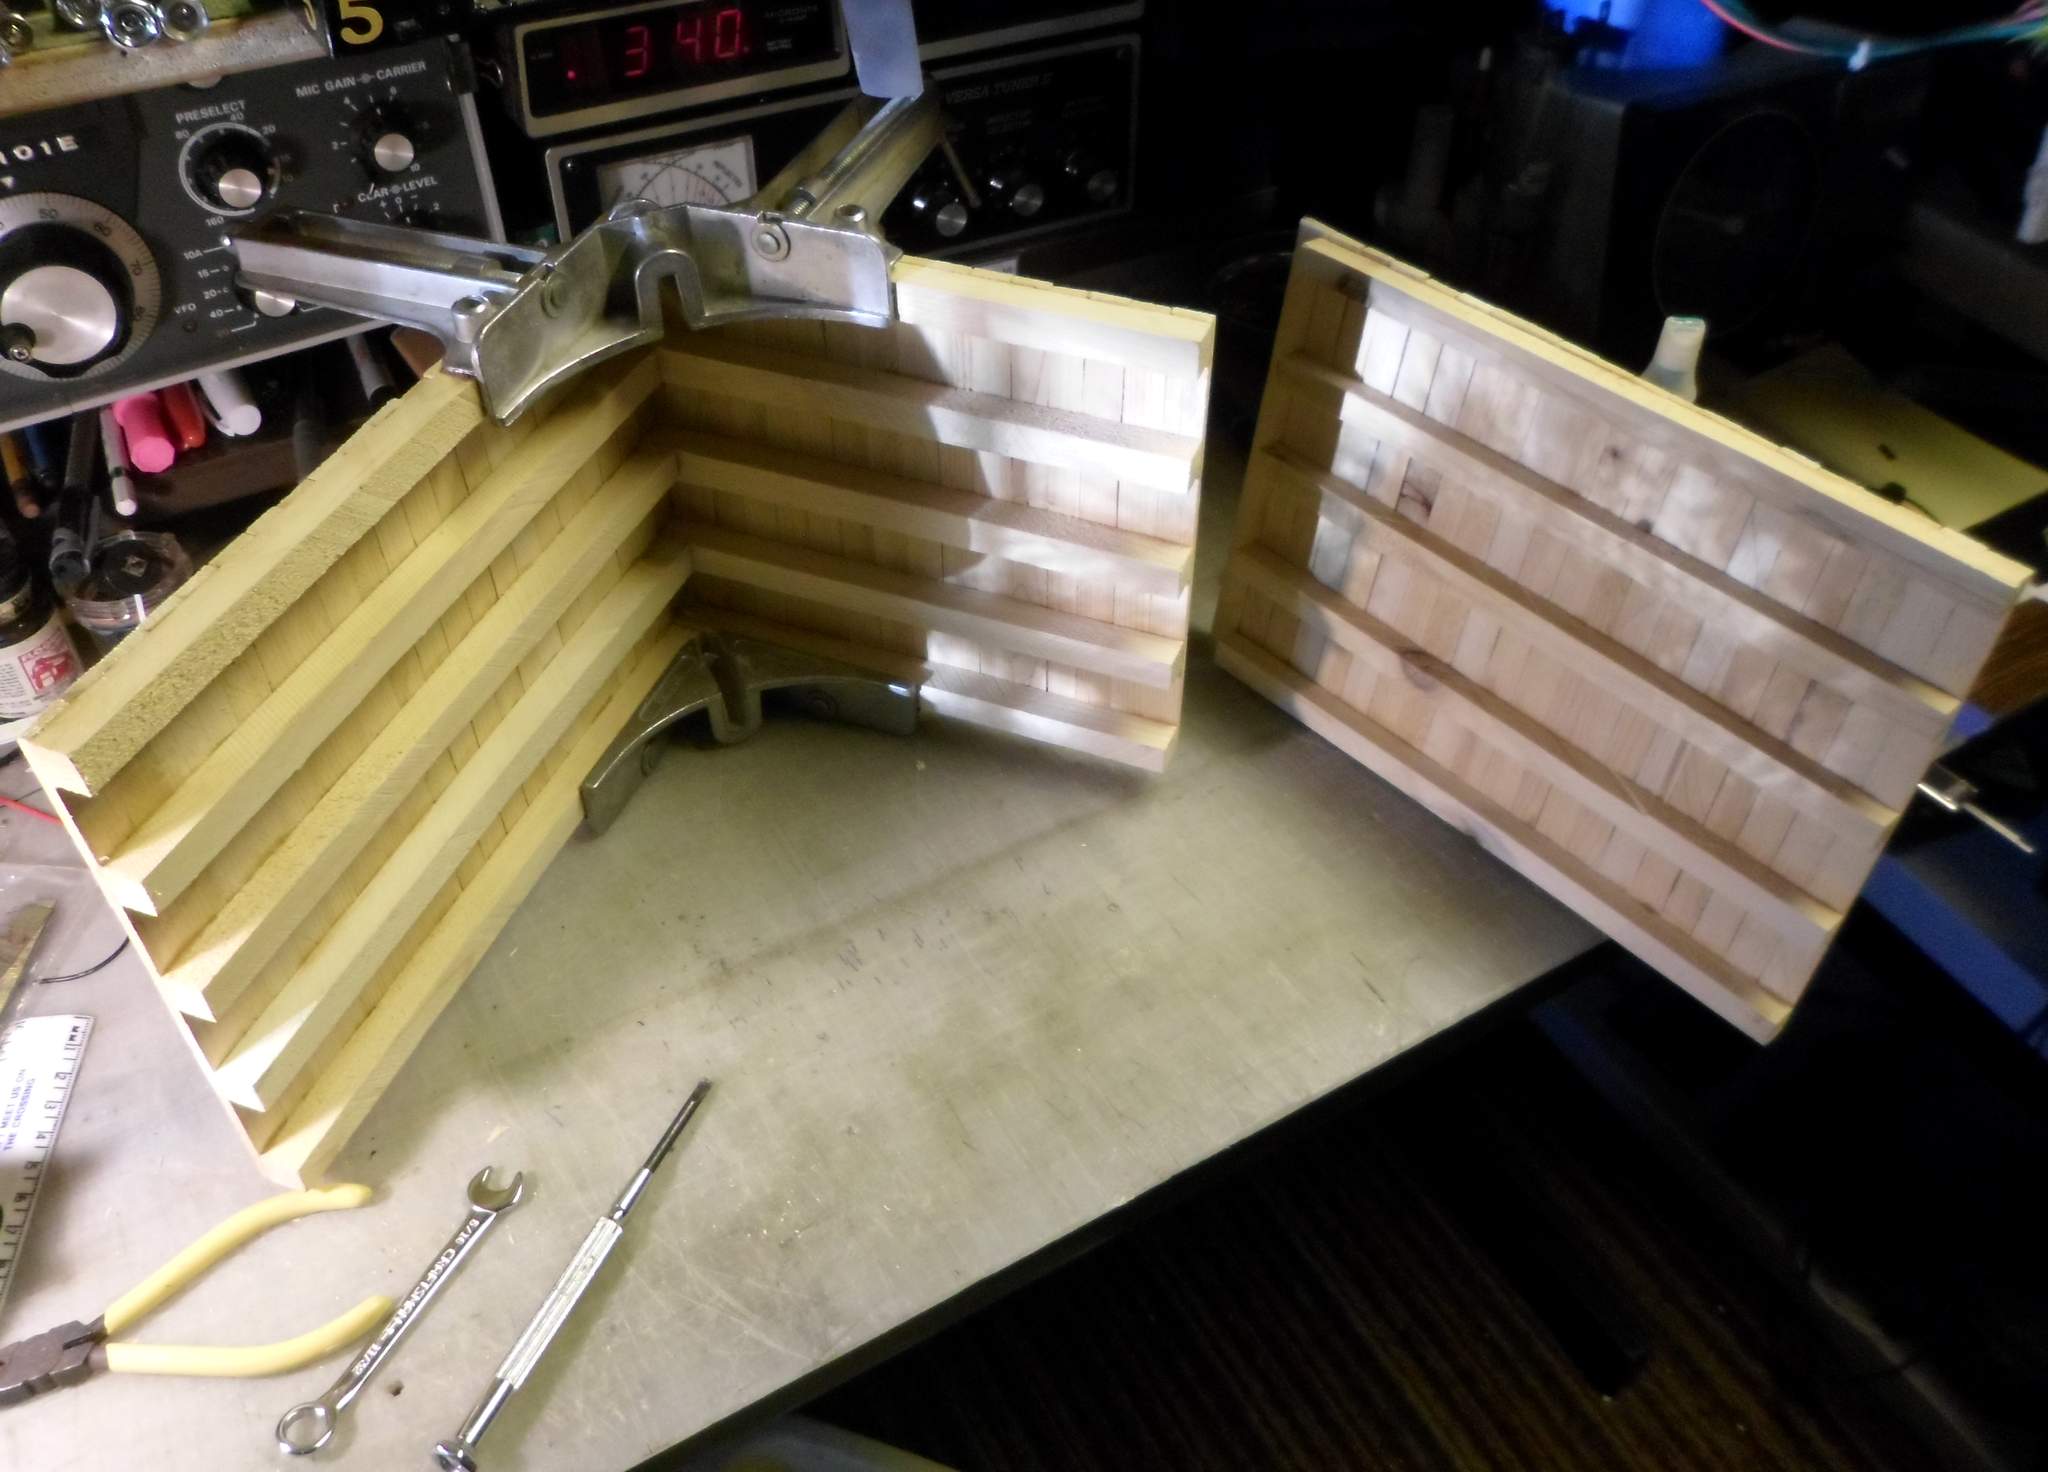
My sketches and cut plan had called for 6x6 timber, but my sample looked too light, so I cut an 8x8 and a 10x10. I decided on the 8x8 then promptly put the wrong spacer in the saw (10 scale inches) and begun cutting my timbers. So what I ended up with was 10x10. I’m going to do some dry fit and see how they look before carving them down to 8x8. I also cut a bunch of 2x10 planks. I did not calculate a bill of materials so I left some of the source material uncut in case I need some different sizes or run short. Here is the cut dimensional lumber and the pile of undersized “drops” at right…

What I really succeeded in doing was to create a huge pile of sawdust. Maybe we need a category for Largest Sawdust Pile" (https://www.largescalecentral.com/externals/tinymce/plugins/emoticons/img/smiley-smile.gif)

Saw dust… I likes Rev Dev’s presto logs idea, You got a good start. BTW save the scraps. Come Feb 5th they just might be what you need.

Good start Jon. Sawdust, Titebond III and some forms and you can make scale MDF.

@Dan H. Thats quite a thought Scale MDF… I think that I will have to try that. I do think that the fine power that collects on the inside of the filter of my dust collector would actually work!!

Couple of molds and walllll Ah!!

Thanks - Yup; saving the drops for fill-in etc. If I have left overs they can be chopped up for line side junk.

I ran clearance tests yesterday with my largest locos. BOX is tight to begin with and even after re-centering the track those 10x10 timbers are about 2 scale inches to tight. So, for the left side uprights I will cut them gown to about 6x10. These will only be the interior timbers, so unless you look real close they will look OK. Exterior, overhead and right side can stay 10x10.

So the sawdust pile grows.

Dave Taylor said:

@Dan H. Thats quite a thought Scale MDF… I think that I will have to try that. I do think that the fine power that collects on the inside of the filter of my dust collector would actually work!!

Couple of molds and walllll Ah!!

Dave, if the sawdust is coarse enough, you could make scale OSB. 2 new industries for the layout. Glue factory and MDF/OSB plant.

This morning, C.V.S.Ry. #8 was called to run an extra to South Willow Hill with some hot freight for the construction crew. A flat full of freshly pre-cut lumber was delivered to BOX…

The carpentry crew quickly got busy assembling the tunnel extension walls and roof…

Once the glue dries the second wall will be assembled to the top. Once this section has been test fit in place I will start working on the face. I’m having a tough time deciding how to handle the right hand side. I’ll ask for opinions once the this section is in place and I can better explain my dilemma.

for tunnels and portals of wood, scroll down about 3/4 of the first page of this:

http://www.largescalecentral.com/forums/topic/21819/protocoling-a-mountain

who knows? you might even find an idea or two…